

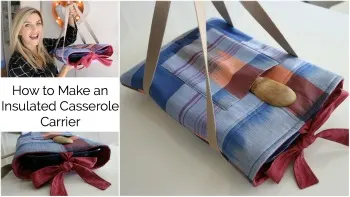
Hey Everyone!!
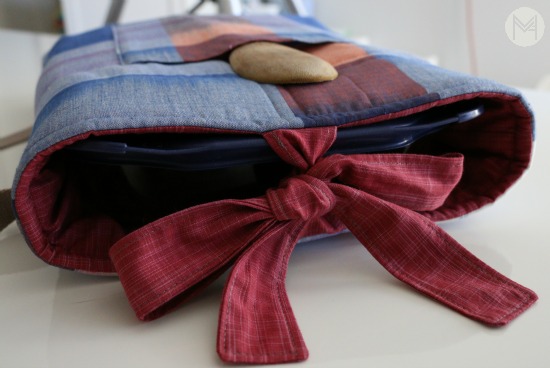
I have got a new sewing tutorial for you! Just in time for the holiday season which is always filled with family gathering, pot lucks and good food! I made this casserole carrier with this Anna Maria Horner fabric that I am obsessed with, and its a perfect fall plaid 😉
Materials:
1/2 yard outside fabric
1/2 yard lining fabric
1 yard of insulated batting (I used insulbright)
1/2 yard of batting, or a piece measuring 28 x 36
Coordinating thread
Sewing Machine
2 inch cotton webbing 2 1/4 yard
Walking foot is very helpful for this project
Fabric is Loominous by Anna Maria Horner for Free Spirit
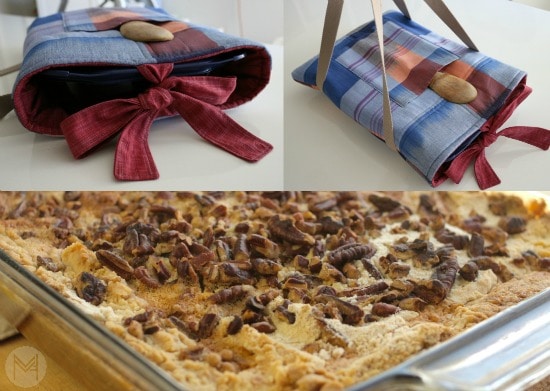
I did this video in collaboration with my friend Lainey from Simply Bakings. Check our her pumpkin dump cake video here!
If you would like the Free downloadable PDF version of the instructions, sign up for my newsletter below and it will automatically be sent to you!
Instructions
Fits a 9 x 13 pyrex dish.
Cut out 2 of each: outer fabric, lining, insulbright and batting to 14 x 18
4 strips of lining fabric 2 x 18 for tie
Cut out pocket 8 x 11
Begin by placing out fabric on top of the insulbright and then the batting. Pin the layers together and quilt as desired. Not much quilting is needed, just enough to keep the layers together well. Do this for both outer pieces.
Make the pocket. Starting with one of the 8 inch sides, iron over 1/4 inch and then again to conceal the raw edges. Then stitch in place. Add an additional top stitch 1/8 of an inch away if desired. Iron the sides and bottom of the pocket in the same manner and then pin onto the bag – centered about 5 inches from the bottom or in the desired location. Just be sure it will not impede the side seams. Set aside.
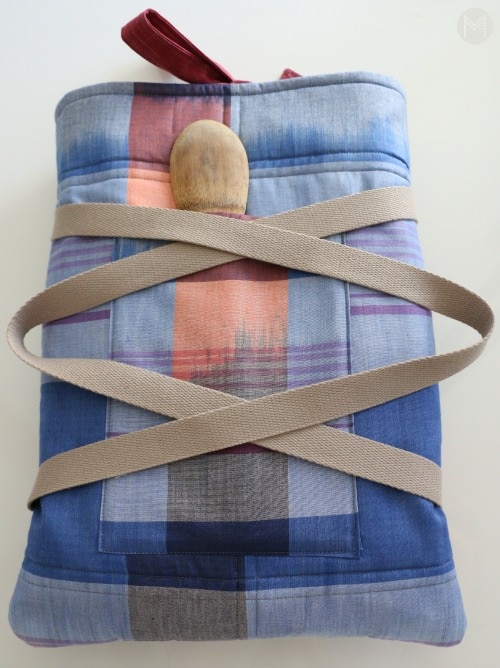
Add the straps. Take your 2 inch cotton webbing and find the center. I used 2 1/4 yards, but you can make the straps a little shorter if you like. Find the center of the outer layer – the 7 inch mark width wise. Match up the ends of the strap and the center of the bag and pin straps in place. See the video at the ___ mark to see how its done visually. Mark the straps 2 inches from the sides with a water soluble pen. Sew the straps in place 1/8 of an inch away from the edge of the webbing. Make sure to leave the 2 inch wiggle room so that the straps don’t get caught in the side seams. Do this for the other side of the strap.
Set the 2 outer pieces aside and make the ties.
Place right sides together on 2 of the 2 x 18 strips of fabric. Sew 1/4 of an inch seam allowance all the way around leaving a 2 inch gap for turning. Clip corners and flip right side out, press, and then sew all the way around with an 1/8 seam allowance to finish off. Do this for both ties.
Make your lining. Sew down the sides and bottom of your 2 lining pieces with the right sides together with a 5/8 seam allowance. leave a 4-5 inch opening along the bottom for turning right side out.
Place the outer bag inside the lining. Right sides should be touching. Match up side seams and pin in place. Find the center of the bag and place the tie in between the outer layer and lining and pin in place. Do that for both ties. Sew around at 1/2 inch seam allowance.
Using the gap in the bottom of the lining, pull the outer layer through to flip the bag right side out. Check all seams and make sure there are no adjustments or mistakes that need to be fixed before you sew up the lining. Use your finger to pop out the corners for the outer layer.
Sew the lining gap closed using a small seam allowance. Back stitch at the beginning and end.
Press top seam and top stitch around at a 1/2 inch seam allowance to create a neat finish.
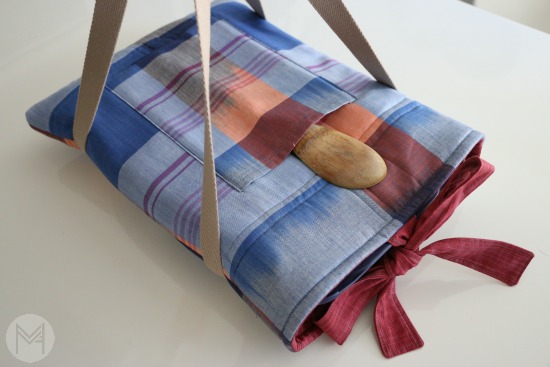
Enjoy your carrier!
 Here is the full video tutorial! Enjoy and be sure to share your photos of finished projects with me over on facebook!
Kathy French
Saturday 12th of November 2016
Melanie - So happy I found your video and blog on the casserole carrier. I've been following the instructions on the blog and referring to the video. On the blog it says the lining is 5/8" seam on the bottom and sides, but the video says 1/2" - argh! Mine are 5/8 so I hope it will fit. Also, I don't see anywhere on the blog post where the outer bag pieces are sewn together.
Alas, between the two mine is coming along nicely. Just have to sew the outer together and finish up. I'm betting I'll be making more by request.
Thank you!
sherry
Sunday 5th of June 2016
Melanie, the description says 1/2 yard of fabrics, but what would be the width of them all please?
C.A.
Monday 18th of January 2016
Melanie, how can i get another copy of your PDF tutorial for the casserole carrier. I subscribed to your newsletter and received the emailed copy. However, it's been misplaced, and I need another copy to start the project. Could you email it to me again? I've bought all the materials and now I really want to get going. Thanks!
C.A.
Tami Walker
Thursday 10th of December 2015
Hey Melanie. Is this your design? Is it okay to make these to sell? Thanks, Tami
CAROL
Tuesday 20th of October 2015
Melanie, Love the casserole carrier. It is alot simplier than the one I did. Can you do a tutorial on how to make a sewing machine cover. Thanks, Carol