
Hello Everyone!
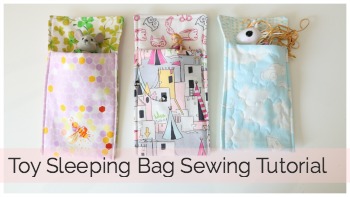
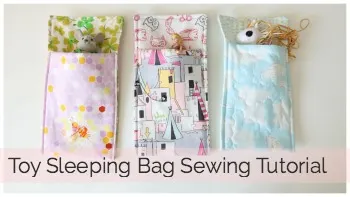
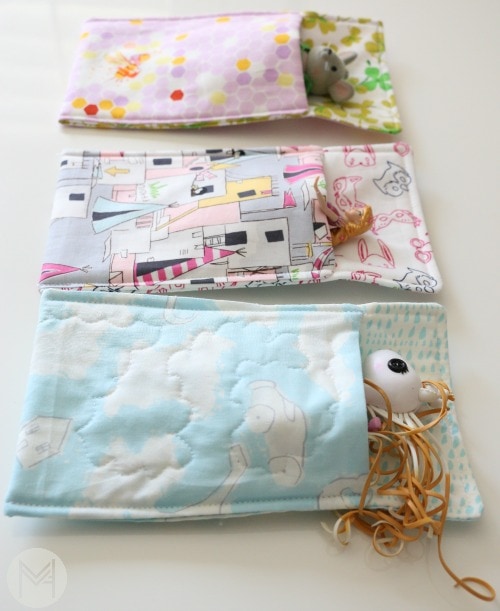
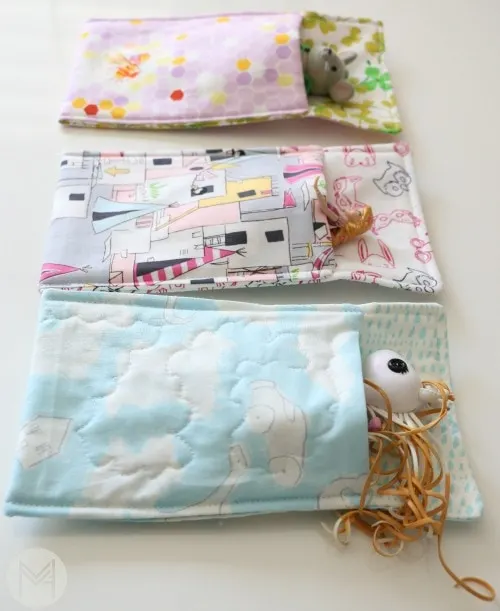
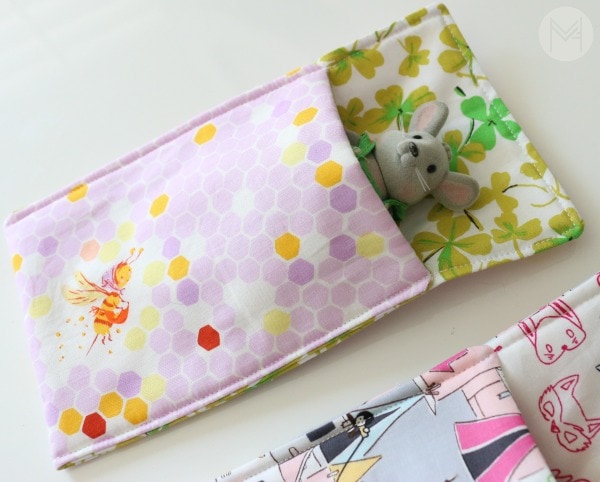
Today, I wanted to share with you my latest sewing tutorial, the toy sleeping bag! This is really easy, great for a beginner and uses a very small amount of fabric. You can also use scraps if you have a lot of those laying around like I do! My 4 year old daughter was using socks and underwear as “sleeping bags” for her toys, which is what prompted the idea for this tutorial.
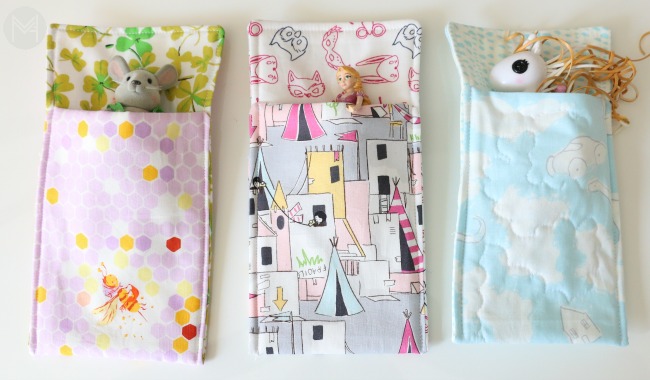

If you want to practice your free motion quilting skills, this is a great project to do that. The blue bag on the right is quilted. You can do straight line quilting on these too of course or none at all!
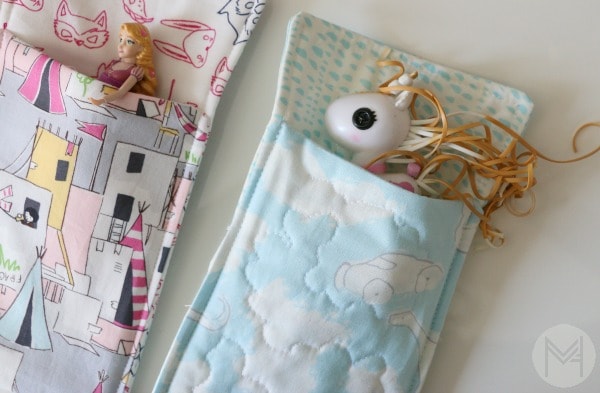

Also, feel free to make these your own size for whatever suits your child.
Materials:
2 pieces of outer material measuring 5 x 15 inches.
Scrap piece of batting measuring 5 x 15 inches
fabric scissors
sewing machine
coordinating thread
iron

Written Instructions:
Take your fabric pieces and place them right sides together. Place the batting piece on top of that.
Sew around the entire perimeter at a 1/4 inch or 1/2 inch seam allowance leaving at least a 1 inch opening and back stitching at the beginning and end.
Clip corners. Be sure not to clip your threads.
Flip right side out and using a chopstick or point turner, pop out the corners.
Press well.
Optional* This is where you would quilt the sleeping bag if you decided to do that step.
Fold fabric up to make the sleeping bag shape and sew starting at the bottom reinforcing the opening. Back stitch at the beginning and end.
Fiskars Scissors
Rotary Cutter and Mat Set
My Juki Sewing Machine
Here is the full video tutorial on how to make these toy sleeping bags!
ml13106
Thursday 10th of March 2016
Hi Melanie, I LOVE you videos I was if you can get interfacing and fabric on amazon. If not where do you get it