

Hi Everyone!
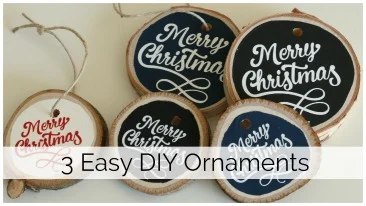
I have a fun holiday tutorial for you! Learn how to make these 3 easy DIY ornaments! I love that you can take these ideas and run with them to personalize them to your own style and taste. I made these for our neighbors as well as my kids teachers. These would be great for coworkers or a little extra something to round out a gift.
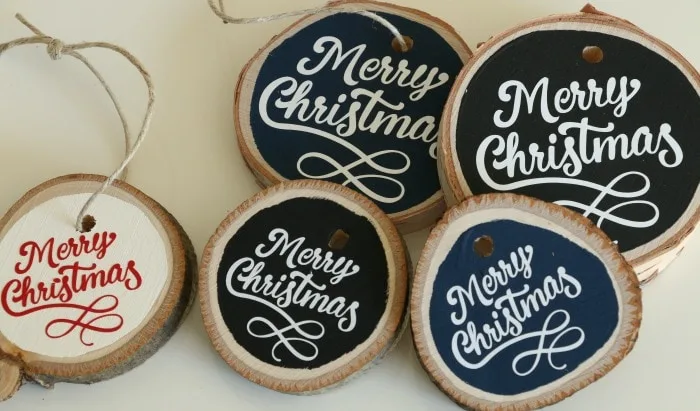
Ornament #1 Rustic Birch Ornament

Materials:
Birch Rounds (I found mine at Joann Fabrics with the twine and hole already cut)
Craft Paint (I used folkart in warm white, navy and black)
Paint brush (I used a foam brush)
Text (I used my silhouette cameo and cut vinyl for the “merry christmas” but you can also use stickers, paint pens or chalk pens to write out your text.


Instructions:
Paint Birch round with craft paint, don’t go all the way to the edge. Take the twine off if applicable. Let dry completely
Using pens and pretty cursive, write out your message. You may also use some of the amazing sticker options found at craft stores or a silhouette if you have one.
Reattach the twine and let dry, its ready for gifting!
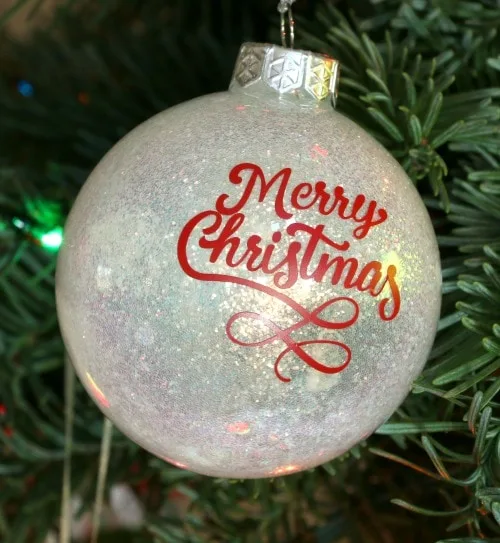
Ornament #2 Ball of Glitter – no mess!

Materials:
Blank, decorative ornament ball. Joann has bins of the shatterproof ones.
elmers glu
water
fine glitter
sticker or decoration
Instructions:
Mix water and glue to make it fairly runny.
Pour inside blanket ornament and turn ball to get the glue mixture to coat the entire inside of the ornament. Dump out extra.
Pour fine glitter inside using a funnel or folded paper, shake to evenly distribute glitter onto the glue. Add more if needed. Let dry with opening facing down.
Use a silhouette (like I did), sticker or paint pen to write a message or draw a motif like a star or tree.
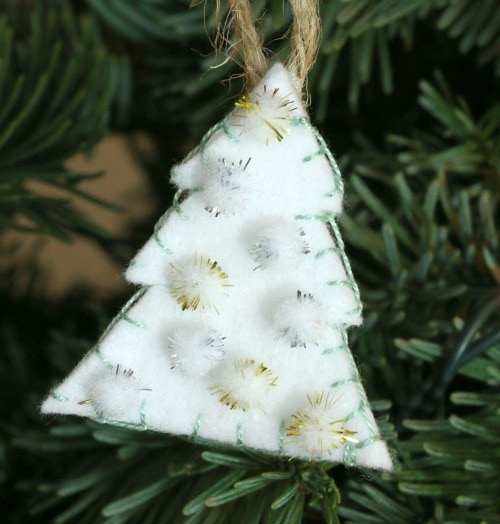
Ornament #3 Felt for the Win!

Materials:
Felt
Shape template
glue (elmers or fabritac)
Scissors
twine or ribbon
pom poms or decorations of choice
pearl #8 and embroidery needle (optional)
clover clips (optional)


Instructions:
Take 2 pieces of felt and clip them together with the template on the front. Cut around the template (I used a tree) with sharp scissors.
Glue or stitch the 2 pieces together. I used a blanket stitch on the white one and glue on the red one. If you use glue, elmers works but fabritac is my favorite glue for fabrics or fiber pieces.
Decorate the front of the tree as desired, I used this cute little pom poms, but your imagination can help you decide – so many options!
Glue twine or ribbon to the back to make a hanger.