
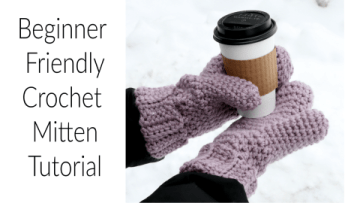

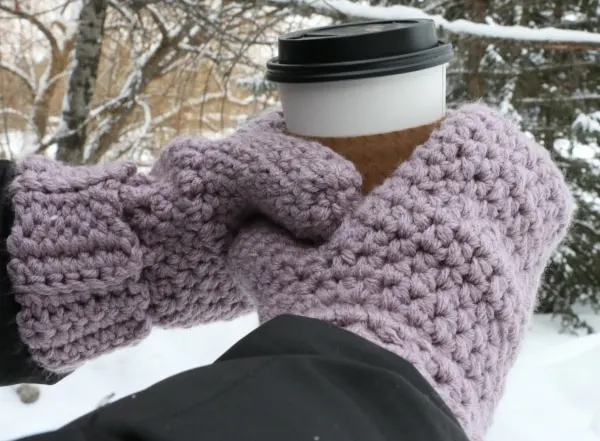
Once of my most requested tutorials has been… beginner friendly crochet mittens! I went to Montana last week, so I was in need of something to help keep my hands warm, so this was a great chance to make these for you!


Ad free PDF can be found HERE!
Video Tutorial embedded at end of the post 😉
Materials
- 2 skeins of Red Heart with Love or any two large balls of worsted weight yarn. The color I used is Dusty Grape.
- K (6.5mm) crochet hook A nice J,K,N hook set.
- Yarn needle
One size fits most. If you have small hands you can do less rounds for the mitten body.
Stitches and abbreviations used:
- rnd – round
- ch – chain
- sl st – slip stitch (insert hook, yarn over, pull through all loops including loop on the hook)
- sc – single crochet (insert hook, yarn over, pull through)
- sc blo – single crochet back loop only (insert hook in back loop, yarn over, pull through)
- hdc – half double crochet (yarn over, insert hook, yarn over, pull through 3 loops)
- hdc2tog – half double crochet 2 together in order to decrease (yarn over, insert hook, yarn over, pull through, yarn over, insert in next stitch, yarn over, pull through, yarn over, pull through all 5 loops on hook)


US to UK terminology
sc = dc
hdc = htr
hdc2tog=htr2tog
Ad free PDF can be found HERE!
Instructions
Mitten Cuff
- Start with 2 strands a create a slip knot.
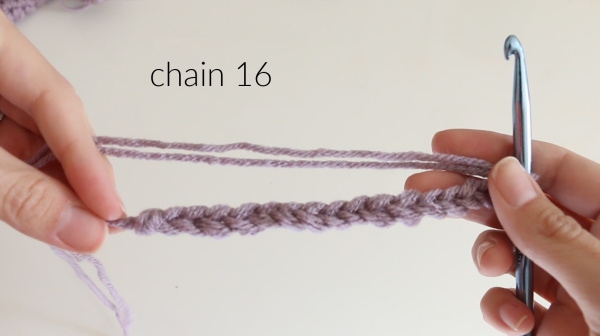
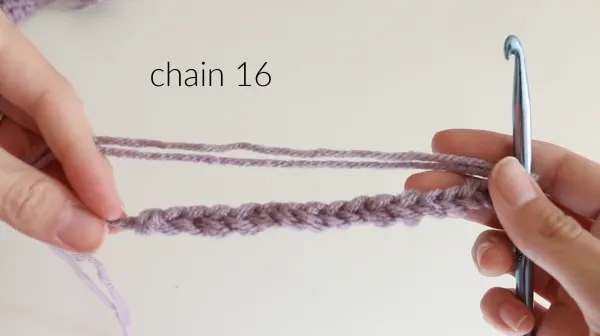
- ch 16
- (Row 1) In 2nd chain from hook, sc in each foundation chain all the way down
- (Row 2) ch 1, turn work and sc in each stitch all the way down
- (Row 3) ch 1, turn work and sc in the back loop only all the way down
- (Row 4) ch 1, turn work and sc in the back loop only all the way down
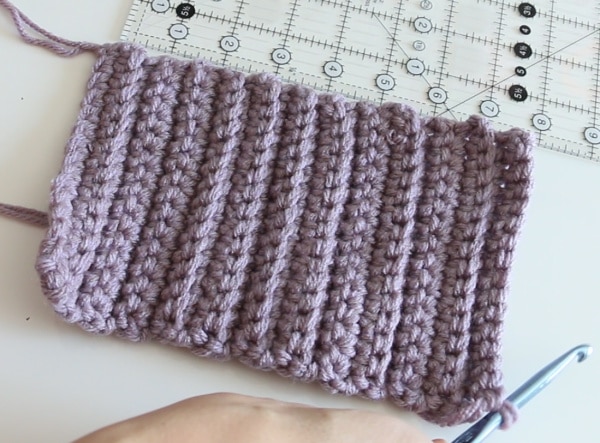

Repeat rows 1-4 until your cuff measures 8 inches.
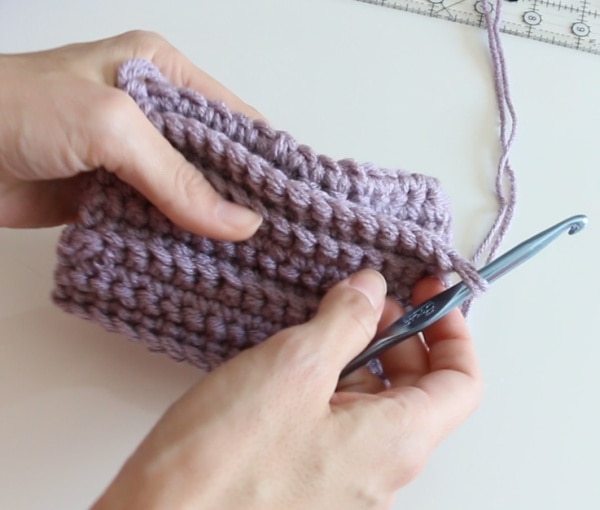
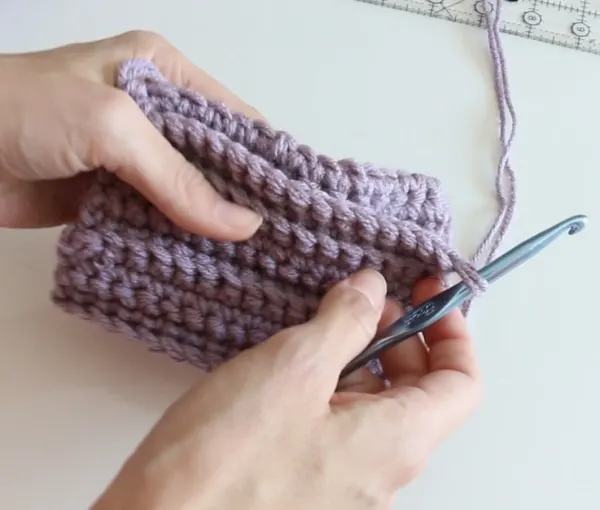
Join short sides of cuff with slip stitch, do not trim or finish off yarn.
Decide ahead of time if you want this to be your Right or Left mitten.
Mitten Body
*tip, weave in strands as you begin to make the body of the mitten

- ch1
- Round (rnd) 1 place a hdc at the end of each row from the cuff. At the end of the round, place a stitch marker and continue with your hdc in a spiral. No need to sl st and ch 1.
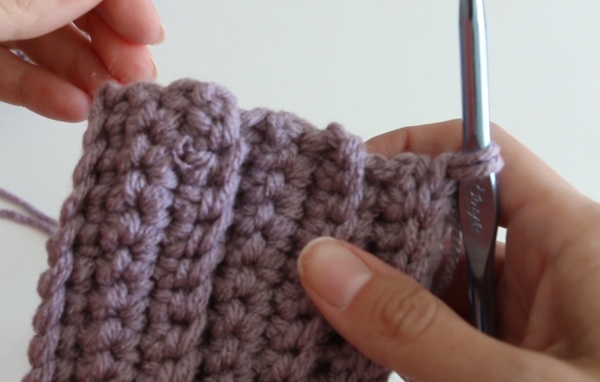
- rnd 2-5 – place 1 hdc in each stitch all the way around.
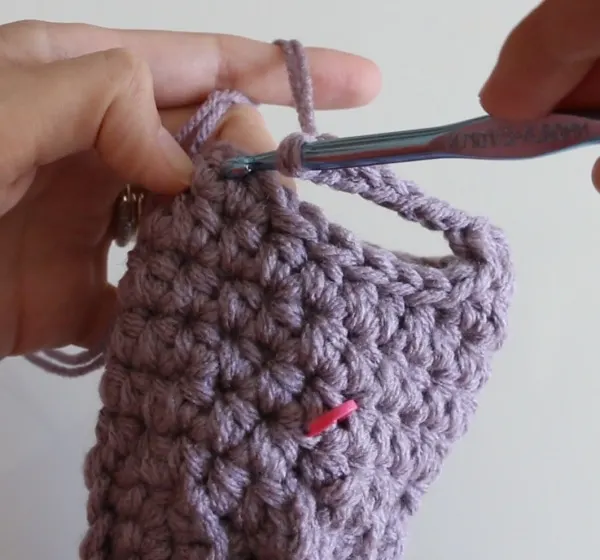
- rnd 6 – Before you begin the 6th round place 6 slip stitches to allow for thumb hole. The stitch directly above the stitch marker should be slip stitch #3. After the 6 sl sts, hdc for the rest of rnd 6.

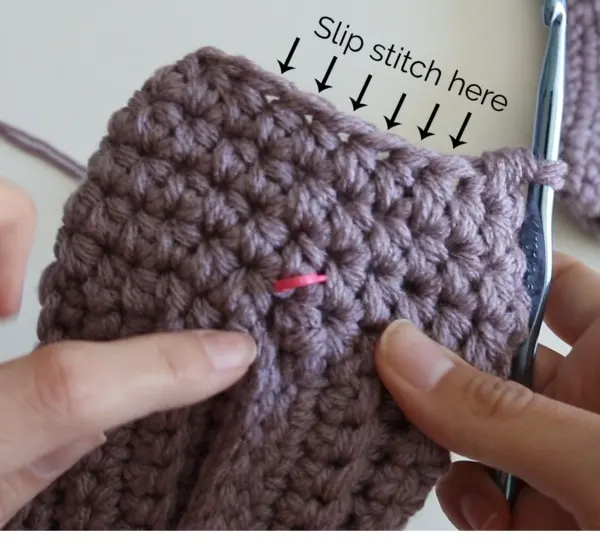
- rnd 7 – As you finish rnd 6 and reach the slip stitches from the previous round, ch 6 to go “over” the slip stitches. You will skip those 6 slip stitches and then continue hdc.

- rnd 8 – 1 hdc in each stitch going all the way around including the ch 6.
- rnd 9 – 1 hdc in each stitch all the way around
- rnd 10 – 1 hdc in each stitch all the way around. Place 2 hdc2tog on the palm side of the mitten.
- rnd 11-12 – 1 hdc in each stitch all the way around
- rnd 13 – 1 hdc in each stitch all the way around. Place 1 hdc2tog on the palm side of the mitten
- rnd 14 – 1 hdc in each stitch all the way around
- rnd 15 – 1 hdc in each stitch all the way around, Place 2 hdc2tog on the palm side of the mitten
- rnd 16 – 1 hdc in each stitch all the way around
- rnd 17 – 1 hdc in each stitch, Place 2 hdc2tog on the palm side and finish the round with a sc and sl st to smooth out the round.
Leave a long tail and fasten off.

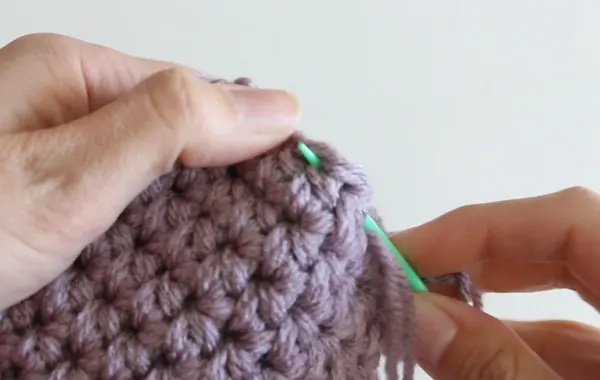
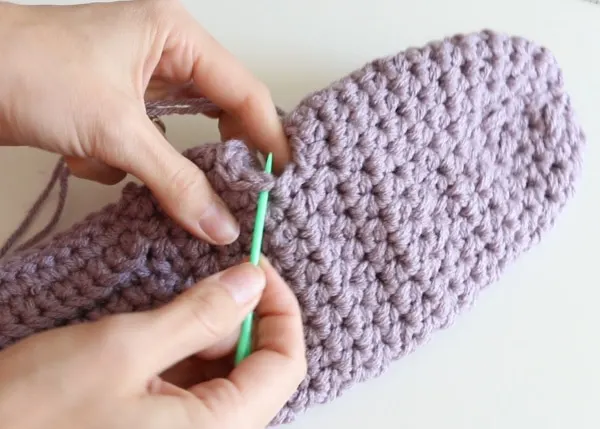
Thread the long tail through a yarn needle and sew through the top of the stitches from the 17th round. Pull yarn tight and weave in ends to secure the opening from the outside of the mitten to begin with, but then insert the needle and finish from inside the mitten. Weave in any ends and trim.

Thumb hole
- attach yarn to opening on the palm side of the mitten.
- pull up with hook and chain 1.
- sc in each stitch all the way around in a spiral fashion until the thumb measures 3.5 inches long (mind was 10 rounds)
- cinch up the end of the thumb in the same way as the top of the mitten.
Weave in any ends.

Copyright: You may not sell my patterns, claim them as your own or distribute them. Please direct friends or those interested to the free blog post or ad free pdf. You may make items to sell (i.e. on Etsy, at craft fairs) from my patterns but please link back to my blog and provide pattern credit. You are welcome to share finished items from my patterns on social media, but please tag me and share the pattern link.


DJ Satterfield
Monday 25th of February 2019
Pretty new to crocheting. Have made a couple of your beanies and want to try the mittens and hat. So if I read correctly, you use two strands at once to crochet with, instead of just one?
Lucie Shook
Wednesday 20th of February 2019
Hi Melanie, Thank you for posting. This will be the perfect project for my long plane ride to Maui next month. Hope they don’t confiscate my hooks! I’ll post pics when done.
❤️ Lucie
Rebecca Zavacky
Wednesday 20th of February 2019
I am not sure how to do the right mitten! Please advise.
Nicole
Monday 18th of February 2019
Thanks for this, Melanie! I began my own pair right away and am almost done! Super cute, easy, and fun! Keep the posts coming!
Steph
Sunday 17th of February 2019
This is definitely on my list to make. Thank you for posting the written and making a video. I find both help. Hope you are doing well