
If you sew like me, you know it’s always nice to have a little stock pile of handmade zip pouches for those last minute birthday gifts and teacher appreciation weeks! Even my girlfriends raid my stash and give me a few bucks when they are in need of a quick gift. This is going to be a staple in my stash – the easy small box easy zipper pouch tutorial with a strap! I go nice and slow for my beginners!
Be sure to read the entire post if you have questions. I go back and update posts for commonly asked questions so that you can find them quickly! At the end of the post, you can find the pattern card and an option to print.


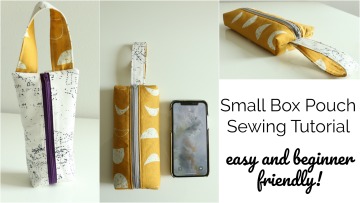
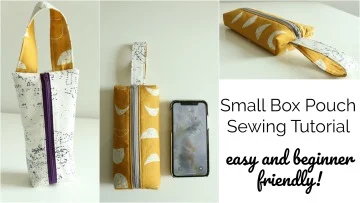
My box pouch tutorial is one of my most popular easy sewing projects and people often ask how to add a handle. I decided to change up the size on this tutorial and show a few different options as well.
Ad Free PDF (for free) at the end of the post if you’re interested!
Small Box Easy Zipper Pouch Tutorial
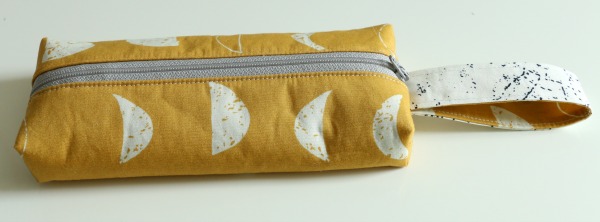
Small Box Easy Zippered Pouch with Handle Sewing Pattern
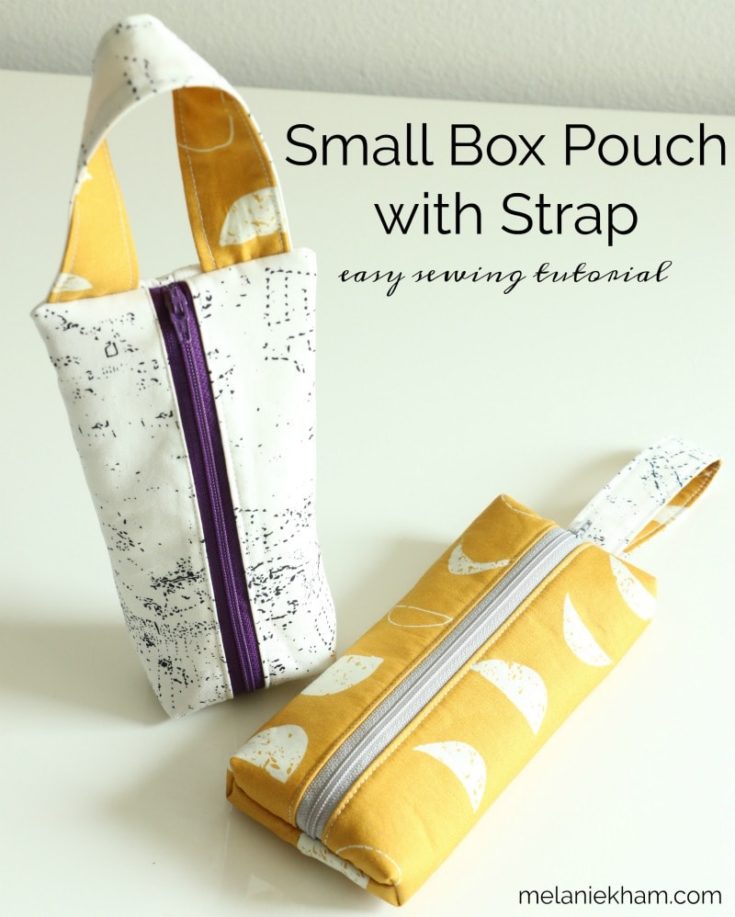
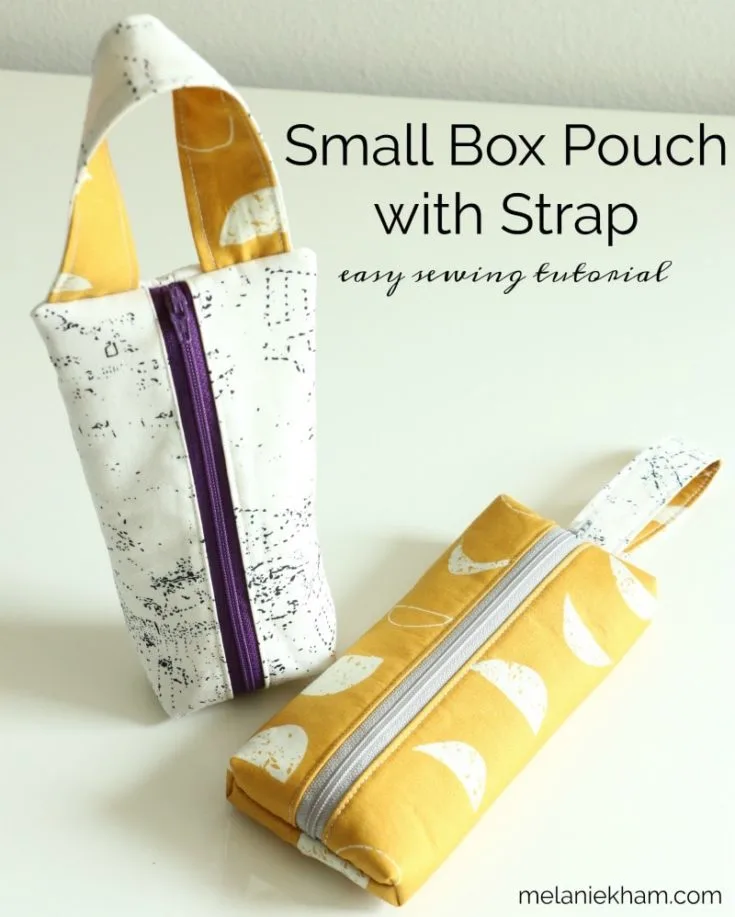
This is one of Melanie's easy sewing projects! This small zippered pouch tutorial with a handle or strap is great for storing items or giving as gifts. I have also shown you 2 different ways to attach the strap to this box pouch.
Materials
- (2)4.5 inches x 9 inches (11.5 cm x 23cm) Outer Fabric Pieces
- (2) 4.5 inches x 9 inches (11.5 cm x 23cm) Lining fabric pieces
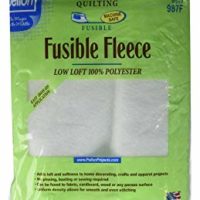
- (2) 4.5 inches x 9 inches (11.5 cm x 23cm) Interfacing ( I like Pellon sf101 or fusible fleece 987f for extra body)
- (1) 2 inches x 9 inches (5cm x 23cm) Outer fabric
- (1) 2 inches x 9 inches (5cm x 23cm) Lining fabric
- (1) 2 inches x 9 inches (5cm x 23cm) interfacing piece for strap. (The fusible fleece is doable but ended up a bit bulky for this strap, so for my other pouches I used sf101 or you can skip the interfacing all together).
Tools
- Marking Tool like water soluble pen
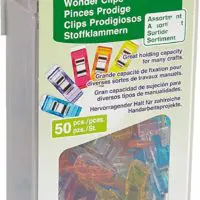
- Pins or Clover Wonder Clips
- 11 inch zipper ( I used 14 in the video tutorial which was a little long. 9 inch zipper cuts it a little short)
- Iron and Ironing Board
- Scissors
- Sewing Machine that can do a straight and zig zag
Instructions
- Prepare fabric and supplies


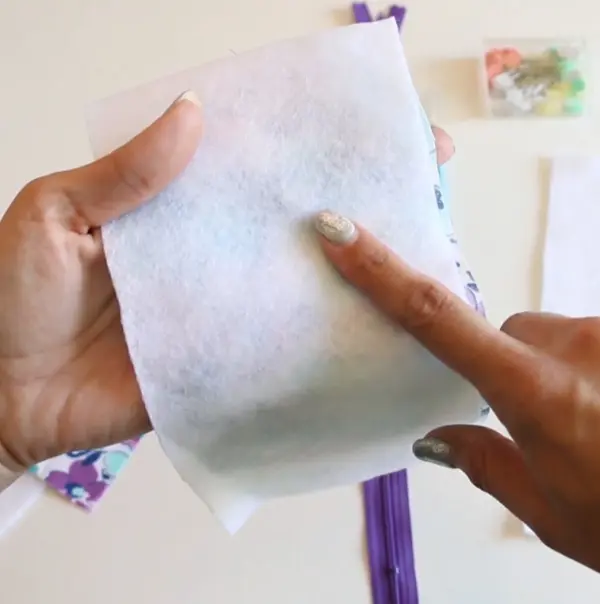
- Attach interfacing to outer fabric and strap pieces using manufacturer instructions.

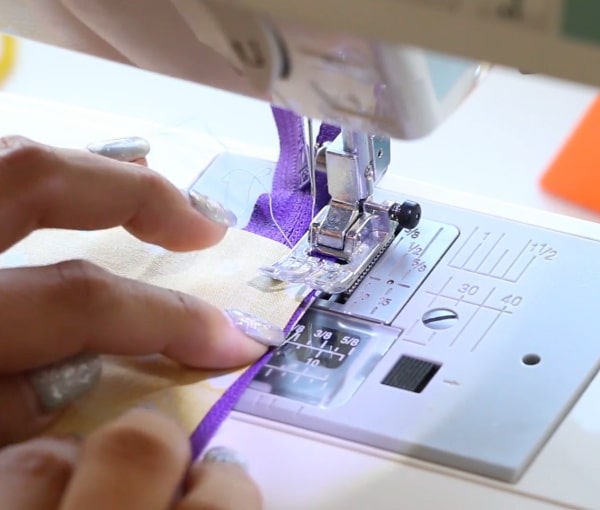
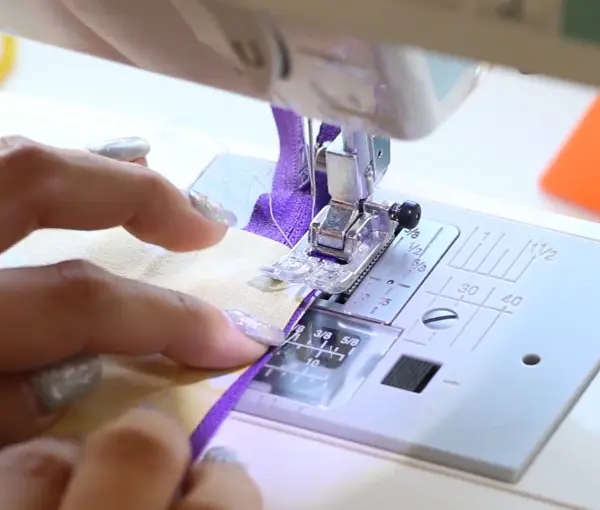
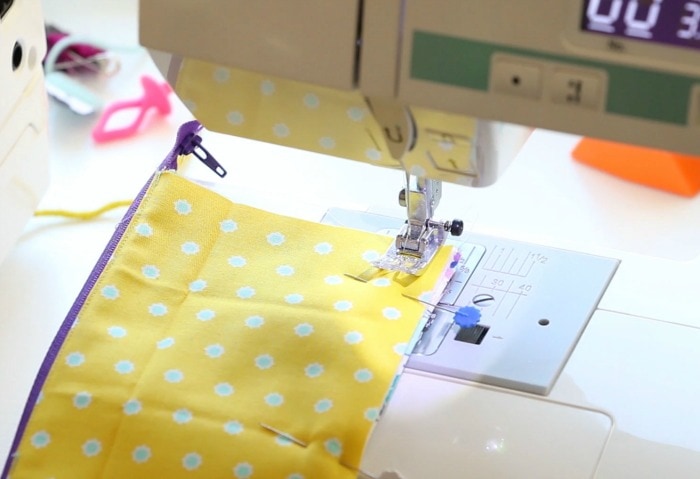
- Place zipper teeth down along the long edge of the outer piece. Place lining piece on top of zipper right side down (pretty sides of fabric touching each other) and make sure zipper tape edge and fabric edges are all lined up.


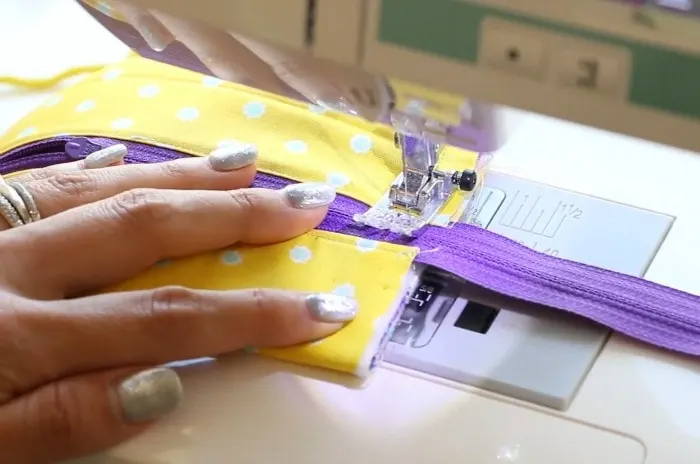
- Take to sewing machine and sew using a zipper foot if you have one as close to the zipper teeth along the zipper tape as possible.
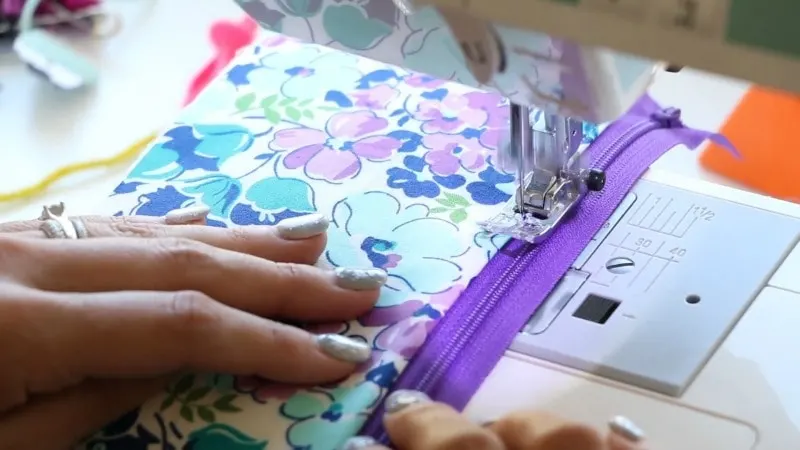
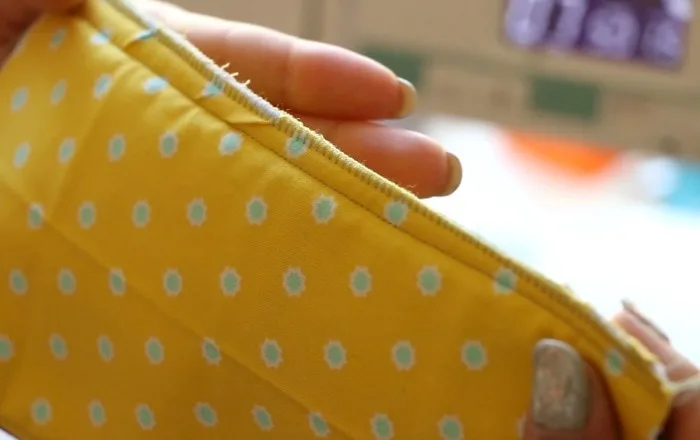
- Iron fabric pieces flat with right sides showing. Top stitch with a coordinating thread color for added security and create a finished look.

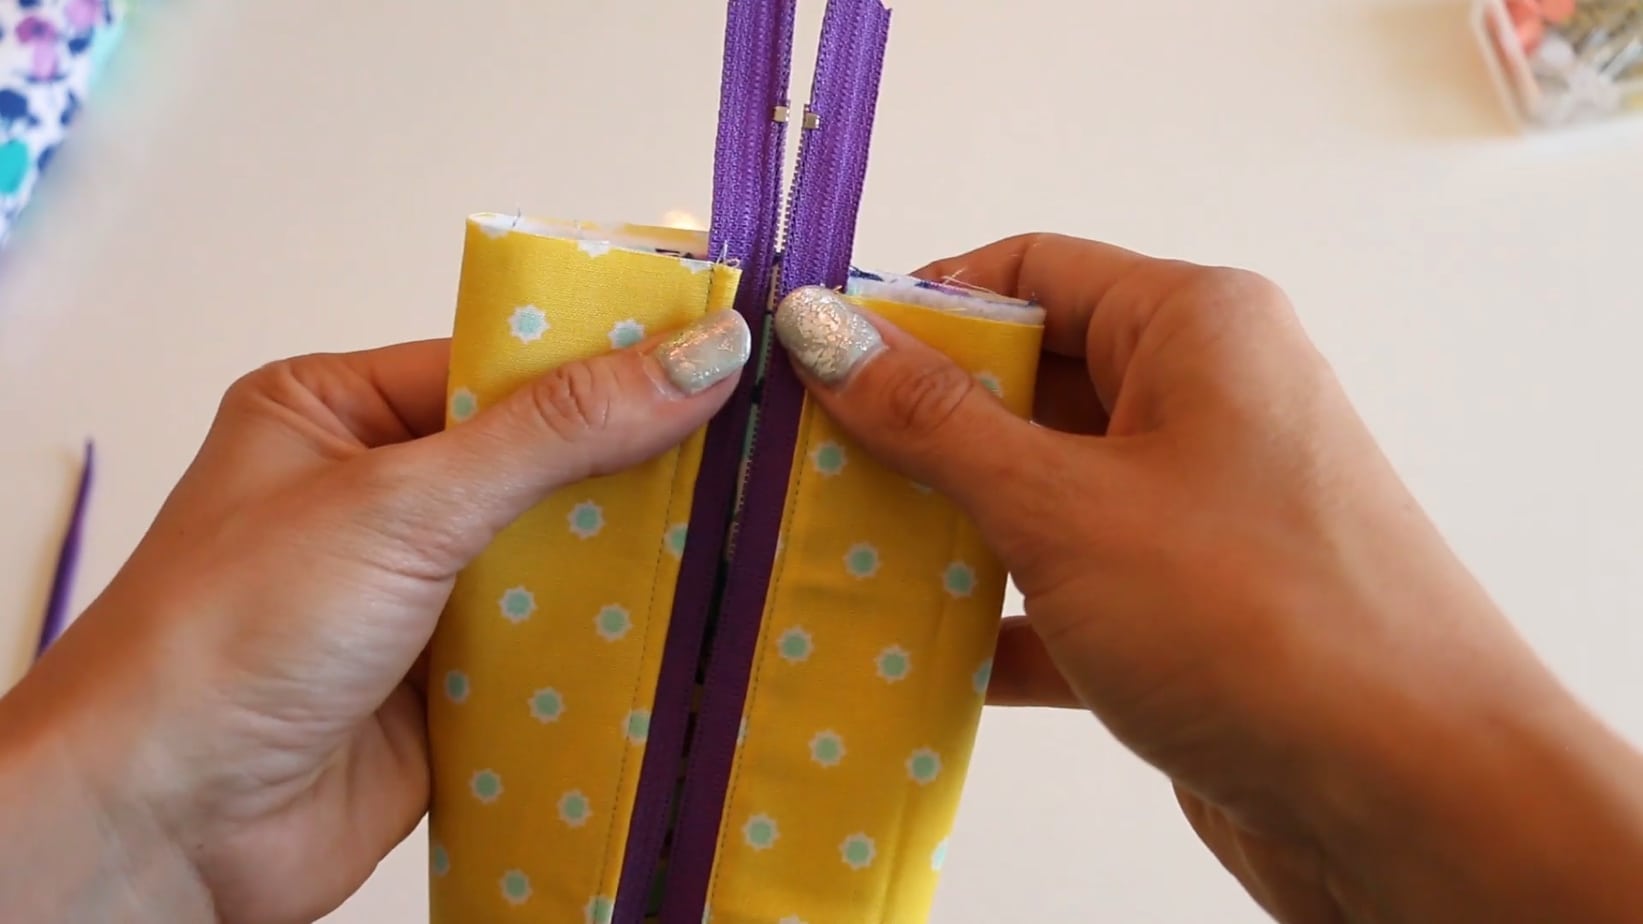
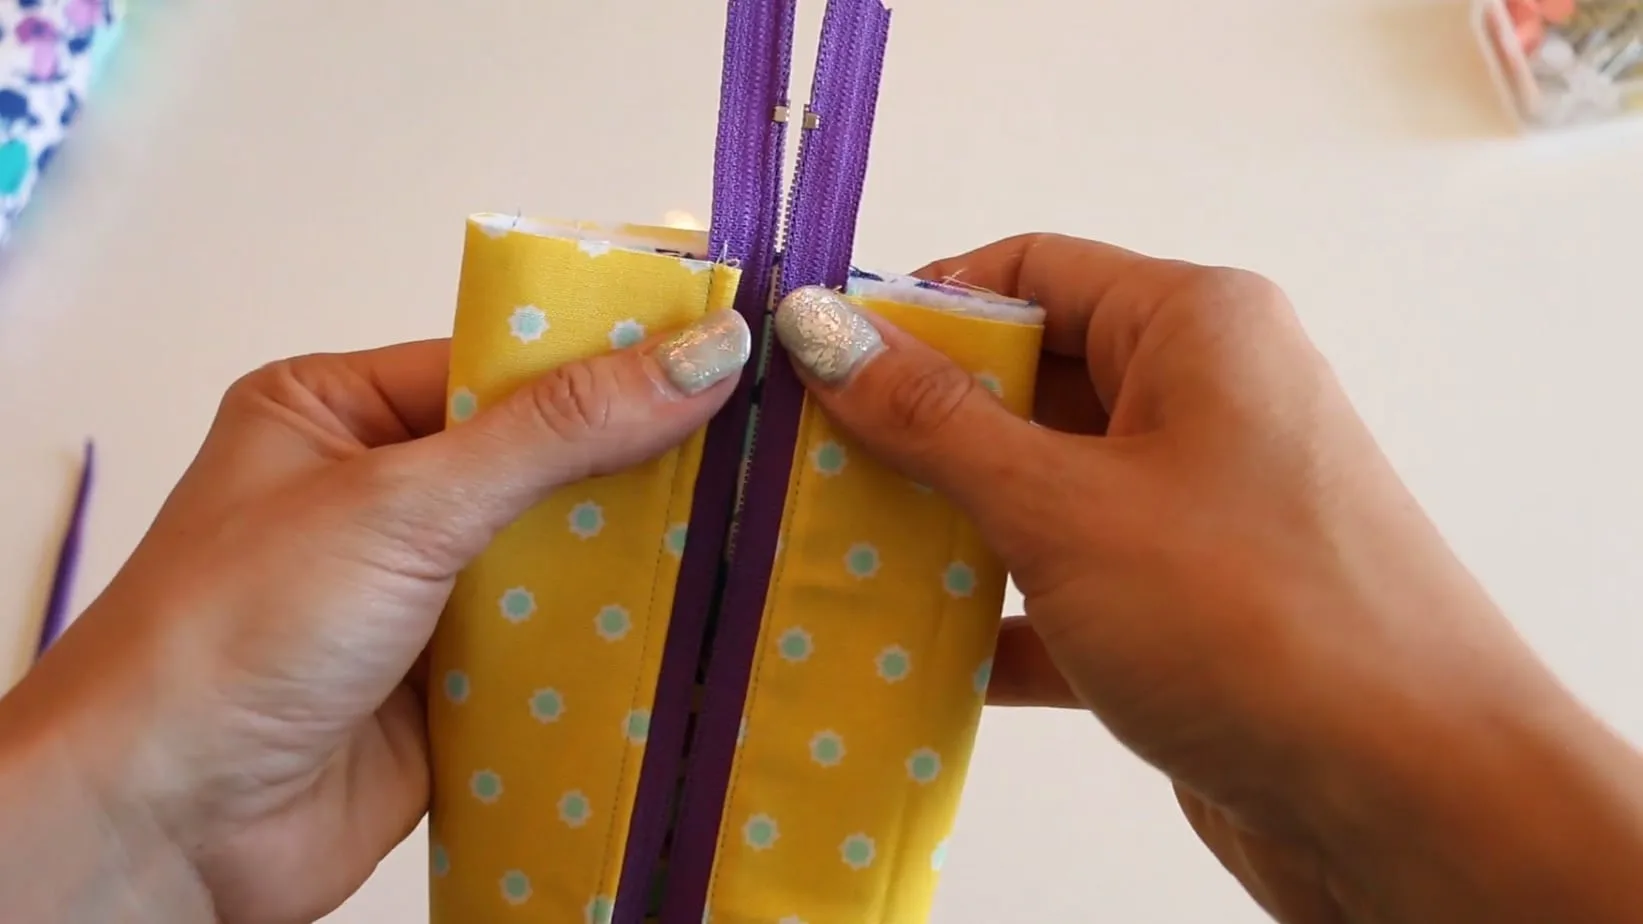
- Now we need to attach to the other side of the zipper. Place the zipper teeth down on the other outer piece and the lining (right side down) on top of that. With edges aligned, repeat attaching the zipper, press and top stitch.


- Now it's time to sew the bottom of the pouch. Place the outer pieces right sides together will all edges lined up and sew along the bottom of the bag with a 1/2 inch seam allowance.

- Now change the stitch on your machine to a zig zag and zig zag stitch along that seam.

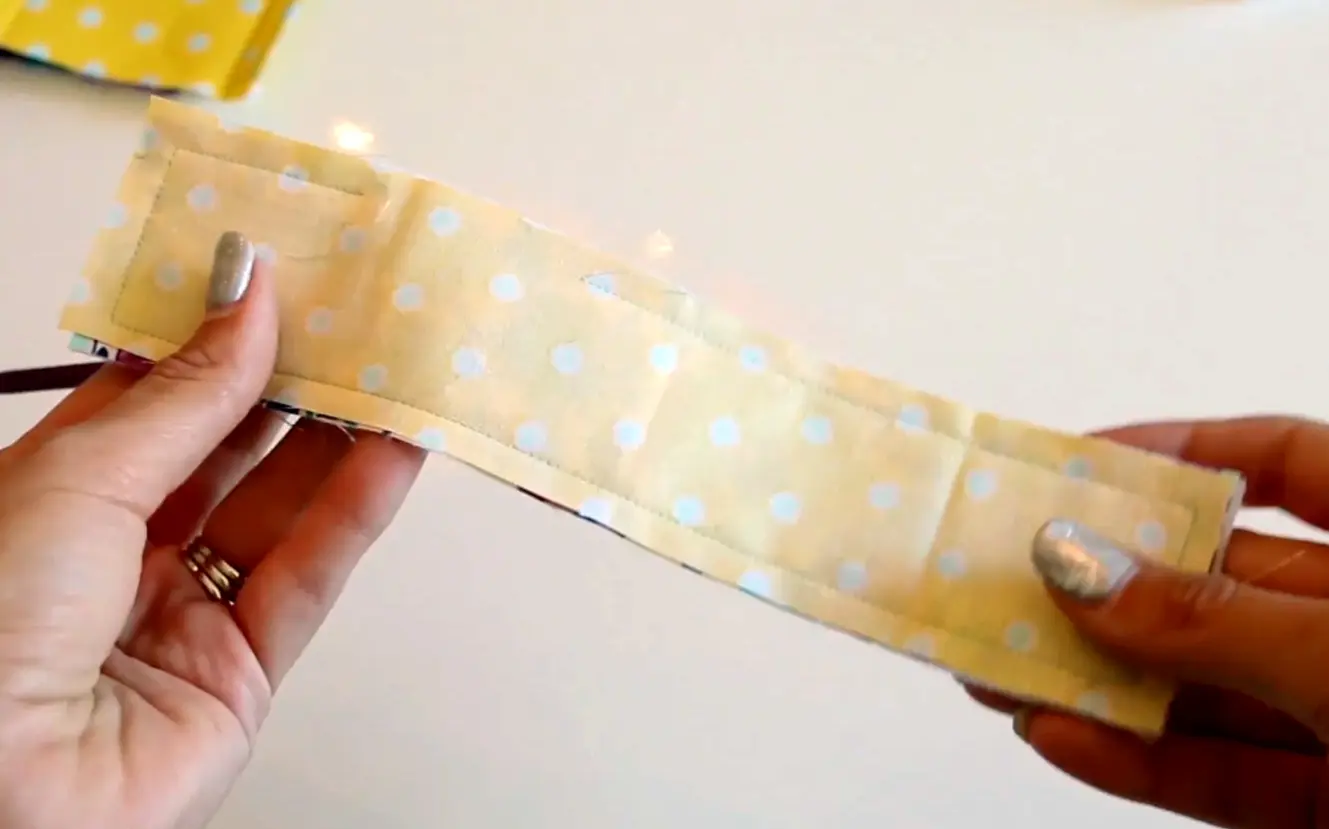
- Set the main body of the pouch aside for now so that we can work on the strap. The strap that I made in the video turned out a little bulky when I sewed it into the pouch, so I want to include an additional way of making the strap here too. In the video, I did the seam all the way around, which actually isn't necessary to sew a seam on the short sides of the strap and adds extra bulk. For future pouches, I made the strap like this...
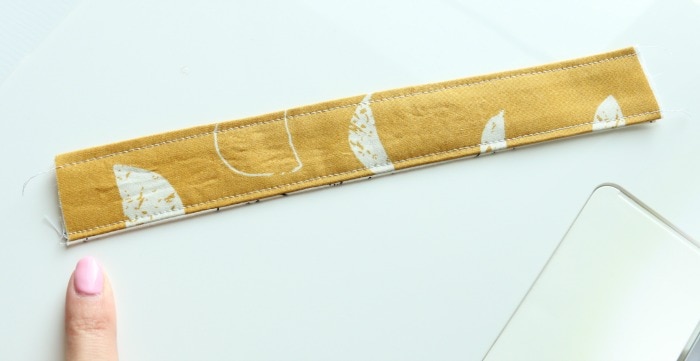

- I still placed right sides together, but I didn't stitch along the short sides.

 Then I flipped it right side out and pressed it. This strap has sf 101 interfacing. It was a lot less bulky in that side seam and I think is a better strap for this bag. With the strap complete, we can attach it into the bag - we are in the home stretch! Take the side of the bag with the zipper pull and open it. This is why we need to have some pins, so that we can keep those tails together when we sew that side seam. The zipper needs to be open so that we can flip it right side out when the side seams are done ;).
 - *NOTE if you want to make a box pouch with no strap, skip this step. You can make a little pull tab instead. Construct it the same, but cut your piece 2 x 5 instead. On the other side with no strap, line up the zipper teeth and the bottom seam and pin/clip in place.
- Take pouch with both ends pinned/clipped to the sewing machine and sew down each side with a 1/2 inch seam allowance. Do this on both sides. (Go slow over those zippers!)

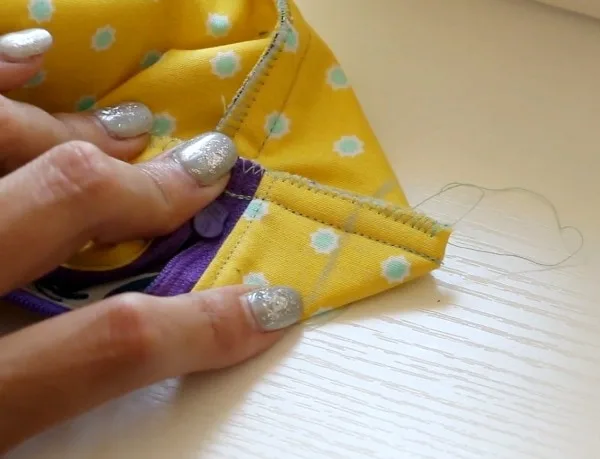
- Trim seams and zippers (not with your fabric scissors) and then zig zag the seams to finish them. Now it's time to box out the side without the strap (or you can box out both if you choose). Measure from the tip, 3/4 inches down and make a mark. Sew along that line with a straight stitch. Trim 1/4 inch away from the stitch line and then zig zag to finish the seam. Do the same on the other side.

- Turn bag right side out and you are done!

Recommended Products
As an Amazon Associate and member of other affiliate programs, I earn from qualifying purchases.


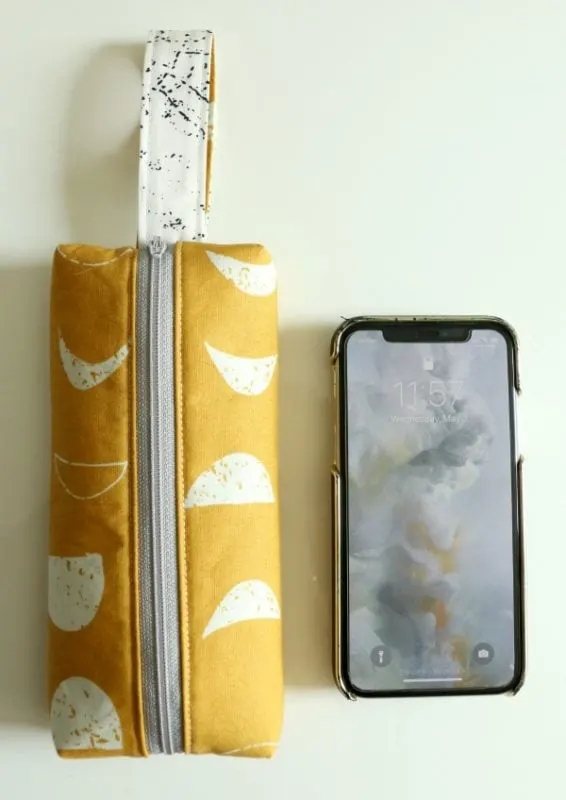
Here’s a little reference on the size 😉 I have an iphone X.

I hope you enjoyed following along with this small box easy zipper pouch tutorial! Obsessed with zipper pouch tutorials like me?! Here are some other great free box pouch projects!
- Zippered Box Pouch with NO Raw Edges in 3 sizes
- Clear Vinyl Zipper Pouch Tutorial
- Stand Up Zip Pouch Tutorial
- Easy Zippered Box Pouch Tutorial – original with exposed interior seams
Julie
Wednesday 16th of May 2018
Would it be possible to have a pdf version please. Thank you.
ruth
Sunday 20th of May 2018
Would it be possible to have a pdf version please. Thank you.
Pat Wyatt
Tuesday 8th of May 2018
Loved your tutorial! I will definitely make these as gifts. I would like he pdf download please.
Pat Wyatt
Tuesday 8th of May 2018
I am going to make these as gifts. I loved the tutorial! I would like pdf instructions.
Rebecca Holdsworth
Sunday 6th of May 2018
PDF please.... Thank you for doing this.
Becky, Cary, NC USA
Sharon sullivan
Saturday 5th of May 2018
I would like a PDF of this pattern as well. How do you know where to place the zipper on the fabric at the top opening? How much do you need to allow to sew the seam at the top?