

Hi Everyone! I am super excited to share this highly requested tutorial today. I am constantly asked if I have a crochet baby bootie pattern and the answer is now… yes! I plan to do more of these, but the first one I wanted to be super simple.

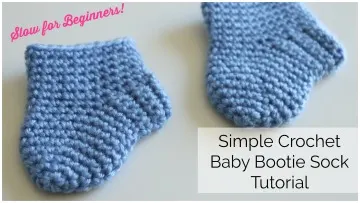
Video Tutorial – Slow for Beginners
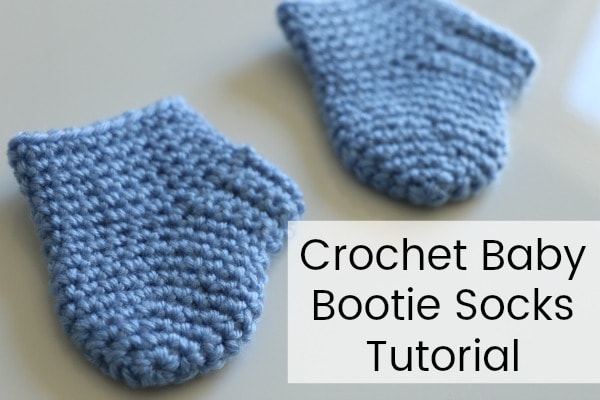
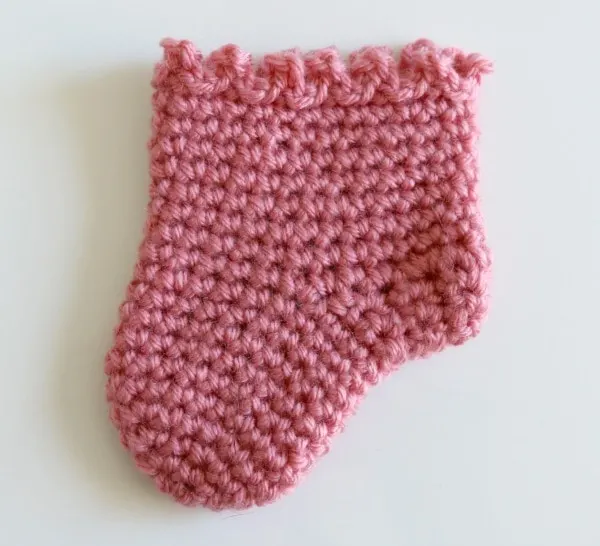
Crochet Baby Bootie Socks
Want this as a free pdf (no ads)? Click HERE and it will get sent to your email! Includes size chart and variations!
Materials:
Yarn: Small worsted
Hook: G 4mm or H 5mm hook
Yarn needle
Scissors
Newborn needs to be 3 inches long. 2 inches for toe portion and 1 inch for heel.
6-12 month size needs to be 4 inches long total

Instructions:
Make the toe
Begin with a magic ring (magic ring video)
sc 5 in the ring, join with slip stitch, ch 1
2sc in each stitch all the way around. Join with slip stitch, ch 1(total of 10 stitches)
2sc in the first stitch, sc 1 in the next and repeat. Join with slip stitch, ch 1. (total of 15 stitches)
2sc, sc 2, repeat. Join with slip stitch, ch 1(20 stitches total) Stop here for 0-3 month size
2sc, sc 3, repeat. Join with slip stitch, ch 1(25 stitches total) Stop here for 6-12 month size
Make the heel
For the newborn size (0-3), once the toe reaches 2 inches you are ready to do the heel.
It doesn’t matter where you start the heel, chain 1, turn your work and sc across until you have reached half way around the toe.
ch 1 and sc back across, ch 1 and turn and repeat until your heel is 1 inch or desired size.
flip heel right side together and sew the seam closed with a yarn needle. fasten off and trim.
Make the ankle portion
Reattach the yarn at the back of the sock and ch 1. sc 1 all the way around to form the “tube” or ankle part of the sock. Along the side of the heel, the stitches won’t be obvious, and that’s ok – just be sure you have the same number of stitches on both sides.
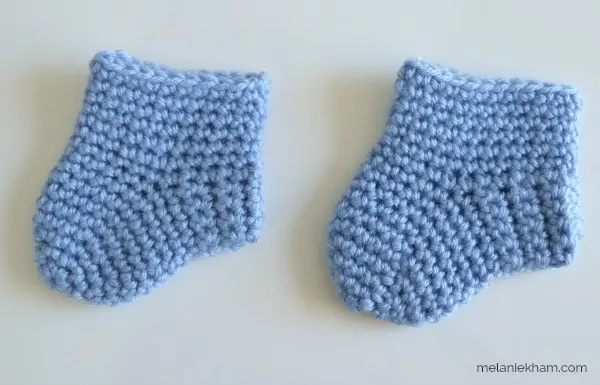
sc in each stitch all the way around until you reach the desired size for the crochet baby bootie. Fasten off and weave in ends.
Ideas for Variations
Click HERE to get the instructions for the variations in pdf form for these crochet baby bootie options.
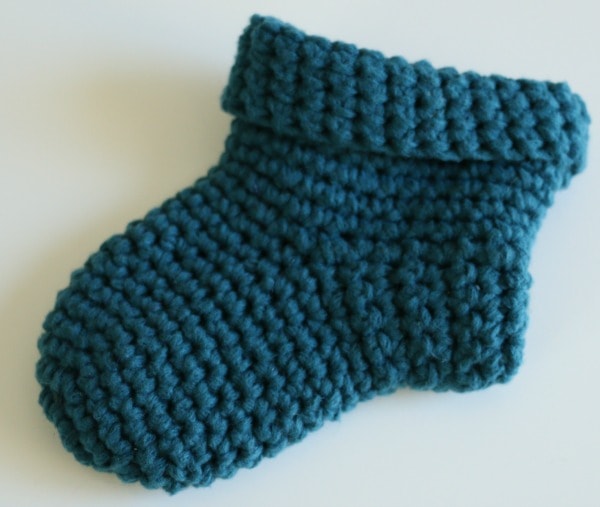
You can make a fold over option 😉

You can make a pretty edge 😉

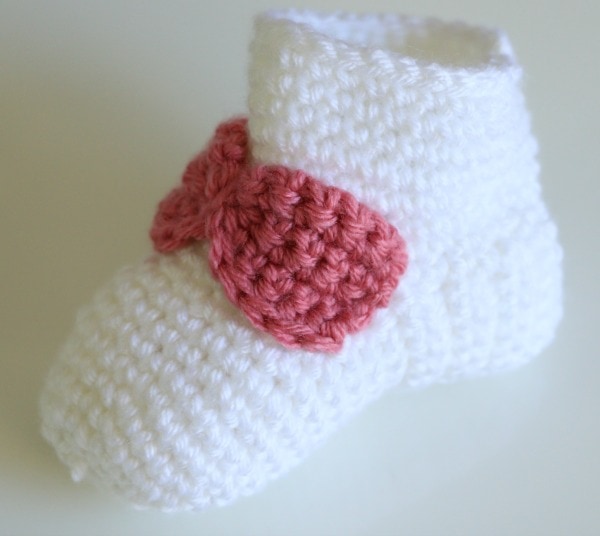
You can also add a bow. These are just a few that I made samples for, I’d love to see your creativity! How will you embellish this simple crochet baby bootie?

I hope you enjoyed this tutorial. Need a baby blanket to go with your booties? Try this one!
Lisa binney
Monday 30th of April 2018
The 5th step in the toe of the basic bootie I am little confused. What do you mean when you say 2sc, sc2 can you explain a little more. I watched the video but this is the one step I did not understand. Thank you for the clarification. Thank yiu
Jeanene
Thursday 26th of April 2018
THANK YOU FOR THE TUTORIAL & PRINTED INSTRUCTIONS. I was trying to make the booties from your instructions and I found a step missing. I went to your tutorial & watched it & found the step left off of the printed instructions. In 'Make the Toe', the last step should say to sc every stitch going around until it measures 2 " from base of toe. Under 'Make the Heel' it does say to reach the 2" but it doesn't tell how to get there. Thanks for the video so I could complete my booties.
Deb
Wednesday 25th of April 2018
Why cannot I just print a pattern without downloading and then hunting for it?