
This post and video are brought to you by Red Heart Yarn. I was thrilled when they asked me to create a new project with their new collage yarn. All thoughts and opinions are my own. Sponsors make it possible to bring you free projects like this beginner crochet scarf.
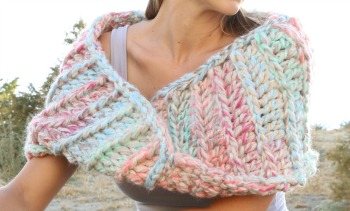
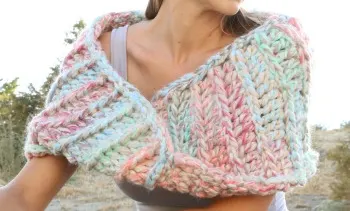
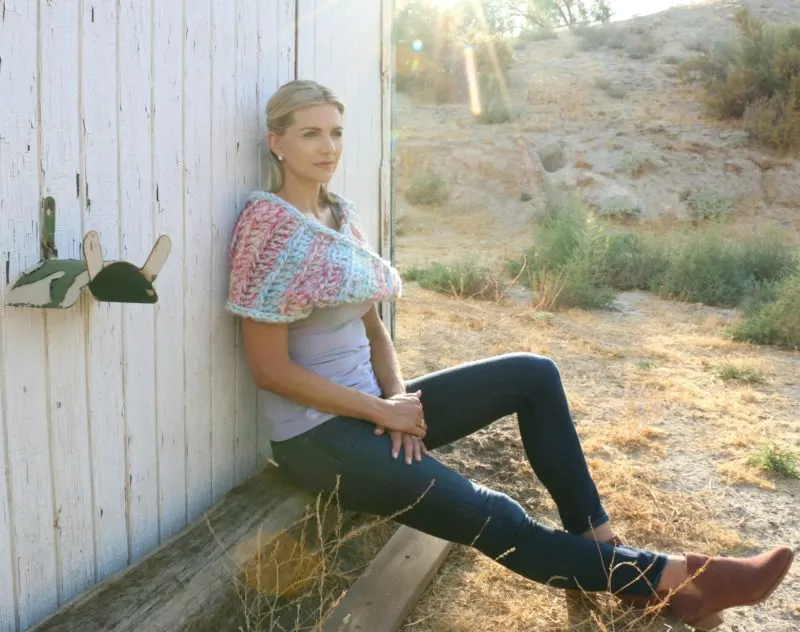
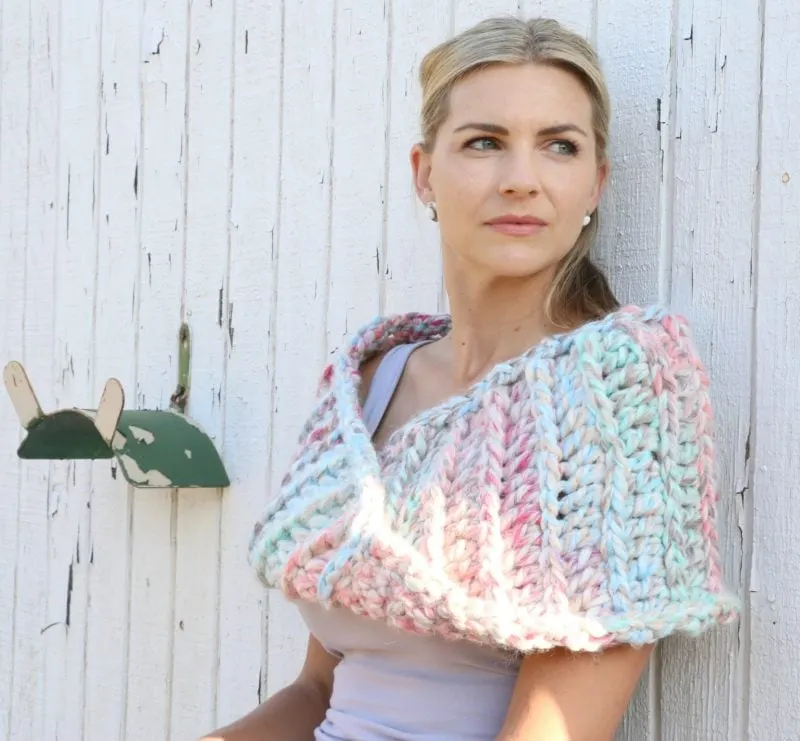
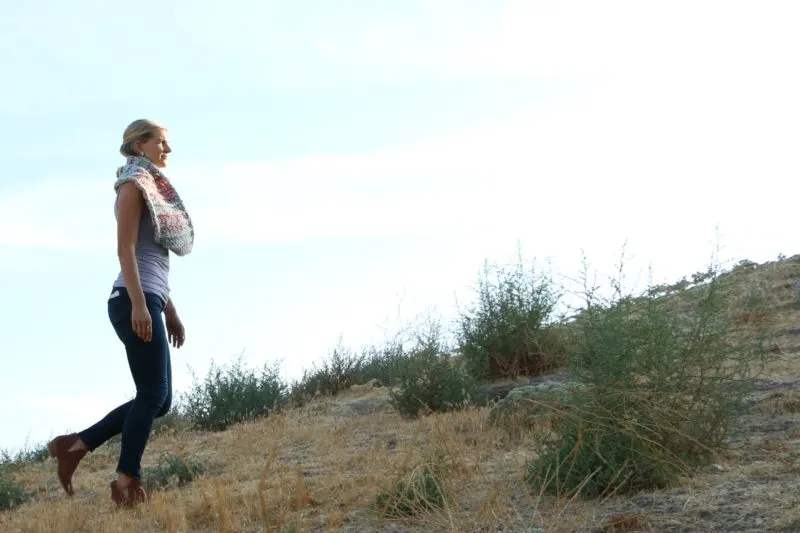
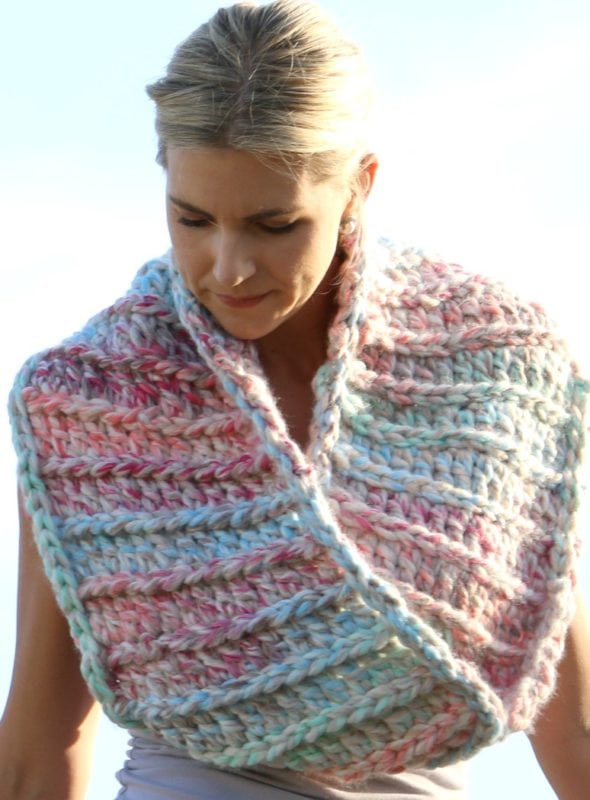
I’m so excited about this project, I love how it turned out and I think you will love it too! Take a look at the Aloha Ridge Scarf, a beginner crochet scarf that is super quick to make! Leave a comment and let me know what you think?! I love hearing your feedback.

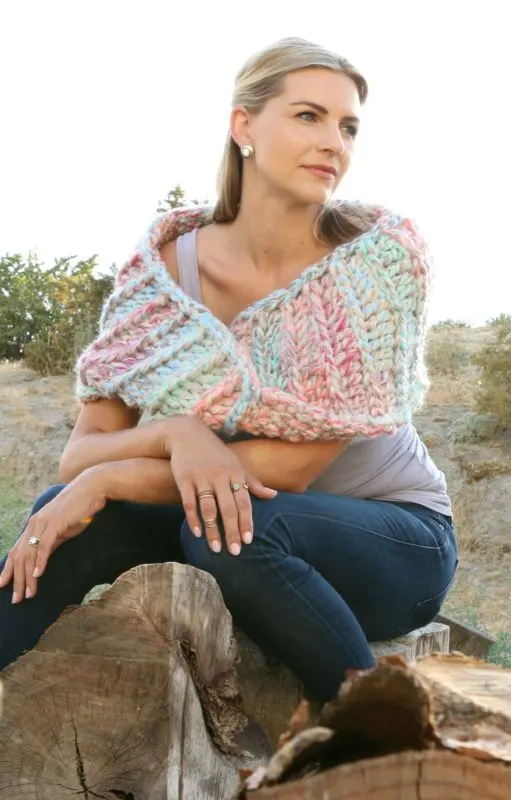
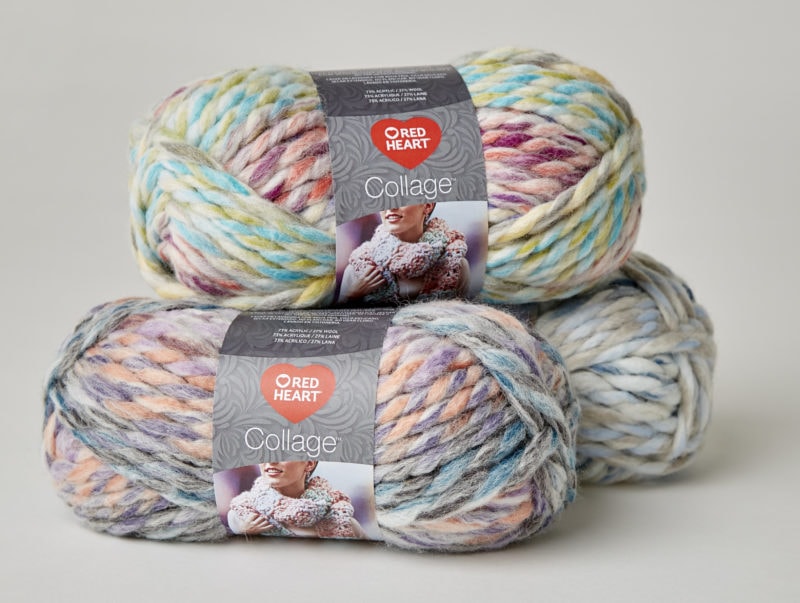
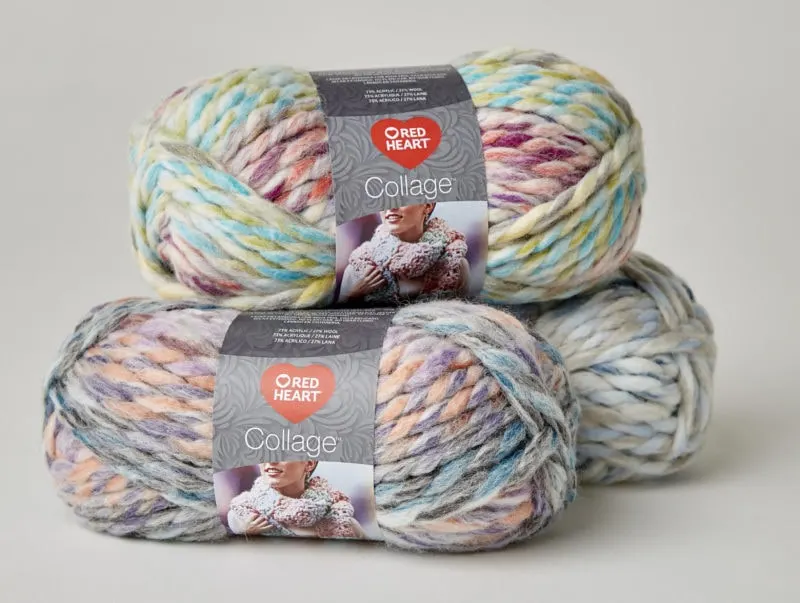
I used the Red Heart Collage Yarn, which is a bulky size 7. You all know how much I love using thick, beautiful yarn and a simple style to make a statement and keep it easy. This yarn has that high end, yarn dyed look which I am swooning over and it has a nice feel to it. Being that it’s wool and acrylic, it will keep you warm as we transition to the cooler months but still be soft and easy to wear.
 Materials:
4 balls of Red Heart Collage Yarn (I used the color Dollhouse) Find this yarn at redheart.com and at your local Joann Fabric’s or Walmart.
Susan Bates Q Hook or 16 mm
Yarn needle or Tapestry needle to weave in ends

 Instructions for the Aloha Ridge Beginner Crochet Scarf
Chain 18
Yarn over and insert hook in 4th chain from hook. DC in each chain all the way down.
ch 1, turn and slip stitch in each stitch all the way down.
chain 3, turn and insert hook into the next stitch over since the ch 3 counts as a dc.
Repeat rows until you have reached approx 45 inches. Try it on and make sure it fits you, take out or add some more rows as needed.

 Create the Border
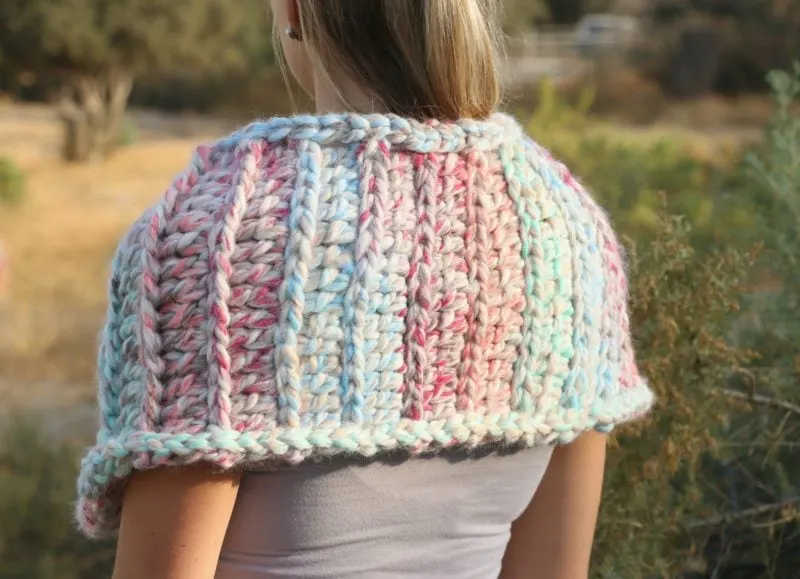
Once you know that it is the correct size, create a slip stitch border around both long sides and 1 short side of the scarf on the “right side.” The right side has the ridges. Fasten off and weave in all the ends.
 Attach the Ends
With the right side of the scarf facing up determine which will be the top and bottom of the scarf. Take the bottom edge of the side that you did not add the border and twist the end keeping the short ends lined up.
Then take the “wrong side” of the part you twisted and the right side of the end that is straight and clip them together.
Cut a piece of yarn and yarn needle and sew the ends together weaving in the tails.
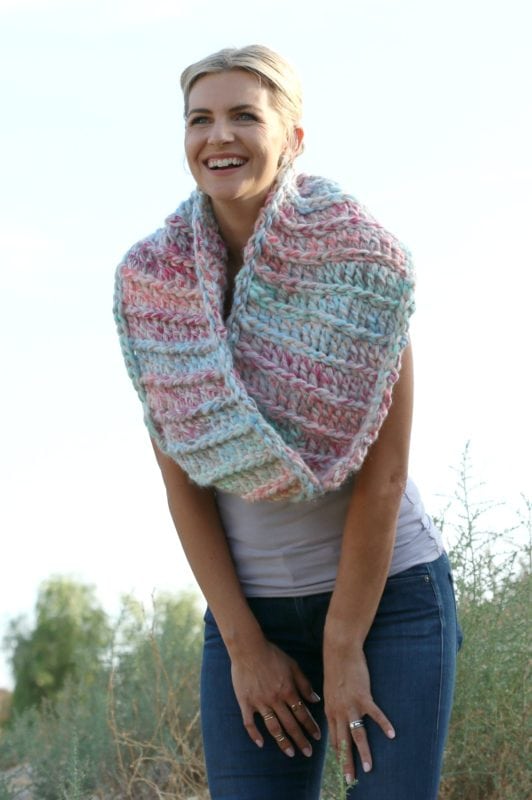

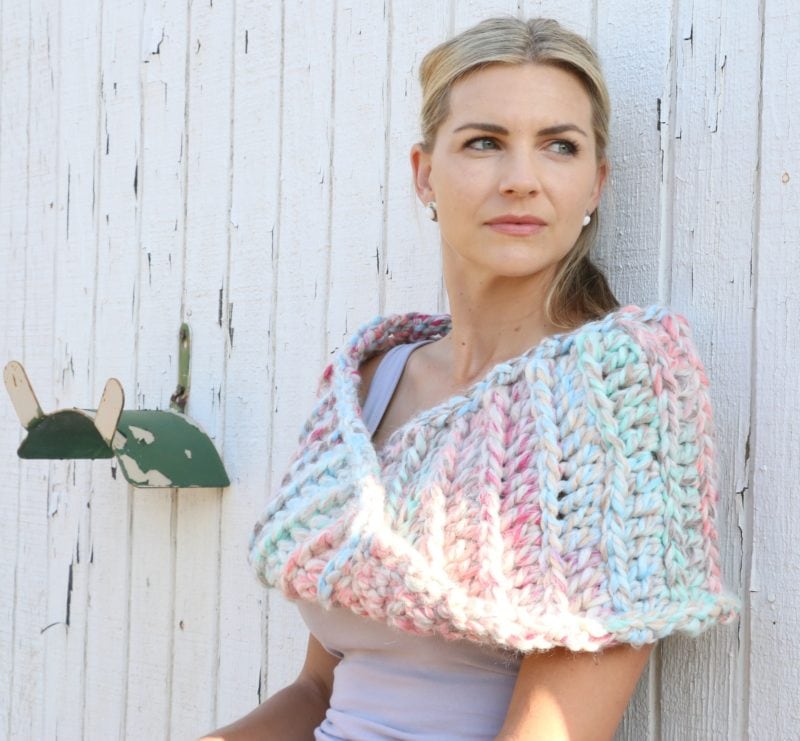
Arrange this beginner crochet scarf so that the seam is hidden in the fold. Scarf can be work lower across the shoulders or higher up on the neck. Enjoy!

If you make a scarf, be sure to tag me on social media so that I can see it! I’d love to see your variations and how you style it 😉 If you want to make a simple headband to match, here’s a good one!

Here is the full video tutorial 😉 Click HERE if you can’t see the video.
Kay BussjaegEr
Friday 29th of September 2017
Melanie Absolutely love this pattern and want yo make it. I have some red heart unforgettable yarn in my stash and wondered if I could use two or three strands of it together to make this beautiful scarf and get same shrug fit. If so how many skeins would I need.? I always enjoy your newsletter I really hope you can let me know kaybussjaeger@gmail.com
Deborah Poole
Thursday 28th of September 2017
Oh my Melanie, I hope you can delete those first few comments! Yikes! 😨 I love this scarf, it reminds me of the shrug worn by the main character, Claire, on Outlander.
PHYLLIS
Friday 22nd of September 2017
Beautiful scarf , love the video looks easy can't wait to get some yarn and try it , thanks Melanie