


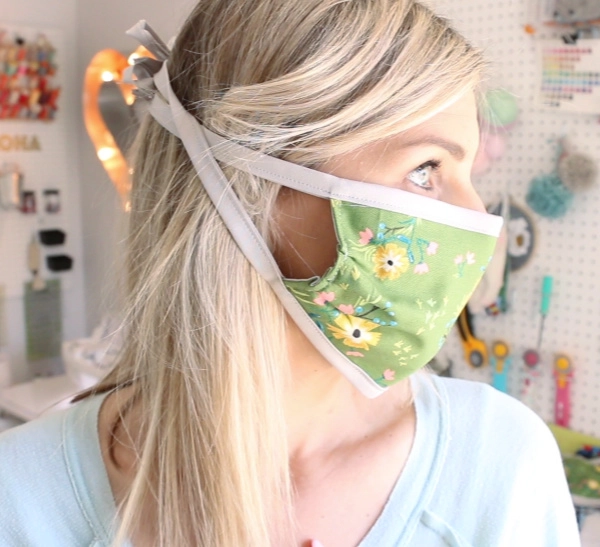
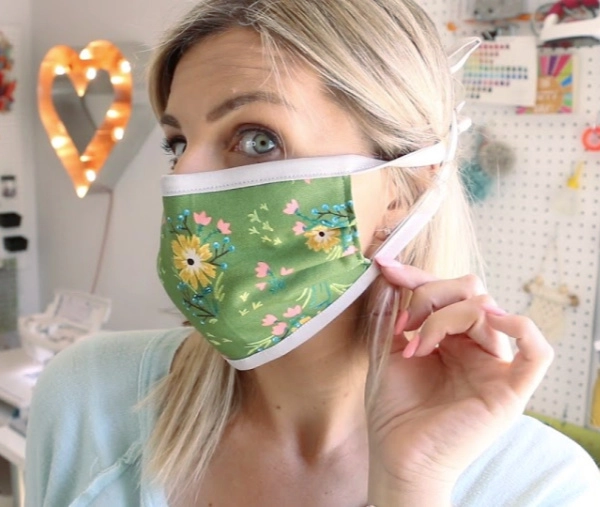
Hey everyone! Yesterday, I posted the 10 minute homemade face mask tutorial and it featured elastic. I know that elastic is hard to find right now, so I made a diy face mask version with ties, a fitted nose and a filter pocket.
DIY Face Mask with Ties
I am using high quality 100% cotton for these. There is so many ideas and opinions spinning around about what fabric is best so I encourage you to do some research. Some have recommended bed sheets or mens dress shirts, so there are other options out there if you don’t have this type of fabric.

Here is a link that has more info about materials to use. These will mostly keep your own germs to yourself and keep you from touching your nose and mouth while you are out.
What can you use for face mask filters?
There have been lots of great ideas like, swiffer cloths, blue shop towels, furnace filters, applying interfacing and HEPA vacuum bags. I have not tested all of these, but the main thing you want to make sure of is that it is still breathable. We want to use safe products that we can breathe through. After all, these are not mean to filter out the virus, they are meant to keep our germs to ourselves and keep us from touching our faces.
Here is a great link from the CDC, to give us some more info.
More Simple Sewing Tutorials
Want new projects straight to you inbox? Subscribe to my blog and get a weekly email with all the latest!
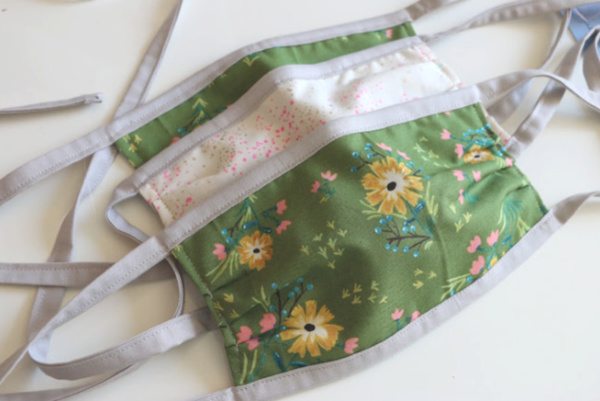
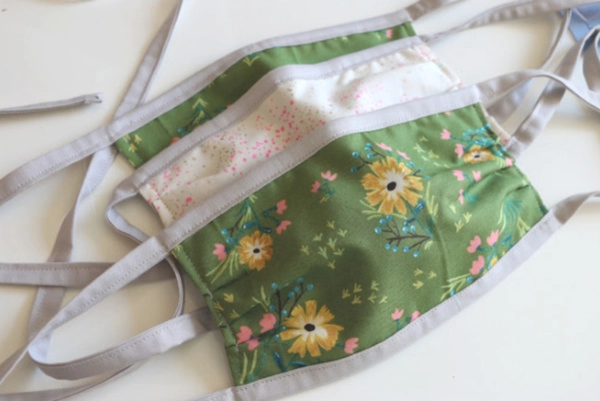
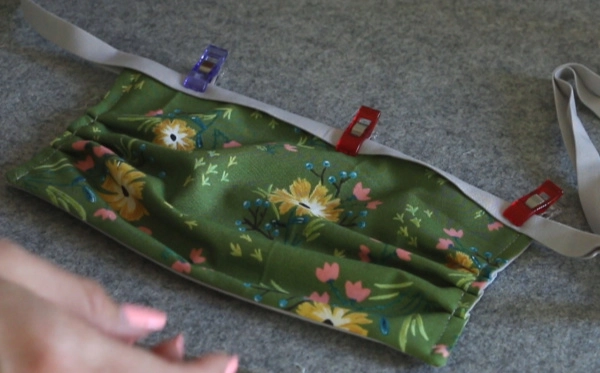
DIY Face Mask with Ties

This version of the diy face mask features a filter pocket, fitted nose and ties.
Materials
- (1) 9 x 6 fabric in Color A
- (2) 9 x 6 fabric in Color B (filter pocket)
- (2) strips of fabric 1 3/4 x 40 inches
- Coordinating polyester thread
- 4.5 inch pipe cleaner
Tools
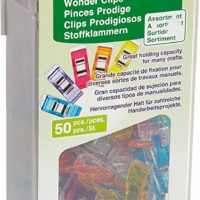
- clover clips
- seam ripper
- optional - bias tape maker
Instructions
- Place 2 fabric from color b right sides together. Make a 2.5 inch mark along the center on both short sides. Sew along the line back stitching well.
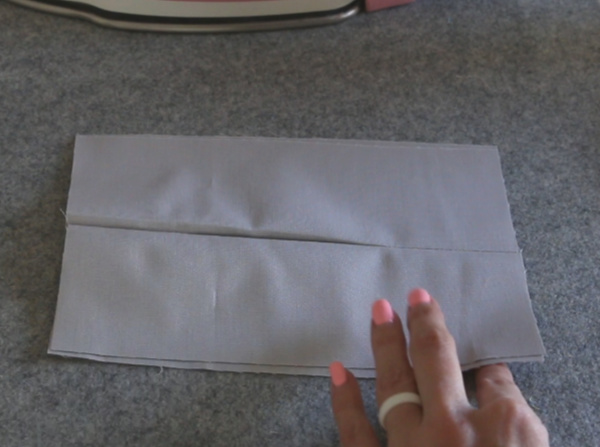
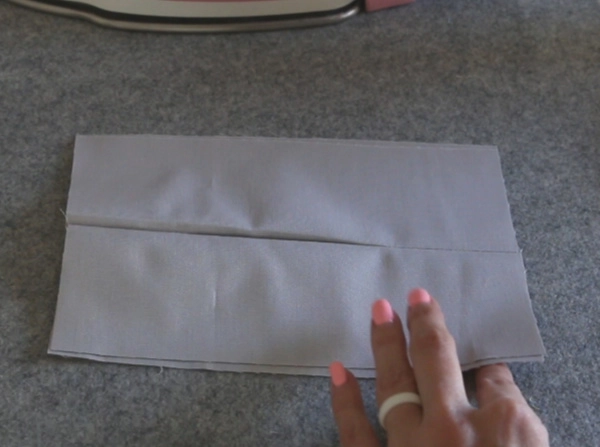
- Flip fabric right side out and press.
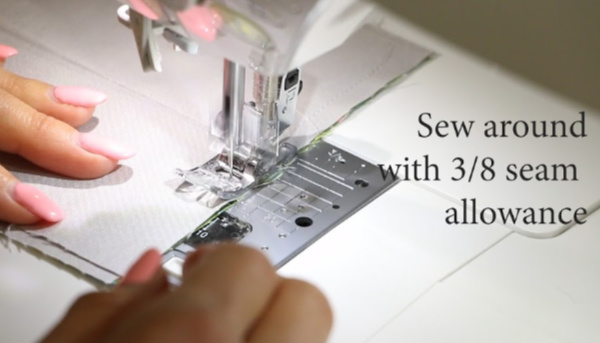
- Place the right side of color A fabric and the pocket unit and sew all the way around the rectangle.

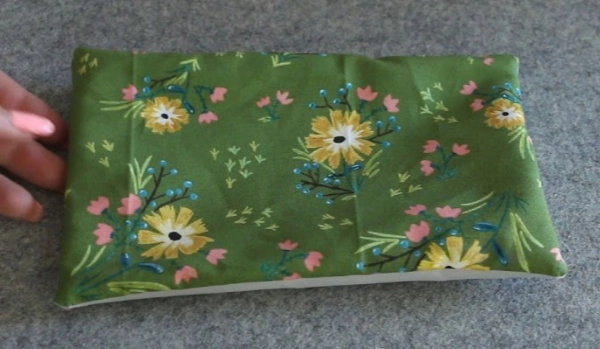
- Trim corners and flip unit right side out and press seam flat.

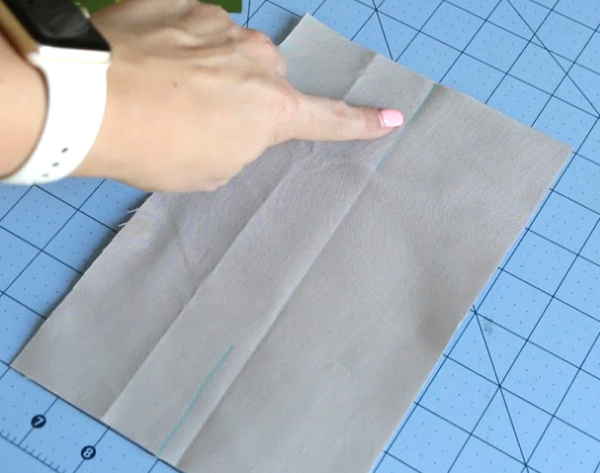
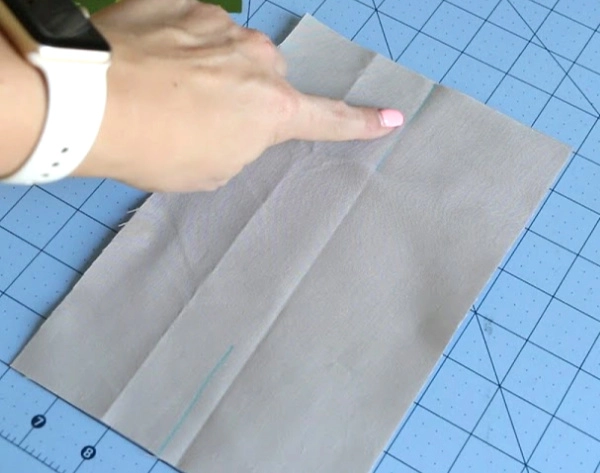
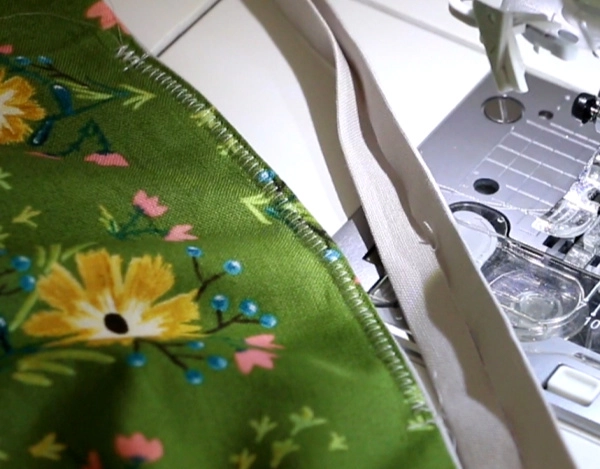
- Make 3 marks for pleats 1 inch apart. Make first mark in the center and measure out from there. Sew along the side folding at the marks and clipping in place or using seam ripper for making the pleat and sew down well. Back stitch over pleats. Do both short sides.


- At this point, if you are using a pipe cleaner, insert that at the top of the mask and zig zag over pipe cleaner really well.

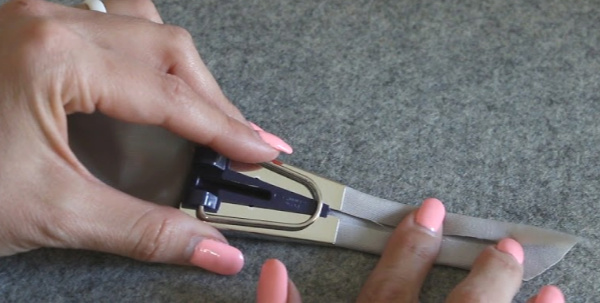
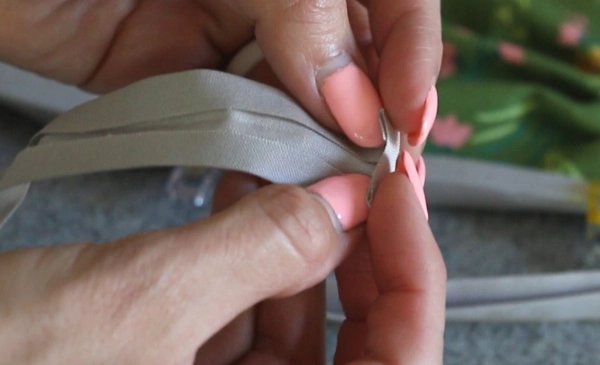
- Take your strips of fabric and use a 25 mm bias tape maker to press it. (if you don't have a bias tape maker, press in half to make crease and then fold edges toward center and press. The fold in half and press)

- Find center of tie and center of mask and clip the tie around the mask.

- Trim ends of tie and fold in to prepare to sew it.

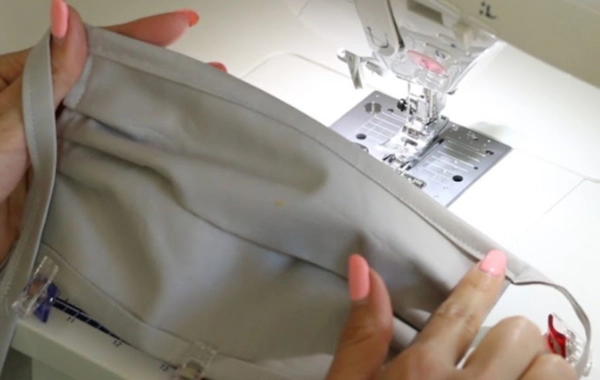
- Start from one end of the tie and sew down to the other end. When you get to the mask part, make sure your needle position is such that it catches the top and bottom of the ties.

Recommended Products
As an Amazon Associate and member of other affiliate programs, I earn from qualifying purchases.
Jean Treider
Thursday 23rd of April 2020
This is a great method. I need to make some for my 8 year old grandson. How would you alter the measurements for a child size mask? Thanks!
Marilyn
Saturday 18th of April 2020
Thanks for the idea of zigzagging over the pipe cleaner!! I made 28 with pockets for filter and pipe cleaner inserted on top-washed in hot water and the pipe cleaners pushed out of the sides or tore right through the fabric! So disappointed!! Pushed them all back in but think I will do the zig zagging before I give them away!!
Beverly
Friday 24th of April 2020
Because the pipe cleaner will rust when washed, I think it is a good idea to not zigzag but leave the little pocket open so the pipe cleaner can be removed before washing. Just my opinion - that's how I'm making them.
Steph
Saturday 18th of April 2020
This is my favorite face mask tutorial. Thank you for your help. I’m new to sewing and I wanted to ask you what length and width of your zigzag stitch is when you sew over the pipe cleaner. I’m have the same issue with mine poking through.
My Favorite Health
Monday 13th of April 2020
Really amazing ideas and useful. Thanks for sharing
Olivia emily
Monday 13th of April 2020
Hi, Really Useful ideas am very thankful for sharing.