

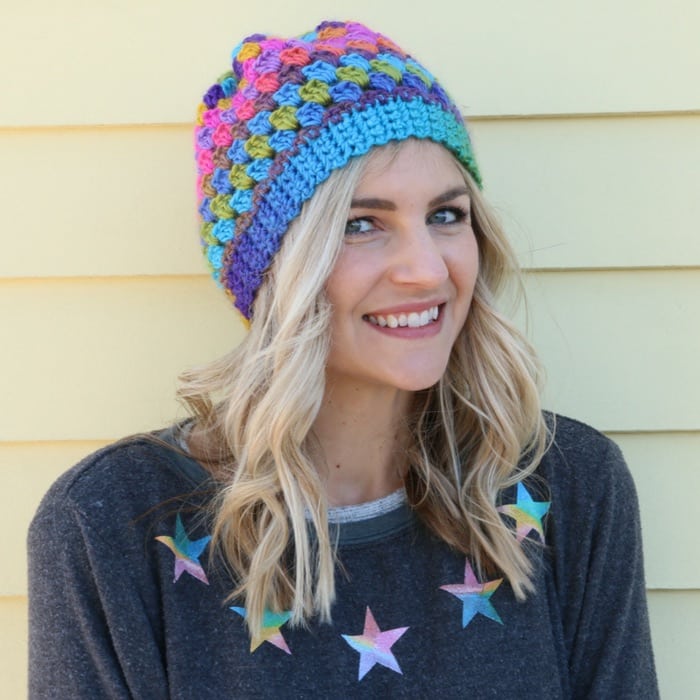
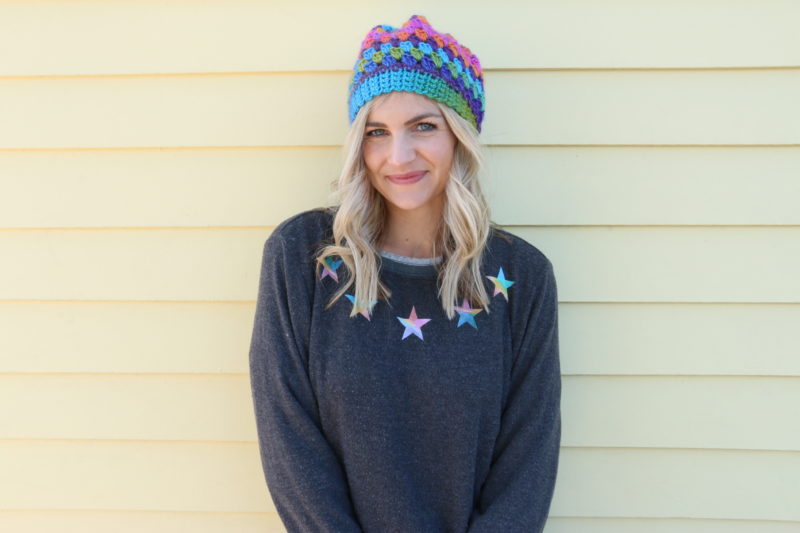
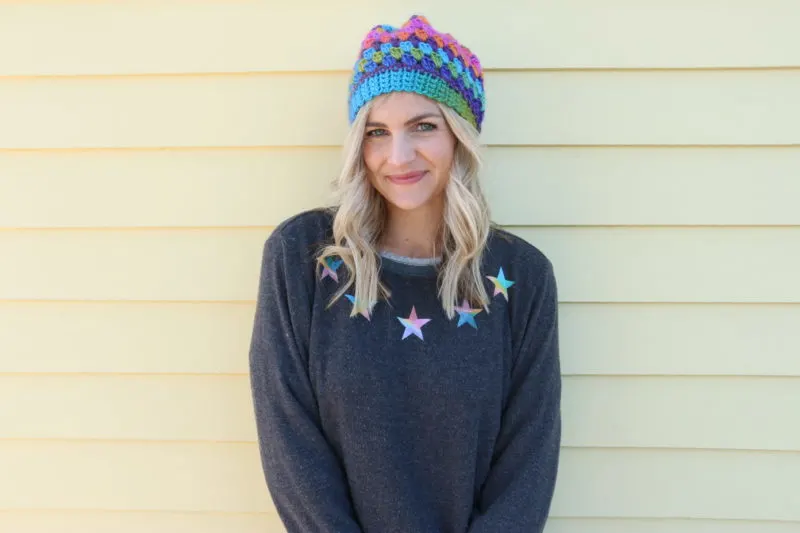
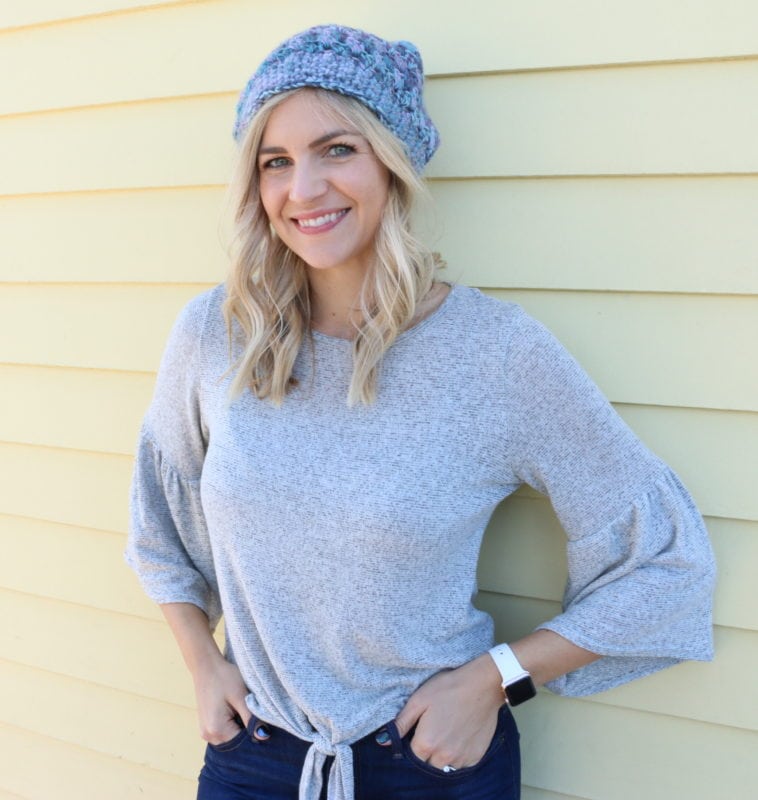
A new crochet beanie pattern! Yay! This is another beginner friendly one and this time with the granny clusters cause they are just so cute! This can be used with lots of different types of yarn!

Video Tutorial
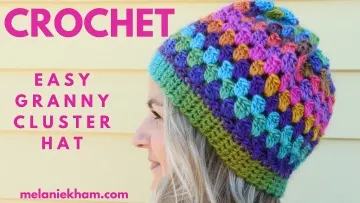
Rainbow Granny Cluster Crochet Beanie
-1 ball (2 if you want to add a pom pom). I used the color boardwalk
-I used a K hook which is what is recommended on the package.
-yarn needle for weaving in ends and scissors to cut yarn
Instructions
Create Band
start with a slip knot, and ch 5
In the 2nd chain from hook, place a single crochet (sc)
sc in each ch going down the foundation chain (total of 4 sc stitches)
*you may make the band wider if you like.
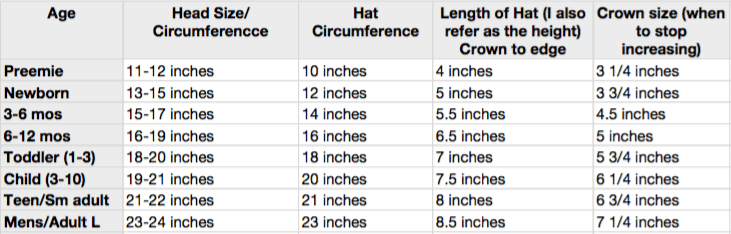
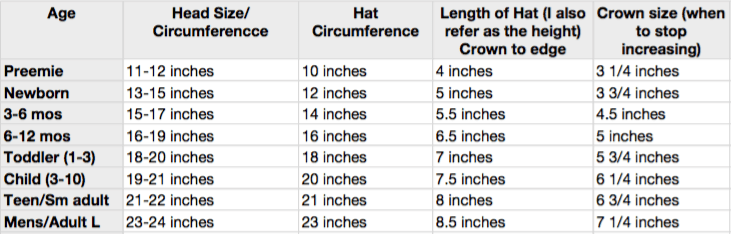
Continue making the band until you reach the right circumference, mine was 21 inches. See chart above for other sizes.
Without twisting the band, attach the ends with a slip stitch.
The Body of the Crochet Beanie
Place a single crochet along the side of the band you just created. Make sure you insert your hook under 2 strands. Be careful that there is 1 sc at the end of each sc row you make for the band, the sc should not flare out when you complete them. See video for more details if that’s confusing.
slip stitch finish round of sc stitches.
chain 3 and place 2 dc stitches in the same stitch that the ch 3 came out of.
Skip 2 sc stitches and place a 3dc cluster (3 double crochet stitches in the same space). repeat cluster stitches with 2 sc in between each cluster.
Finish the round and slip stitch to the top of the initial ch 3.
ch 3 and place 2dc in the space behind the chain 3. (Don’t worry, the initial ch 3 will scoot over and won’t be noticeable).
Place a 3dc cluster in each space (the space in between the clusters from the previous round) all the way around. slip stitch at beginning and repeat until desired size. I did 12 total rounds of cluster stitches.
Finish it Up
Once you have finished the rounds of clusters to you desired size, place a sc in each stitch all the way around. This will help us cinch up the top.
Trim your thread and fasten off leaving at least a 10-12 inch tail.
Thread a yarn needle with the tail and weave the needle in and out of the sc stitches. Once you are all the way around, gently pull to cinch up the top of the hat. Keep the yarn needle threaded and weave in the ends or finish sewing up the hole.
Make and attach a pom pom if desired.
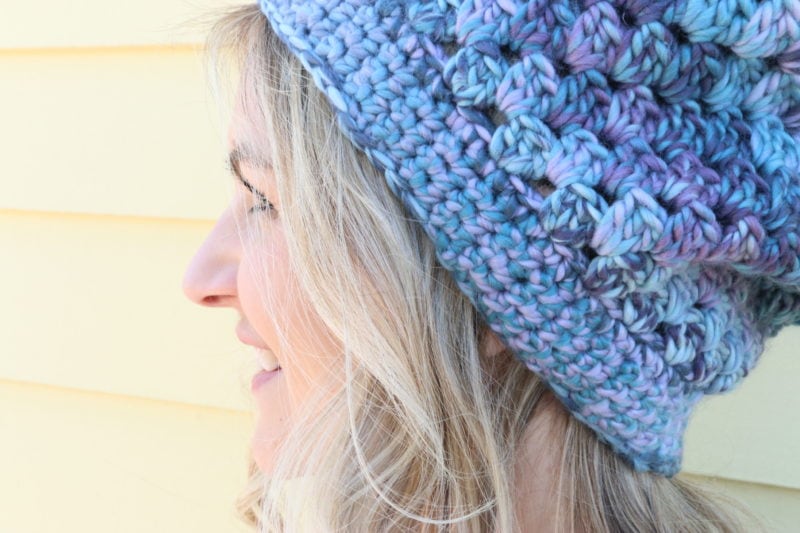
Modifications made for the Purple Pom Crochet Beanie version
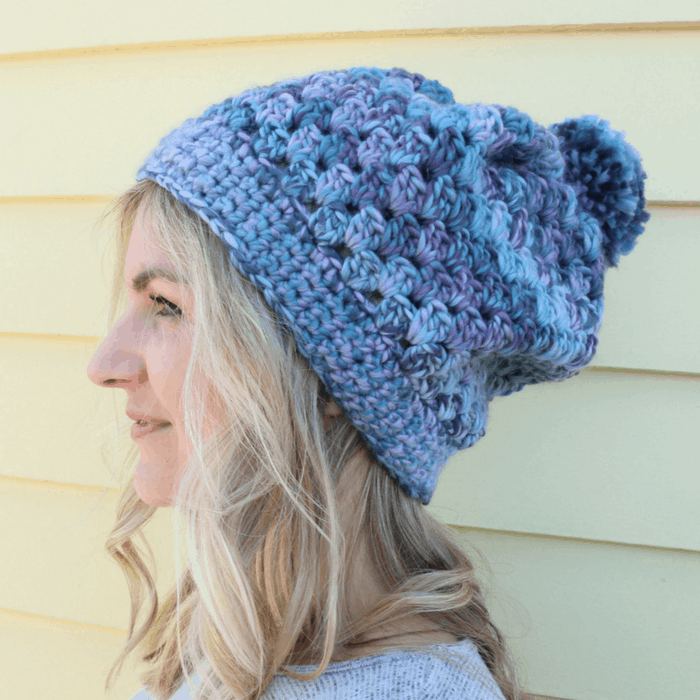

2 skeins of Yarn bee Wildstreak in Teal/Purple from Hobby Lobby. HERE’s a link.
I used the package recommended hook (I almost always do).
This hat has 14 rounds of clusters.
I made a pom pom using the green Clover Pom Pom Maker.
I also added a slip stitch to the base of the band of the hat since I had plenty of yarn left and wanted a little more finished look.


Modifications for the Navy Blue Faux Fur Pom

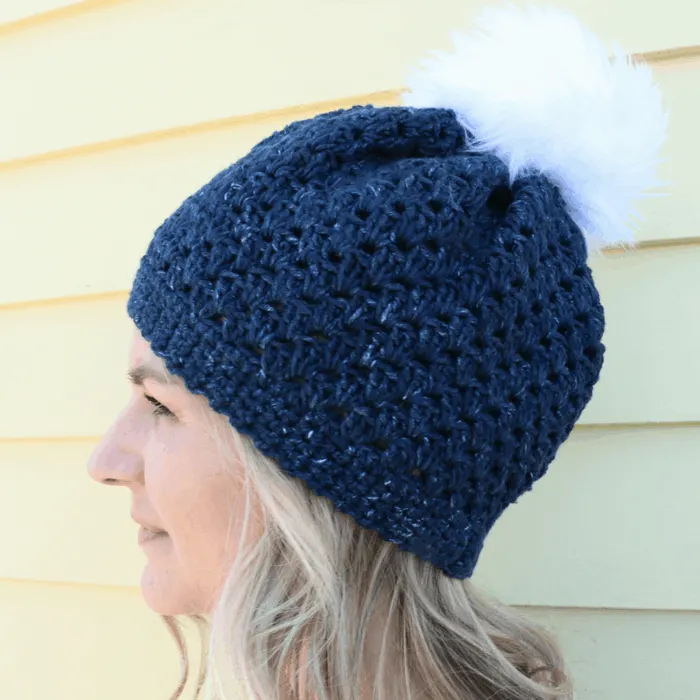
Faux Fur Pom Tutorial coming this weekend!
I used 3 balls of DMC denim in Indigo
This is a thinner yarn than the previous 2 hats, more of a worsted weight and this is cotton yarn. I did 17 rounds of cluster stitches.
A great ergonomic hook set
What do you think of this tutorial! I am so happy to share it with you. Happy stitching! Like this style of beanie? Here’s another GREAT One!
Patti
Monday 19th of March 2018
I live the Boardwalk yarn so I bought it and am on row 3! Love it!!!!! Thanks!!!!
Cristy
Monday 19th of March 2018
I made one!!!Great hat
Donna BRyAn
Monday 19th of March 2018
You have such a Wow factor in all of your projects! I cannot wait to try this one.
Donna Bryan
Joanne
Sunday 18th of March 2018
I love this hat and tutorial , I just finished a hat in chunky yarn, going to start one now using the Lion Brand yarn, so pretty ! Thanks ! Joanne
Liz
Saturday 17th of March 2018
Really cute!
Melanie
Saturday 17th of March 2018
Thank you!