
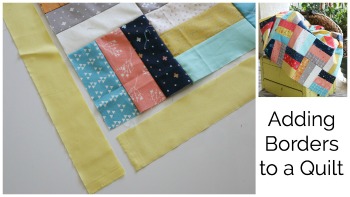

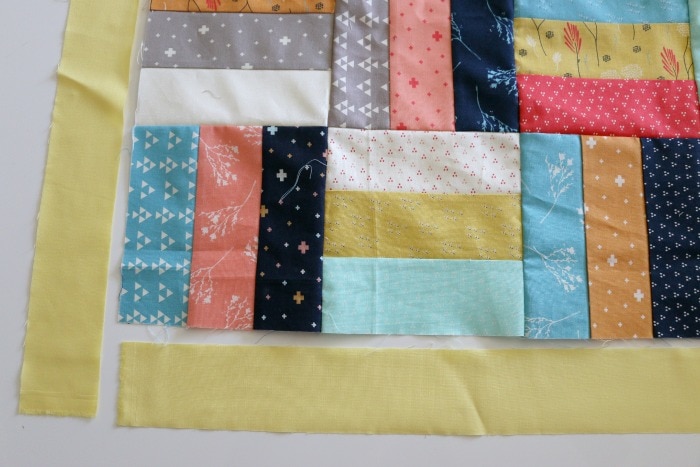
Today I want to share with you the proper way to add borders to your quilt top! These tips and techniques are going to be key if you ever wanted to send your quilt to a longarmer – because this insures that your quilt is square. If I am going to be quilting it myself, I sometimes cut some corners and don’t do ALL of these steps, but I do want to make sure you know what they are and how to do them whenever you might need to. This works no matter how large your quilt is or how wide the border is ;).
This actual video is from my premium course site www.melaniesmakers.com – I included it as a bonus for some of my mini courses and smaller quilt projects, but since my kids are on spring break and I wanted a lighter work week I decided to make it available for free instead of creating a whole new video – works out for all of us!
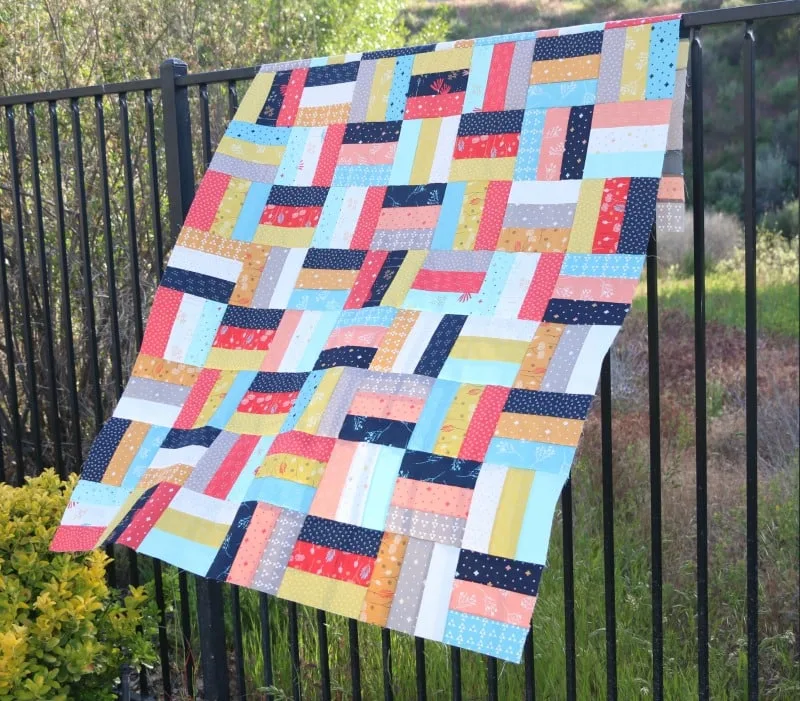
I think adding a border to this Jelly Roll Rail Fence quilt would be stunning! This quilt is one of my mini courses, you can learn more about it here – very affordable and beginner friendly!

I know many of you will have lots of projects to utilize these tips, so here is the full video tutorial!
Katy Faircloth
Saturday 22nd of April 2017
Hey Melanie! Can you explain 6:02 more. How do you "ease extra into the stitch?" I have run into this issue many times but it usually gets wrinkled.
Melanie
Monday 24th of April 2017
Ideally in quilting you won't have a ton to try and ease in... the best way is to put the larger side of the seam on the bottom (on top of the feed dogs). The feed dogs pull the fabric through a little more than the top of the seam so that helps. Lots of pins and slightly stretching the smaller fabric to get it to match up. Again, you want to be careful with distortion, hopefully there isn't too big if a discrepancy ;)