
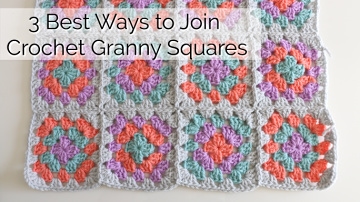

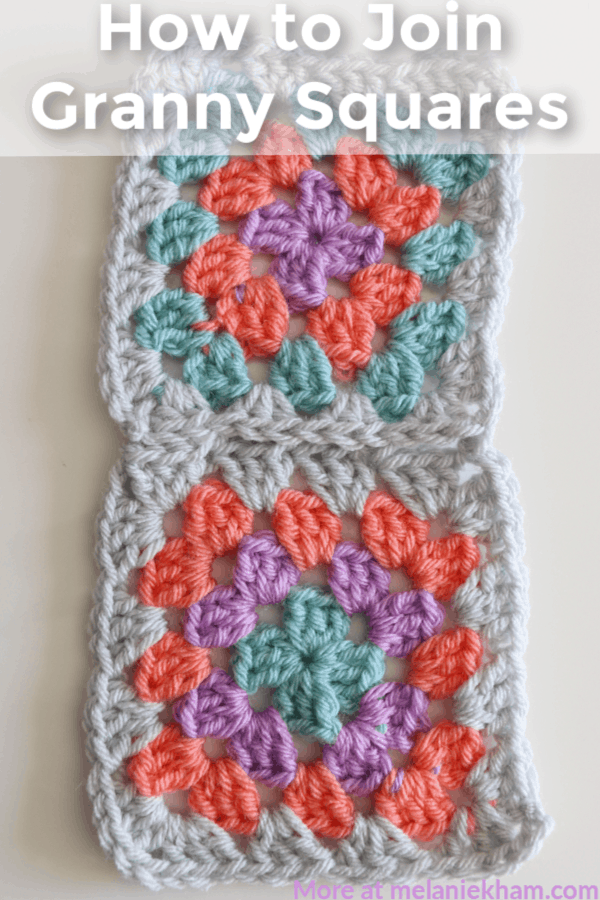
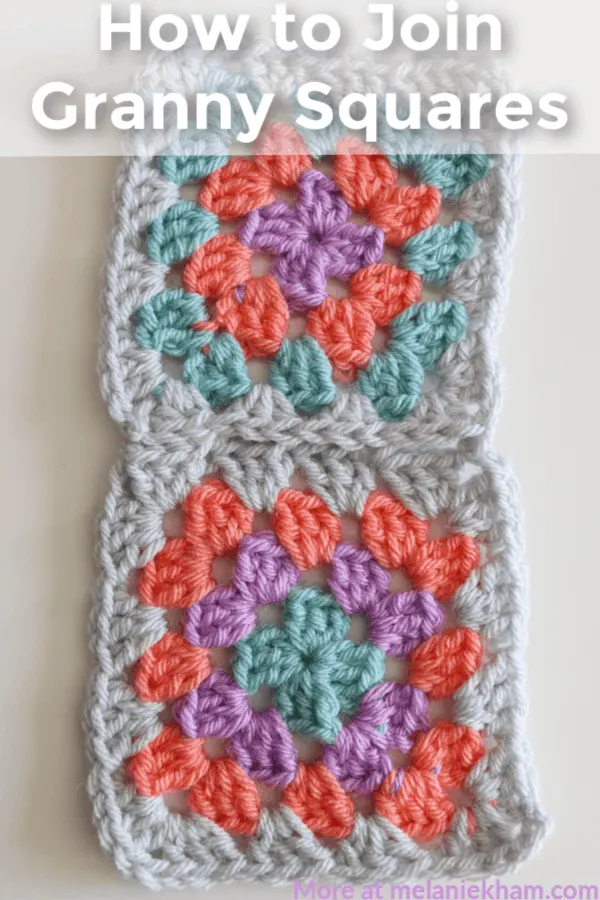
Hey there! I’m super excited to share with you how to join crochet granny squares! This is a highly requested tutorial, so I decided to share and teach the 3 best ways (in my humble opinion). These methods can be used for any granny square pattern. In the video I discuss the pros and cons of each method.
Option 1: Yarn needle and whipstitch
The first way that I recommend is the use some spare yarn and a yarn needle and sew them together using a simple stitch.
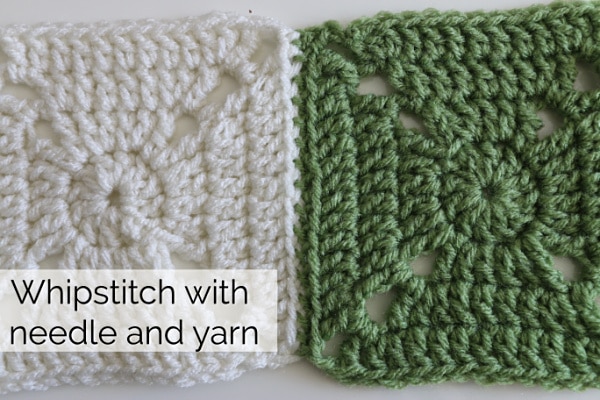
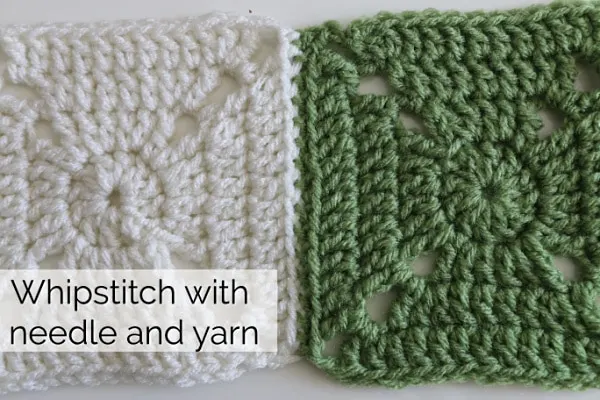
Place the granny squares right sides together.
Thread the yarn needle with some spare, coordinating yarn.
Pull yarn through and tie in a knot. Insert the yarn needle under the outer loop of the top of the stitch on both granny squares. Bring around and insert again all the way down the square. Create the row first and then sew rows together.
Option 2: Slip Stitch with crochet hook
This is another way I like to join squares. I really like the way it makes the front of the squares look.
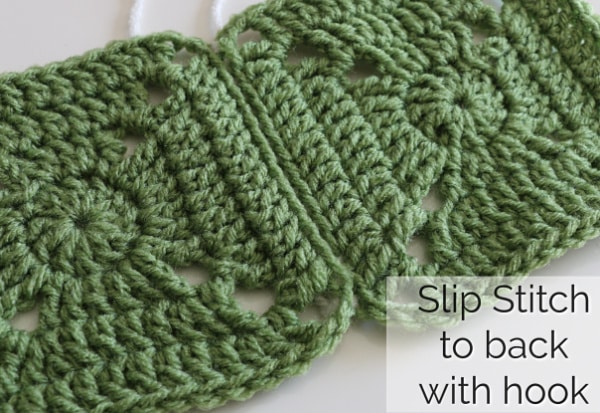

Attach spare piece of yarn with a knot in the top of the stitch on one corner with squares right sides together.
Insert hook under the knot, yarn over and pull through. Chain 1.
Insert the hook in the next stitch, grab the spare yarn and pull through the 2 squares and then pull through the loop on the hook (slip stitch) and repeat.
Make each row and then sew rows together.
Option 3: Join as you go
This method is great and definitely one that you should know. I think it is the most secure of all of the options and the quickest with less ends to weave in. That being said, it doesn’t look as good when the outer round of the granny square are contrasting colors.

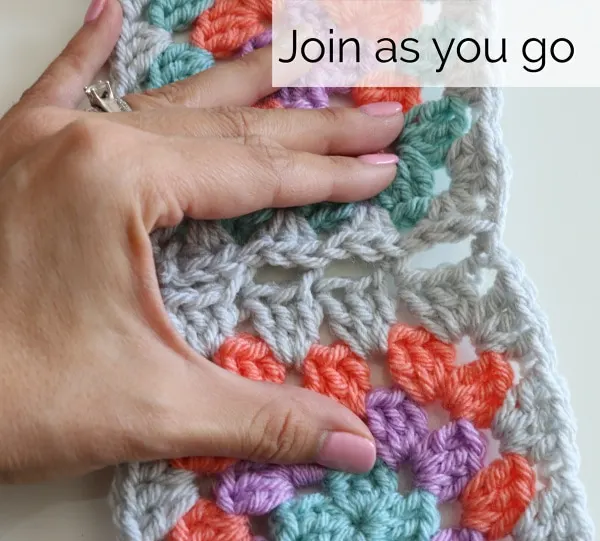
Start with 1 granny square complete.
Begin the last round of the granny square you want to attach. On the last “pull through” of the last dc of the cluster, insert your hook to the same spot on the finished granny square. Grab the yarn and pull all the way through the squares and the last stitch.
Continue in this manner for a traditional granny square or every 3 or so stitches on a different pattern.
Here is the YouTube video for more details and instructions.
Need some granny square patterns? Try this sunflower granny square, simple granny square, sunburst granny square, and one color granny square.
Charlotte Kidwell
Friday 5th of October 2018
Hi Melanie... Thanks for the tutorial. I like the second and third ways of joining the granny squares best. I just need to actually work with the third method to really get a handle on it. I've watched other videos showing it but haven't tried it yet. Your tutorials are great!
Heather
Friday 28th of September 2018
Thank you for all your Inspiration and tutorials. I like #1 best but they all look good. I guess it would just depend on which look you are going for. 😊
Marilena garcia
Friday 28th of September 2018
I like the third one!
Sandy delin
Friday 28th of September 2018
Thanks for another great tutorial. I like the second option for joining the squares together