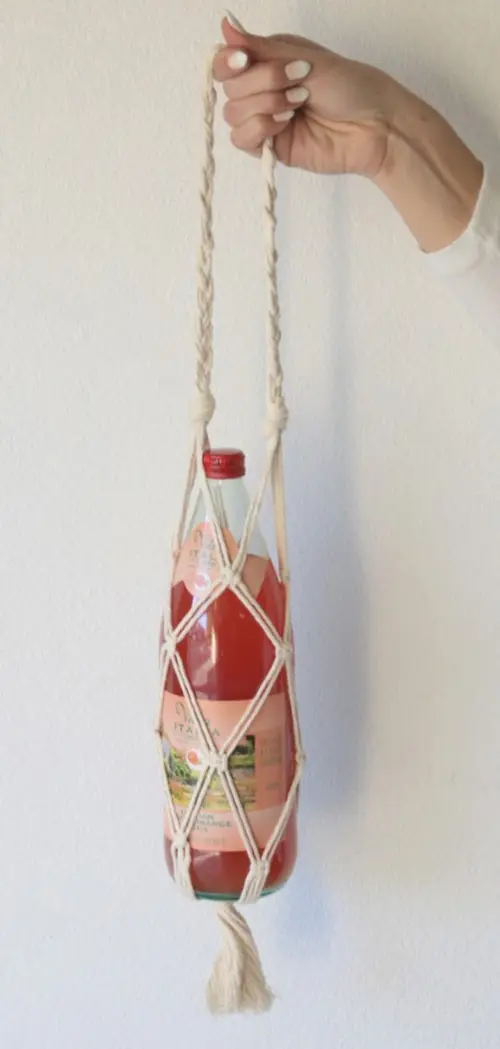
Last week I asked on my Instagram what types of projects you’d like to see and I got a lot of requests for how to macramé videos! So, here is the first in some new macramé videos coming out in the coming month – a macramé wine holder! Of course, you don’t have to use it for wine. Italian soda, sparkling cider or a water bottle is great too!
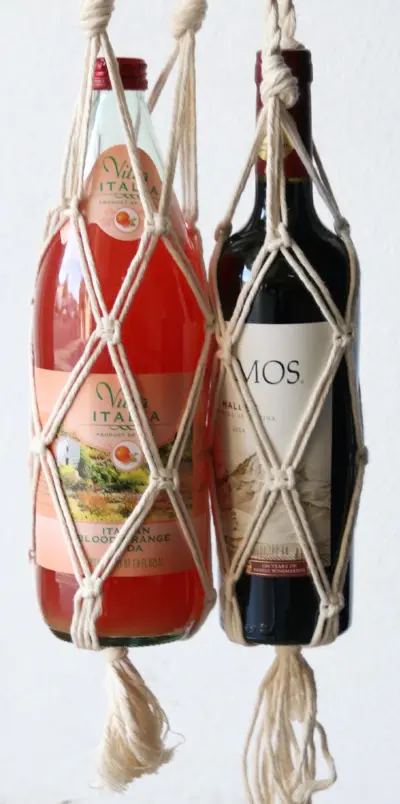
I wanted to make this macramé tutorial great for beginners or those who have never made any macramé projects. This is also really quick! The next time you need to give some wine as a gift, here is how to macramé this wine holder!
Macramé Supplies
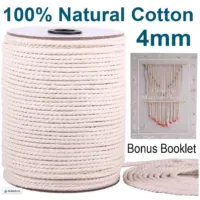
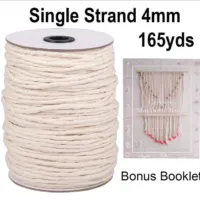
I know you’re wondering what sort of rope to use for your macramé projects! I like using the single strand type of rope but the twisted rope look is great too! Amazon has been the best prices I have seen on rope.
Here is a post I created all about different macrame cord and supplies!
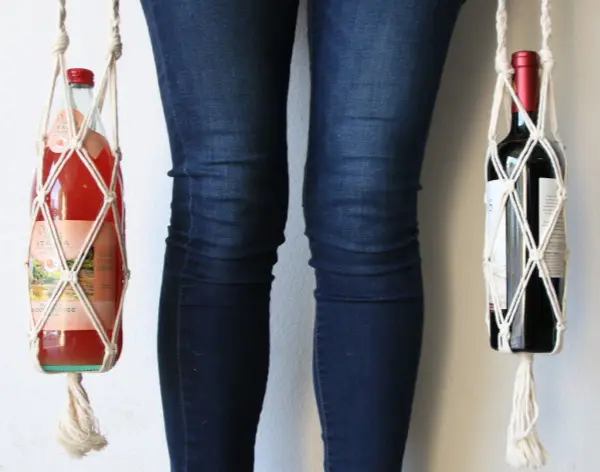
That’s all you need! I love that this is so simple, quick and inexpensive.
I really like macramé because it was fairly easy for me to catch onto. If you are a crocheter especially, you are used to tying yarn into knots – I think this will be simple for you to pic it up.
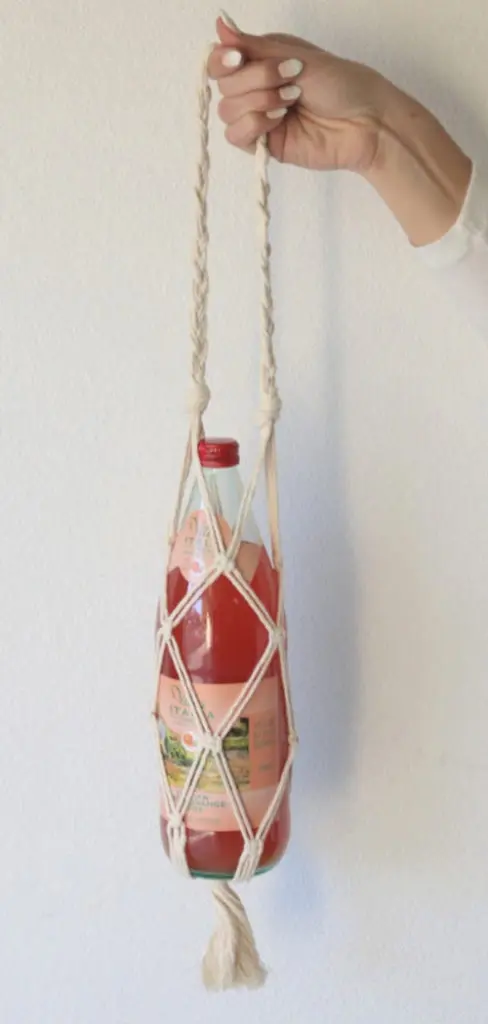
I also love macramé because just like crochet, you need very few materials to get started and create something really cool. I hope you enjoy this project on how to macramé as much as I liked making it for you!
How to Macramé a Wine Holder
How to Macrame a Wine Bottle Holder
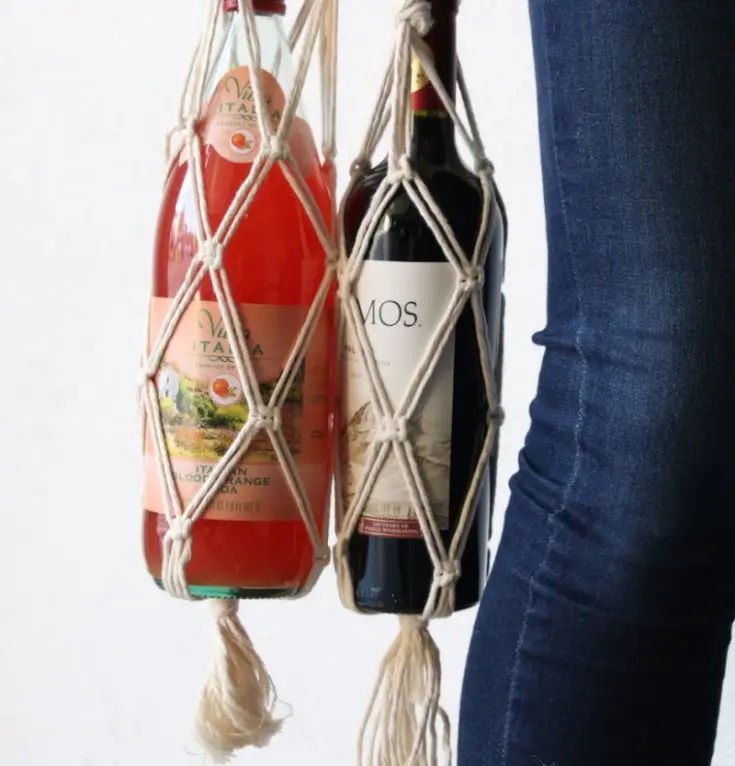
Learn how to make this macrame wine holder! Of course, it is also great for sparkling cider, Italian soda, water bottle or any other types of bottles that are similar shape and size to a wine bottle. One time through of watching the video and following along might take you a bit more time, but once you've got it, you can make these in 15 minutes, tops!
Materials
- 8 strands of macrame cord (3 arms length each)
Tools
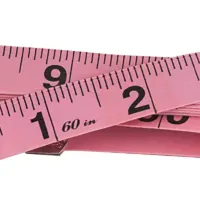
- Tape measure
Instructions
- Prepare a space to hang your macrame cord from. A peg board, door knob or cabinet pull works well.
- Hold the cord in the center of your body and measure 3 arms length. that is the length of 1 strand. You need 8 of these.
- Line up the ends of the strands as best you can to discover the center of your strands.
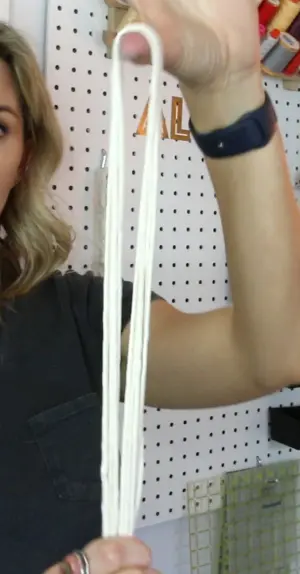
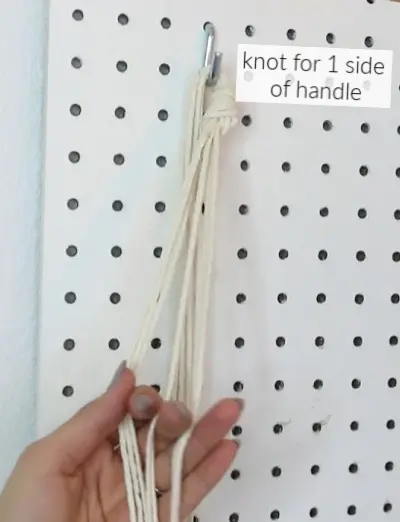
- Measure down approx 8-10 inches and make a knot.
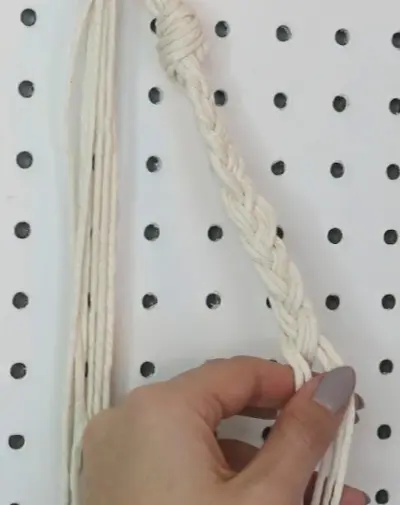
- Split the 8 strands of cord into 3, 3, and 2 and braid them to create the handle. Once your handle size is finished (14-18 inches) tie the other end in a knot.
- Now you can hook your handle over your prepared space to create the body of the holder.
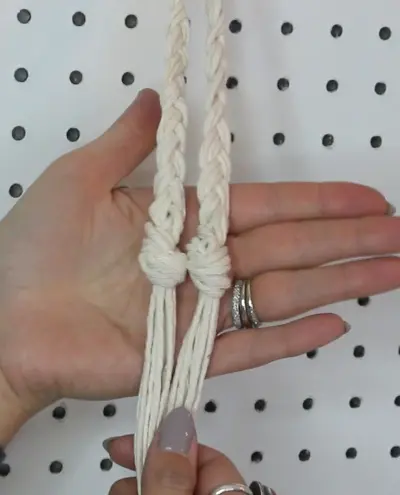
- Take the 2 center strands, measure 3 inches down and create a square knot.
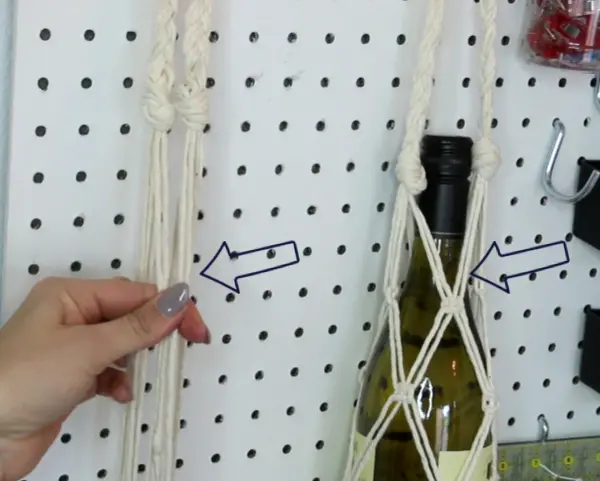

- Flip the handle over and do the same thing to the other center strands. Make sure the knots are at the same length.
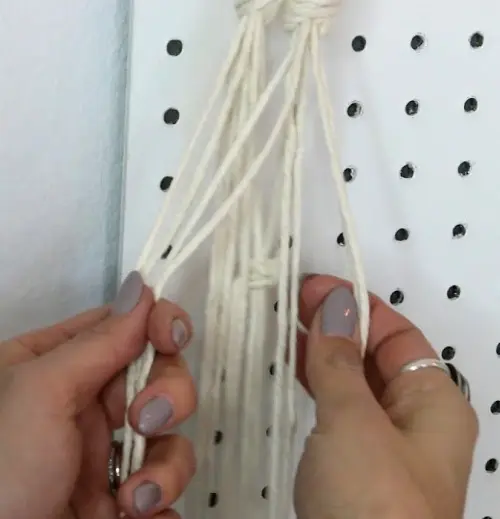
- Once the front and back square knots are complete, make a square knot in each of the remaining 4 strands on each side. Make sure all of the square knots line up, approx 3 inches from the bottom of the handle.
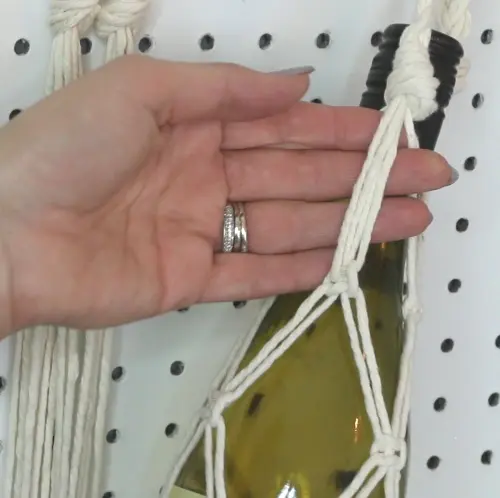
- Once you have made the first 4 square knots, then you will take two strands from one and 2 from the adjacent knot to create another alternating square knot that is 2.5 inches down. Repeat until you have 4 passes or rounds of knots.
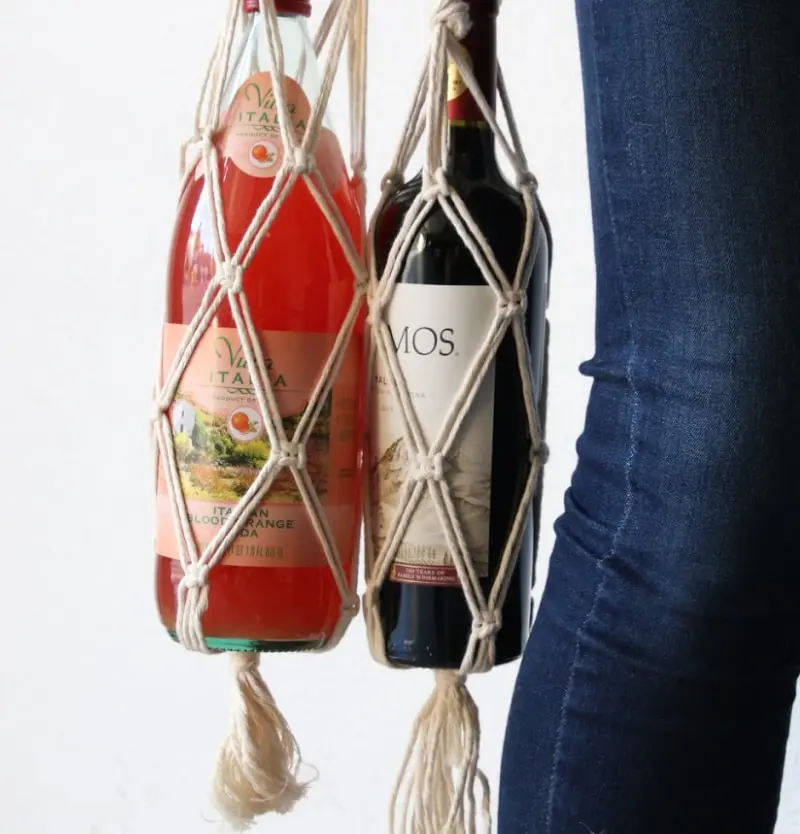
- After your 4 passes of knots, create a gathering knot or standard knot like the handles to close up the bottom.
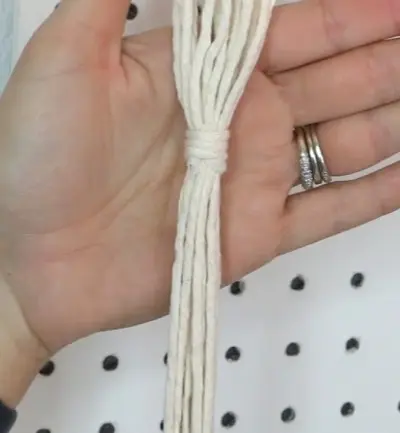
- Cut the tail the length that is desired and brush out to fray it or leave it.
Notes
To measure arms length I hold the cord in the center of my body and extend my arm to measure 1 arms length.
Recommended Products
As an Amazon Associate and member of other affiliate programs, I earn from qualifying purchases.
Looking for how to make a macramé keychain tutorial? Here’s a good one!
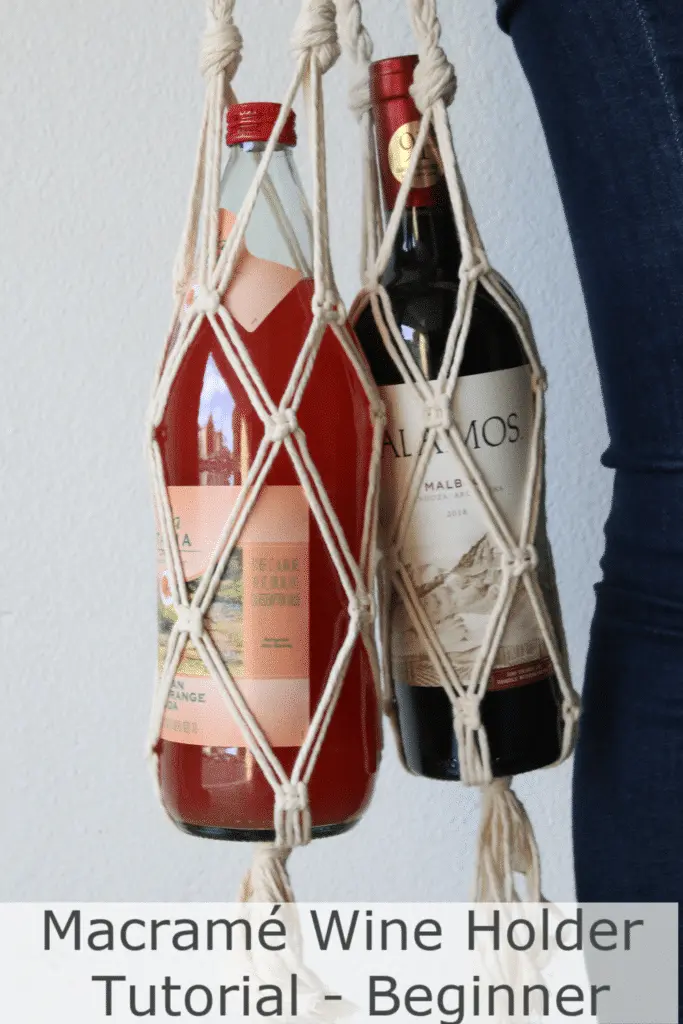
Need an image to save to your Pinterest? Here’s a good one!

Joanne Theis
Friday 31st of January 2020
I love this tutorial. My kids would love one especially with a bottle of wine. Currently finishing several aprons and ear warmers then on to the Macrame Wine Holder.