
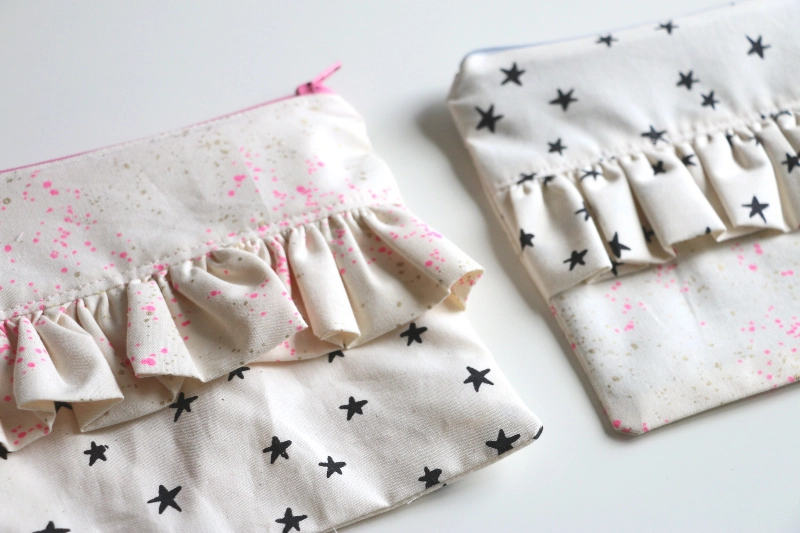
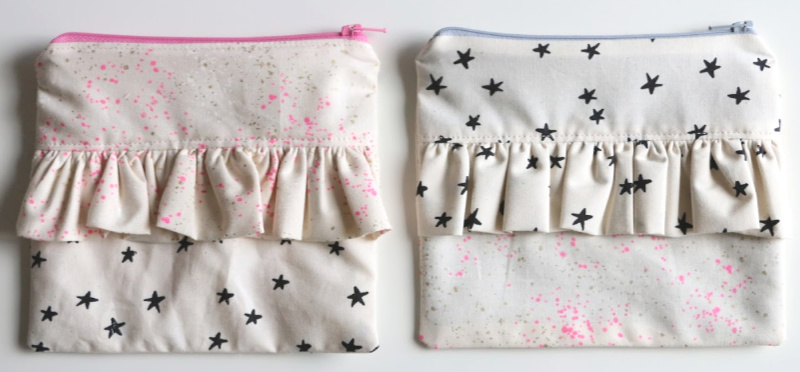
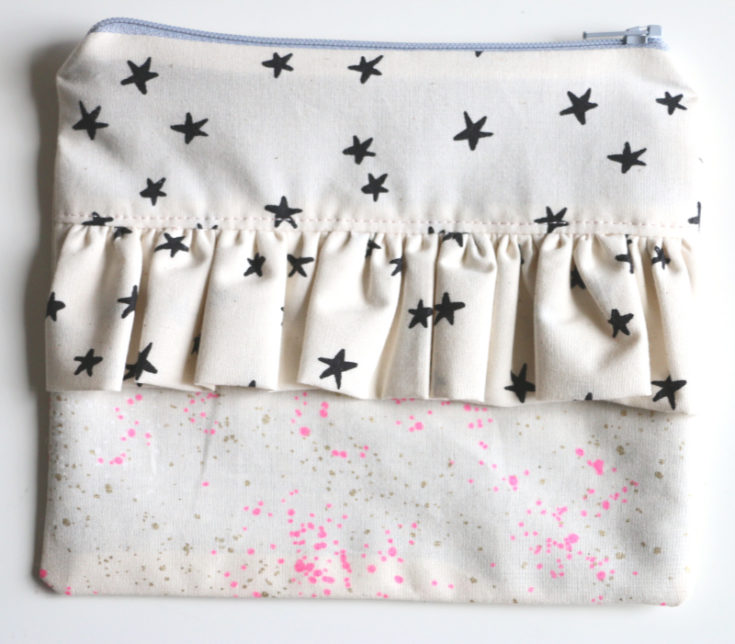
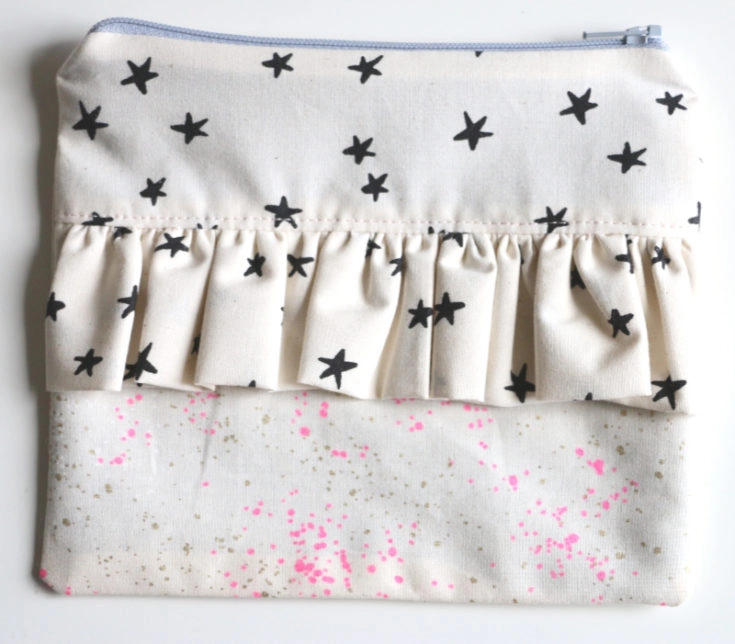
Today we are learning how to make a zip pouch with a ruffle as part of the Learn to Sew series! I love how these turned out, how cute right?!
Zip pouches are a great way to learn how to insert a zipper. Zippers aren’t scary, I promise! When I first started sewing, I was so nervous to sew with zippers. The good news is… that zippers are really sturdy. So, if you make a mistake and need to take some stitches out, no big deal 😉

Learn to Sew Series
Now, the cool thing about this Learn to Sew Series is that we have been building on our skills. So if you made the apron, this ruffle will be a piece of cake. The only new thing is the zipper.


The other videos in the Learn to Sew Series

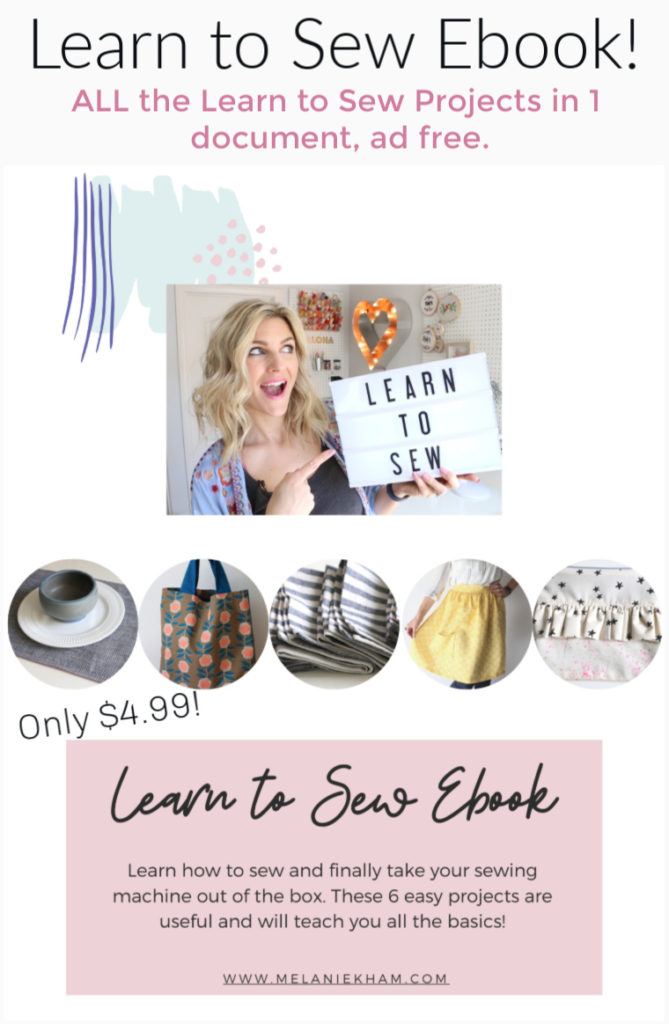
If you would like all the the learn to sew patterns and videos in 1 spot, I created an ebook with everything in there for you! I also have a pattern with no photos to make it easy on your printer. Get your Ebook Here.

More Zippered Pouch Tutorials!
- Zippered Box Pouch No Raw Edges!
- Stand Up Zip Pouch
- Vinyl Box Pouch
- Small Box Pouch with Handle
- Pencil Pouch

All of these pouches are geared toward teaching beginners 😉
How to Make a Zip Pouch
How to Make a Zip Pouch with Ruffle
Learn how to make a zip pouch with a ruffle! This is a beginner friendly sewing project and part of the Learn to Sew Series.
Materials
- 1- 9 inch plastic zipper
- 1 fat quarter of Color A
- 1 fat quarter of Color B
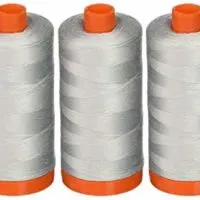
- Coordinating thread color
Tools
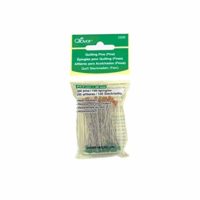
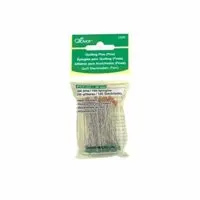
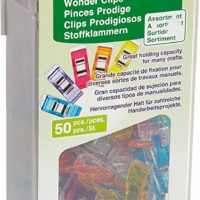
- Clover Clips or Pins
- fabric scissors
- seam ripper
- Iron/Ironing board
- zipper foot for sewing machine
Instructions
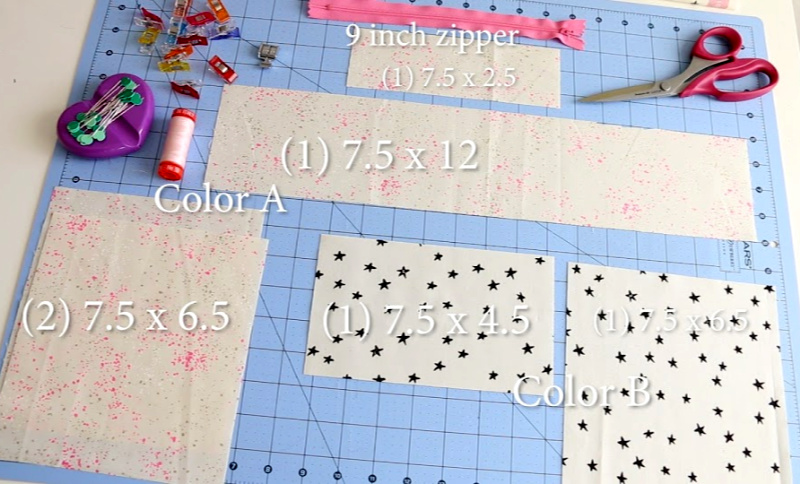
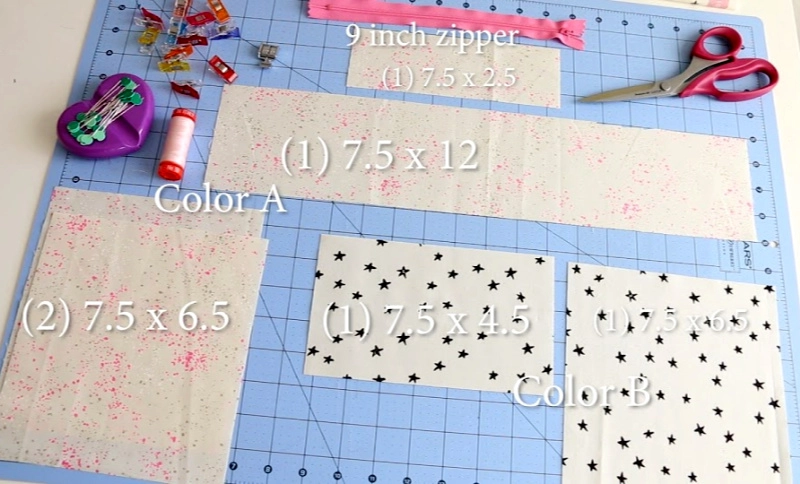
- Cut your fabric pieces. For Color A you need (1) 7.5 x 2.5, (1) 7.5 x 12, (2) 7.5 x 6.5 for lining. For Color B you need (1) 7.5 x 4.5, (1) 7.5 x 6.5 in Color B for back.
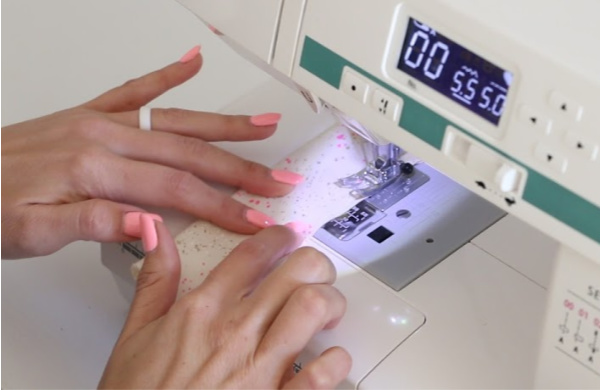
- Take your 2.5 x 12 inch piece, fold wrong sides together length wise and make 2 basting stitches along the raw edge to make the ruffle. Pull on top threads to create ruffle that is about 7.5 inches.

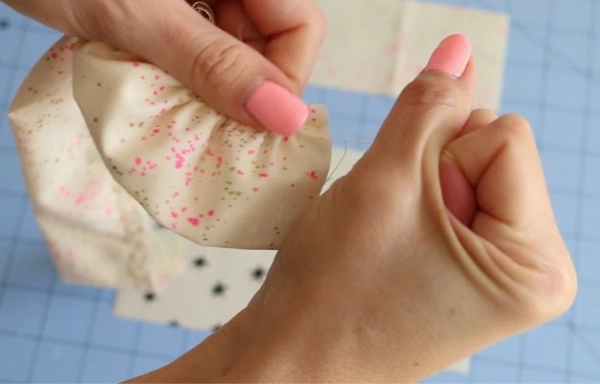
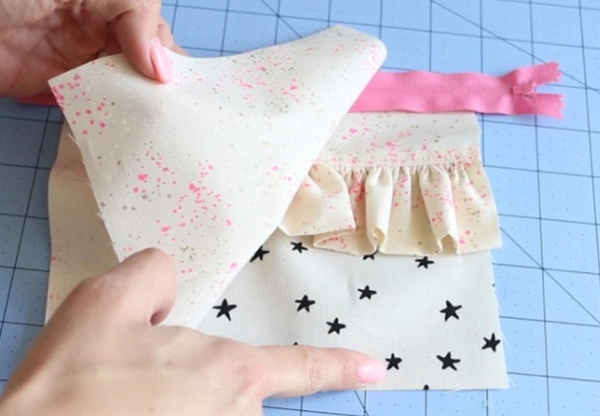
- Pin raw edge of ruffle to 7.5 inch side of the other Color A piece. Pin the 7.5 inch side of 7.5 x 4.5 Color B piece right sides on top of the ruffle to create a ruffle sandwich.
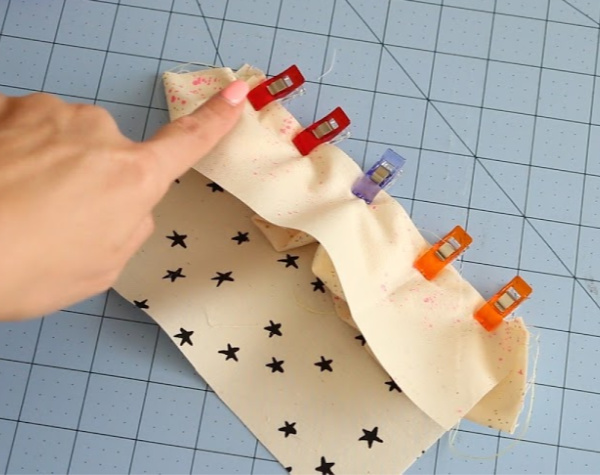

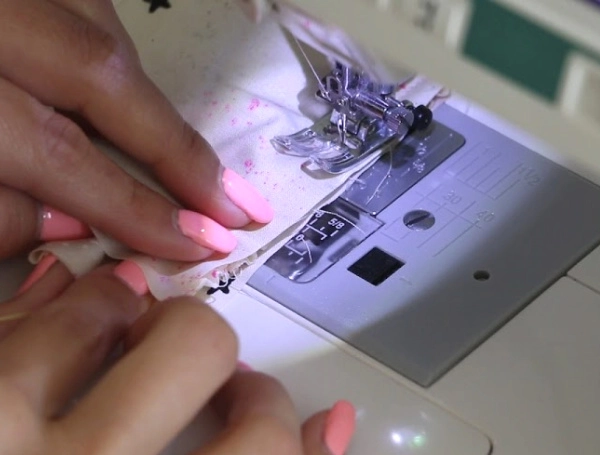
- Sew the ruffle in between the fabric pieces. Make sure the ruffle stays put, it has a tendency to scoot down. Make sure it is sewn well and securely before proceeding.

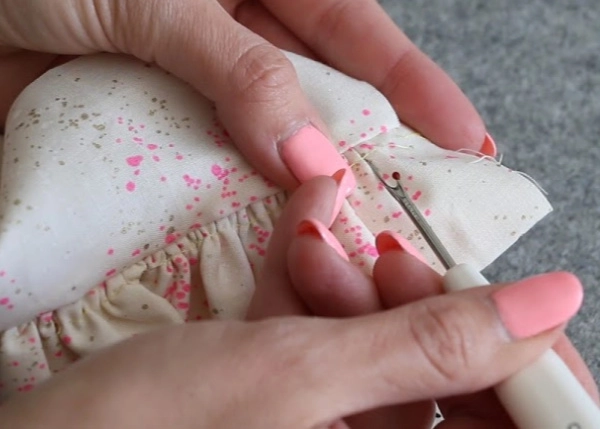
- Take out basting stitches if they are visible

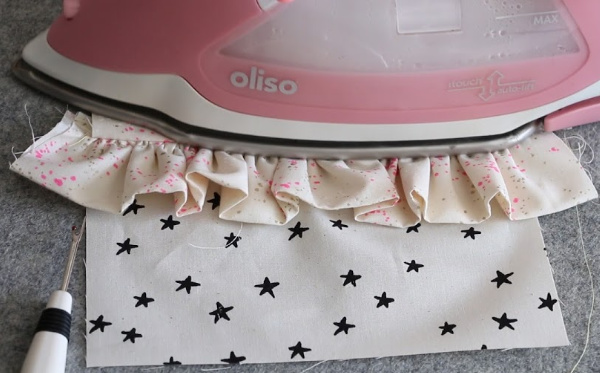
- Press the front side with the ruffle to lay it flat.

- Top stitch near the ruffle for an added touch and trim up sides of the front piece if needed.

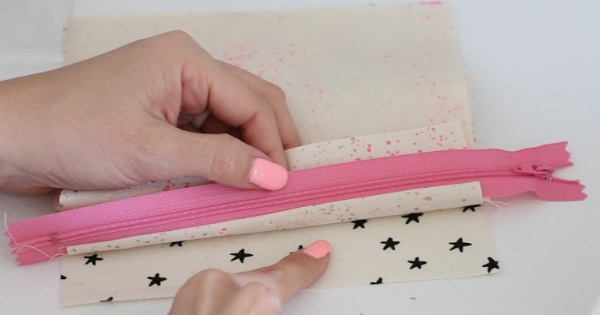
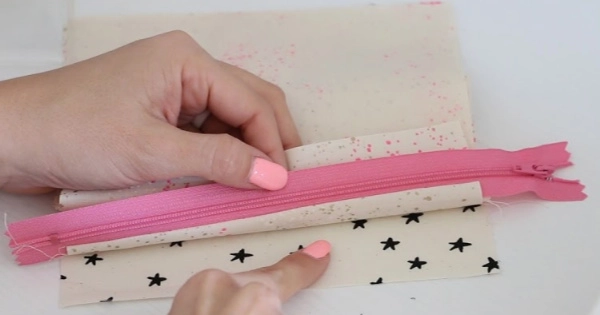
- Place zipper teeth down on the right side of the front outer piece. Place 7.5 inch side of lining on top of that with the zipper in the middle.

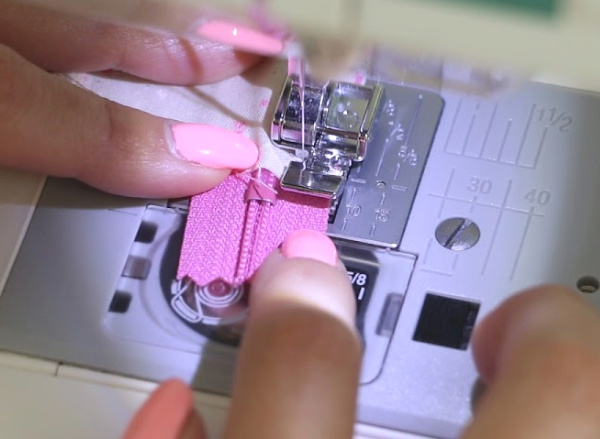
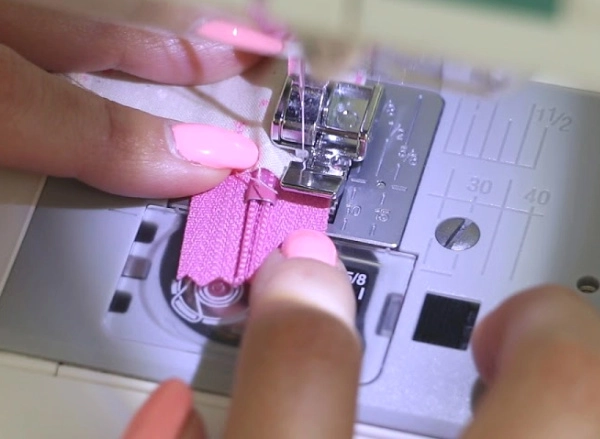
- Using the zipper foot, sew down the zipper. Zipper teeth should be facing up so that the zipper foot can run along the teeth nicely. Once done, make sure you can open the zipper - that the fabric isn't too close.
- Flip fabric around so the right sides show and you are holding the zipper. Place zipper teeth side down on the 7.5 side of your back piece and attach the zipper same as before.
- Open up the fabrics to lay flat so that you can press them against the zipper. Top stitch along zipper for added touch.


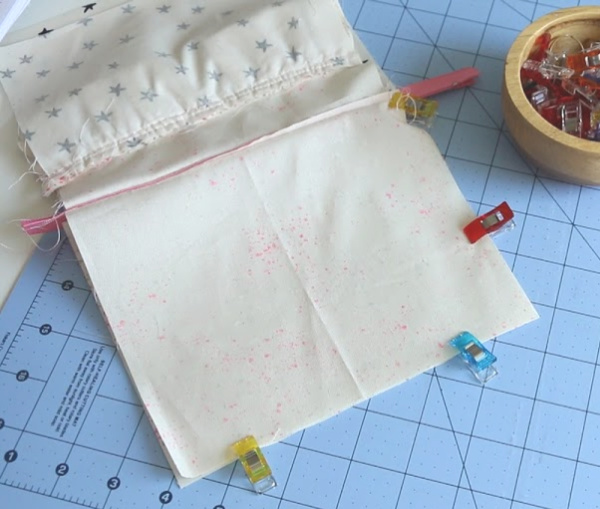
- Open zipper 3/4 of the way. Take outer pieces and lay them to one side right sides together. Lay the lining fabrics right sides together the opposite way. Clip or pin all the way around. Make sure the zipper teeth are going toward the lining side of the fabric.

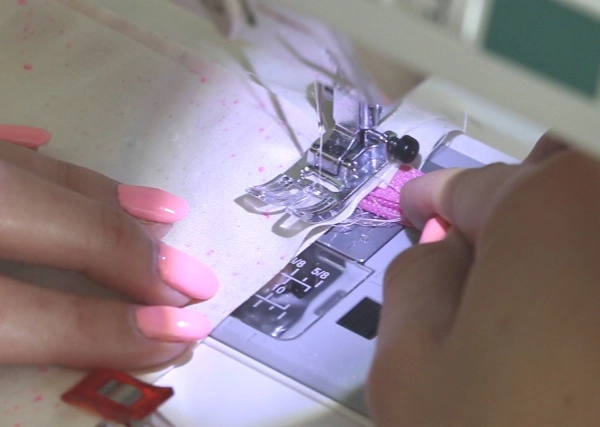
- Starting a few inches away from the corner on the lining side, begin sewing around the outside of the clipped/pinned bag with 3/8 seam allowance. When you get to the zipper, you sew over the plastic zipper teeth very slowly going over it a few times. Make sure they are lined up.

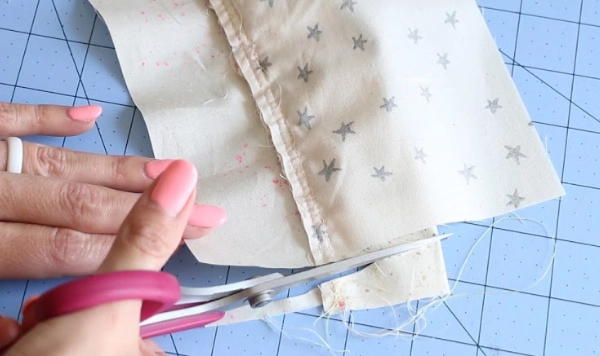
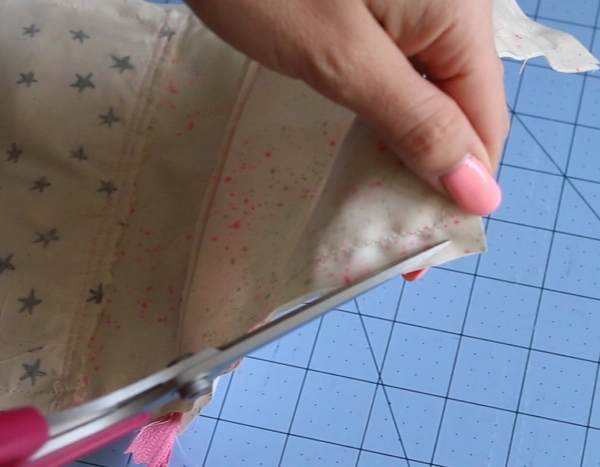
- When you get back to the bottom of the lining, stop 2 inches short of where you began and back stitch. Trim bulk from corners and using non fabric scissors trim the edges of the zipper.

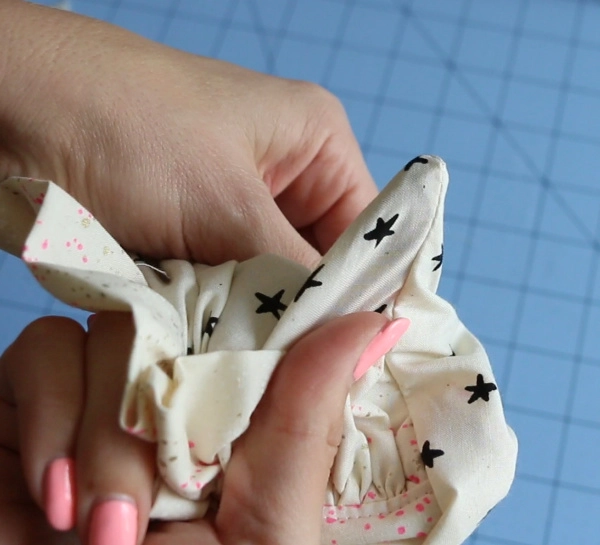
- Flip the back right side out through that opening in the lining. Use your finger to pop out the corners of the outer bag and zipper edges and lining corners.

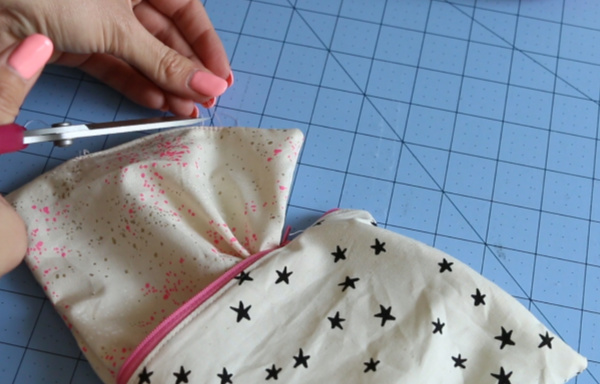
- Once you verify everything looks good, sew up the lining opening and you're done!

Recommended Products
As an Amazon Associate and member of other affiliate programs, I earn from qualifying purchases.


Erin
Tuesday 31st of March 2020
I believe you put the wrong measurements for the ruffle piece. The fabric shown in your photo is 4"x18" for the ruffle.
erin
Tuesday 31st of March 2020
All measurements seem to be off after completing project.....
Jane
Monday 30th of March 2020
Thanks Melanie for all the hard work you put into your tutorial's. I have enjoyed them all. I have been sewing since I was 10, but it is always good for a refresher in case you forget an easier or more efficient way. Thanks again Meline care .
Debbie
Saturday 28th of March 2020
this is the worst instruction and video