
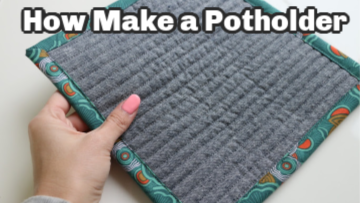
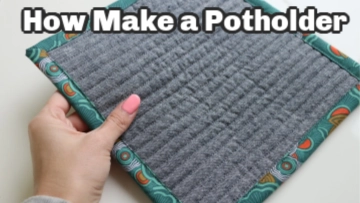
Today, we learn how to make a potholder and not just any potholder. Handmade quilted potholders that use up scraps, are eco friendly and of course, cute!
As part of the Learn to Sew series, in this lesson we are learning how to do some basic quilting and binding. All while making these useful diy potholders.


What material do you use to make potholders?
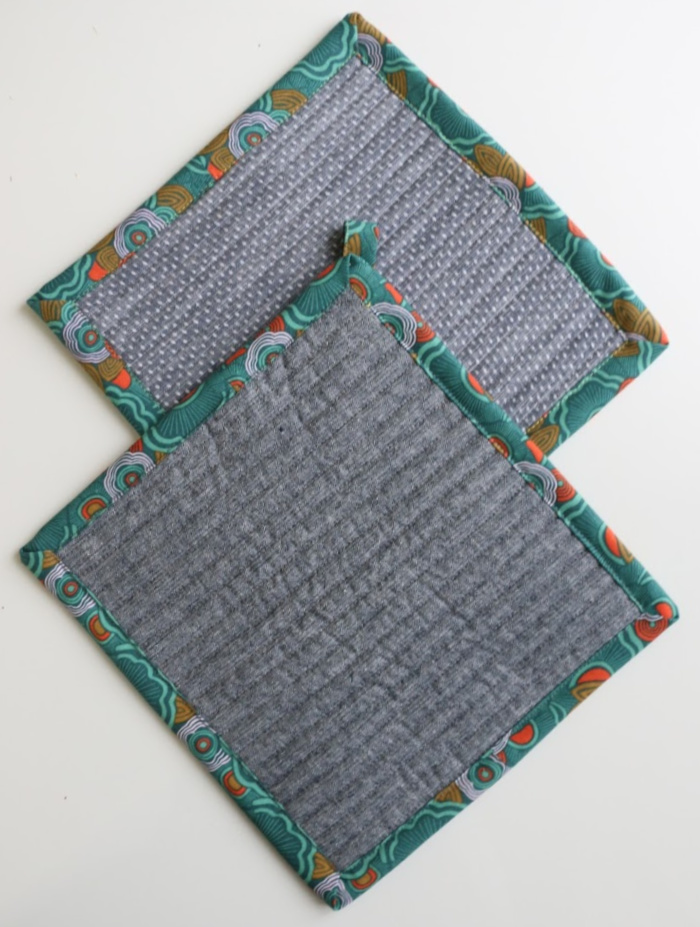
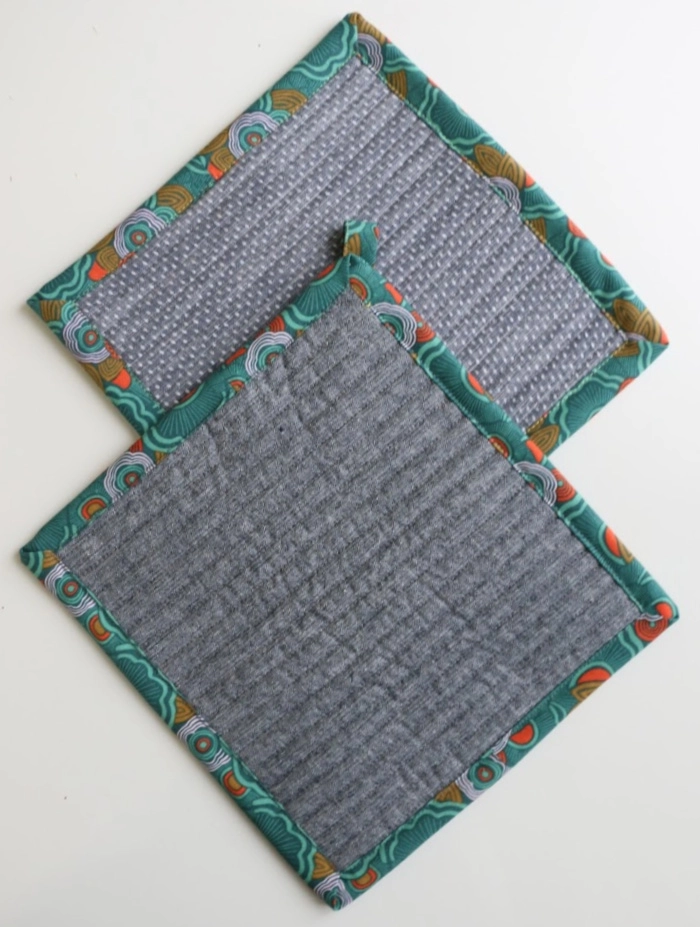
I love to use natural fibers in the kitchen. They are easy to wash and won’t melt or transfer heat like some other fabrics can. These quilted potholders are made with 100% cotton and a 100% cotton and linen blend.
What kind of batting do you use for potholders?
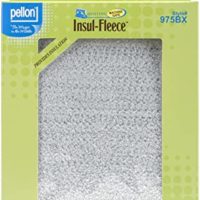
I used 1 layer of standard 100% cotton batting from scraps I have from being a quilter. I also included 1 layer of insul-fleece, a heat resistant batting.
If you would like all the the learn to sew patterns and videos in 1 spot, I created an ebook with everything in there for you! I also have a pattern with no photos to make it easy on your printer. Get your Ebook Here.

Other simple sewing tutorials
How to Make a Potholder
How to Make Potholders
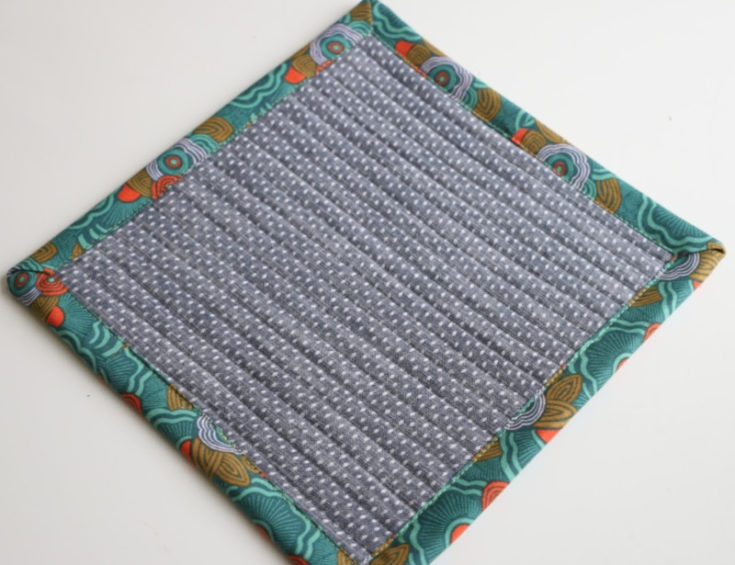
Learn how to make a potholder with this easy sewing tutorial. This simple quilted potholder is practical, useful and easy for sewing beginners.
Materials
- 10 x 10 inch piece of Main fabric
- 11 x 11 inch piece of Background fabric
- 11 inch x 11 inch piece of Pellon Insul-Fleece
- 11 x 11 inch piece of batting
- Fat Quarter of Binding fabric cut to 3.5 inch strips
- Coordinating thread color
Tools
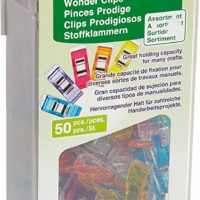
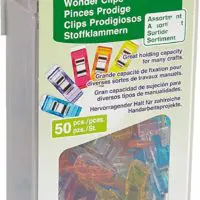
- Clover clips
- Safety pins
- Walking foot if you have one
Instructions
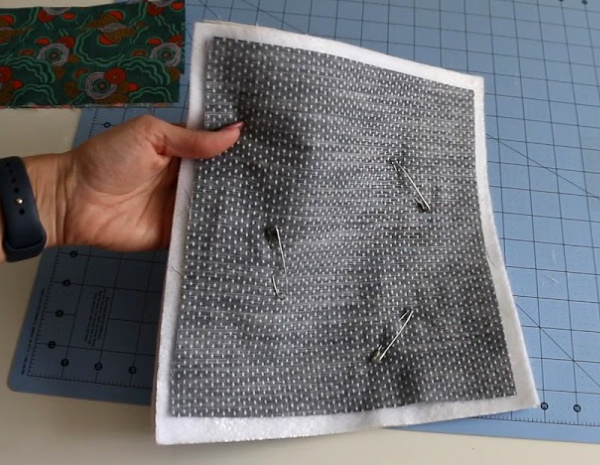
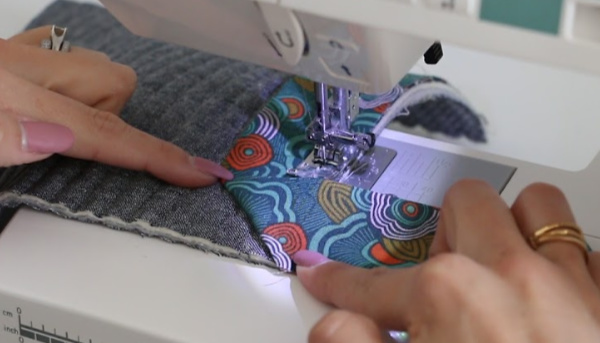
- Make a quilt sandwich. Place the background fabric first, then batting, then insul-fleece, then center the main fabric on top. Main fabric should be smaller to allow for shifting.
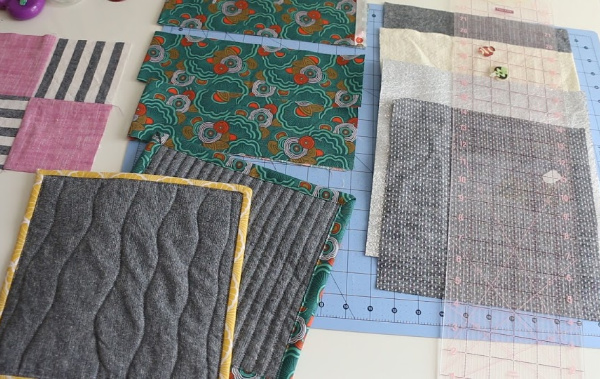

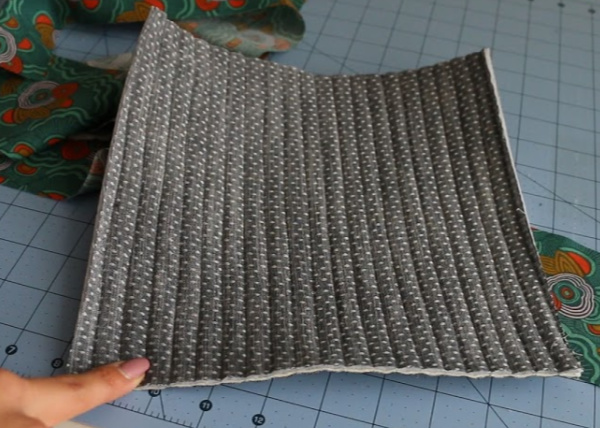
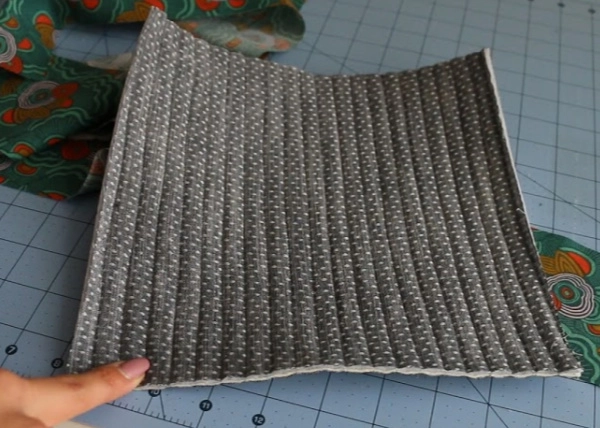
- Pin all the layers together and quilt them together with a walking foot, teflon foot or standard sewing machine foot.

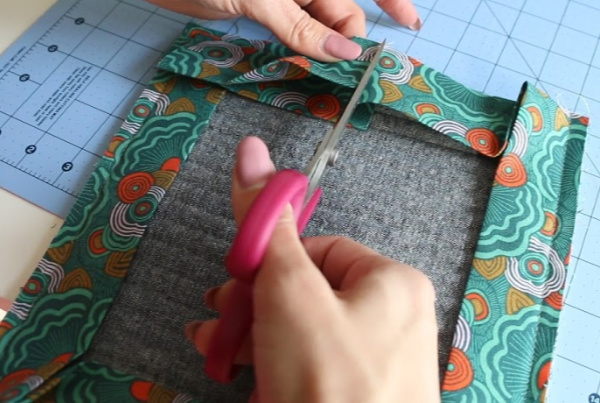
- Cut down to a smaller square, trimming off all of the shifted and excess fabric.
- Take 3.5 inch strips of binding fabric and cut off any selvedge edges. Sew the short ends together with a 1/4 inch seam allowance to make 1 long strip.
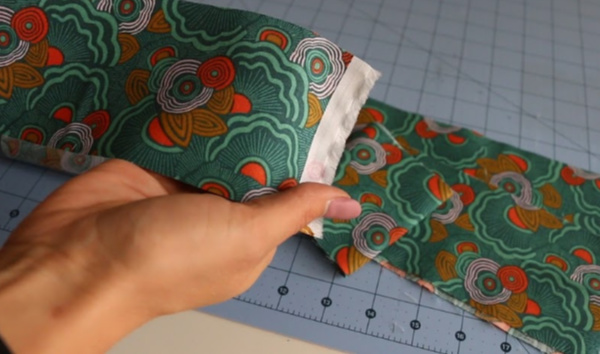
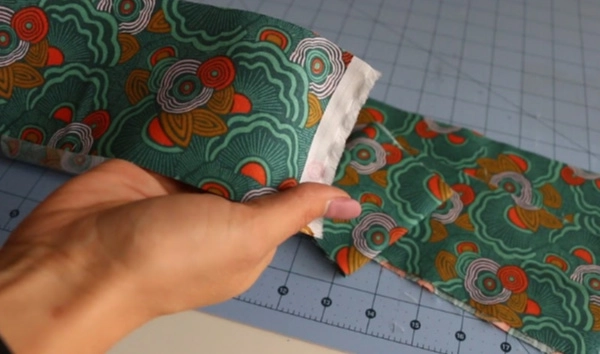
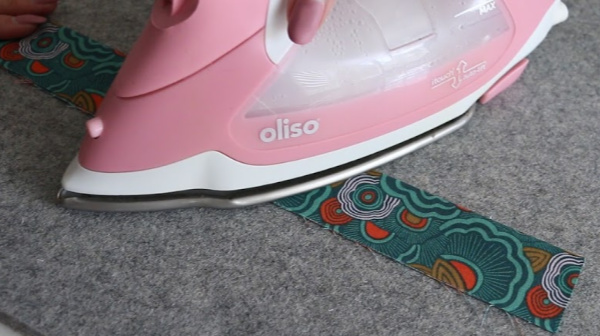
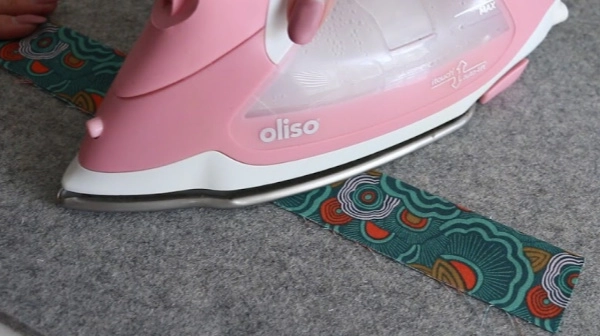
- Iron the strip wrong sides together and press 1/4 inch seams open.
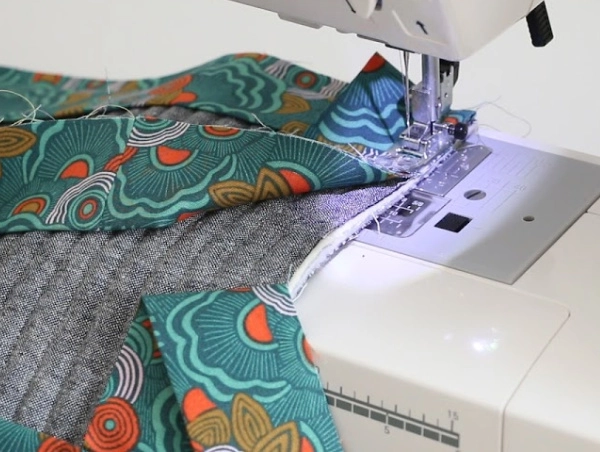
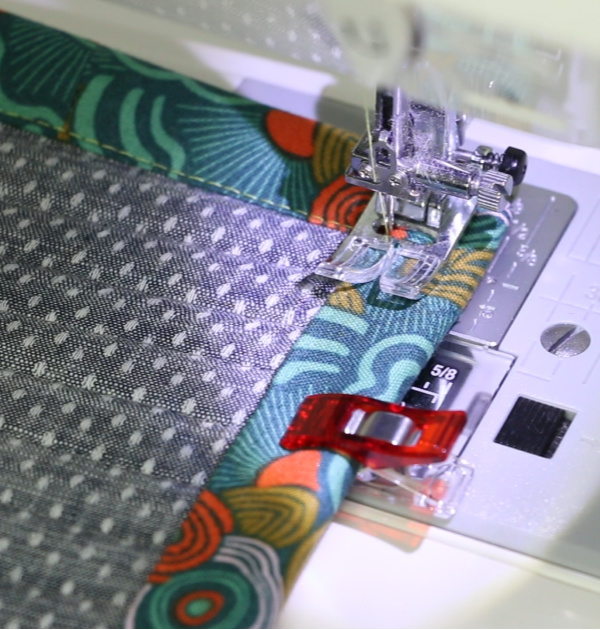
- Line up raw edges of the binding and the raw edges of the potholder. Begin sewing down the potholder with at least a 4 inch tail not sewn to allow for the join. Sew with a 3/8 seam allowance.

- When you get to the corner create a mitered corner, see video for more details if you need them.

- Once you get back around, leave another tail and backstitch.

- Cut binding so that they overlap by 1/4 inch and that then sew the two ends together with 1/4 seam allowance.

- Finger press that seam open and finish sewing the binding.

- Trim threads and a little bulk out of the corners of the potholder.

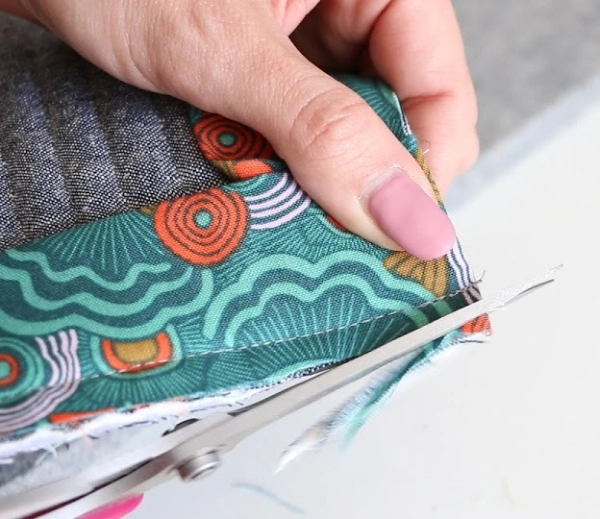
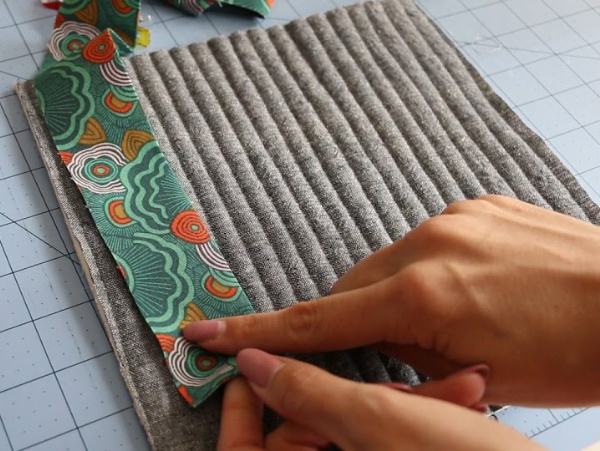
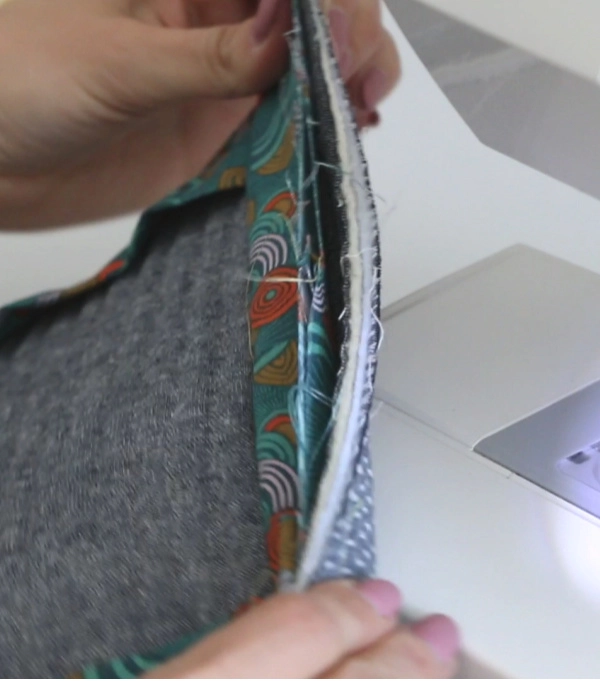
- Flip the binding around the raw edge and press the side we just sewed so that it is flat.


- Clover clip the binding around the potholder and fold corners into place.
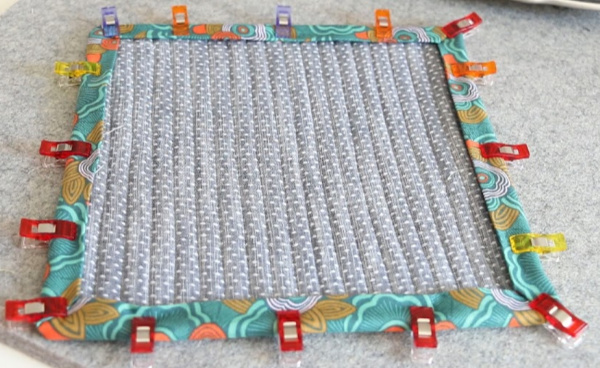

- Sew the binding down with a stitch close to the fold in a coordinating thread color.

Notes
I love that you can make these potholders with materials that you have on hand. If you don't have any insul-fleece, you can always do double or triple batting.
Recommended Products
As an Amazon Associate and member of other affiliate programs, I earn from qualifying purchases.


Helga
Friday 20th of March 2020
Gracias, es fácil hacerlos. Un abrazo.
Patti McConnell
Sunday 15th of March 2020
I love these simple projects. Thank you!
Melissa
Sunday 15th of March 2020
How about making a table cloth I wanted to make one but haven’t been able to find a video for it
Melanie
Tuesday 24th of March 2020
The tricky thing about a table cloth is getting fabric that is wide enough, its difficult to find. And if its not wide enough, then it has a seam down the center and I feel like that's not the best look ;)