

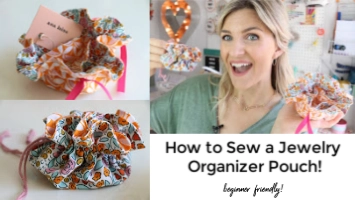
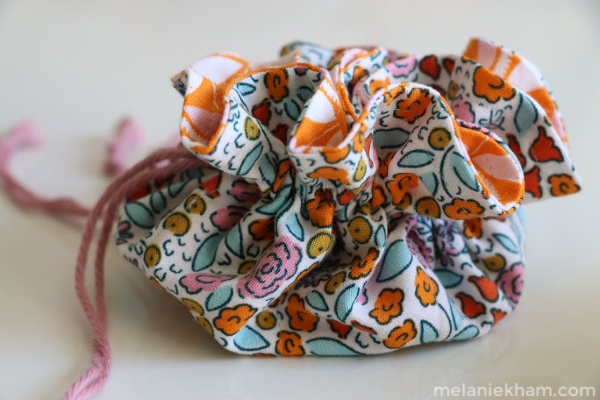
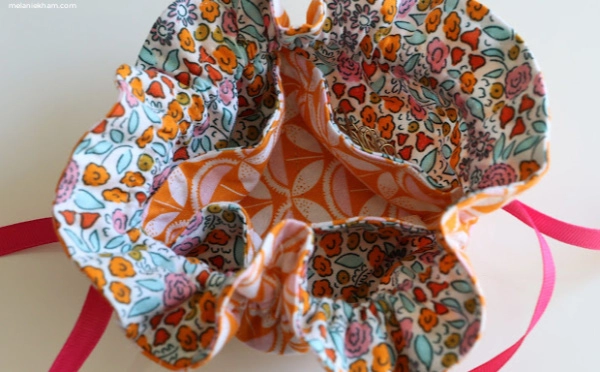
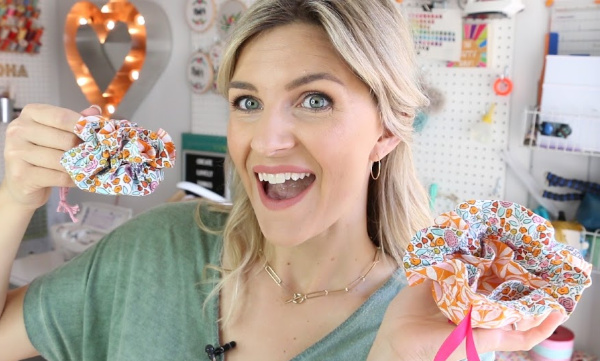
Today, I want to share with you how to sew a travel jewelry pouch! It’s beginner friendly, adorable and makes a great gift! I think this would be awesome as a Mother’s Day gift idea and even add some jewelry to it! Of course as a gift or for a weekend travel getaway works as well.
This year I’ve been focused a lot on teaching ya’ll how to sew. The Learn to Sew series has been a big hit and I love being able to teach all of you this skill! While this isn’t officially part of the Learn to Sew series, it goes nice and slow and will be perfect for beginners to make this adorable travel jewelry pouch.
Travel Jewelry Pouch
What fabric is best?
Wondering what type of fabric is best for this project? I think 100% quilting cotton is best, it’s high quality and soft enough to protect your jewelry. You also want to make sure this is easy to work with and durable enough for your travels. Plus you can find really cute fabric in cotton materials for your travel jewelry pouch. Here’s a great post if you are looking for good places to shop for fabric online!
Other Great Simple Sewing Tutorials
Love these types of sewing projects? Check out these other simple sewing tutorials!

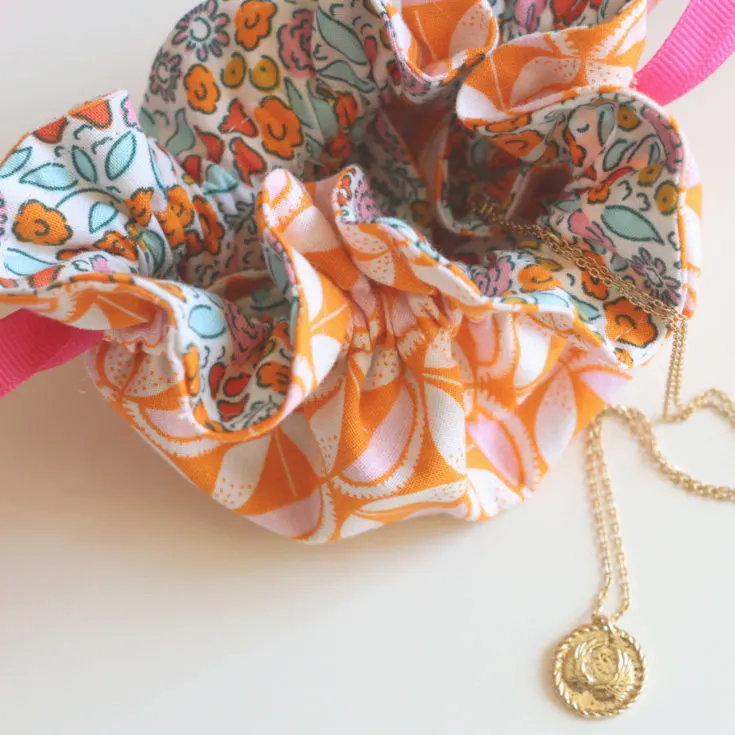
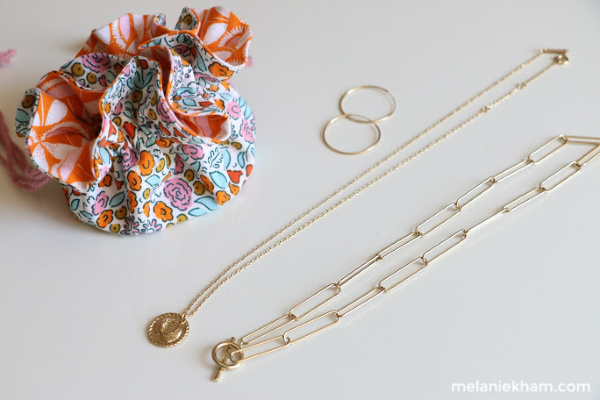
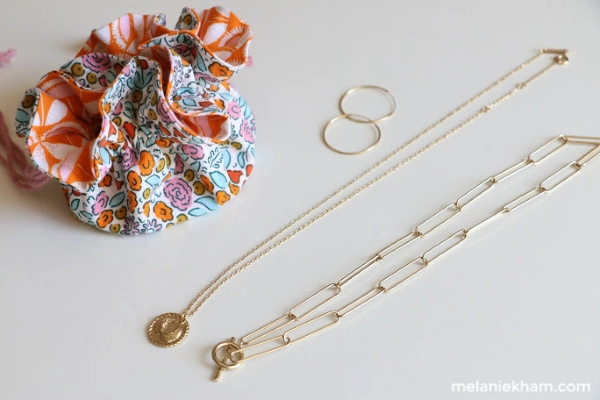
The jewelry I’m wearing in the photo is from Ana Luisa, I love it! This would be a great option to put in the pouch for a gift!
How to Sew a Travel Jewelry Pouch

1 Fat Quarter or (1) 18 x 22 inch piece of fabric will make 1 jewelry pouch. If you would like the coordinating print, you can make 2 jewelry pouches with 2 fat quarters.
Materials
- (1) Fat Quarter of Color A
- (1) Fat Quarter of Color B
- Coordinating thread
- (2) Ribbon, cord, or string 18 inches long for ties
- Fray Check
Tools
- Sewing Machine
- Iron and Ironing surface
- medium size safety pin
- Rotary cutter or fabric scissors
- water soluble marking tool or chalk
Instructions
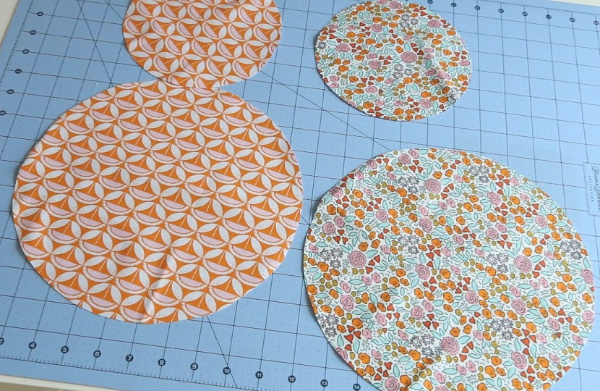
- Using household objects like bowls, trace 4 circles on the wrong side of fabric for Color A. 2 circles should measure around 10 inches and the other two should be 6-6.5 inches. (note: if you would like to only use 1 fabric, skip to step 3)
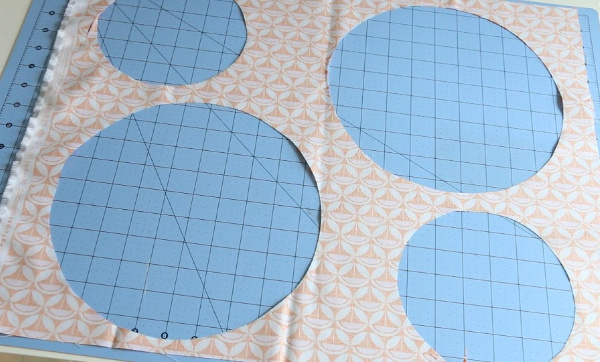

- Repeat step 1 with Color B fabric.

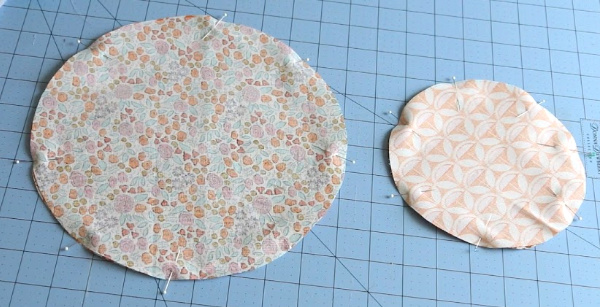
- Place the right sides together of the Color A large circle and Color B large circle and pin in place. Do the same thing for the smaller circle for Color A and Color B.

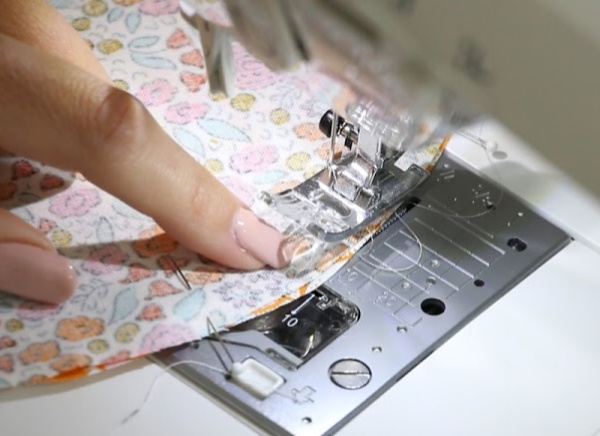
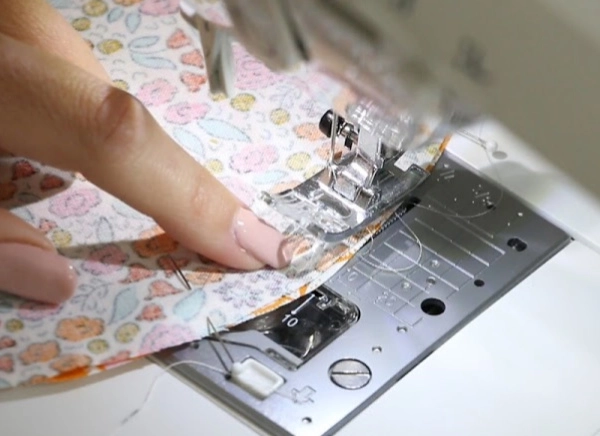
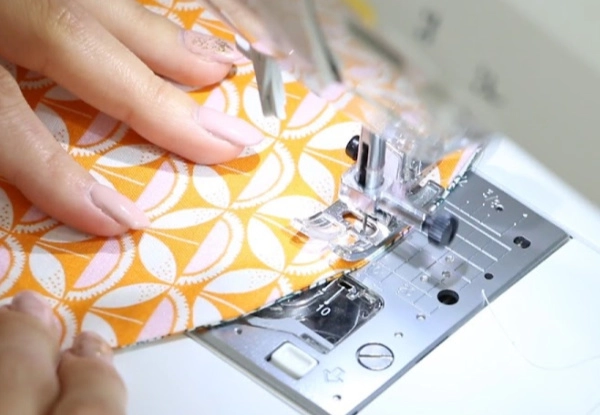
- Sew around the pinned circles using a 1/2 seam allowance leaving a 1 ½ inch opening for turning right side out.
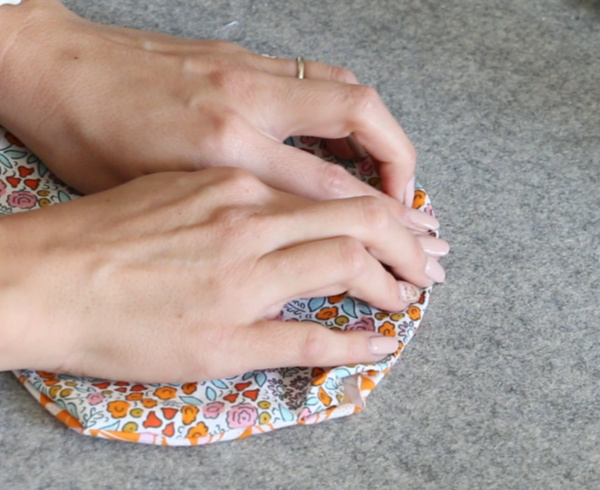
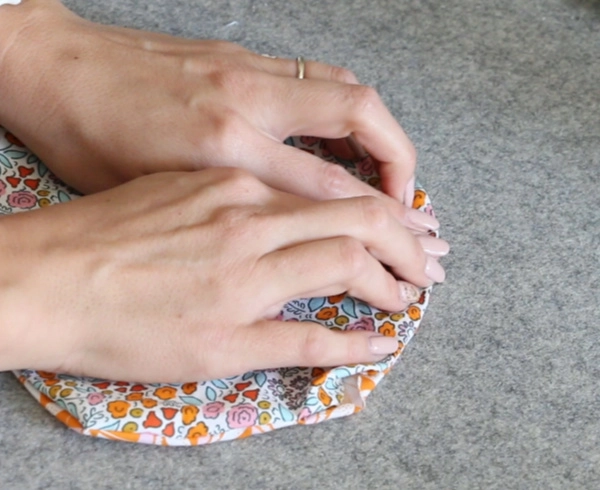
- Turn right side out an press seam flat on both circles. It's helpful to roll the seam under your fingers to make sure the seam goes all the way to the edge. Fold under the opening and press that in place as well.
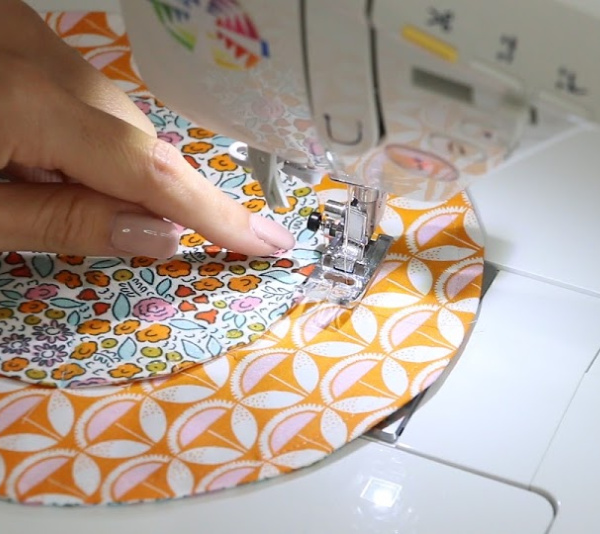
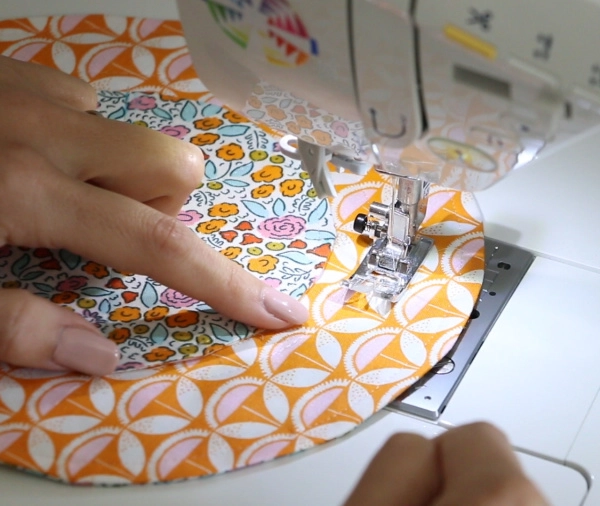
- Once both circles are ironed flat, sew all the way around the circles with a ¼ to ⅛ inch seam allowance.

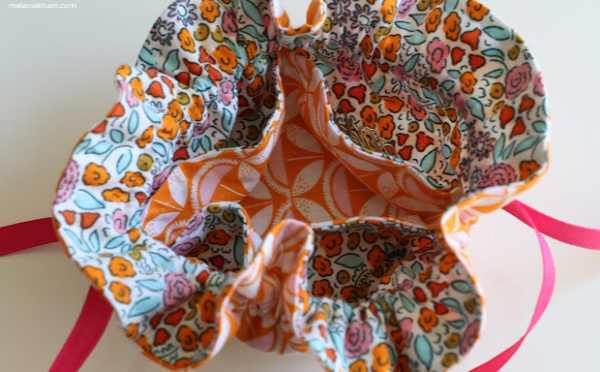
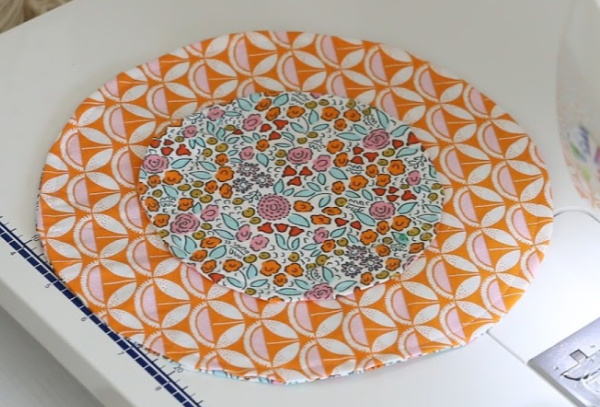
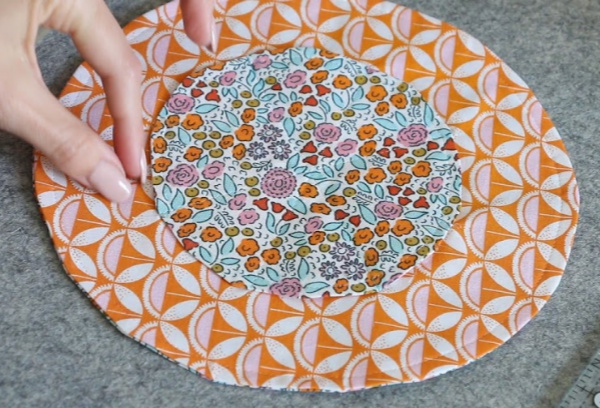
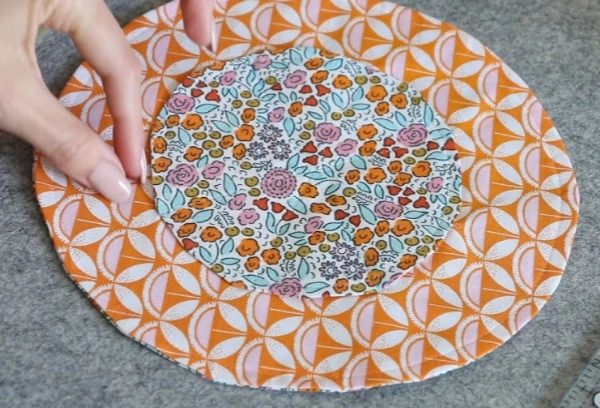
- Next we want to sew the smaller circle to the larger circle. Find the center of each circle by folding them in half and creasing to make an "x" marks the spot of the center. Stack the circles on top of each other and pin. The side that the smaller circle is pinned to will be the inside of the pouch.

- Take your ruler and draw lines across the smaller circle with a water soluble pen to create the pockets. It's best to do a minimum of 4 pockets and maximum of 8.
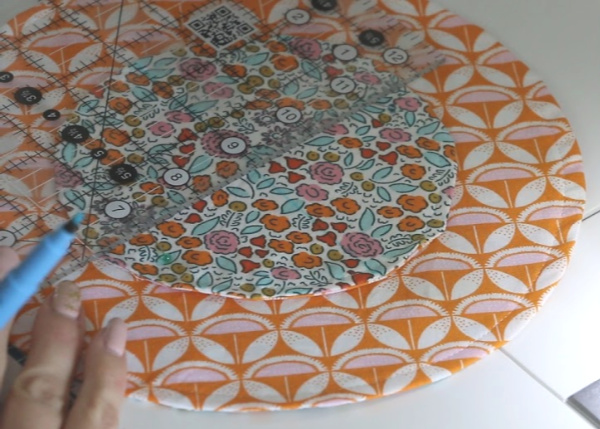

- Sew along those lines back stitching well at the the beginning and end.

- Remove water soluble lines or chalk marks.
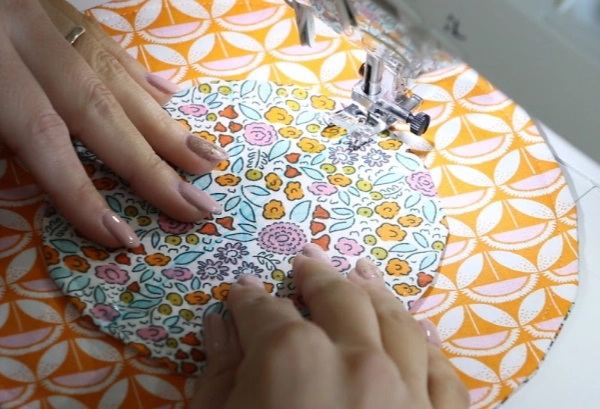
- Line up left side of presser foot with the inner circle and sew all the way around. Then line up that stitch line with the left side of the presser foot and move the needle all the way to the left. Stitch around again to create the casing for our ties/drawstring.

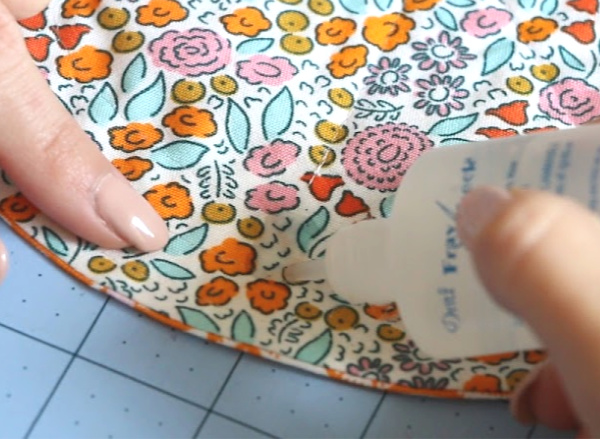
- From the outer side of the fabric in between those two stitches we just created, put a spot of fray check on 2 opposite sides of the pouch and let dry.

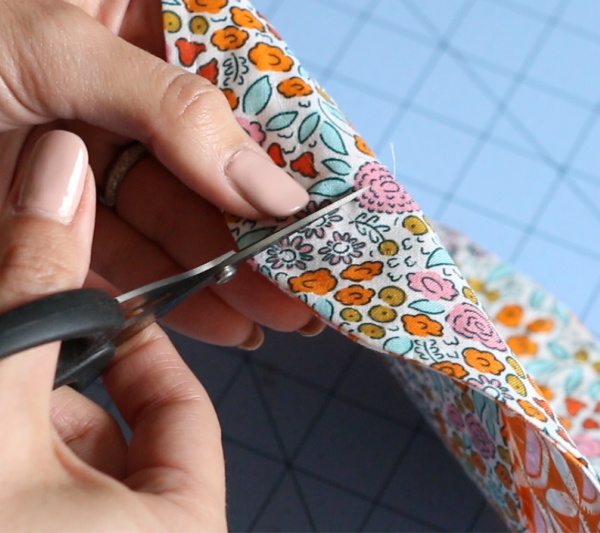
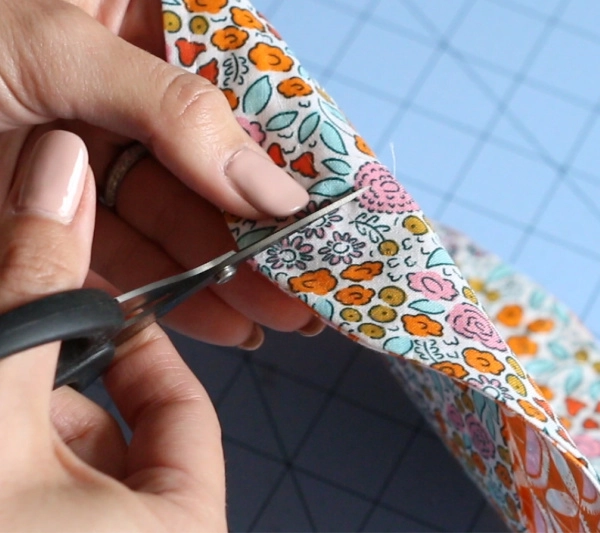
- Once, it's dry, use sharp scissors to cut into the outer fabric only along that fray check. Don't cut all the way to the stitching.
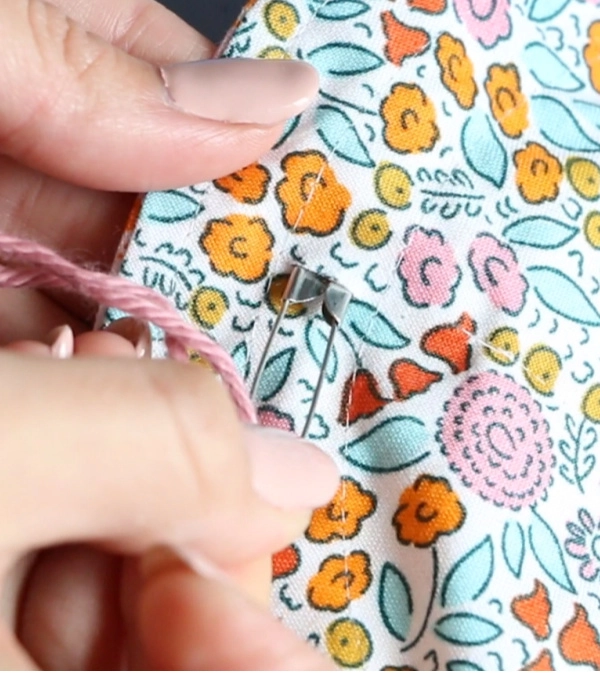
- Cut ties/ribbon/cord about 18 inches and thread that through he casing using a safety pin. Start from 1 slit and thread all the way around and come out the same slit. Then take the other tie and insert that into the 2nd slit, going all the way around and coming out the same slit to create the drawstring.

- Cinch up drawstring and cut ties to desired side. Knot or fray check the ends.


- Add your favorite jewelry and ta-dah! You're done!
Notes
Would you prefer to watch this on YouTube? Here is the link for the full youtube version.
Recommended Products
As an Amazon Associate and member of other affiliate programs, I earn from qualifying purchases.


Gloria
Sunday 26th of April 2020
Love your easy to follow and easy to learn, sewing, crocheting and other crafts. Gloria
Sam
Thursday 23rd of April 2020
What brand of fabric did you use for this project?
Jan
Thursday 23rd of April 2020
This is sooo adorable, can't wait to try! Thanks for all you do--very helpful & easy to understand your instructions!
Phyllis Antosz
Tuesday 21st of April 2020
Thank you, just found your videos on mask making and they are so easy in how you explained them. Thank you so much. Yes, I have subscribed and will be following you and when I need something I will order thru you.