

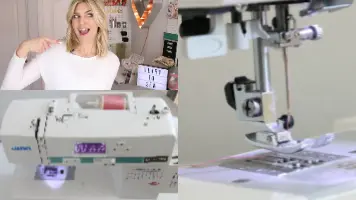
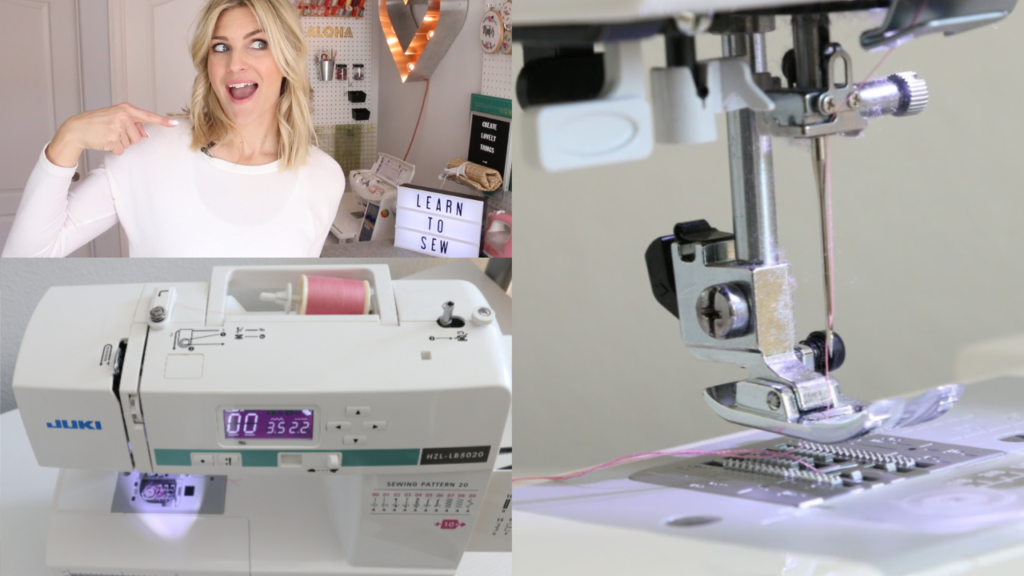
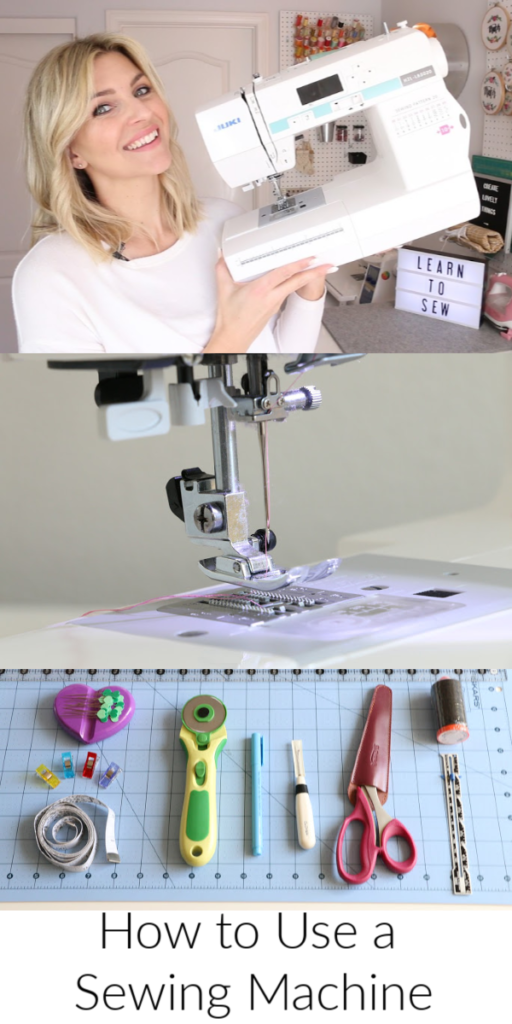
How to use a sewing machine is the topic of lesson 2 of our Learn to Sew series! I made this video for all of my friends out there who want to learn how to sew but aren’t sure where to start. This beginner sewing series is for you.

Are you on the Learn to Sew email list? It’s totally free and we are doing a giveaway! I will send out little bonus content and tips and tricks for those of you who would like to be on it. It’s not required for following along with this Learn to Sew series.

How to Use a Sewing Machine
I will do my best to write out and explain things in this post, but the video is a great visual way to learn:
- the parts of the machine
- how to turn it on
- referring to your manual
- fill up a bobbin
- thread the machine
- troubleshoot the stitch quality
- use a needle threader
- change the tension
- install fresh needle
Full video embedded at end of the post.

Basically, this video goes over all the things for someone learning to sew who just took their machine out of the box and doesn’t know what to do next. I wanted to make this video for people who ask, “Is using a sewing machine easy?” While it does get easier with time, it can be a daunting skill to learn from scratch. Not to fear, I’ve got slow paced video tutorials with step by step instructions to take any frustration or worry out of learning to sew and how to use a sewing machine.
The FIRST step
The very first thing is to take your machine out of the box and plug it in! Hooray! I get messages all the time from people who still have their machine in the box, so you are already off to a great start!
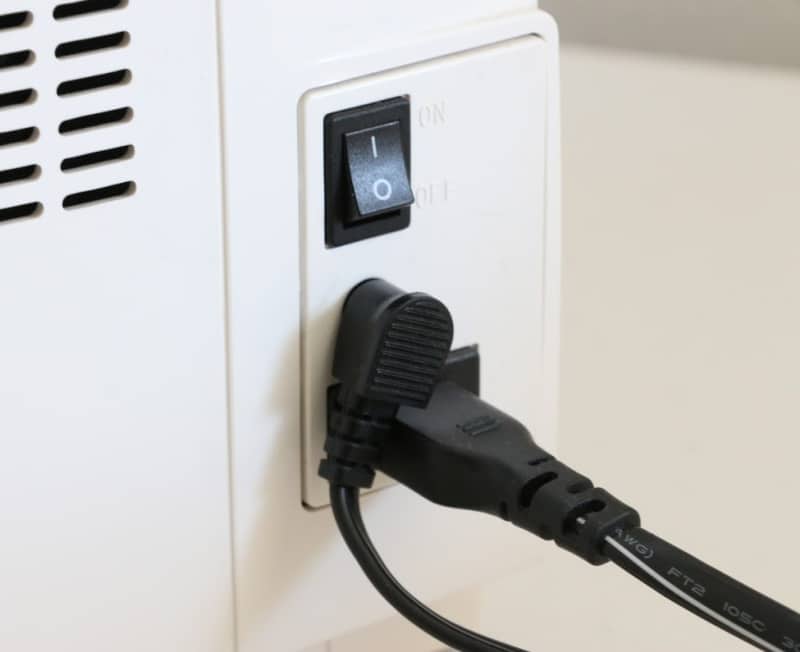

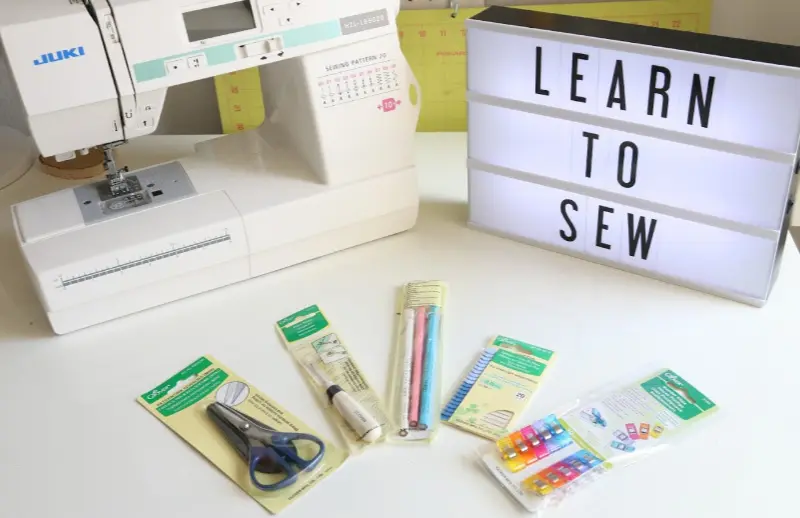
Now, find your manual and get acquainted with the different parts of your machine once you have it plugged in and turned on. Don’t forget to fill out all the info for the warranty and send that in.
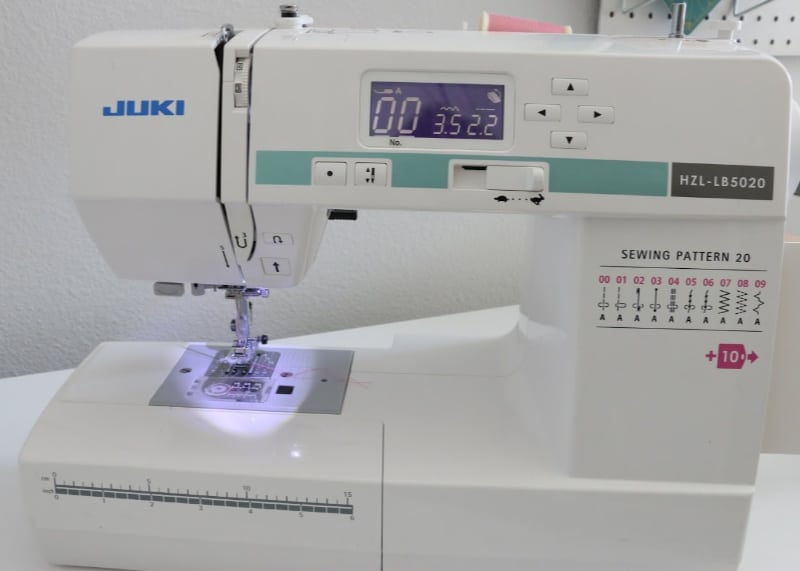
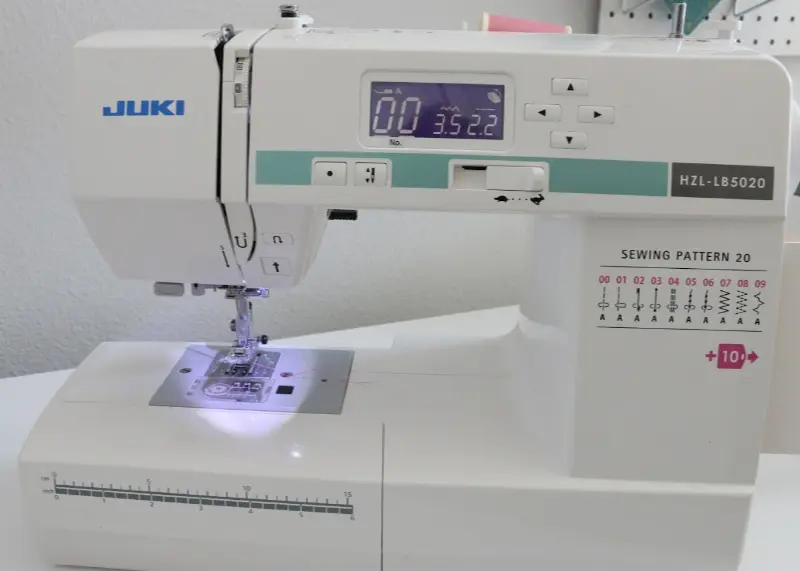
How to Wind a Bobbin
Once you have a little idea of what your machine buttons and functions are, let’s fill up a bobbin. Your machine should have come with at least 1, hopefully a few. You will want to have more than this so you have have lots of colors threaded and not waste thread. For now, 1-3 is just fine. Follow the instructions on you manual and follow along with this short video to wind a bobbin and prepare to sew our first stitch!
I know some of you will ask, what is a good type of thread? I like Aurifil, but here is a post my Mom did walking through different options.
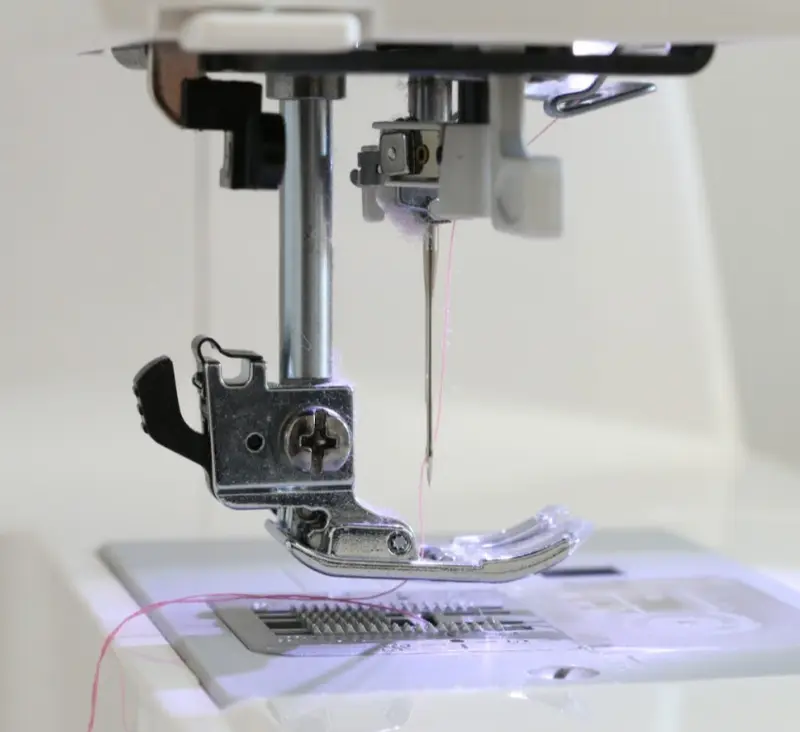
How to Thread a Sewing Machine
After your bobbin is filled and inserted into your machine, you can thread the machine, but only if you have a needle in there. If not, place your needle in the machine following the guidelines in your manual and then you can thread the top thread of your machine. Here is another short video for your reference.
Want to know more about sewing machine needles? Here is my sewing machine needles faq post with tons of great info that would be beneficial for you to check out!
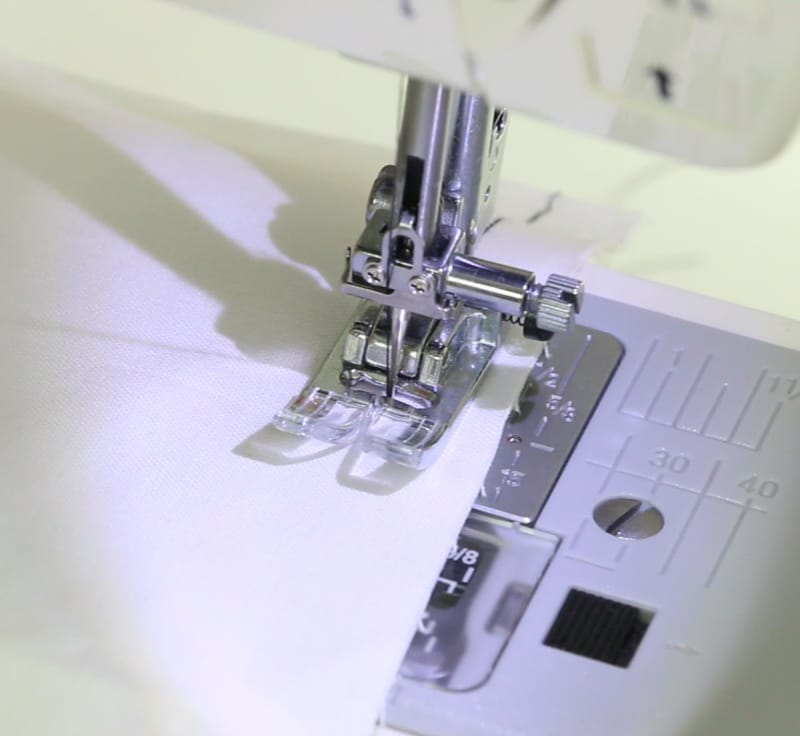
Create Your First Stitch
Ok, not your bobbin is filled, your needles in in place and threaded… let’s stitch! Place some fabric under your presser foot and VERY slowly push down on the foot pedal. It will take some time to feel the relationship of the foot pedal and the speed. Create a nice long straight stitch and then let’s take a look at it!

Troubleshooting
Ok, so you have that first stitch. How does it look? If it looks beautiful, then yay!! Don’t worry about anything and you can start on our first lesson. Often times though, your tension will need an adjustment to get that stitch looking gorgeous. Learning how to use a sewing machine is also a bit about troubleshooting and learning what your machine likes.
- Refer to diagram on manual and adjust tension. Sew a bit more and see how it looks now. This make take a few adjustments to get it perfect.
- If you are still struggling with the tension, try rethreading your machine and try again.
- Those two things should solve it, but if not try a new needle, new thread or new bobbin. Don’t do all of them at once though, you want to know which one did the trick 😉
If you are on Pinterest, here’s an image you can save for later! Just hover over the image and click the “pin it” button ;).
Syrenia
Sunday 8th of March 2020
I want to thank you for all your hard work. I love your crochet videos so I knew I would love these video’s. I can’t wait to start sewing machine just arrived. I may have missed this but what type of thread should I pickup. There are so many options and I just want to make sure I’m ready with all my supplies.
Brenda K Rogers
Thursday 27th of February 2020
Love your videos
Shell
Friday 21st of February 2020
Hey I’m home still a long road a head but I looking forward to more of your Amazing Classes. Need to save up for a new machine ☹️☹️☹️ But can’t wait to start my classes again. Really Love and enjoy your classes 💕
SyrenIa
Sunday 8th of March 2020
I want to thank you for all your hard work. I love your crochet videos so I knew I would love these video’s. I can’t wait to start sewing machine just arrived. I may have missed this but what type of thread should I pickup. There are so many options and I just want to make sure I’m ready with all my supplies.
SyrenIa
Sunday 8th of March 2020
I’m not sure if this will help it helped me get my machine. Michaels have a 60% off coupon. It didn’t not work online. But if you call customer service they will let you use the coupon. The coupon does not say it can’t be used on sewing machines. I just had to buy it online at regular price. Make sure the rep is on the phone when you buy the machine. I gave her my order number and she adjusted my order. She emailed me everything before I was off the phone. I only paid 68.00 machine was 159.00. My card was only charged 68.00 I didn’t have to wait to have my payment adjusted. Coupon code is on Michaels app
Charlotte A Osburn
Saturday 15th of February 2020
Which interfacing do I need for sewing this series and how much interfacing will be needed? Thanks!
PS: I LOVE your videos and tutorials!
Melanie
Sunday 23rd of February 2020
I used SF 101 for the placemats and I will use the same for the ruffled zip pouch (but it will be optional).