

Mama Lisa is back today for Mama Lisa Monday! Today she is sharing all kinds of knowledge about quilt piecing tips for your quilts. Take it away Mom!
Mama Lisa’s Quilt Piecing Tips!
Hi Everyone! I’m excited to share some quilt piecing tips with you today. To some, it does seem somewhat odd that we quilters take wonderful fabric, cut it all up and put it back together again which is the art and science of creating a finished quilt. Each step in the process has its own challenges with a variety of tips and tricks. Today, I’ll share with you a few of my favorites for piecing those bits of fabric back together.
Scant Quarter Inch
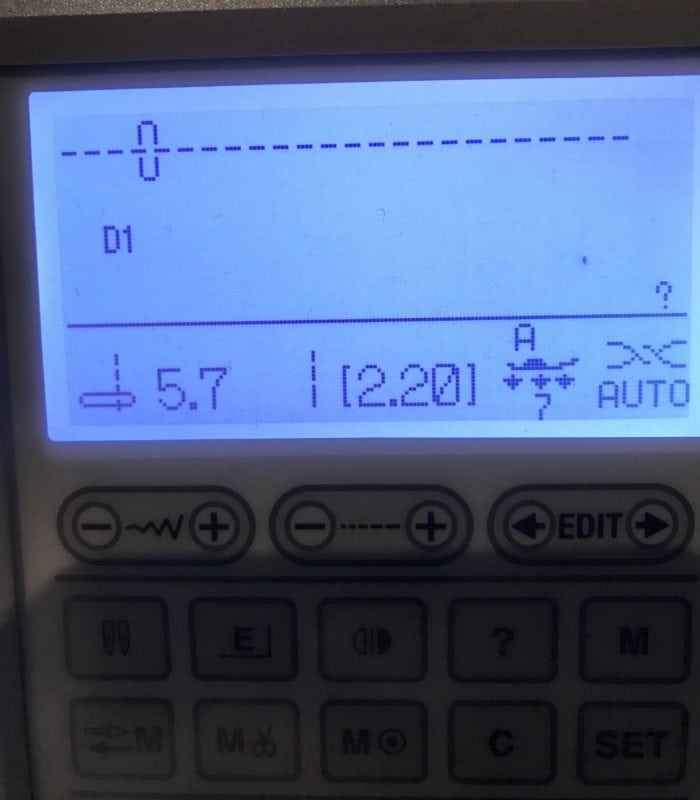
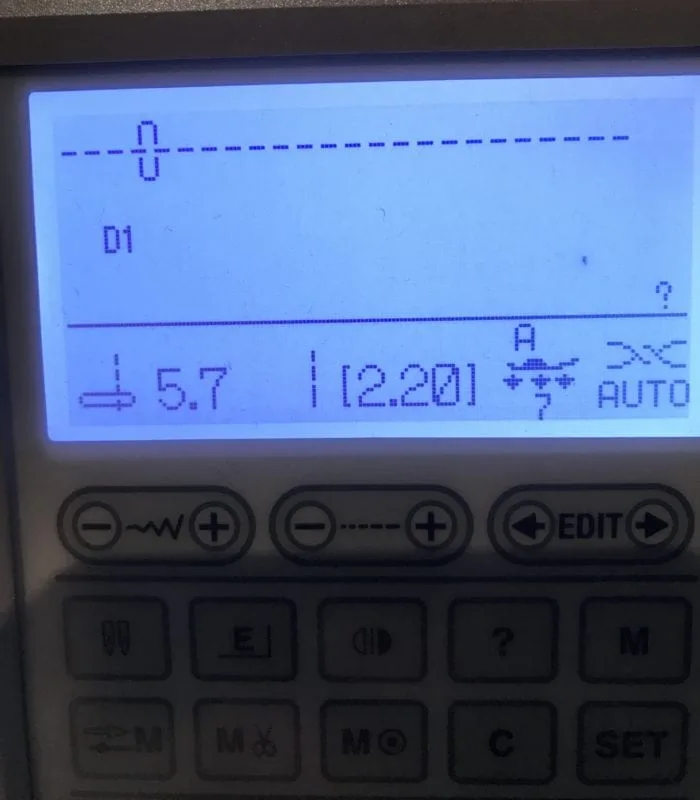
Once all the fabric pieces are cut and organized, it’s time to piece them all together with a “scant” quarter inch seam. What exactly does that mean? For every machine and every quilter, it could be something a little different but is super important to ensure your pieces all finish at the correct size and that all the seams are consistent. “Scant” just refers to a thread or two smaller than quarter of an inch. I think of it like the number of threads in the fold portion of the seam when it’s pressed. Many machines have quarter inch piecing feet but they should still be measured to ensure you are not making your seams too big.

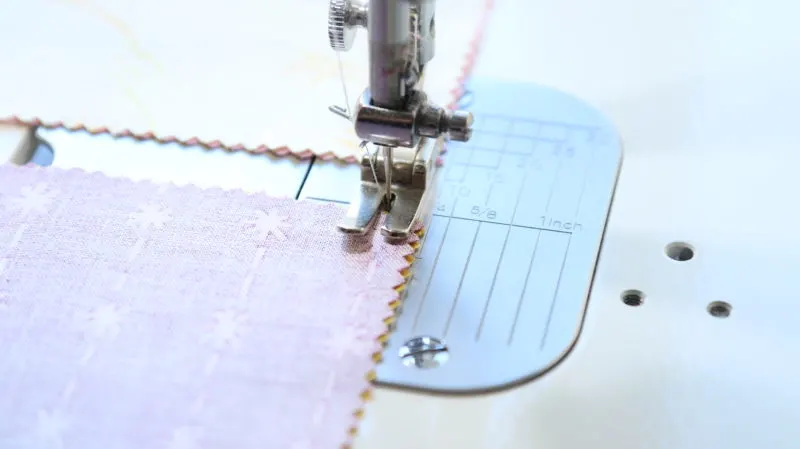
There are several ways to measure, different tools on the market, but the key is that the space from where the needle pierces the fabric to the edge of the fabric is quarter inch minus a thread or two. My quarter inch walking foot is what I like to use. It requires me to change the needle position to the right, which is a good way to get that 1 or 2 threads less than a full quarter of an inch.
Mark it Up
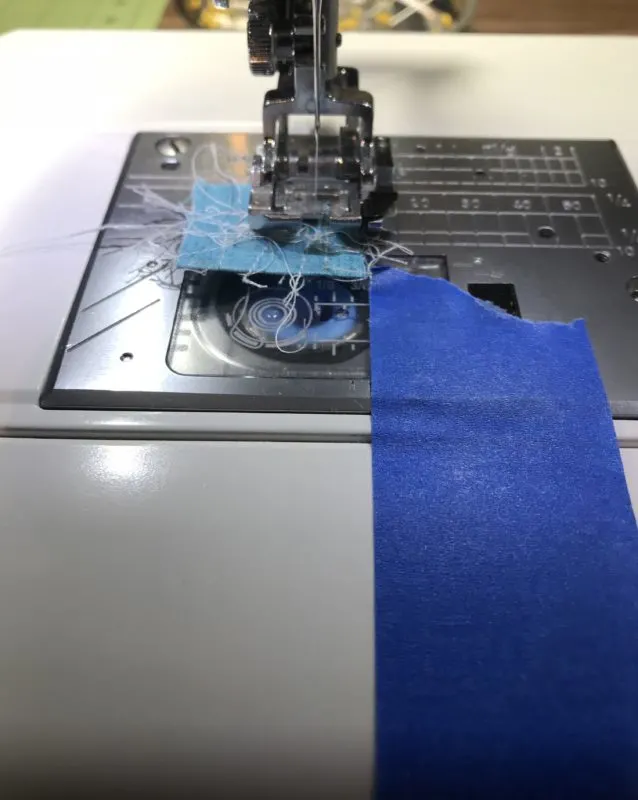
Another quilt piecing tip I use is to place painters tape on my machine so that the quarter of an inch is guided with a longer edge to follow rather than just the foot or marking on the throat plate. I don’t always use it but have found it helpful on long seams or for machines that are not marked as well.

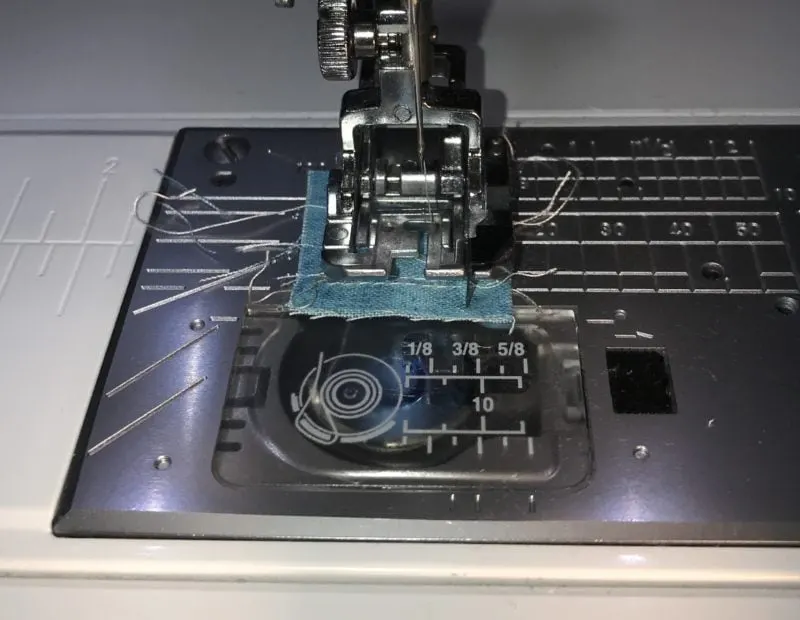
Fabric Starter Piece
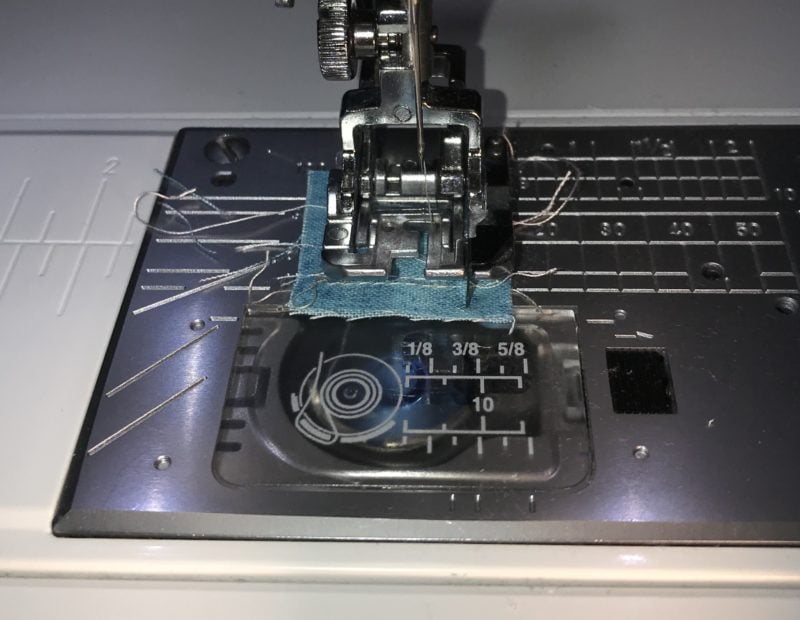
I also use a scrap piece of fabric at the beginning of every seam which helps to ensure the stitching starts smoothly, the little nest of thread that can happen on the bottom of the seam is now on the scrap and it prevents the needle from pushing a corner of fabric down into the bobbin area and causing a jam. I use the scrap piece over and over again until it’s thread tales and stitching are too messy and then toss it and start another scrap piece. This little piece of fabric has eliminated much frustration and aids in much smoother and continuous stitching.
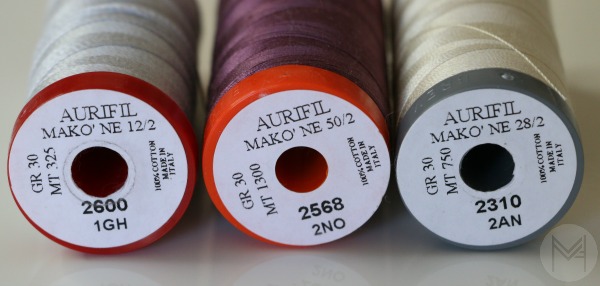
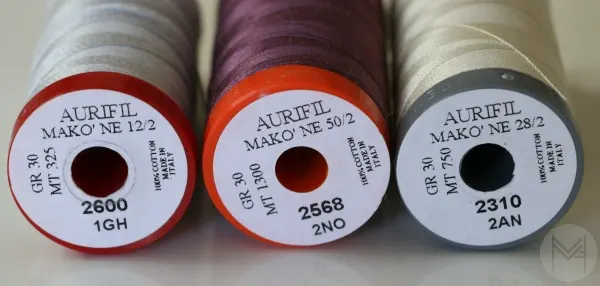
Good Thread
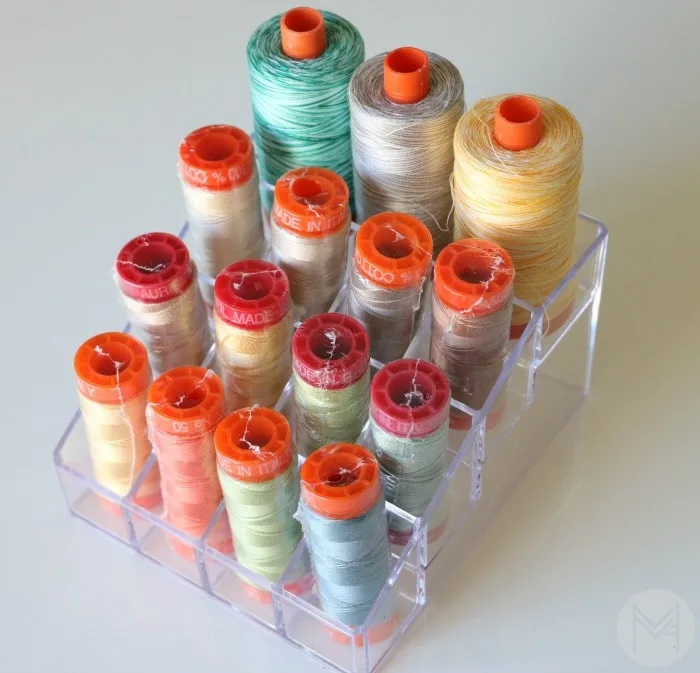
Another key element in piecing is using good quality, thin thread. The thread takes up space in the seam and can break or jam up the machine. I am a huge fan of Aurifil 50 weight thread as I’ve found in using many different brands that I can count on this thread to be high strength, smaller in size and low lint. It comes in totally yummy colors to match any fabric and is readily available from many quilt shops or online. There are many other brands available, so I encourage you to use the highest quality, small thickness thread that you can to increase accuracy and reduce frustration. The weight of the thread is what I found really makes a difference. Many multi-purpose threads are 35 or 40 weight thread which is thicker and takes up more space. The higher the number, the thinner the thread.

Pinning?
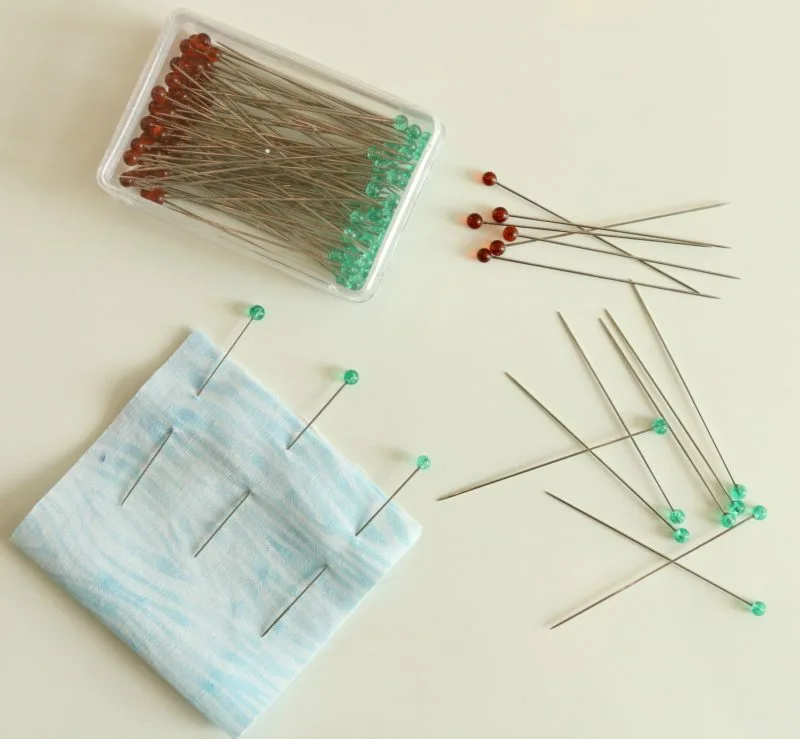
Pinning? Well… I’m generally not one that pins for standard straight seams unless there are specific areas that need to match or if there is a bias edge. If I use pins, I try to use the thinner pins that take less space in the fabric and are extra sharp. For most piecing, I find that if I hold it and guide gently with my fingers that I can get good quality seams without pinning.

Do you backstitch?
Backstitching at the beginning and ending of each seam? Generally, not required. The patchwork process secures the seams in the next patch, block or seam so it isn’t necessary to backstitch. On a few occasions, I have found the seams to come apart on the ends by a stitch or two but it hasn’t been an issue for me. One tip is to use more stitches per inch which makes for a tighter hold but also is harder to rip out if that is needed.
String Piecing
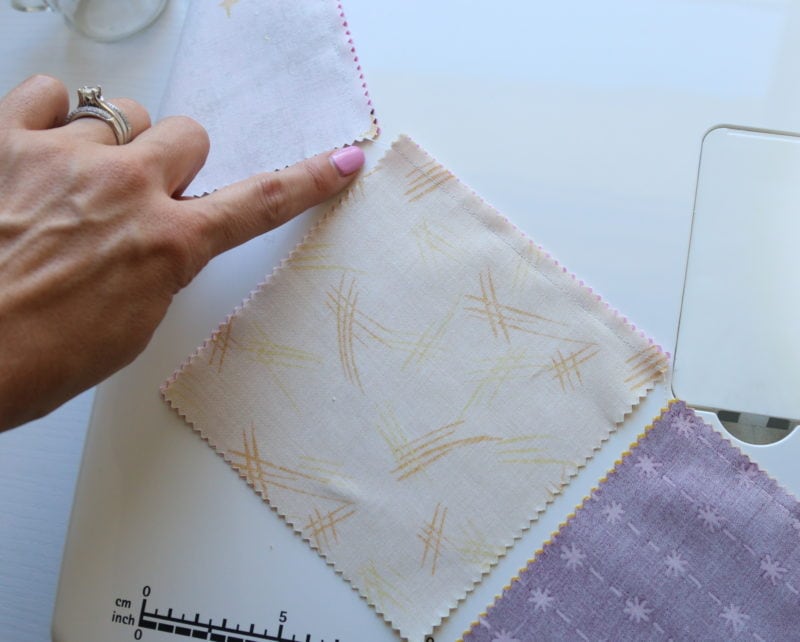
And finally, the best thing ever… String piecing! Some also refer to this as chain piecing. When stitching multiple sets or units together, you can run them through the machine one set after another in succession which is much faster. You then cut the threads apart between the units. This type of piecing takes some organization to ensure you piece the correct units together and that they go back into the layout as you intended.

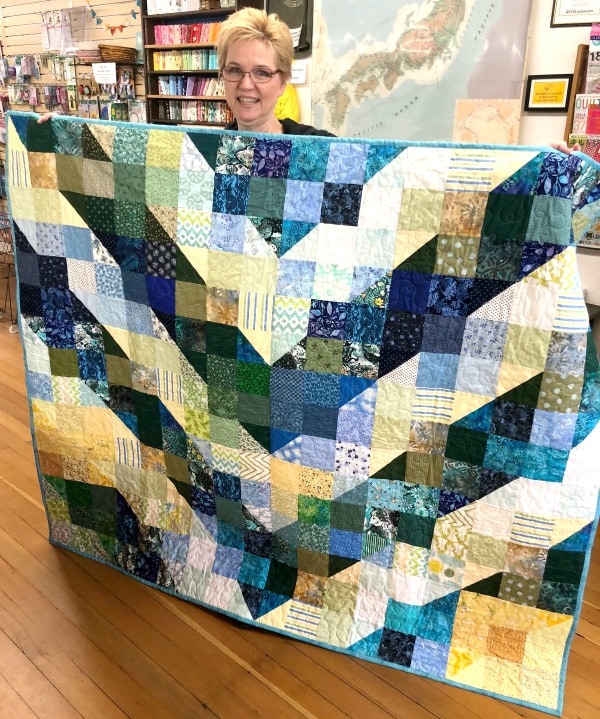
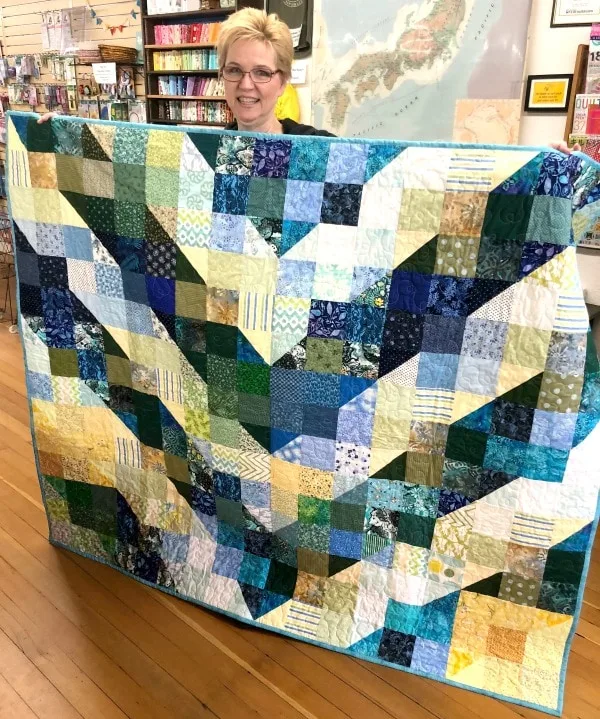
I really enjoy sitting at my machine sewing the pieces together and watching the design, colors and pattern come together into a finished quilt top. What are your favorite quilt piecing tips?
From my quilting heart to yours,
Mama Lisa…
Want to hear more from Mama Lisa? Here are her favorite quilting tools!
Luc
Tuesday 12th of June 2018
Great tips thank you
Rhonda V
Monday 11th of June 2018
Love the tips! A scant quarter inch and a consistent one is so key as well as cutting to include the ruler line.
So many fun things to learn as our piecing gets more complicated too!