Today’s tutorial is a modern take on a classic quilt block – that sounds fun right?! The modern maple leaf quilt block! Are you looking for the Quilted Table Runner Pattern? Find that here, I decided to separate the posts because it was too much for one blog post ;). This classic maple leaf quilt block is adorable styled with some modern fabric choices. Can a get an amen for the oh so popular buffalo check?? Yes, please hallelujah!
Maple Leaf Quilt Block
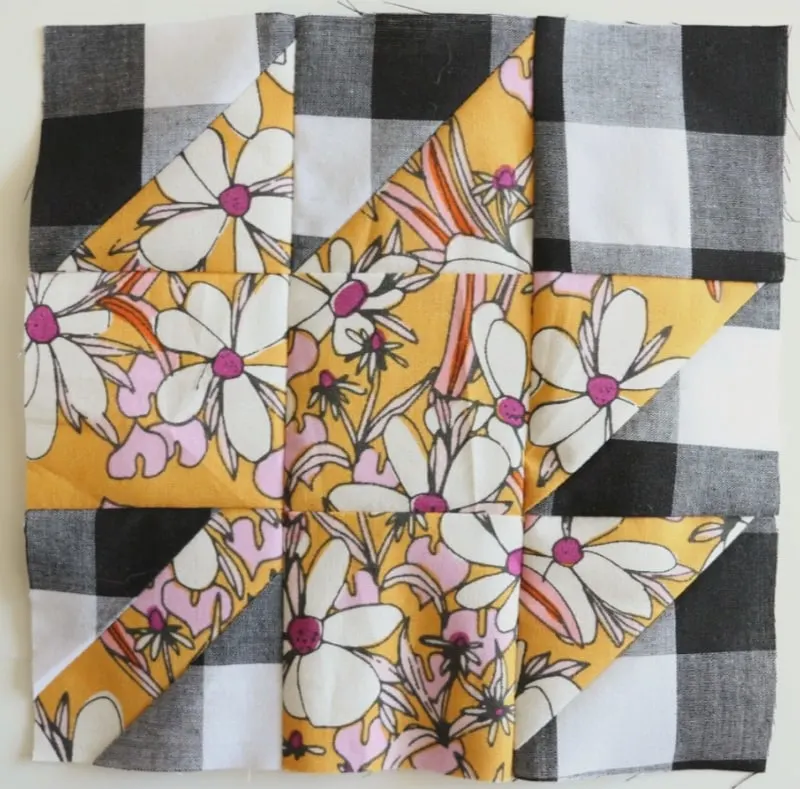
You might often see this maple leaf block with a beigy background and predictable fall colors of red, orange and yellow for the leaves. And that is great if that’s your style, but my taste is a little more modern than that. I think this is also a great exercise in picking a different kind of color combination for a classic block to give it a more modern spin. Choosing something unexpected can really create a fun look.
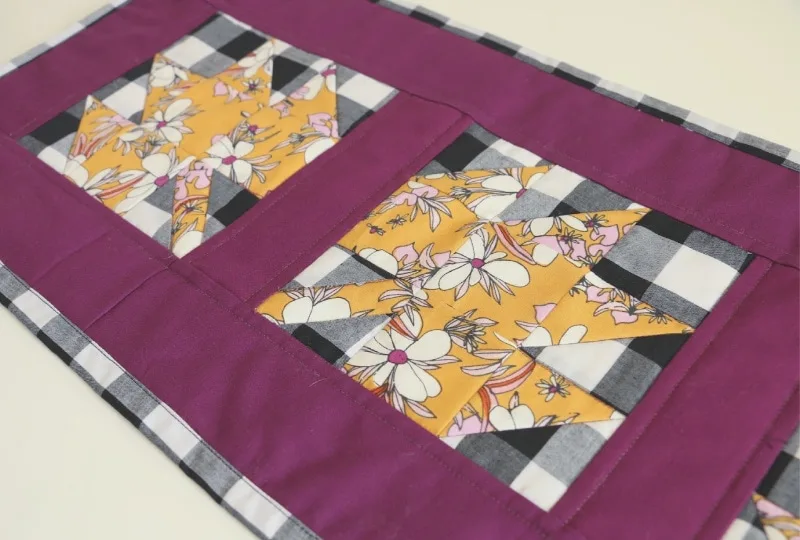
This block is 6.5 inches and great for advanced beginner quilters. The techniques used in this block are pretty simple, but you should have sewn a few quilt projects before tackling this maple leaf quilt block.
Here’s a refresher on cutting patchwork squares if you need it.
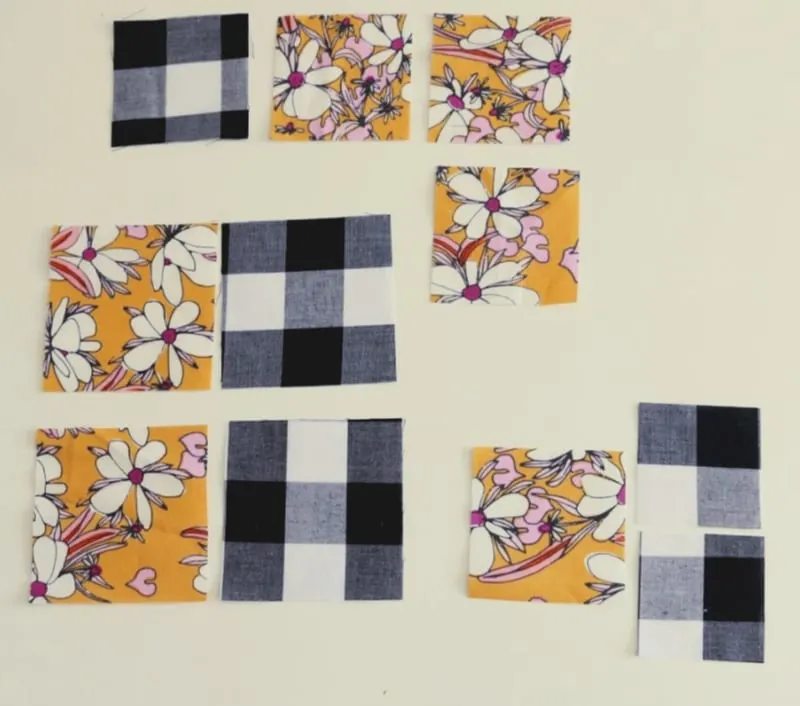
I got the buffalo check from Hobby Lobby, but this is a very popular style right now, so many stores will have this option. The floral print is from the terrestrial line by Sarah Watson.
Supplies
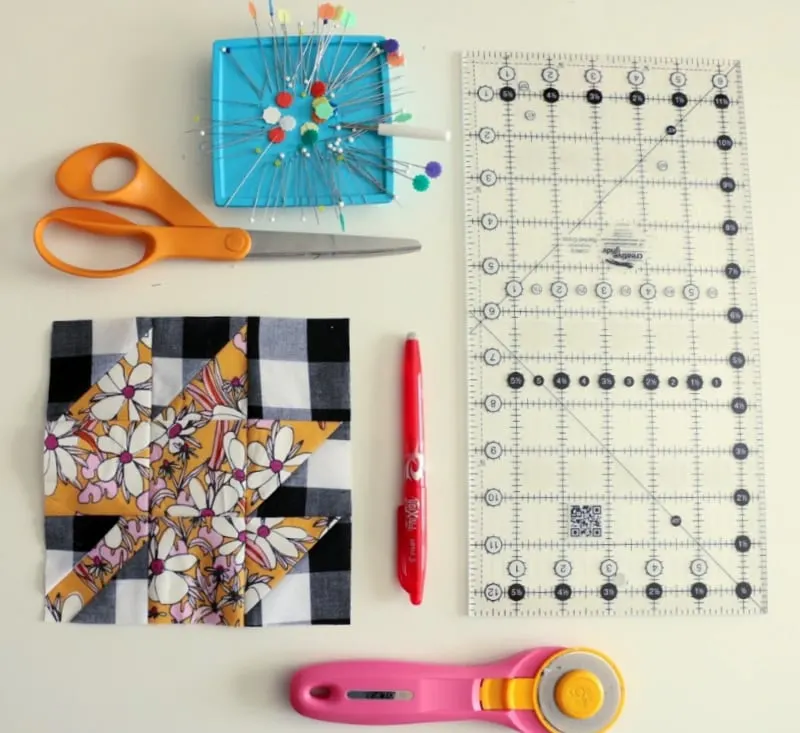
At the end of this post is the written instructions and information for making the maple leaf quilt block. Did you see the maple leaf quilt block quilted table runner pattern that I created for you? I have also prepared a throw size quilt pattern for you and can send you that via email if you’re interested!
How are you planning to incorporate this modern maple leaf quilt block in your quilting for this fall season?
Modern Maple Leaf Quilt Block
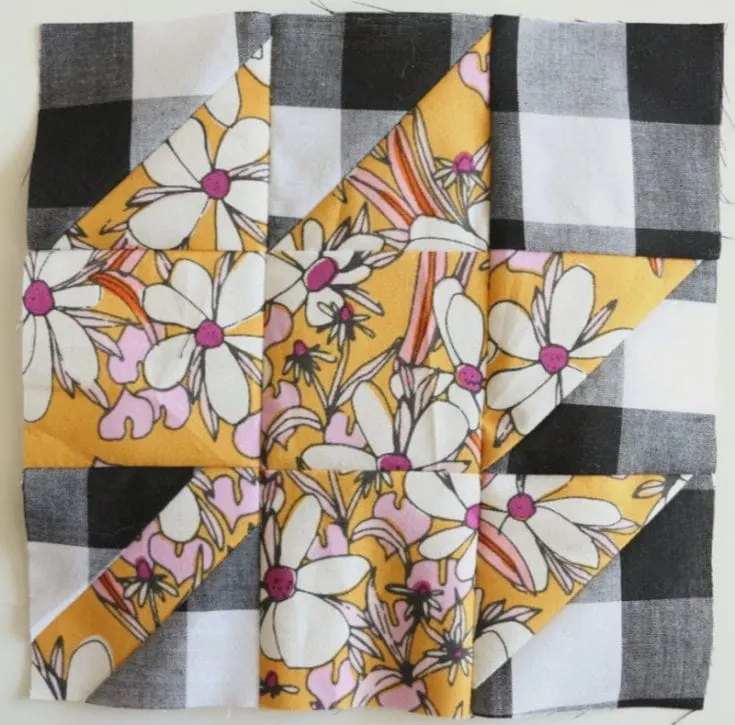
Learn how to sew this modern maple leaf quilt block. Using fresh fabrics to put your own style on this classic block. Block is 6.5 inches.
Materials
- Less than fat quarter of Background Fabric - I used Buffalo Check
- Less than fat quarter of Leaf Print - Yellow Floral Print
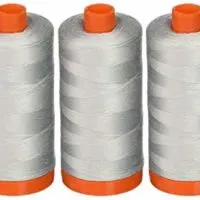
- Coordinating Thread Color - Aurifil Dove Grey
Tools
Sewing Suppiles
- Rotary Cutter
- Cutting Mat
- Scissors
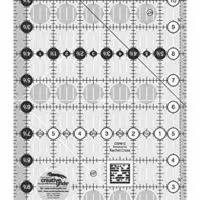
- Ruler
- Pins
- Iron
- Ironing Board
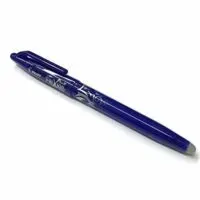
- Frixion Pen or marking tool
Instructions
- Cut background fabric: (2) 3 inch square; (1) 2.5 inch square; (2) 2 inch squares and Cut leaf fabric: (2) 3 inch squares; (4) 2.5 inch squares

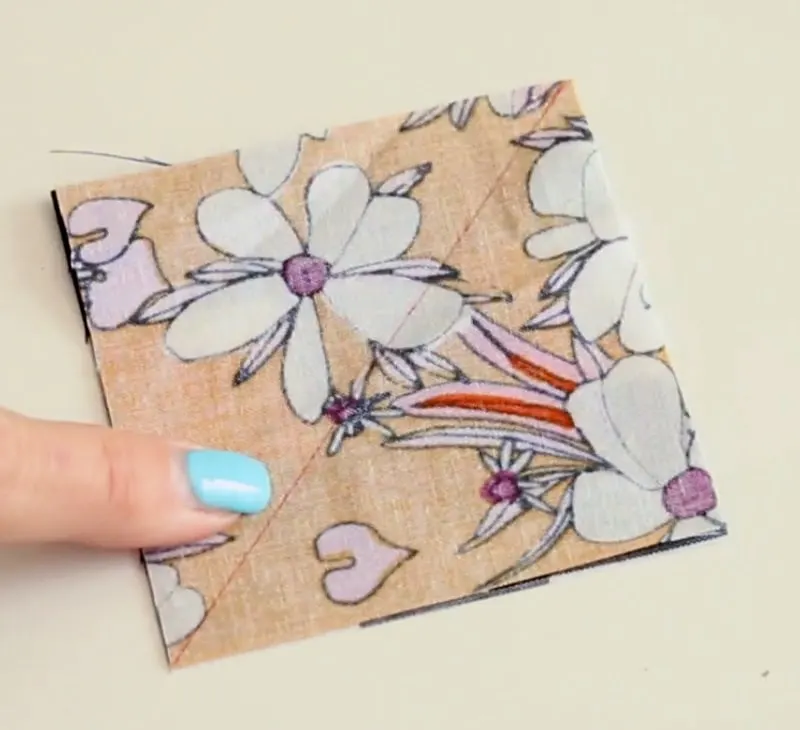
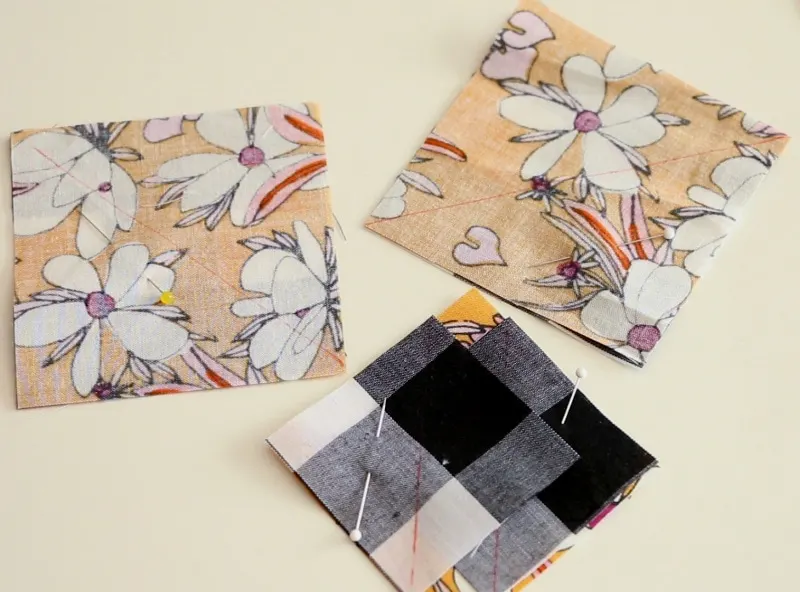
- Prepare Half Square Triangles (hst). Place (1) 3 inch background square and (1) leaf fabric square right sides together. Using a marking tool, draw a line diagonally on the lighter fabric so that you can see it. Do this for the other set of 3 inch squares. Place a pin so they stay together.
- Take (1) 2.5 inch leaf print fabric and the (2) 2 inch background squares to create the stem unit. Place the fabric right sides together and put the 2 inch square lined up in a corner. Draw a line diagonally down the 2 inch square and pin in place.
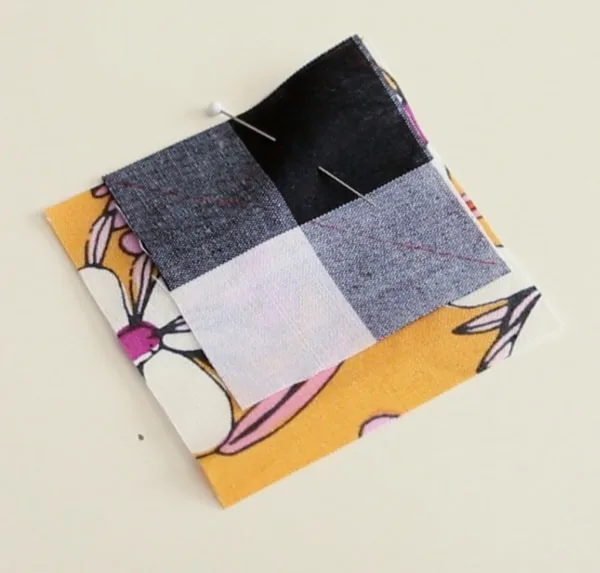
- Place the 2nd 2 inch square on the opposite corner and repeat process from step 5.
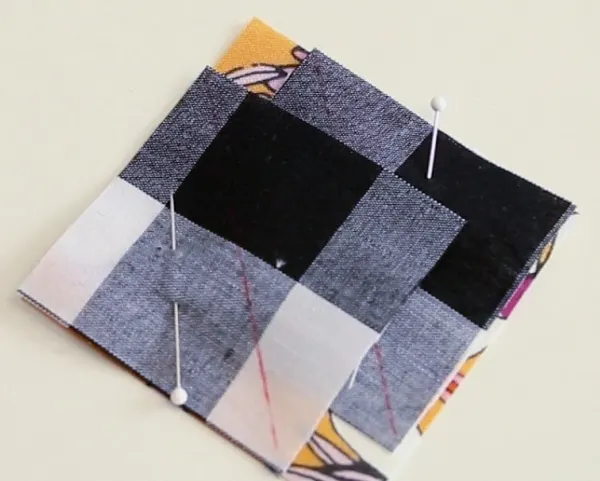
- Take the hst units and stem unit to the sewing machine.
- For the hst units, sew 1/4 inch on either side of the diagonal line.
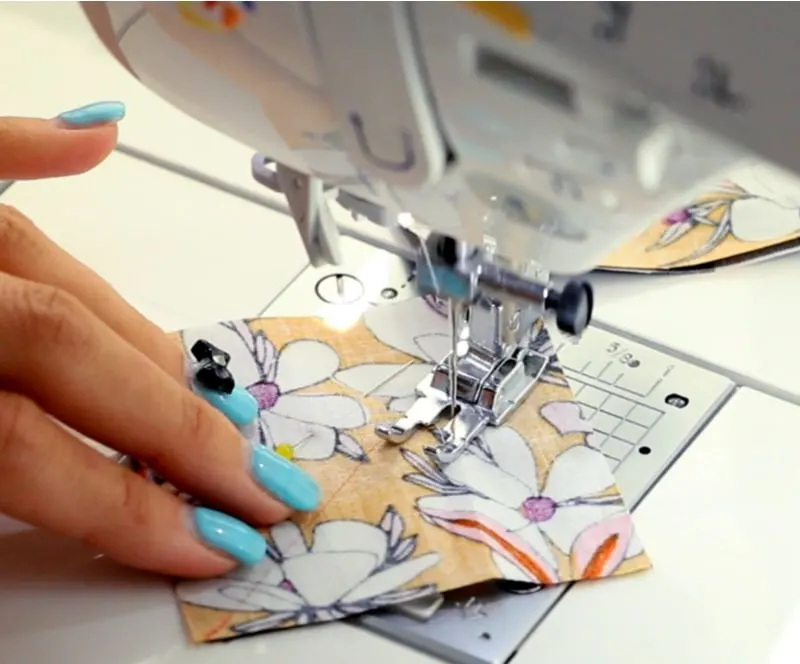
- Sew along the diagonal lines, just slightly to the right of the ling, from each background square on the stem unit being careful not to catch the other square in the stitch.

- Cut along the center line of both hst units.
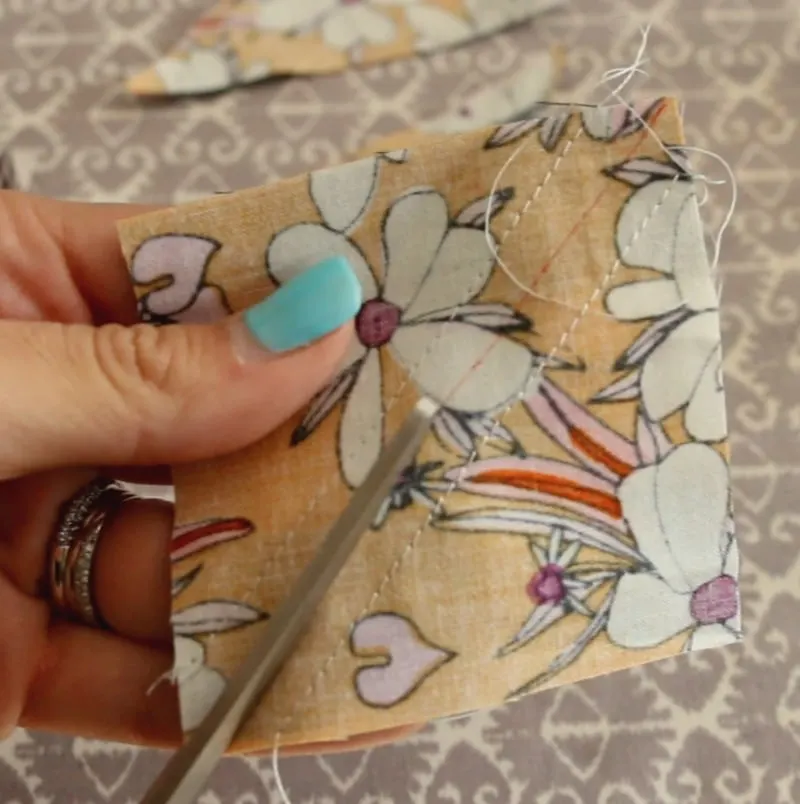
- Trim to the right of the sew lines on the stem unit to create a 1/4 seam allowance.
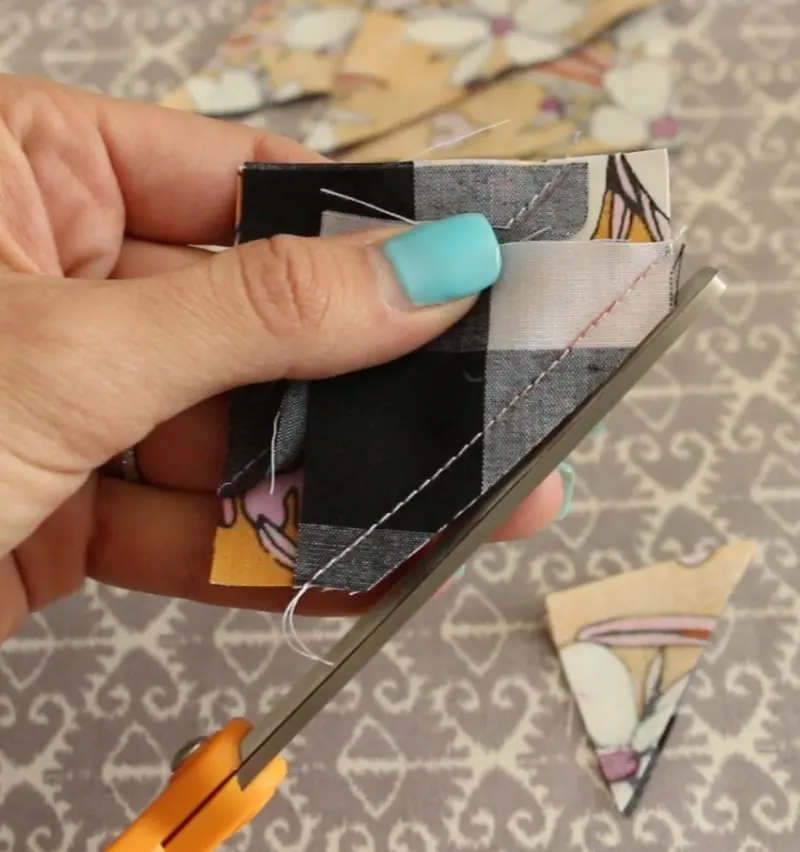
- Iron the stem unit flat.
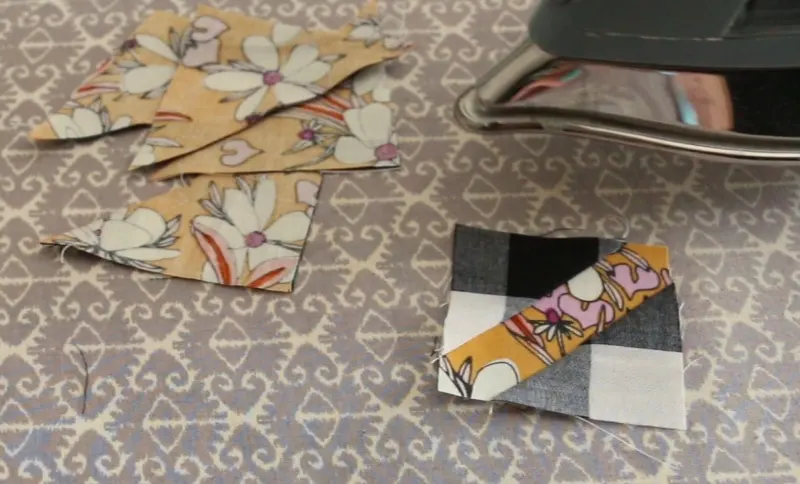
- Press the half square triangles so that the seam is laying along the darker fabric. Repeat for remaining 3 half square triangles.

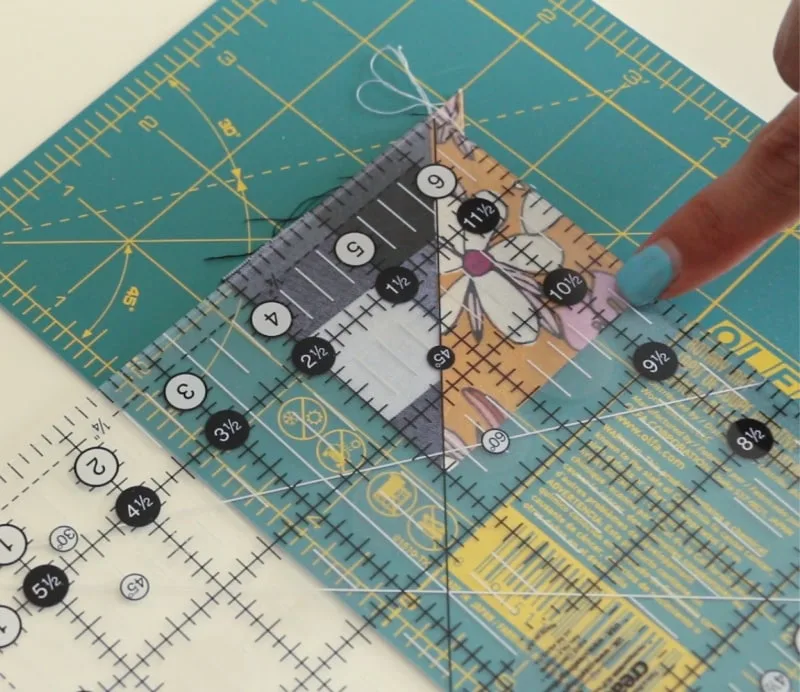
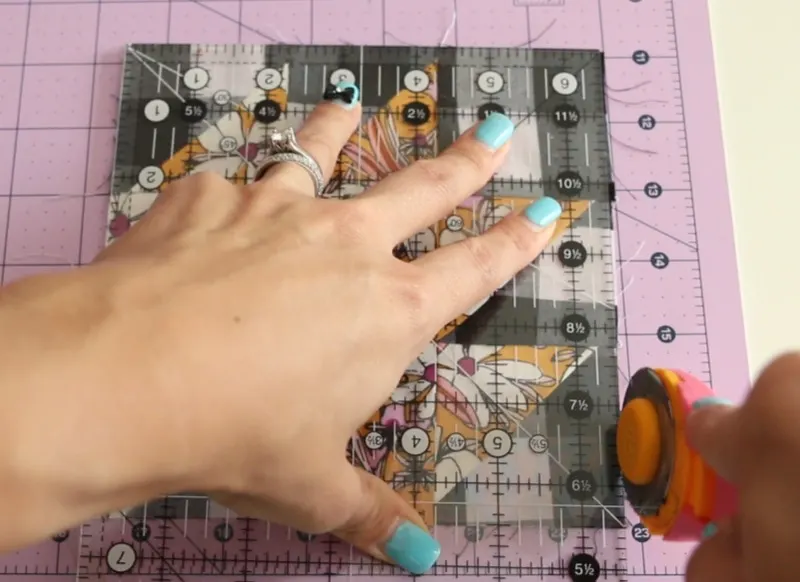
- Trim half square triangles so that they are 2.5 inches. Using a ruler with a diagonal line is helpful for this step. Trim the stem unit if necessary, there will be very little to trim off.
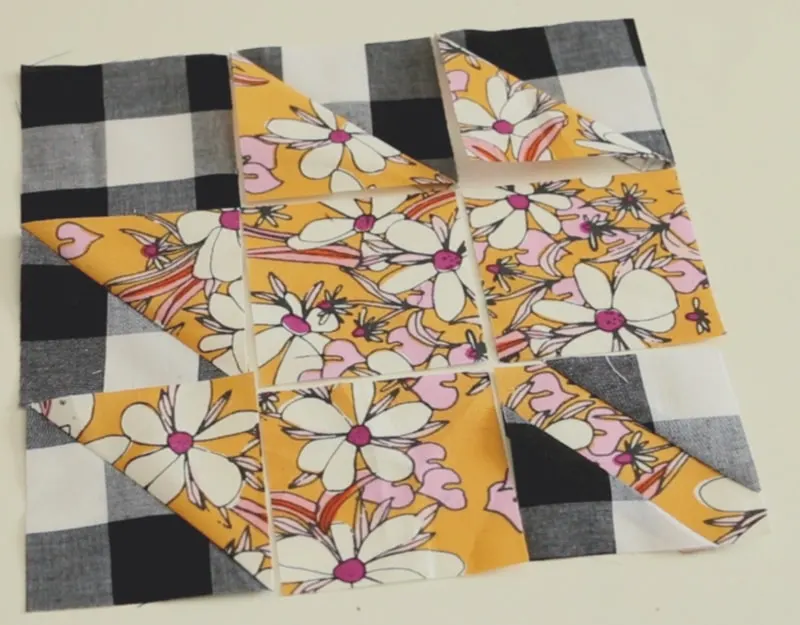
- Layout squares to prepare for sewing them together.
- Stack squares to take them over to the sewing machine. For the left 2 column place right sides together and then stack from the top to bottom of the block. Do this for column 3 also.
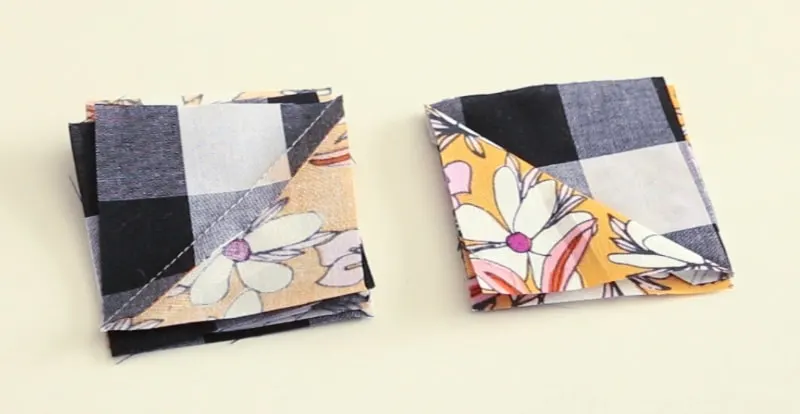
- Sew column 1 and 2 together with a 1/4 seam allowance, chain piecing each block together. Do not cut the chain pieced threads.
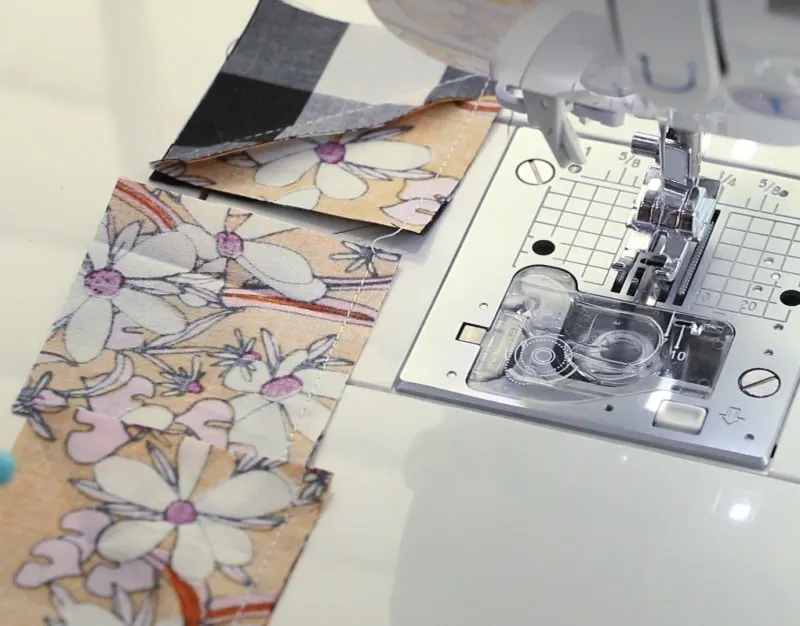
- Attach column 3 in the same manner.
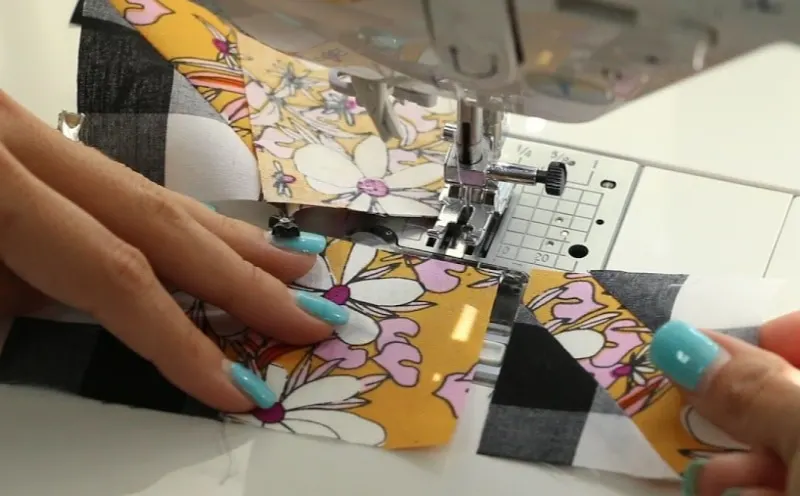
- Do not cut connecting chain pieced threads. This allows all of the blocks to stay together in preparation for sewing the longer seam.

- Press the seams from the top row to the right, the middle row to the left and the third tow to the right. This allows you to "lock" those seams together as you sew and create nice corners.
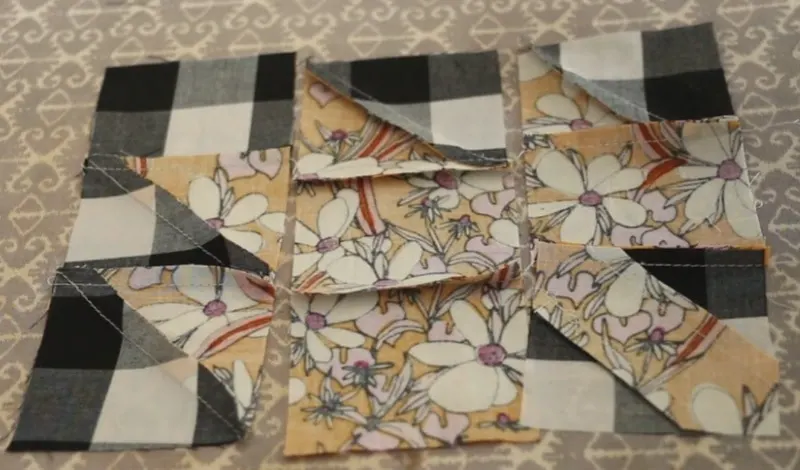
- Take block to the sewing machine and sew down remaining two seams with a scant 1/4 inch seam allowance, making sure that you keep those nested corners locked together. You may use a pin if desired.

- Iron seam open once complete. At this point you will need to cut the little chains from the chain piecing that we did in order for the seam to press open.
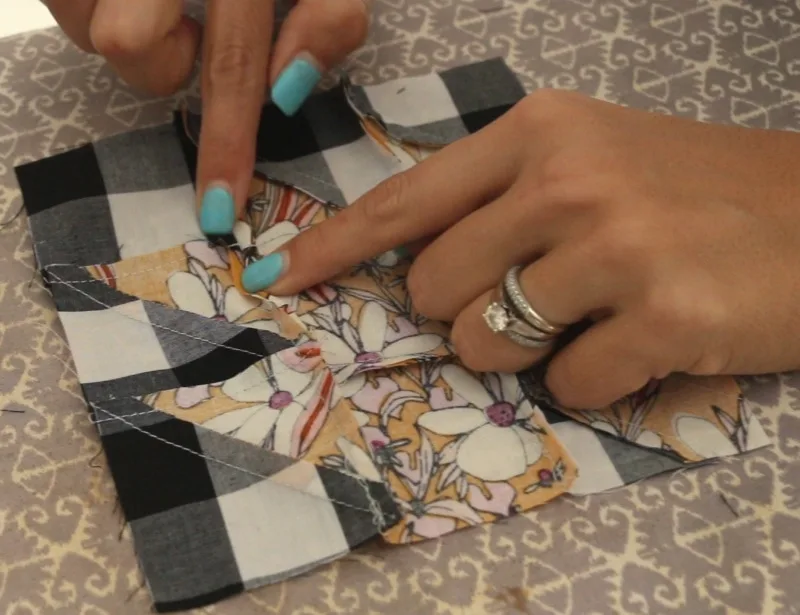
- Trim maple leaf block to 6.5 inches square.
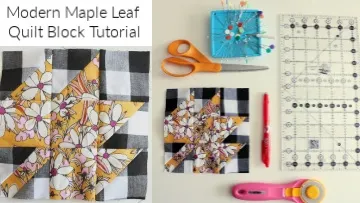
Gather Sewing Supplies 
You're done! Refer to the video for tips on making these assembly line fashion for making multiple at a time to maximize your time and efforts. 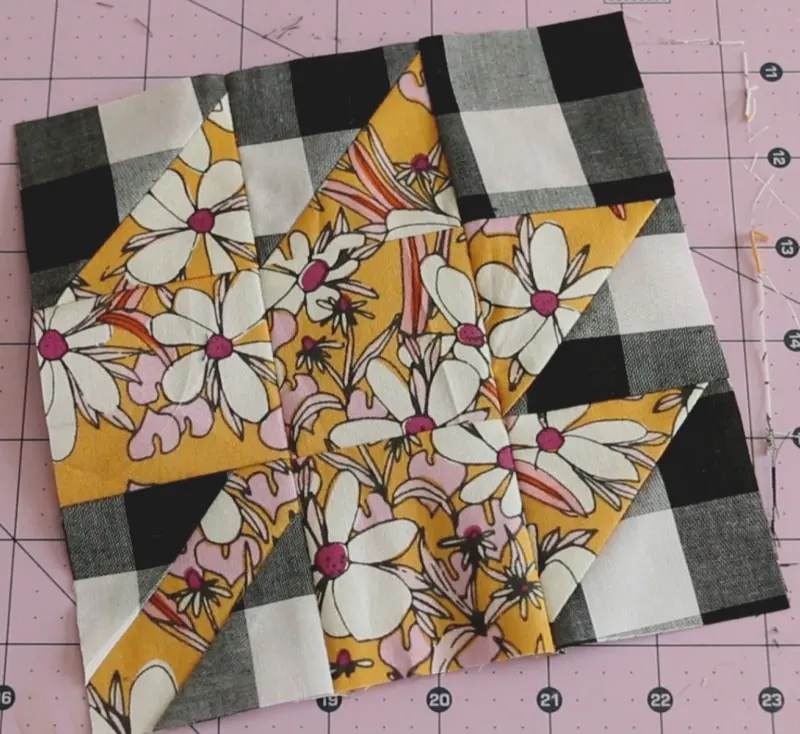
Recommended Products
As an Amazon Associate and member of other affiliate programs, I earn from qualifying purchases.

Char Cunha
Saturday 2nd of November 2019
Thank-you Melanie. Adorablle block and so glad I now can make it!
Merrilee
Saturday 2nd of November 2019
This is super cute, Melanie! I love how you pair your fabrics; always such a fresh eye for color! I'm currently on the verge of starting a new quilt for my second son, hopefully to finish before he graduates in 2021! But I like this maple leaf pattern and plan to make it as a distraction project!
Joanne
Saturday 2nd of November 2019
Melanie, I love your new tutorial. I can’t wait to try it out. The table runner is beautiful just like all of your other tutorials.
Marty
Saturday 2nd of November 2019
Melanie, I love the maple leaf block (bring from VT!), my all time fall favorite (we used to call as kids the fall foliage (Trix cereal colors). I too love the detailed photographic newsletters for a block, and the option to print it out and save to my iBook list of fav blocks! Your trip sounds wonderful, what a blessed journey with a lovely little sponsor.
Linda
Friday 1st of November 2019
I love your fabric combos. Something I would never have thought of.