Today, I’m sharing with you this adorable sawtooth star coaster sewing tutorial! I made these stars for the sawtooth star quilted table runner, but they were too small for what I was going for so they were extra blocks laying around. I decided to whip up some coasters (mine always disappear… anyone relate?!?) with my orphan blocks.
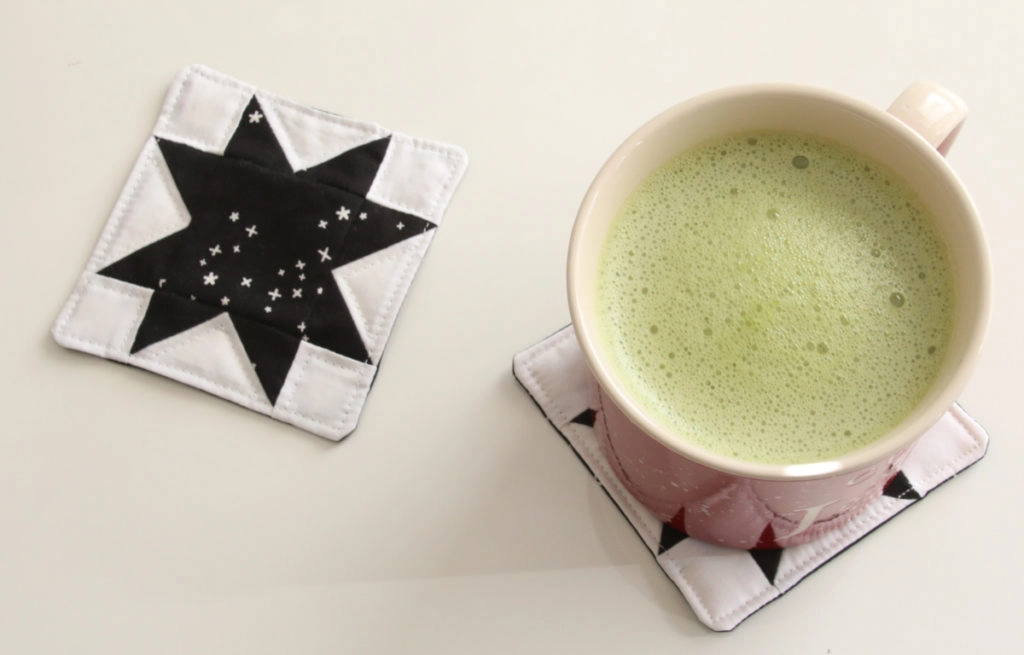
Coasters are great ways to use up fabric scraps and orphan blocks and make great handmade gifts. They are super quick to make and washable, so these star coasters are striking additions to any room!
This same method can be used to make some quilted mug rugs (large coasters) or placemats. I love being able to make useful things for around the house to add a handmade touch and reduce waste and unnecessary purchases.
Simple Sewing Tutorials for Home
Beginner placemat sewing tutorial
fabric napkin sewing tutorial
beginner half apron tutorial
Star Coaster Sewing Tutorial
Sawtooth Star Coaster Sewing Tutorial
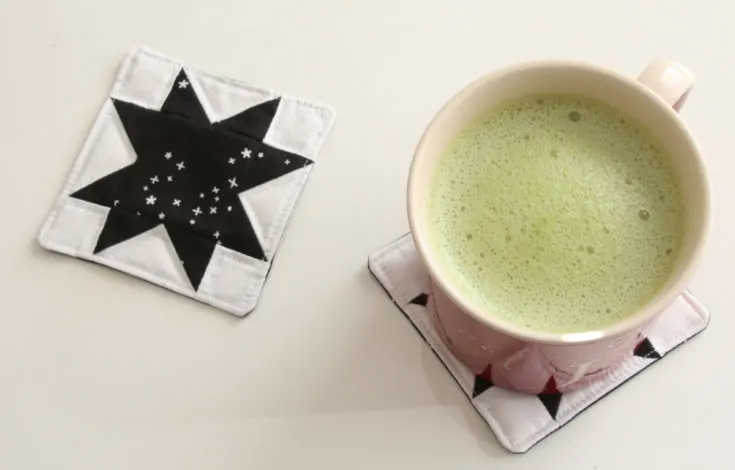
Do you have some smaller spare quilt blocks laying around? Turn them into a coaster! I opted to make larer starts for my last project, so I had 2 4.5 inch stars that had no project. I didn't want them to get lost in a stack somewhere so I sewed them into coasters!
Materials
- 4.5 Sawtooth Star block or other small orphan block or solid piece of fabric you love.
- 4.5 inch piece for backing
- 4.5 inch piece for batting
- coordinating thread
Tools
- sewing machine
- scissors
- iron/ironing board
Instructions
- You can make a 4.5 inch sawtooth star block from this tutorial OR you can use another orphan block that you have laying around or simply cut a 4.5 inch piece of fabric that you want to use.
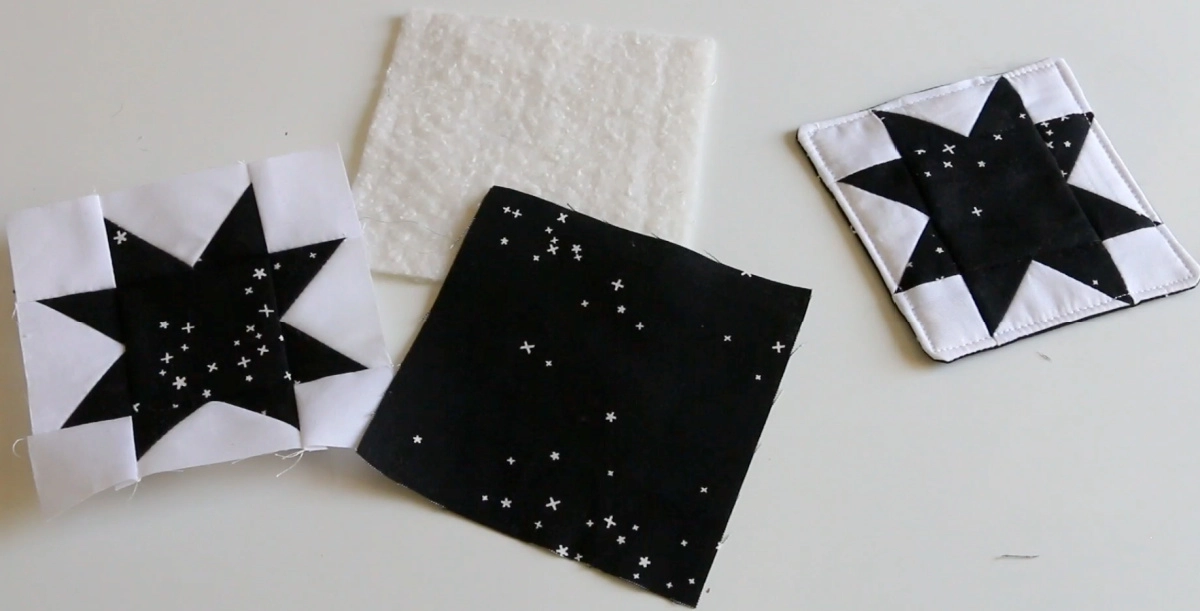
- Place your top right sides together with your back. Then place both of those on top of a 4.5 piece of batting.
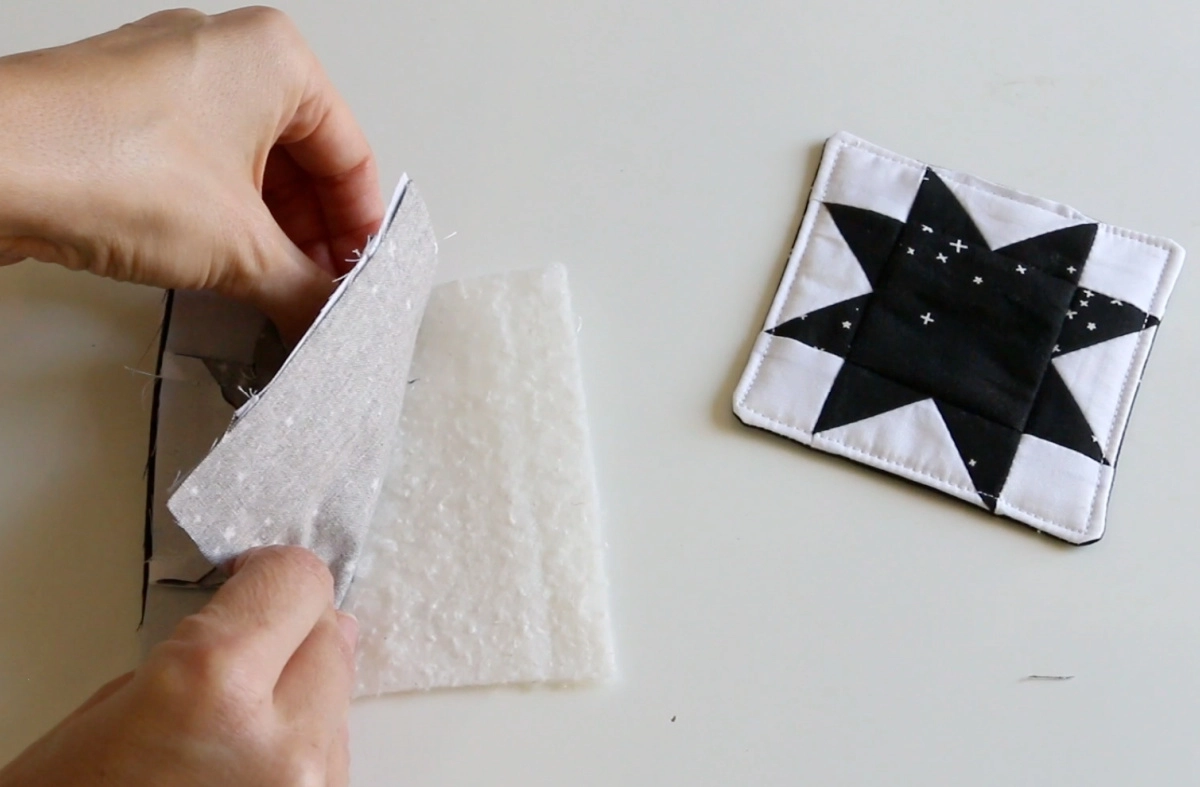
- At the sewing machine, use a 1/4 inch seam allowance, sew all the way around but leave a 11/2 inch opening to flip it right side out.
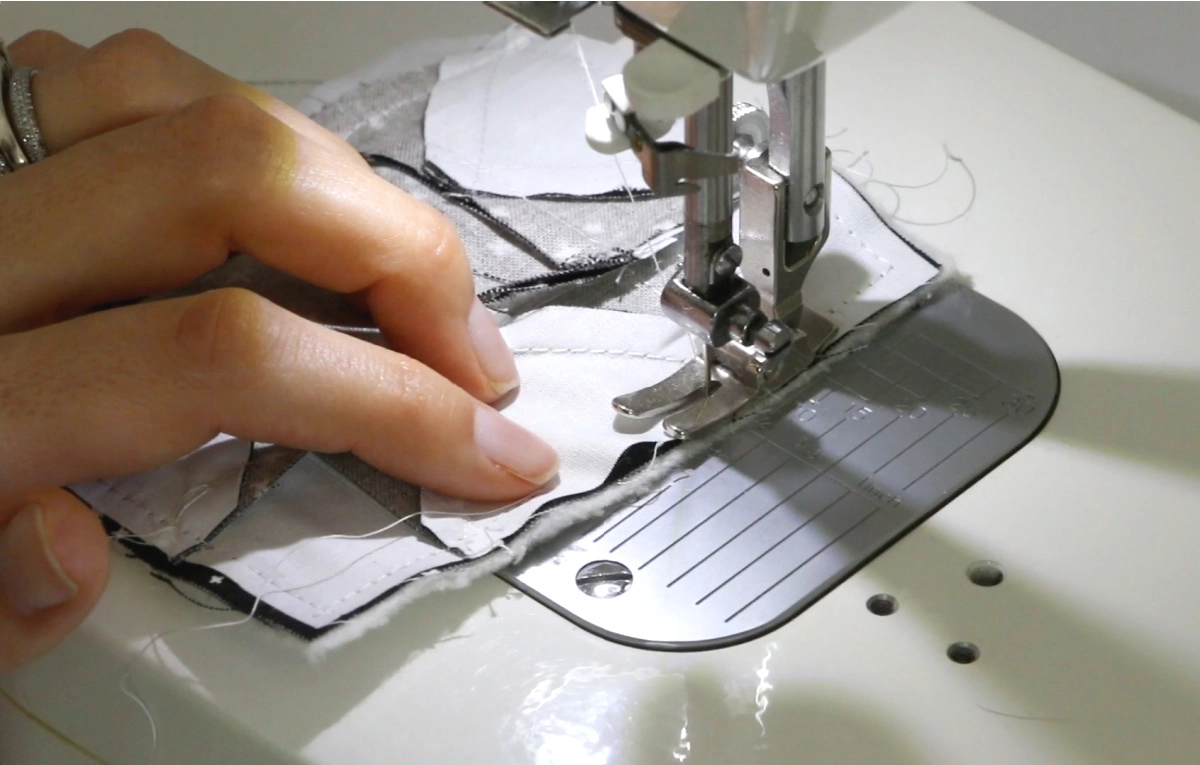
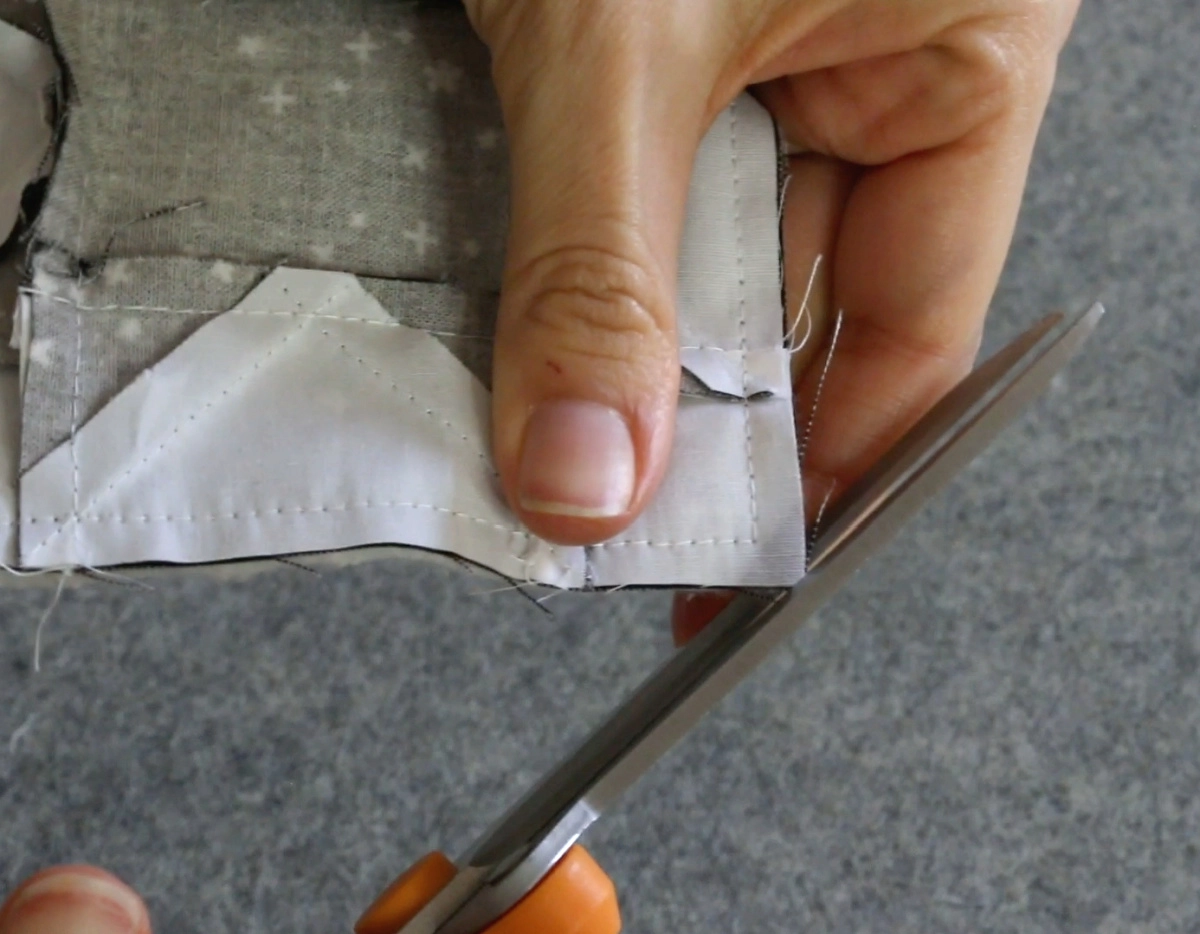
- Trim corners, do no cut stitches.
- Turn right side out and pop out corners with fingers or a chop stick.
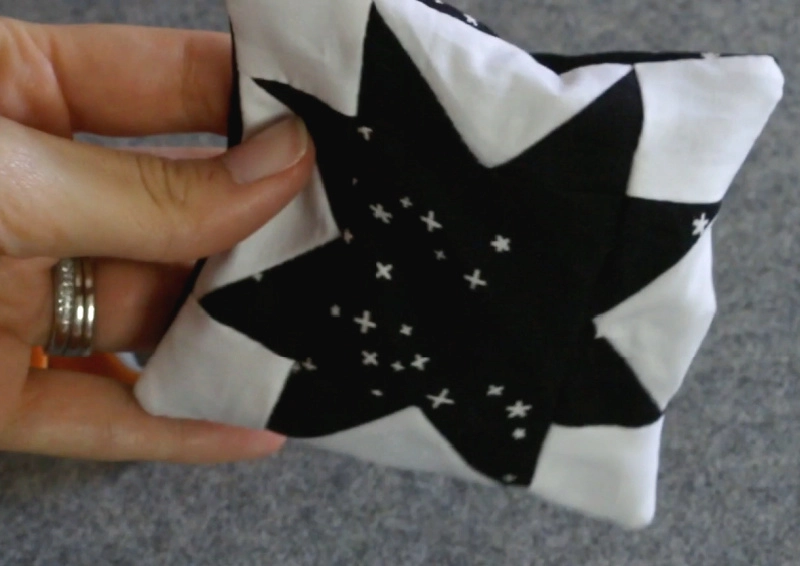
- Press with iron, making sure that the opening is flat and neat.
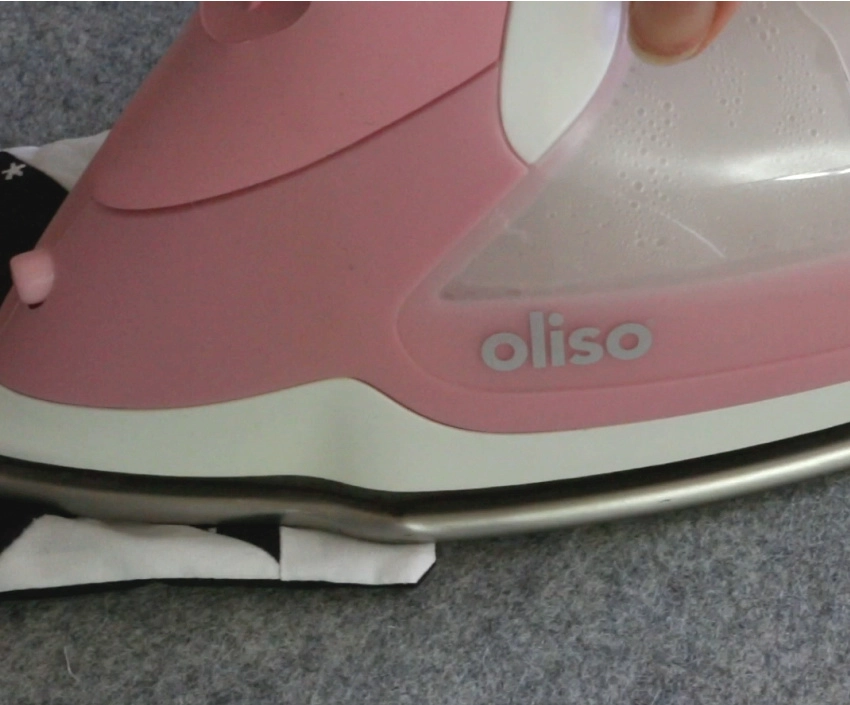
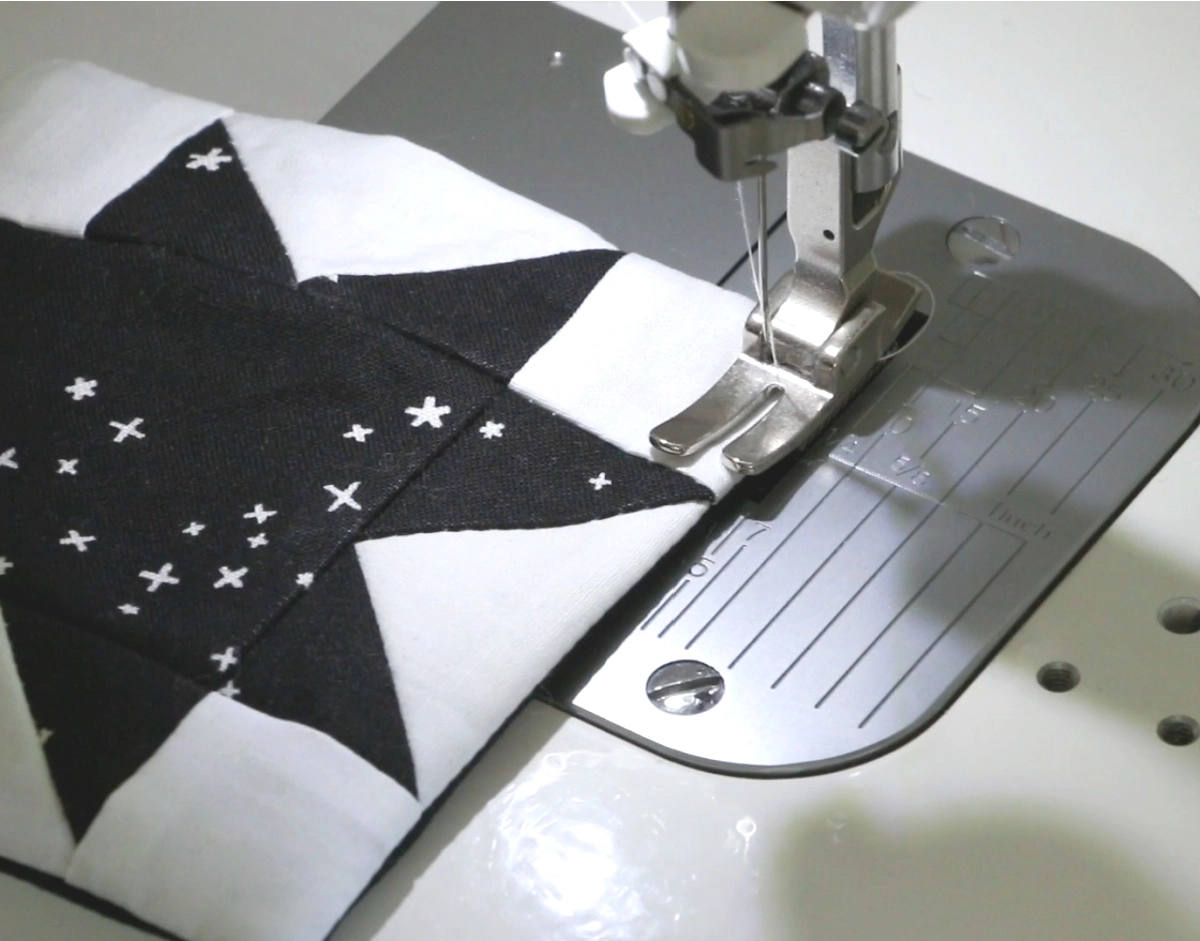
- Take coaster back to sewing machine and top stitch with a 1/8 seam allowance all the way around. Add any additional quilting that you'd like.


Patti Hansen
Thursday 29th of October 2020
Hi Melanie, I was so happy when I found your video on how to make a tote bag! I've been wanting to make tote bags for years and now that we are homebound I thought it was the right time. Your video was the best by far, it's exhausting searching sometimes :-). I've made several and have mailed them to friends and family which brought them happiness. My next project will be making lap quilts using your quilting techniques out of tablecloths of my mother. She passed a year ago and I thought it would be a nice gift for the family members.
Thank you for sharing your experience, it feels like we are friends in a strange way since I've spent so much time with you and your videos :-). I wish you a full recovery. I look forward to future projects with you, they are all so wonderful.
All the best to you and your family! Thank you for your amazing site and inspiration to get crafty!