
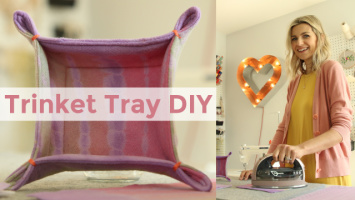
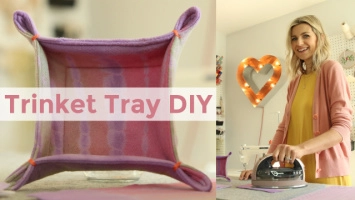
I love a good quick sewing project. Especially ones that use up scraps of fabric or old clothes like this one! Today’s post is for this trinket tray sewing tutorial, great for absolute beginners and make great gifts!


What kind of fabric scraps can you use for the trinket tray?
I used one of my daughters old dresses for this trinket tray sewing tutorial. It’s ok if your fabric is knit or woven because we are going to interface it. Use up any sort of fabric scrap you have on hand and keep in mind you can make various sizes as well. You can use the same method to make larger trinket trays, just make your initial fabric squares and interfacing the size you’d like!

These trays are great for sewing notions, jewelry, candy, small toys – the possibilities are endless! You can also give these as gifts, put a gift card or treat in there and tada! You’ve got a little handmade gift that was quick to make and didn’t cost anything to make.
Simple Sewing Tutorials
In addition to this trinket tray sewing tutorial, I have a bunch more beginner friendly sewing projects that I know you’ll love!
5 minute Cork Key Fob Tutorial
Easy Fabric Basket Sewing Tutorial
You can also visit my “Sewing” category page and see all of my sewing projects and tutorials starting with the most recent. It’s a great resource for you guys!
Trinket Tray Sewing Tutorial and Video
The Iron I used: https://amzn.to/2OtYZDw
Trinket Tray Sewing Tutorial

Learn how to make this simple trinket tray sewing tutorial from fabric scraps. Quick and easy sewing pattern that is great for beginners and makes a useful tray!
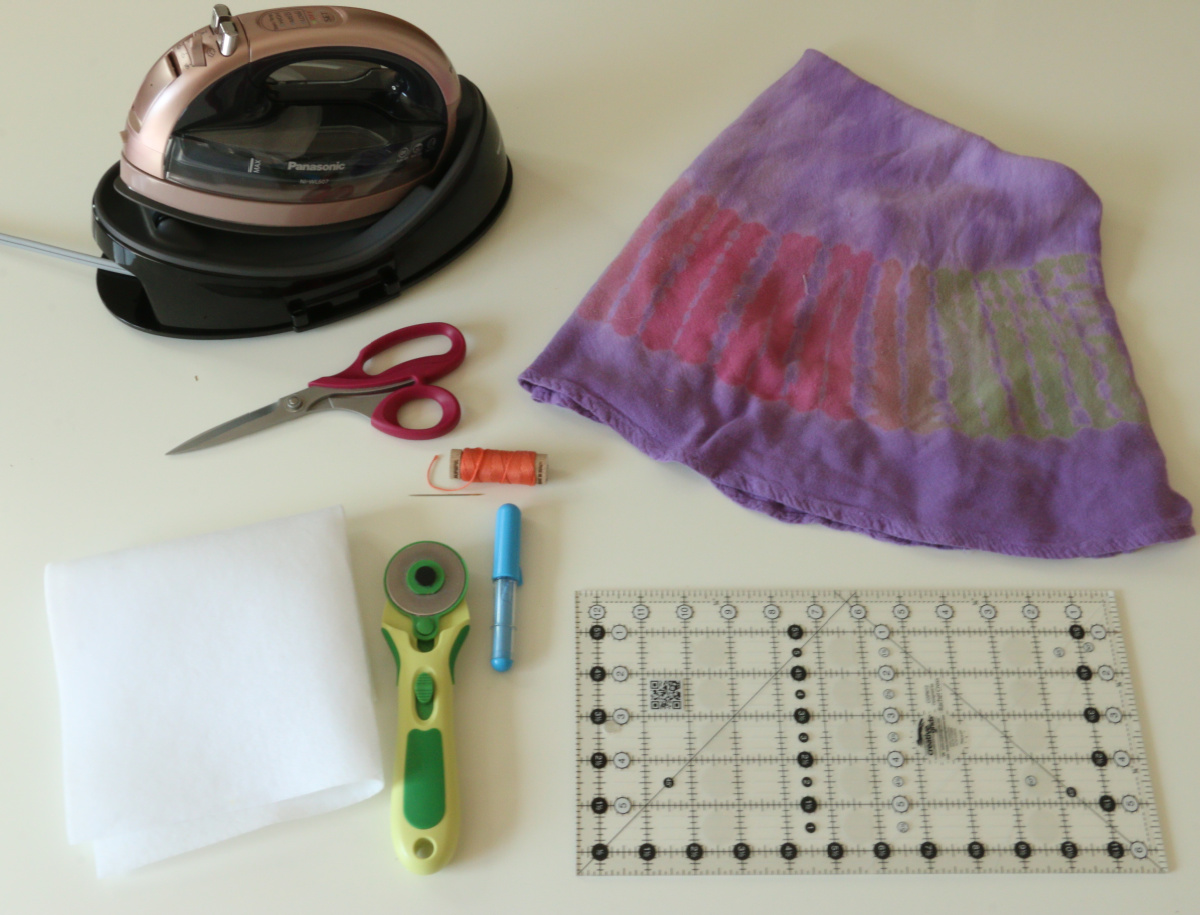
Materials
- Fabric for tray, I used an old dress (2 pieces that are 6 x 6 inches)
- fusible fleece
- embroidery floss or hand sewing thread
Tools
- iron/ironing board
- marking tool
- hand sewing needle
- fabric scissors
- ruler
Instructions
- Gather materials listed.

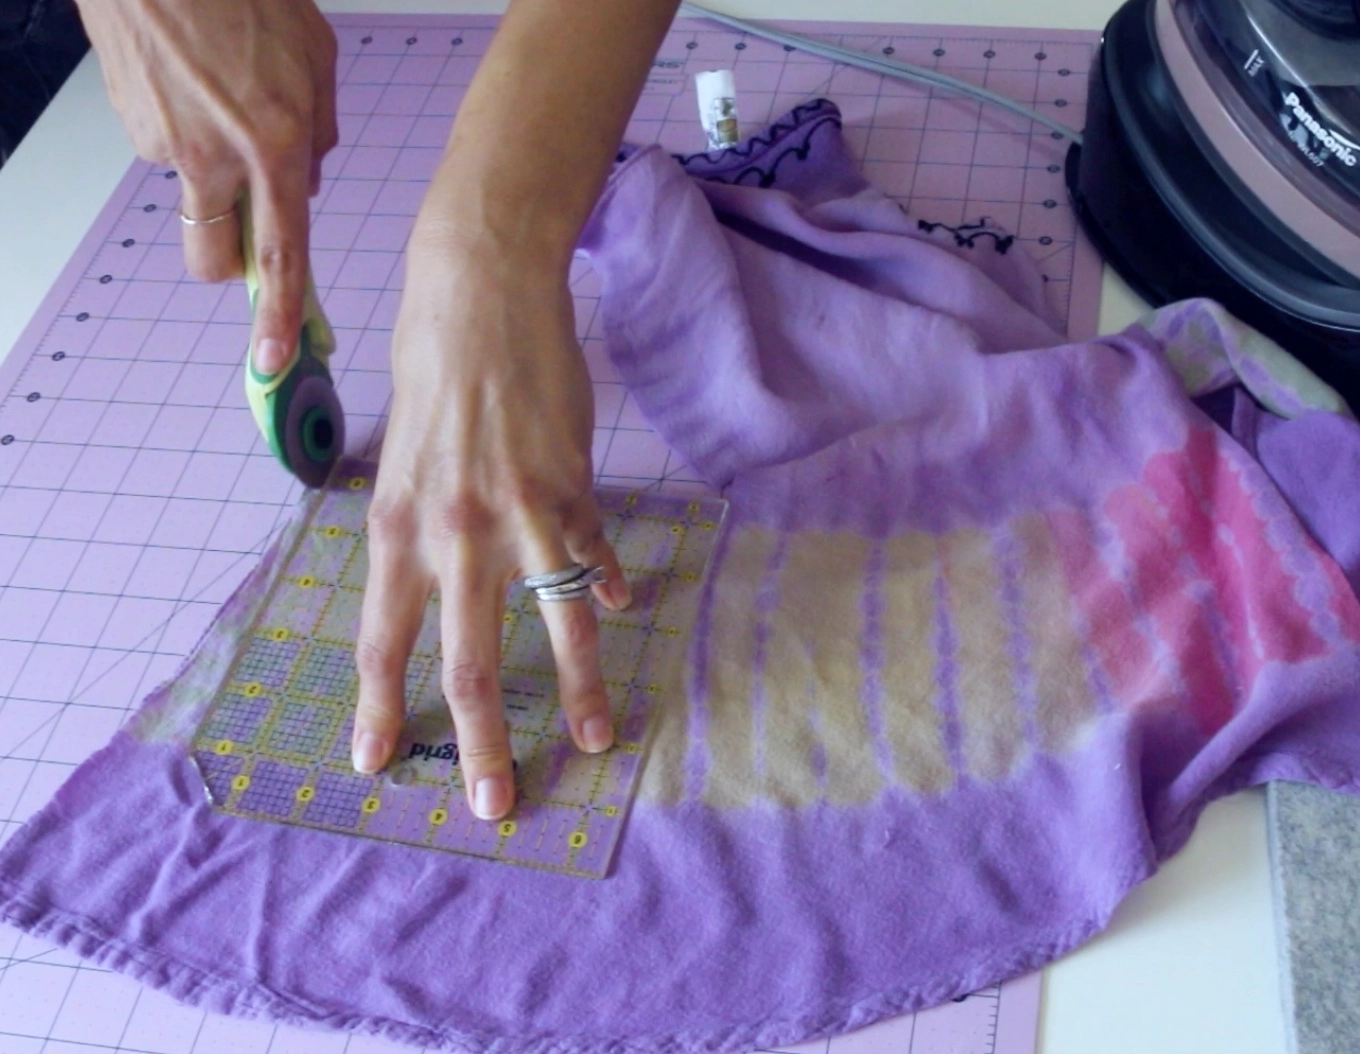
- If using old clothes, cut into it and get 2 pieces that are 6 inches square.

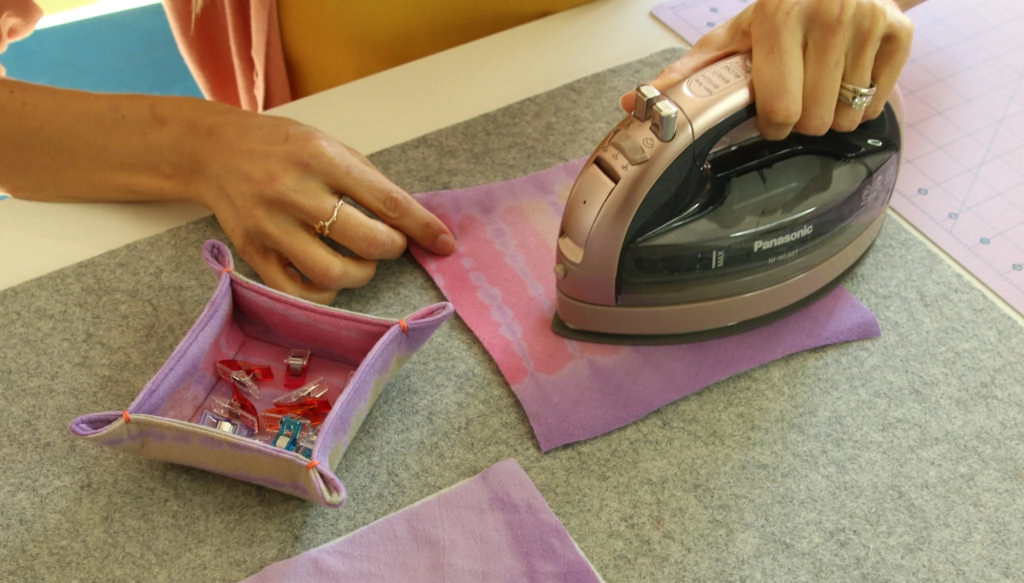
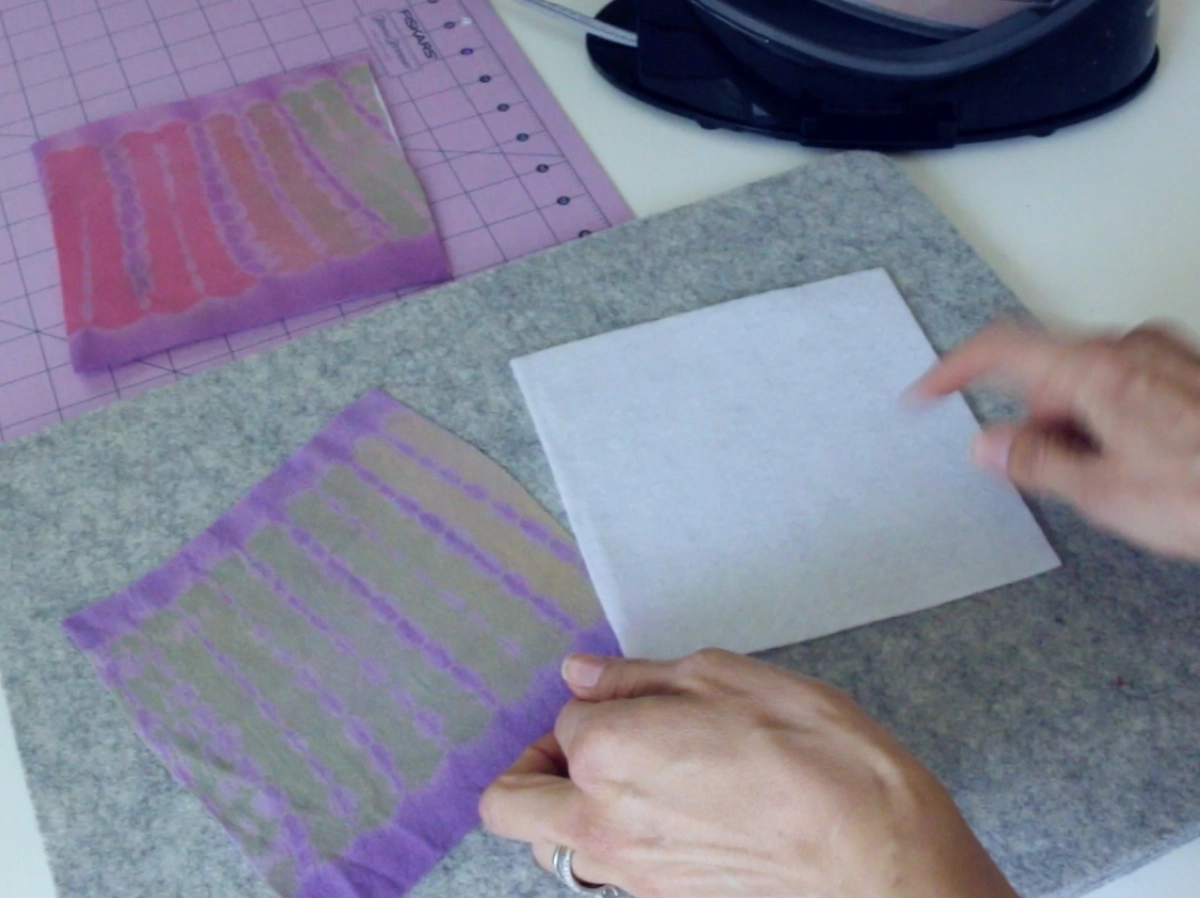
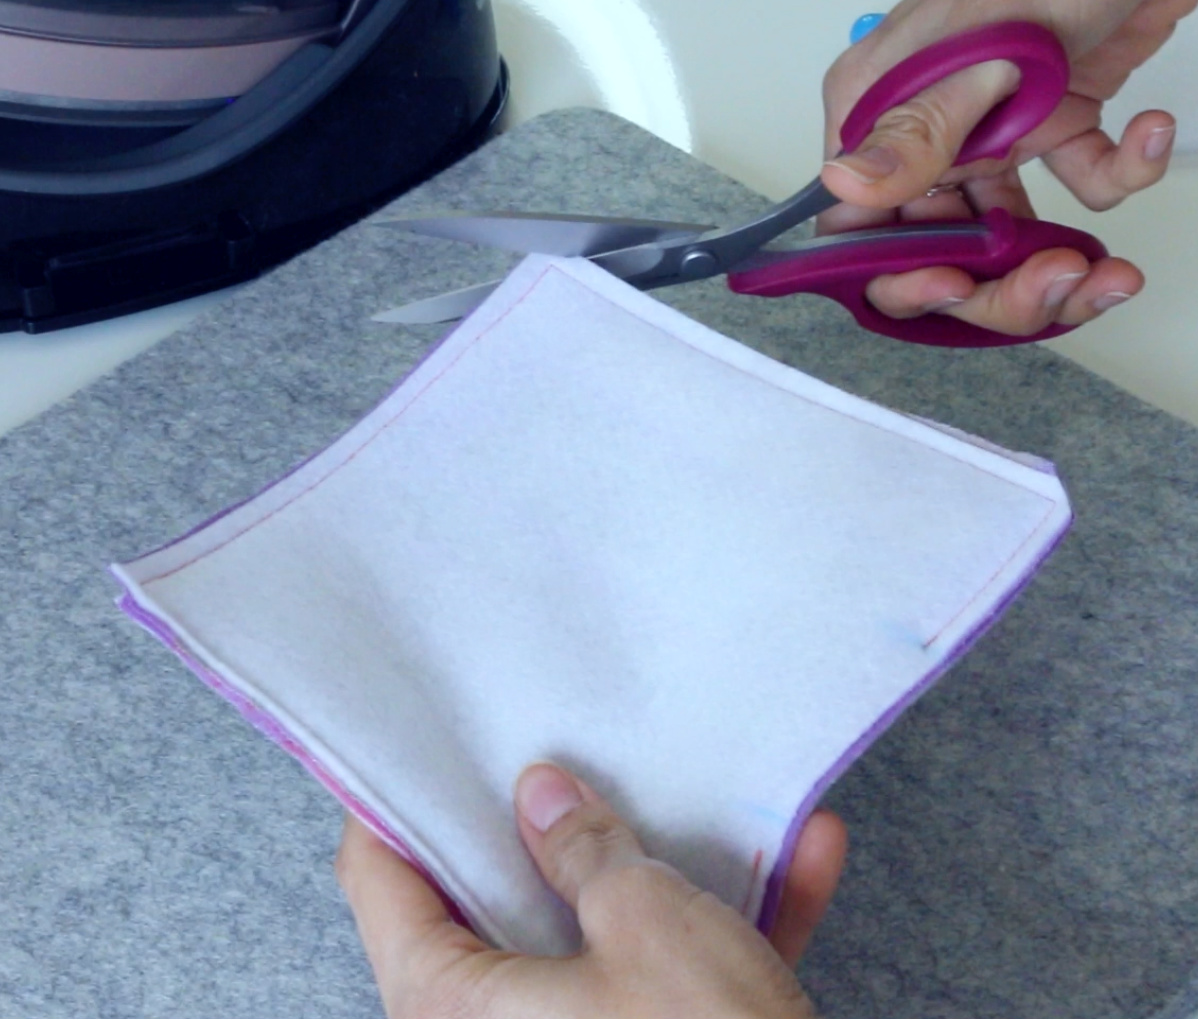
- Cut 2 pieces of fusible fleece interfacing to 6 x 6 inches. Attach the glue side to the wrong side of the fabric with your iron. Trim the sides if necessary.

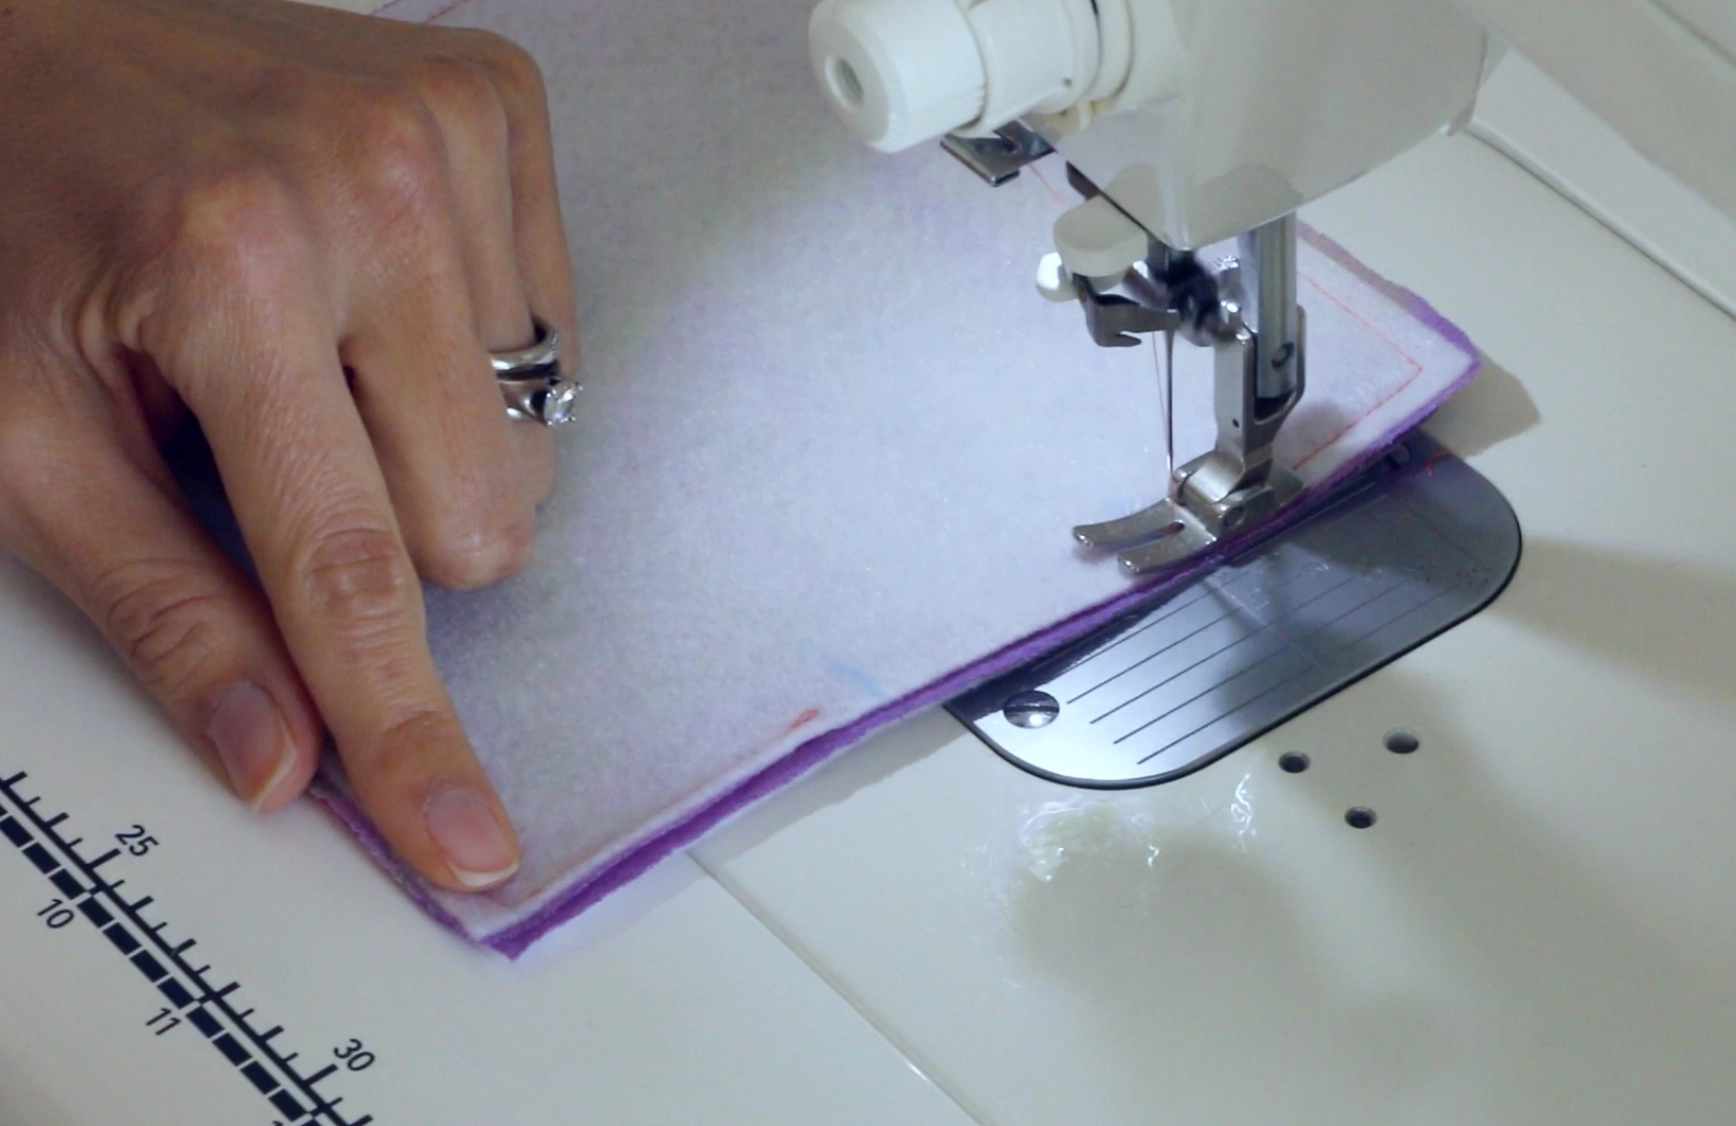
- Place right sides together and sew with a 1/4 inch seam allowance. Leave an opening several inches wide to flip right side out.

- Trim the corners and flip right side out. press the seams in place.

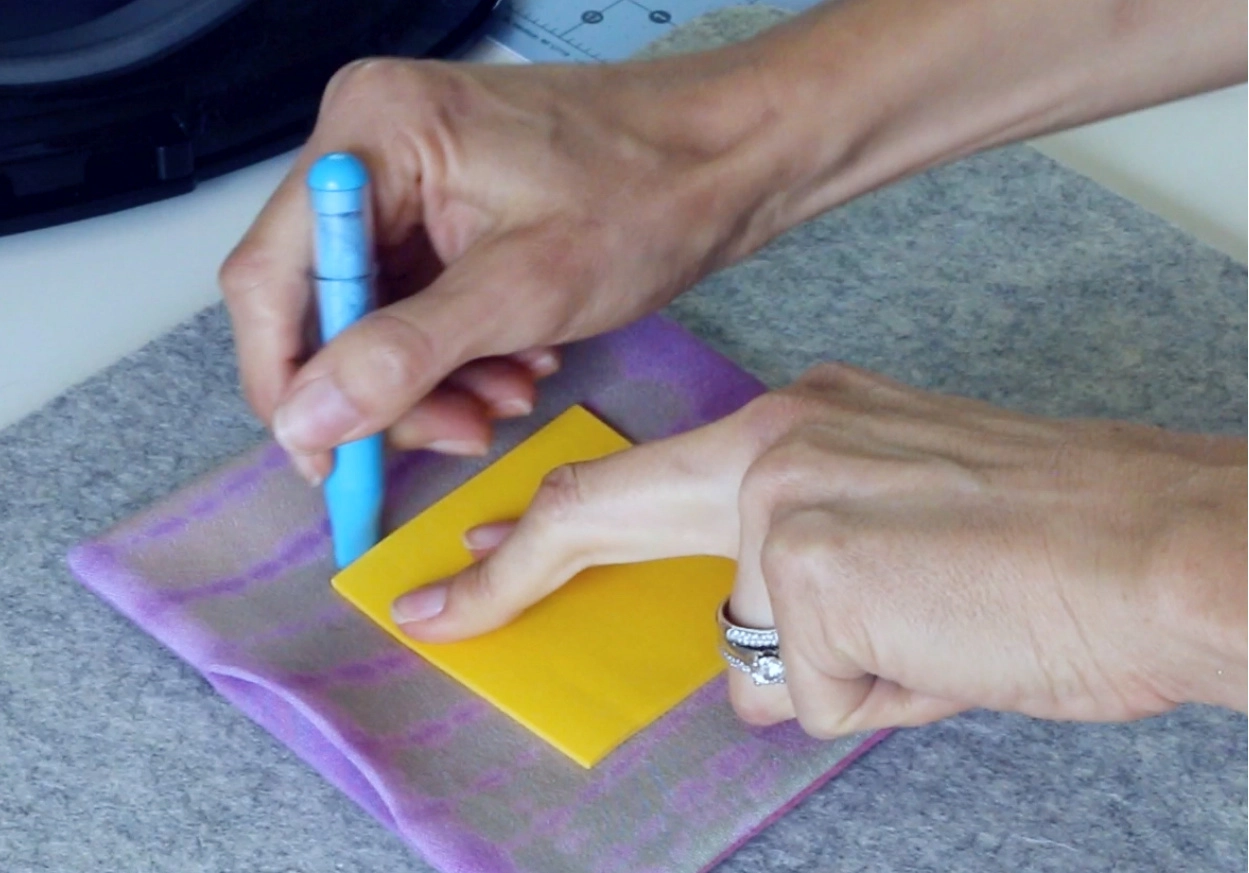
- Mark a square about 3 inches (size of a post it note) in the middle of the fabric square with a chalk marking tool.

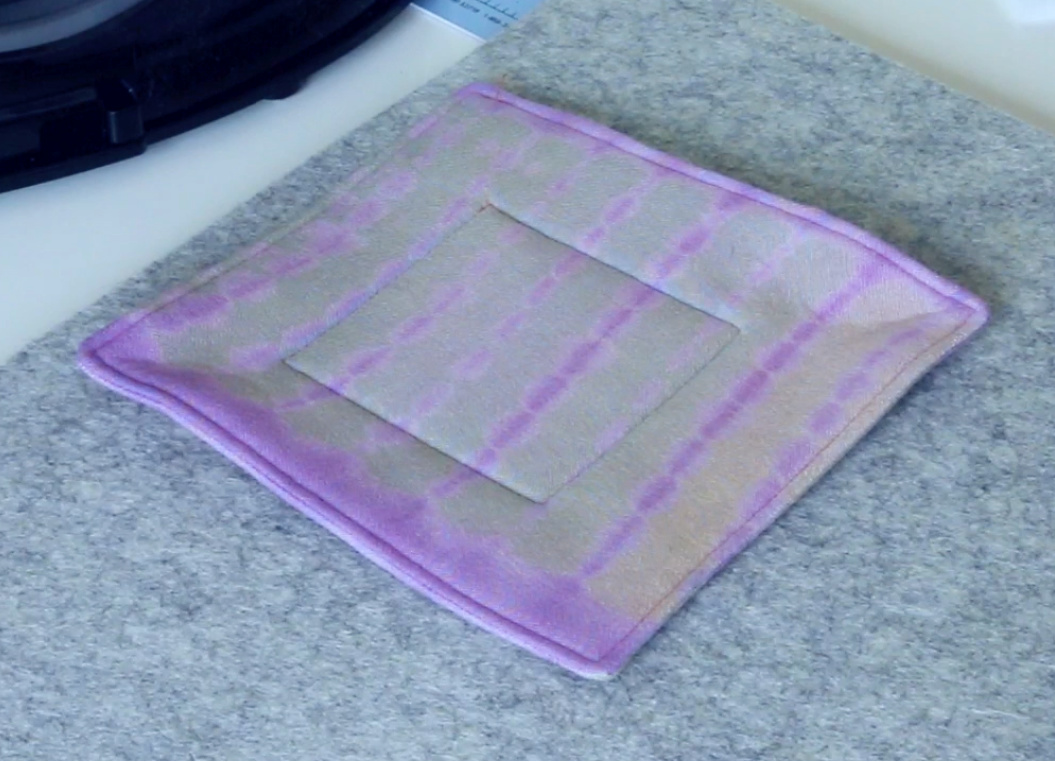
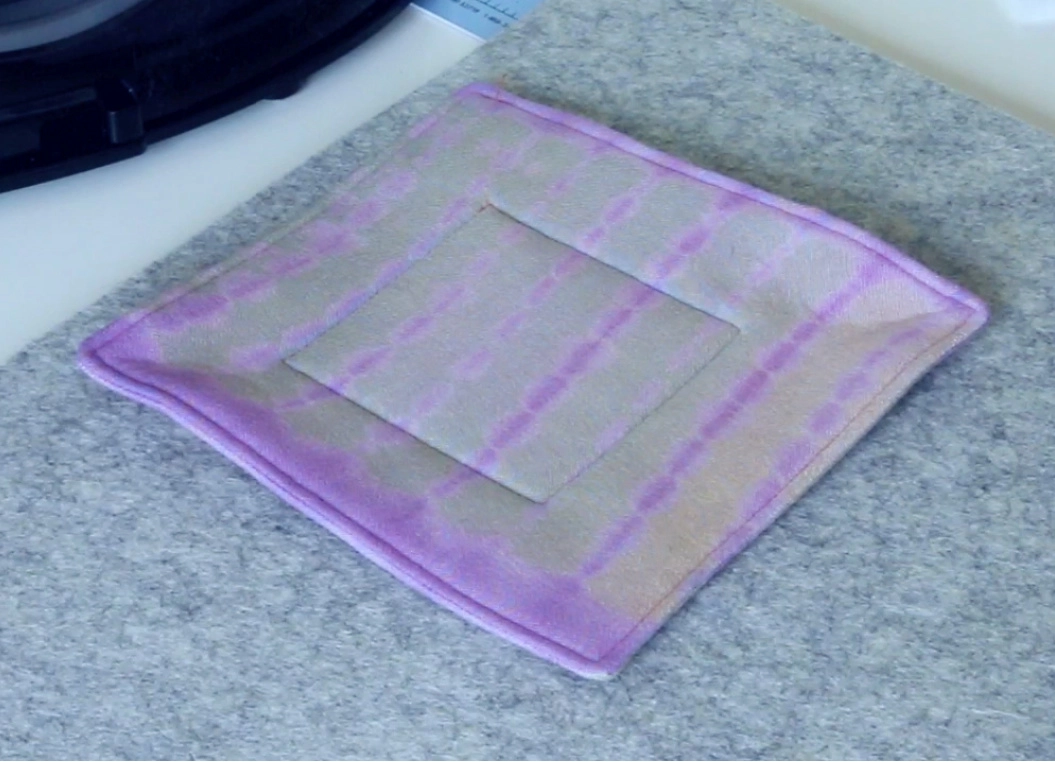
- Sew along that inner marked square and around the entire outside edge of the fabric square and press.
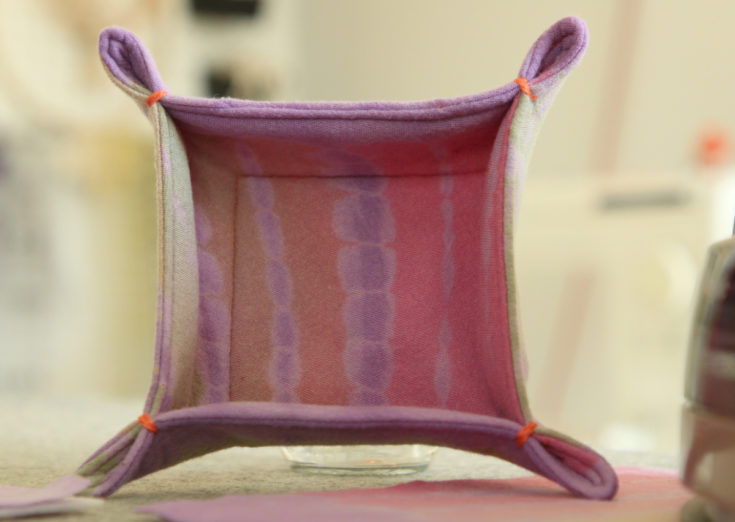
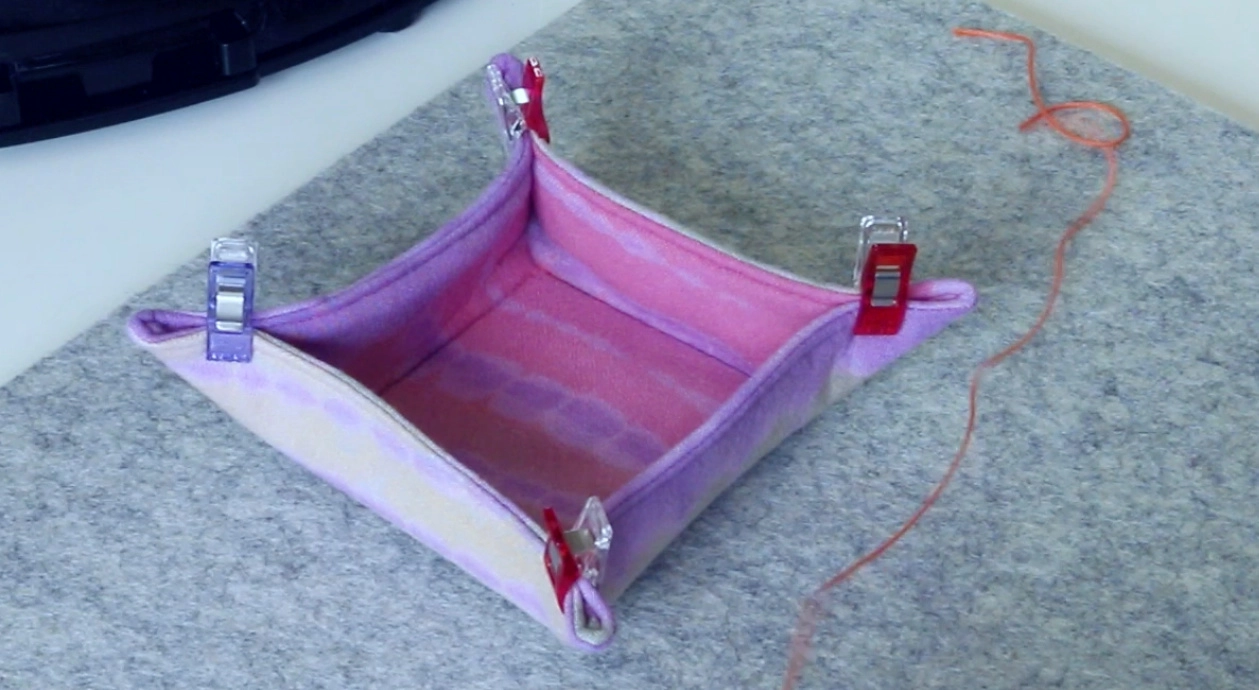
- Pinch the corners and clip in place as shown.

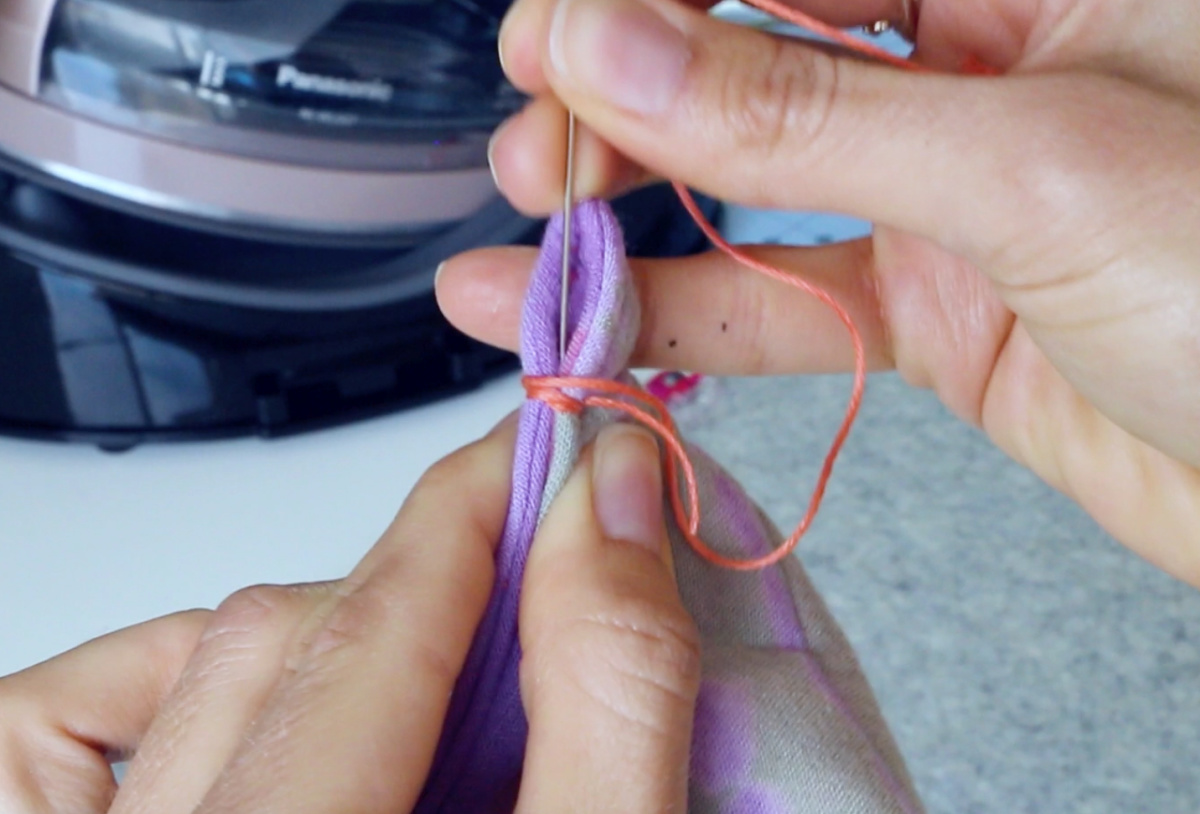
- Get your hand sewing needle and embroidery floss and stitch on the edge of the pinched fabric, 1 inch from the corner.

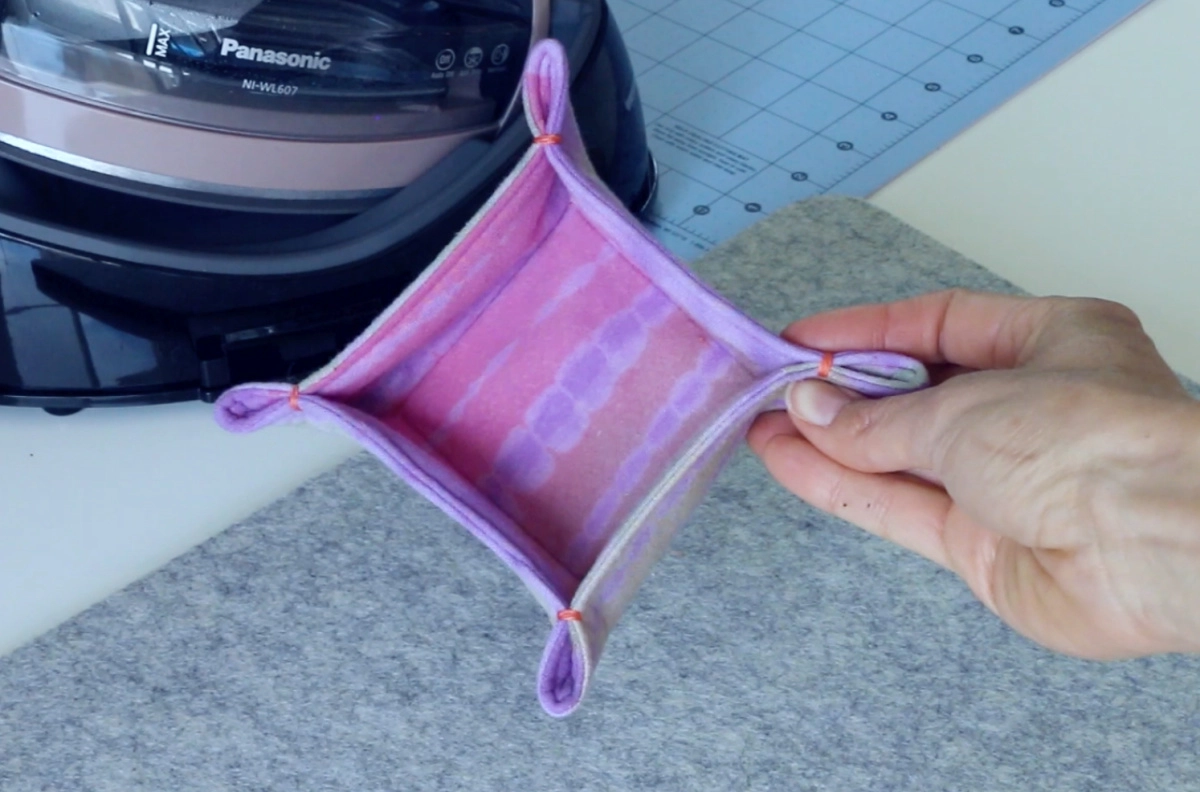
- Repeat on all 4 corners. You're done! Make these in various sizes for sewing trinket trays, jewelry or knick knacks. Whatever you can think of or need!

Janet
Sunday 21st of March 2021
Love this. Very easy and great for scrap fabrics.