Yield: 1 Mask with Ties
DIY Face Mask with Ties
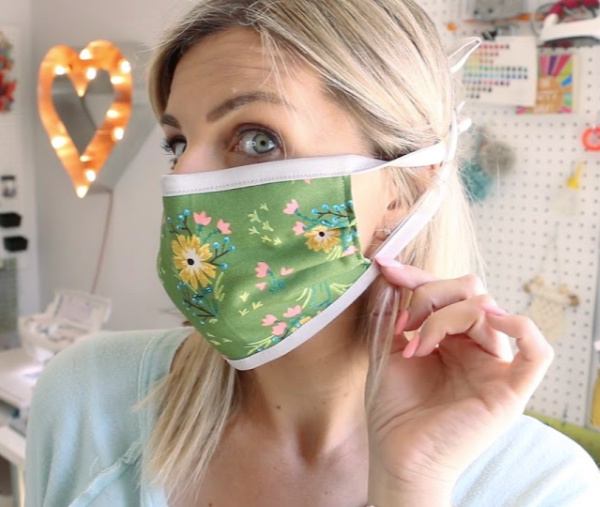
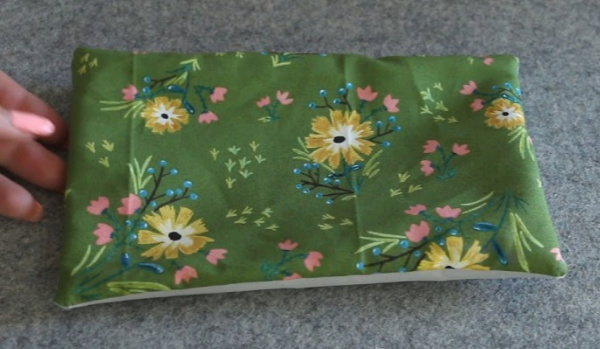
This version of the diy face mask features a filter pocket, fitted nose and ties.
Active Time
20 minutes
Total Time
20 minutes
Difficulty
beginner
Materials
- (1) 9 x 6 fabric in Color A
- (2) 9 x 6 fabric in Color B (filter pocket)
- (2) strips of fabric 1 3/4 x 40 inches
- Coordinating polyester thread
- 4.5 inch pipe cleaner
Tools
- clover clips
- seam ripper
- optional - bias tape maker
Instructions
- Place 2 fabric from color b right sides together. Make a 2.5 inch mark along the center on both short sides. Sew along the line back stitching well.
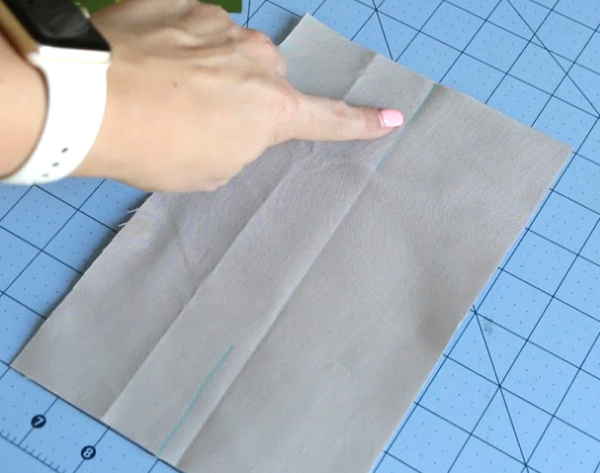
- Flip fabric right side out and press.
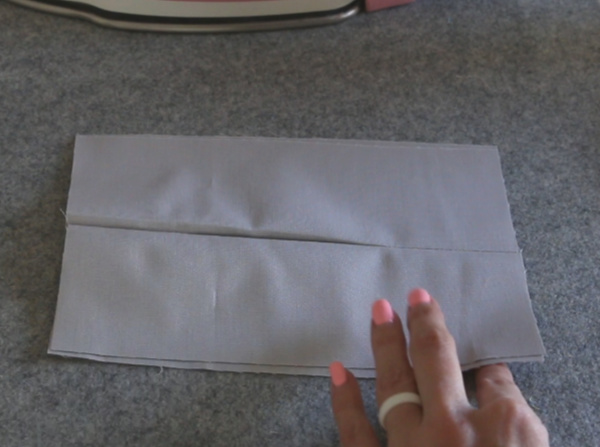
- Place the right side of color A fabric and the pocket unit and sew all the way around the rectangle.
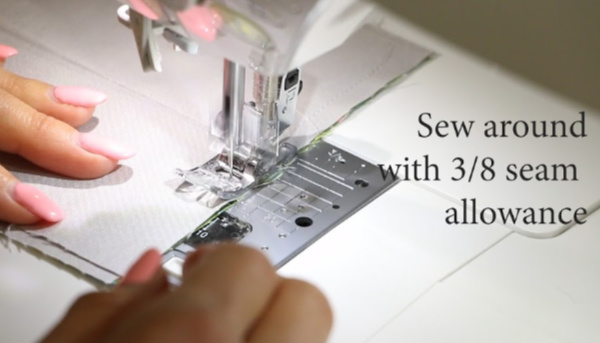
- Trim corners and flip unit right side out and press seam flat.
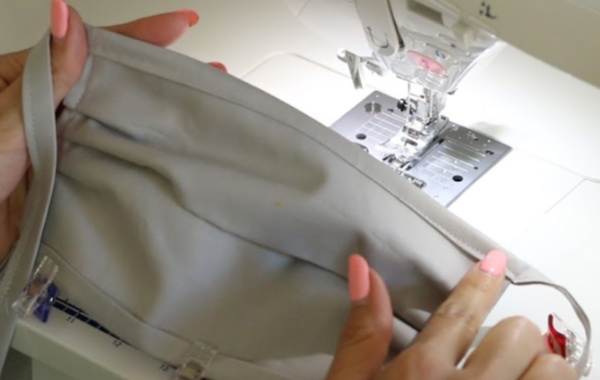
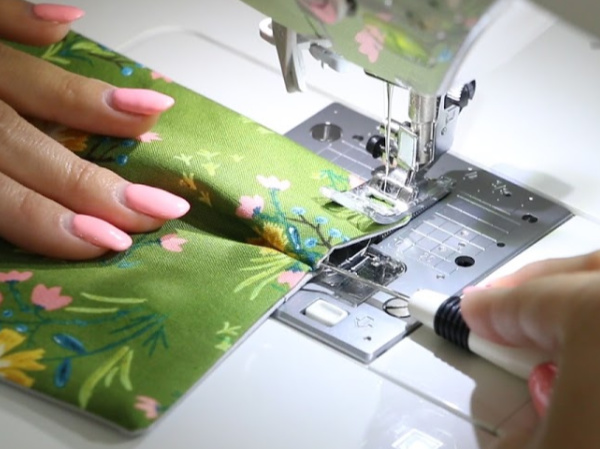
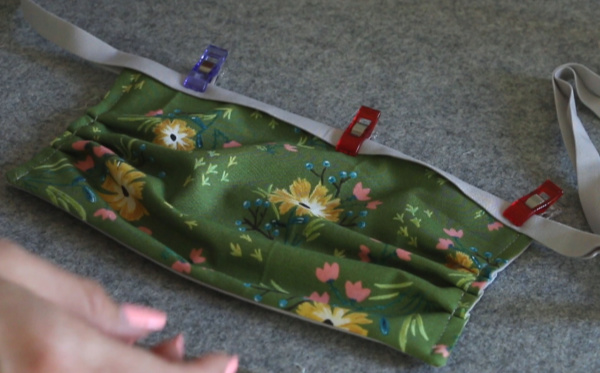
- Make 3 marks for pleats 1 inch apart. Make first mark in the center and measure out from there. Sew along the side folding at the marks and clipping in place or using seam ripper for making the pleat and sew down well. Back stitch over pleats. Do both short sides.
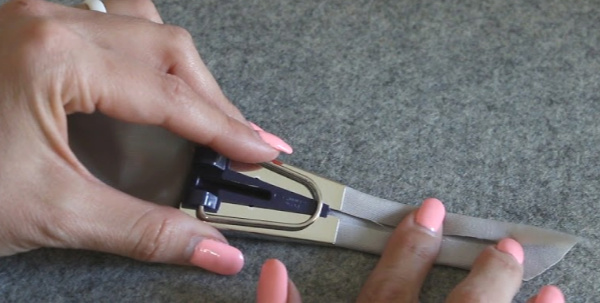
- At this point, if you are using a pipe cleaner, insert that at the top of the mask and zig zag over pipe cleaner really well.
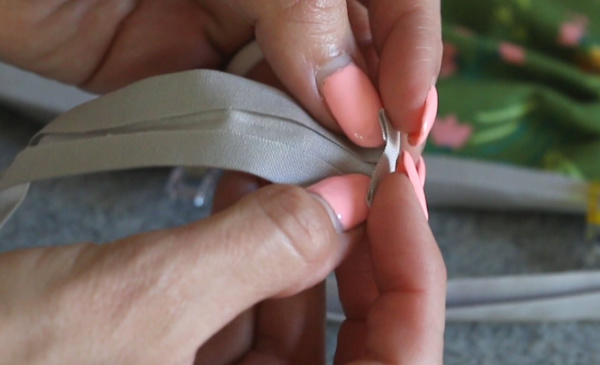
- Take your strips of fabric and use a 25 mm bias tape maker to press it. (if you don't have a bias tape maker, press in half to make crease and then fold edges toward center and press. The fold in half and press)
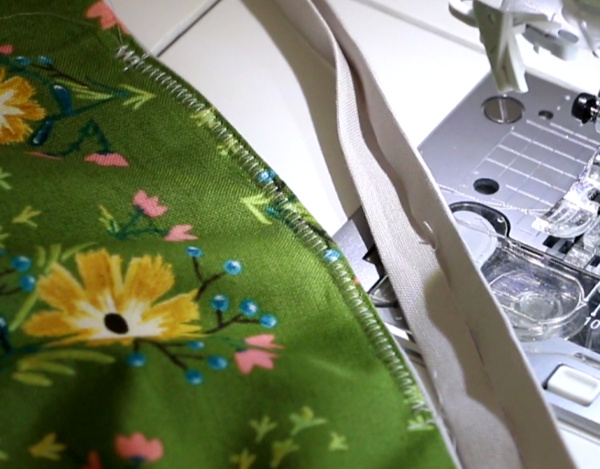
- Find center of tie and center of mask and clip the tie around the mask.
- Trim ends of tie and fold in to prepare to sew it.
- Start from one end of the tie and sew down to the other end. When you get to the mask part, make sure your needle position is such that it catches the top and bottom of the ties.