

It’s time for Part 2 of our Your First Quilt! Here is part 1 in case you missed it!
This video teaches you my favorite way for beginners to baste their quilt. There are several methods out there, but this series is meant to help you make your first quilt!
I don’t want to overwhelm you with all of the nitty-gritty details, so I’m here to boil things down and simplify this for you. Once you finish and you decide that you enjoyed the process, we can work together to expand your skills.
If you are looking to improve your quilting skills, I recommend my free mini course – 5 days to better quilting. It’s got tons of great info!

Supplies for Basting
Completed quilt top
Batting
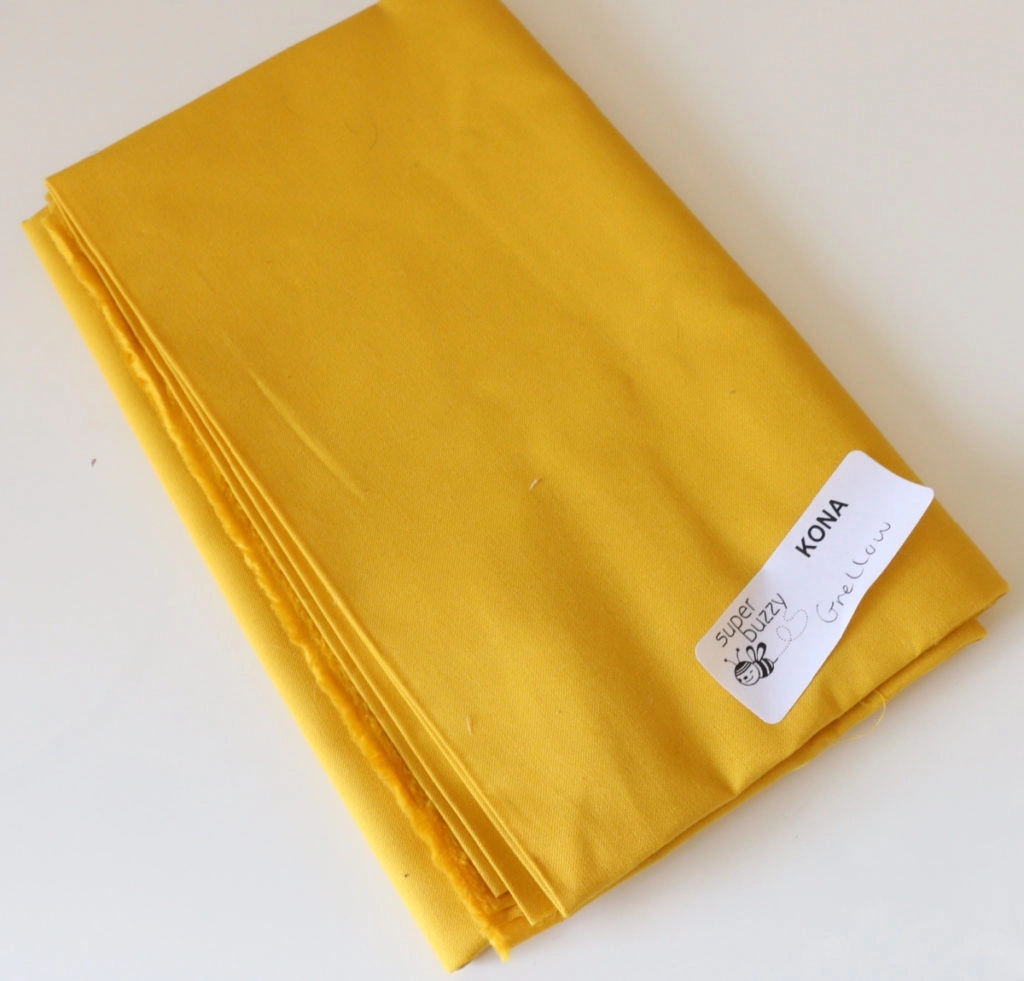
Backing Fabric
Tape (painters or masking)
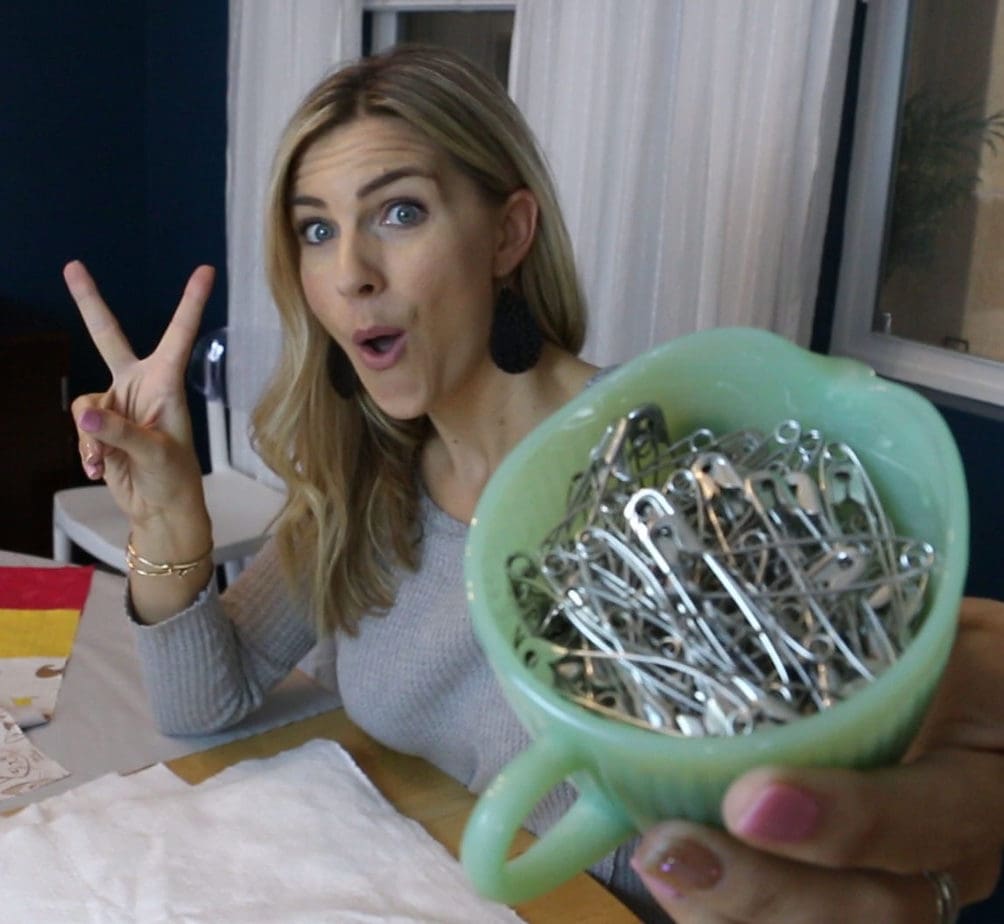
Safety pins
large, clean hard surface
Step 1 – video tutorial is at the end of the post
The first thing you need to do when you are finished with your quilt top is press it and measure it.
Knowing the size will help you determine how large you need the backing and batting to be. For the example quilt that I am making with 1 charm pack, the quilt measures about 27 x 31.5 inches.
The backing and batting need to be 4 inches larger all the way around the quilt, so for this example that measurement is 35 x 39.5 inches.
That means you need 1 yard of backing fabric and 1 yard of batting. (Batting is usually 90 inches wide so you will be able to do a 2nd quilt of the same size with that 1 yard purchase. Yippee!)

Options for Backing
There are many types of materials (flannel, cotton, voile, prints, solids, minky). For beginners, I recommend a solid cotton fabric.
This is the easiest to work with and eliminates some potential headaches. If you choose a backing with a print, make sure it is straight 😉
I would recommend an all-over floral if you are new rather than a stripe because that can look crooked really quickly.
Options for Batting
I have a whole blog post on options for batting, but the batting I recommend for beginners is Warm and White or Warm and Natural.
I personally like Quilters Dream and use that most of the time now, BUT I used warm and white/natural for years and dozens of quilts so I know that it’s easy to work with and easy to find.
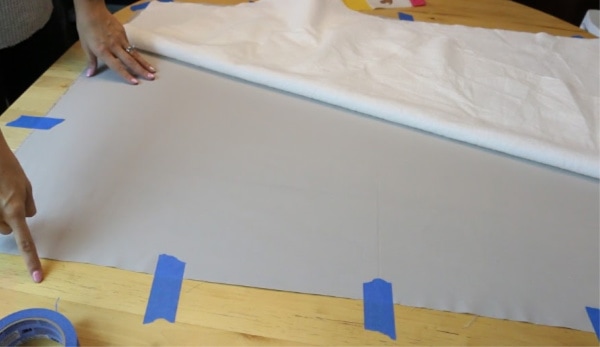

Step 2
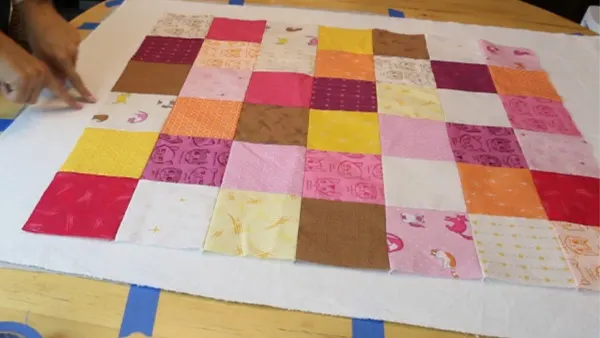
Tape the pressed backing to your hard surface with the painter’s tape.
Make sure your “wrong” side is facing up and your “right” side or pretty side of the fabric is facing down and touching the hard surface.
There should be no wrinkles or bubbles and it should be taught, but not distorted and stretched.
Step 3
Next, place the batting on top of the backing fabric, smoothing out all the wrinkles from the center outward. Trim any excess if the batting is much larger than your backing.

Step 4
Place the pressed quilt top on top of the backing and batting with the pretty side of the quilt facing up.
Place it with the 4 inches all the way around it and smooth out from the center towards the edges.

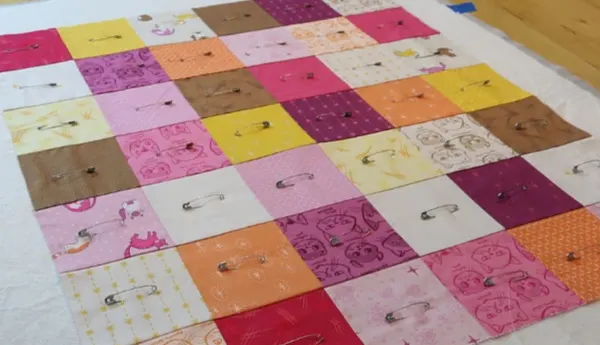
Step 5
Now it’s time to pin! Take your large safety pins and place one per square or about 4-5 inches apart from each other. Make sure you are catching all 3 layers. Work from the center outward.
Once that is done, you can remove the tape and your first quilt is ready to quilt!
Check out my tutorials page for more great quilting videos and tutorials!
Emma.P
Sunday 28th of October 2018
Thank you for the great tutorial! Husband and I can’t wait for part 3!
BRIGITte
Saturday 20th of October 2018
I love "Your first quilt" video series. Looking forward to the third one.