

Hi Everyone! Today is part 4 of the Your First Quilt Series! If you missed parts 1-3, you can find them HERE.
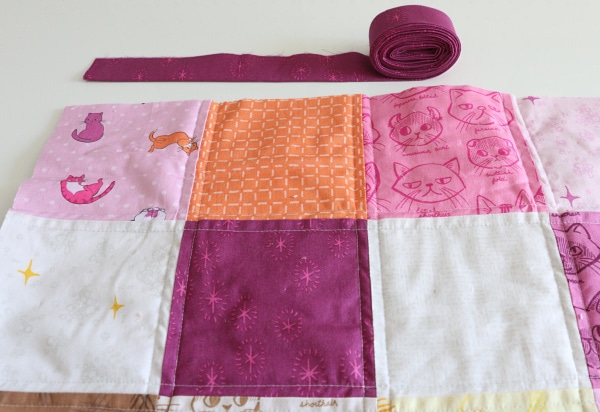
We will be learning how to trim your quilt so that it is straight and square.
We will also be learning how to determine how much fabric you need to make your binding and get it ready to attach.

These are principles that you can use for all of your quilting moving forward no matter what size you are making.
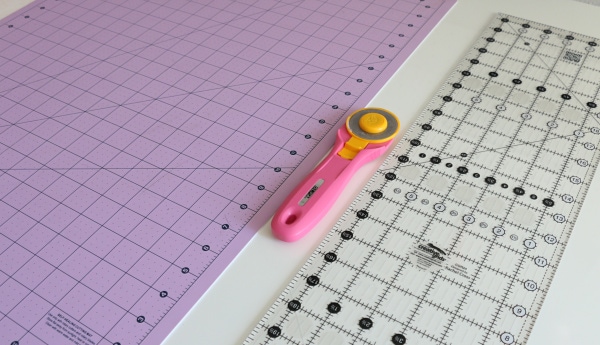
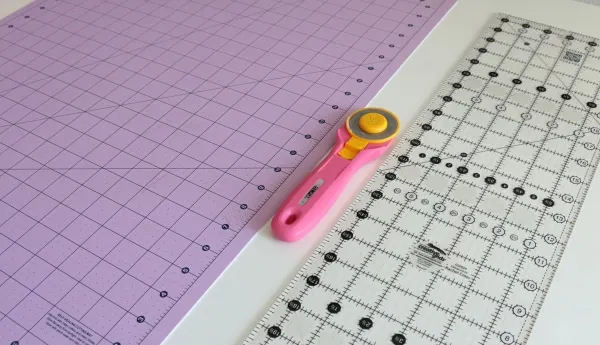
The Tools You’ll Need
Doralisa
Friday 30th of November 2018
Hi - Do you have a date for Beginners Quilt Video #5?
Thanks for all the other ones. They are great!
TylerTor
Thursday 22nd of November 2018
Hey Look what we have for you! an interestingoffering To qualify click on the link below
https://drive.google.com/file/d/1JTiPMSz3gNJqvdlte6BpzPxXFMUShuJE/preview
Charlesgaign
Sunday 18th of November 2018
Hy there, Look what we have for you! an amazingoffering Are you in?
https://drive.google.com/file/d/1HGLGlktAKDmvakpmImQwTkG9bOxc-jN8/preview
Rachel
Thursday 15th of November 2018
Will you be posting a part 5 to the video series about binding? I love the way you have gone into such detail on this series and binding is something I’ve Donne wrong in the past and really need clarification on. I am trying to get my quilt done by Christmas as a gift for my mom.
EdwinSyday
Thursday 15th of November 2018
Look what we have for you! an amazingoffers To qualify click on the link below
https://drive.google.com/file/d/1vWiFX2Ly-cq3Tnl_kcs18_IRaLwqNiej/preview