
Hey Everyone! We are blissfully happy over here in our house enjoying our new little addition, but I prepped this post a few weeks ago. Hope you enjoy it!
I showed you this flower a few weeks ago, but I didn’t like the bubble gum pink color, so I decided to make it again in a dark purple and show you how I did it! It’s super easy!


This is the glue I like to use, I got mine at Walmart. Hot glue or tacky glue should work as well. You could even use a needle and thread, but that seems like too much work for me, glue is better.


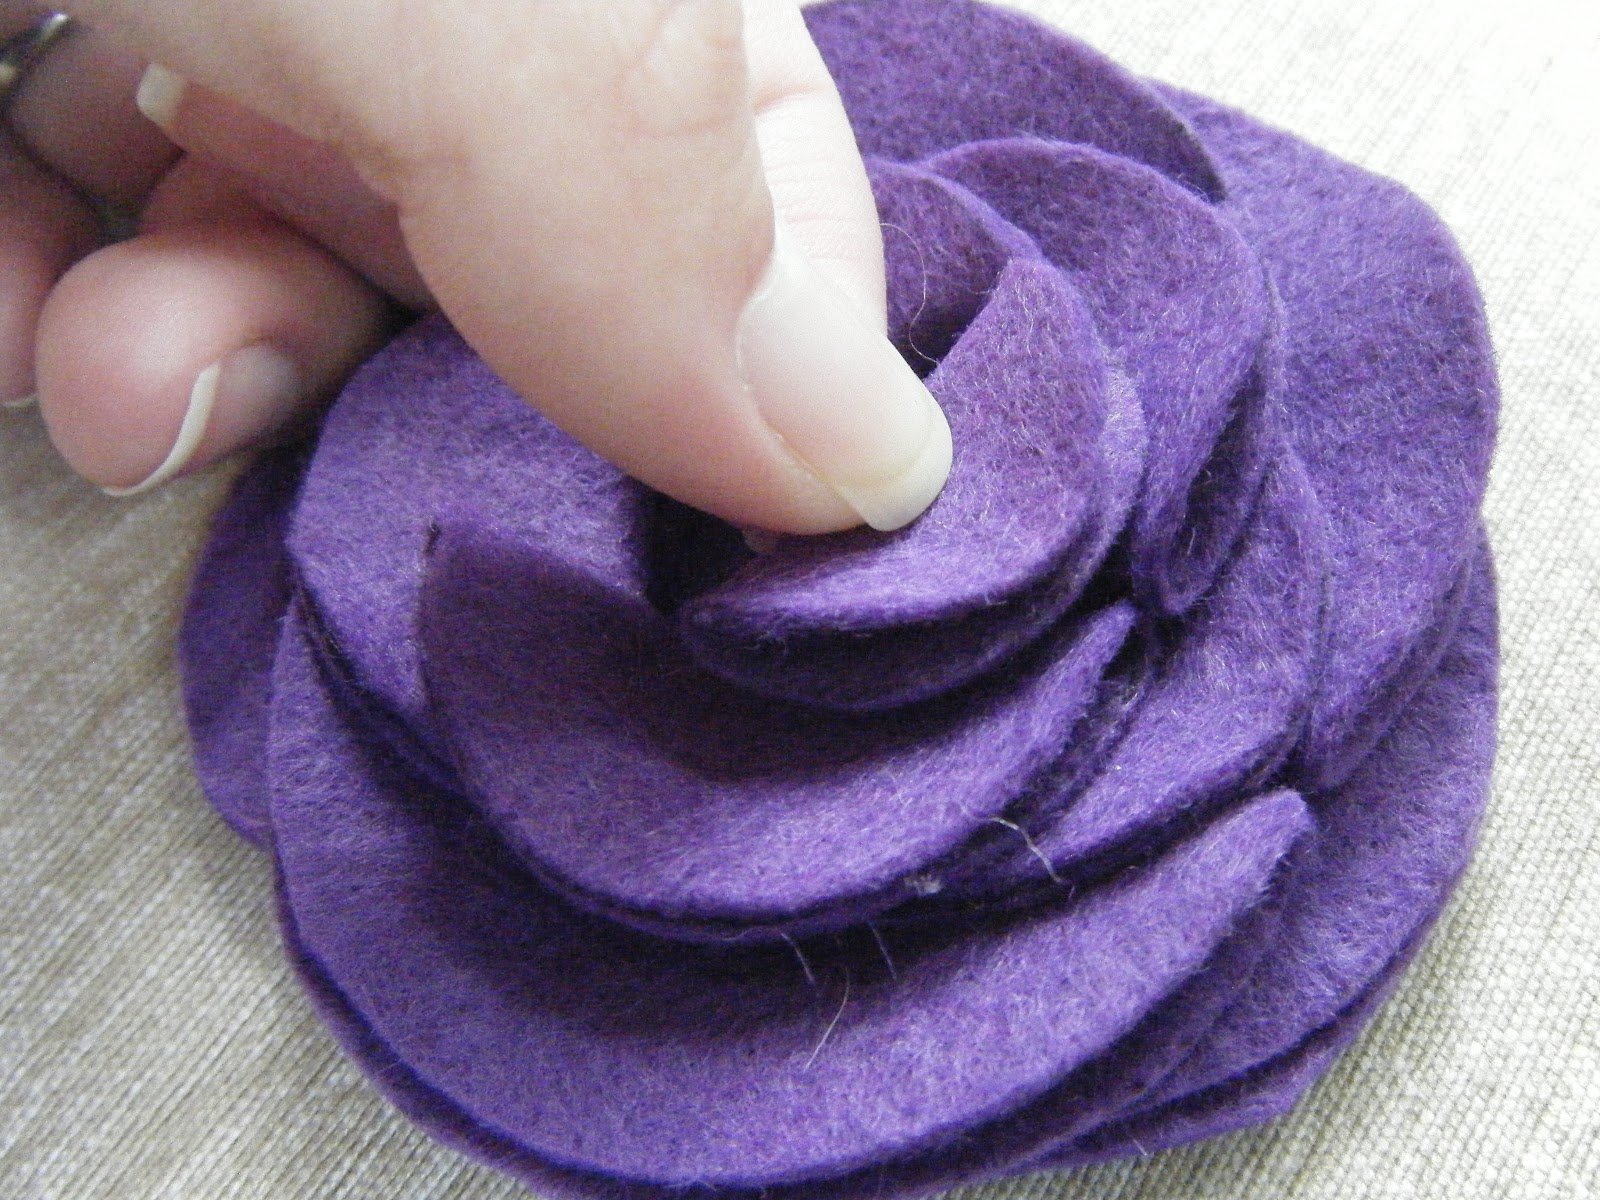
Next, glue the medium size circles in half and them glue them on top of the first layer like this…


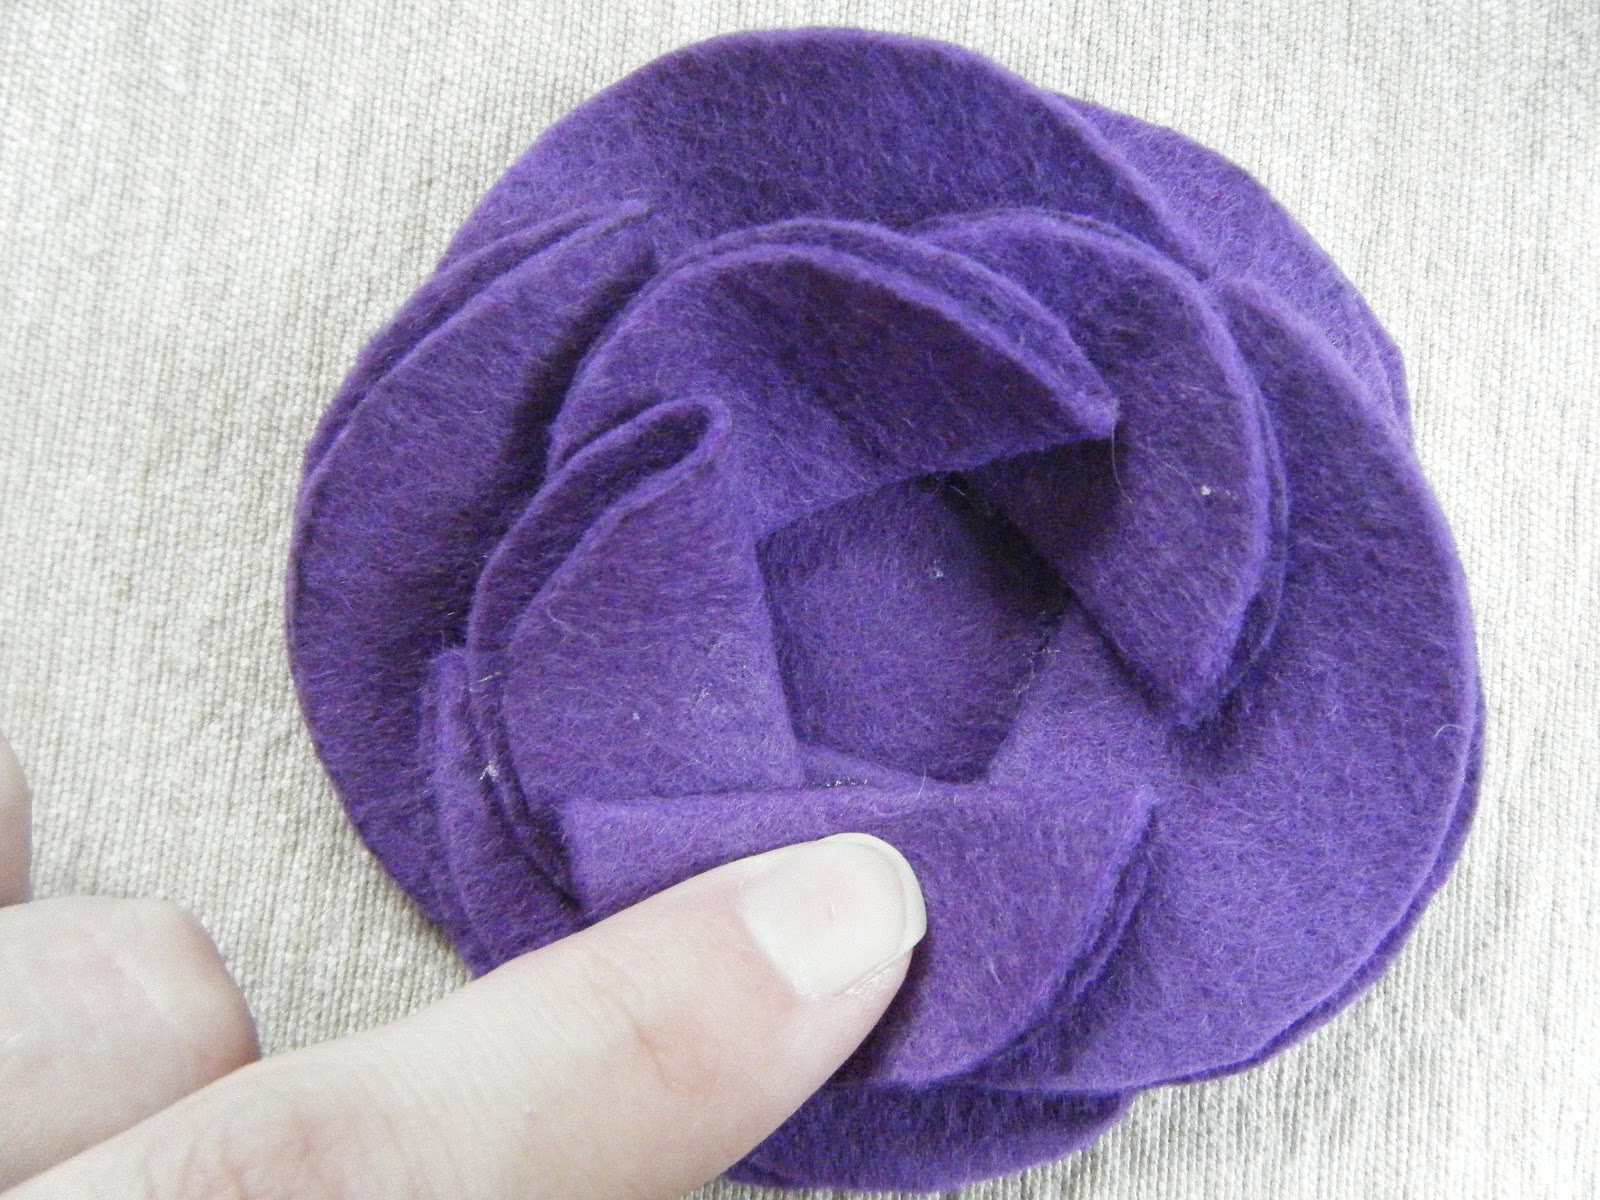
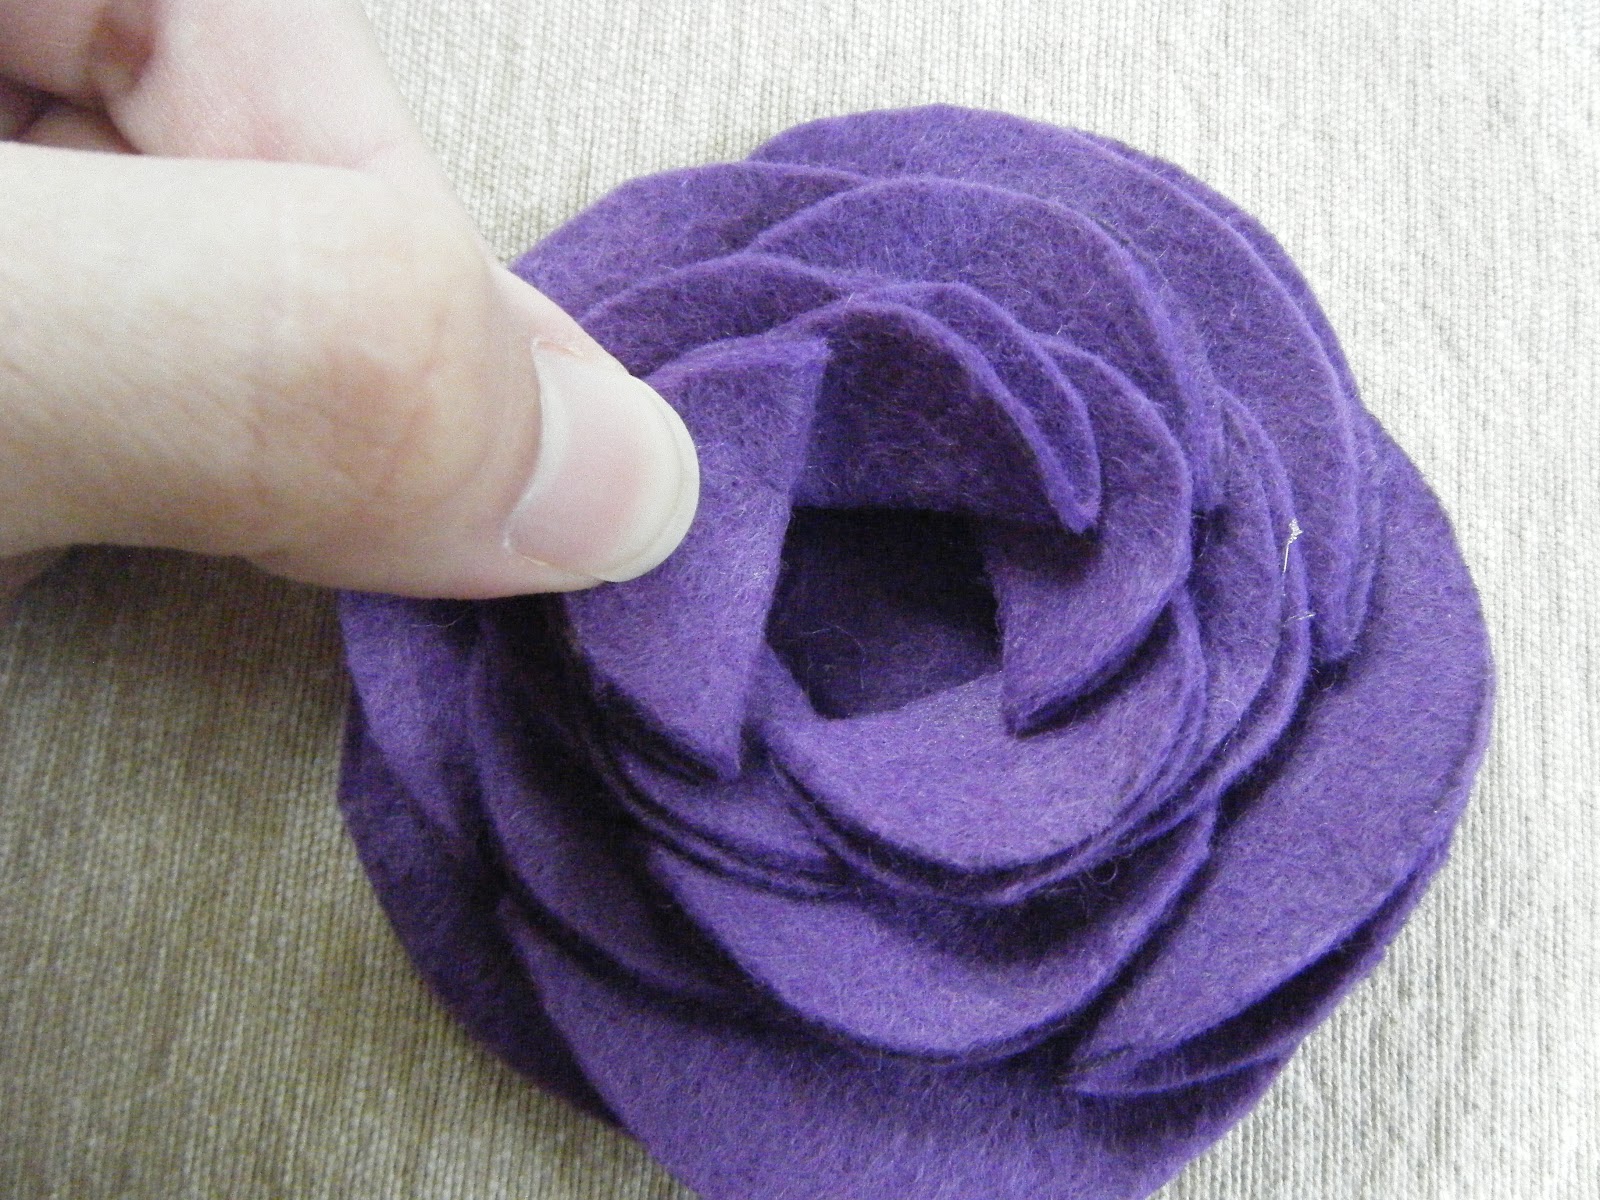
Do the same for the small circles, but when you glue them to the flower, they need a little more glue.

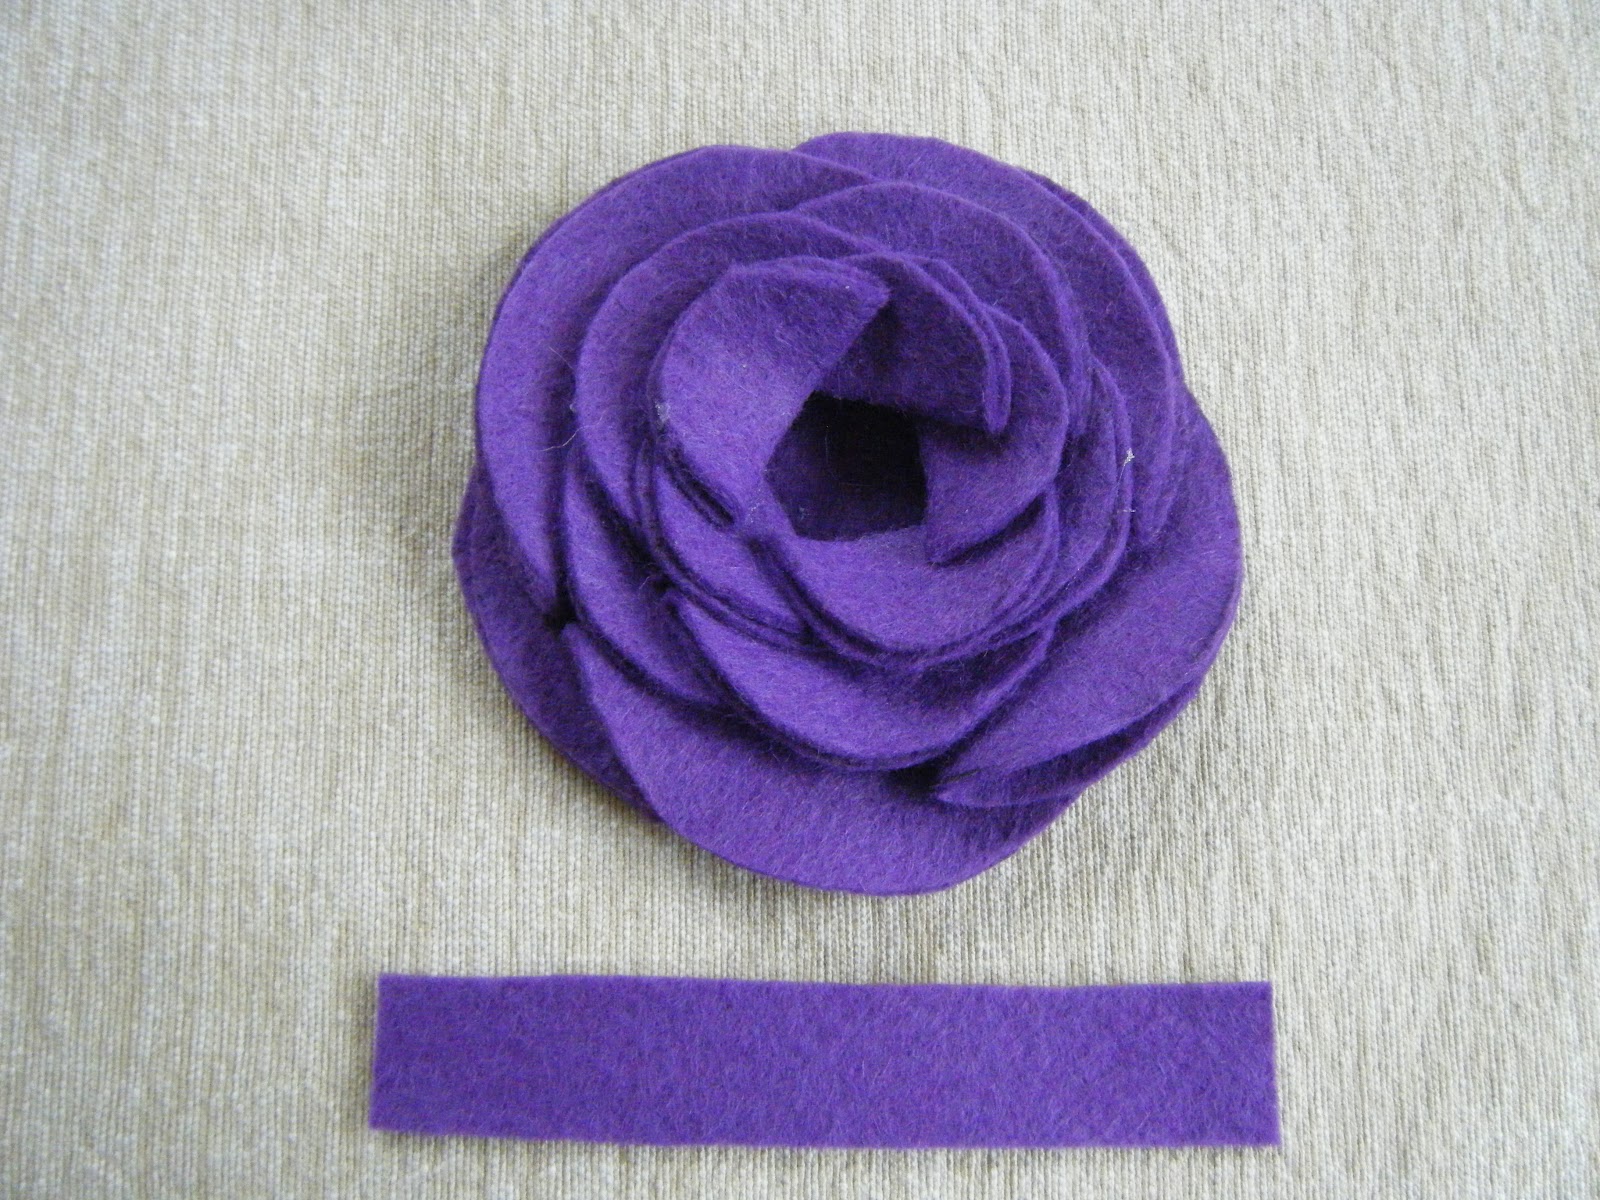
Next you need a little strip of fabric, about 3 inches long and a half inch wide, but you can play with what you think looks best based on how large your flower ended up being.

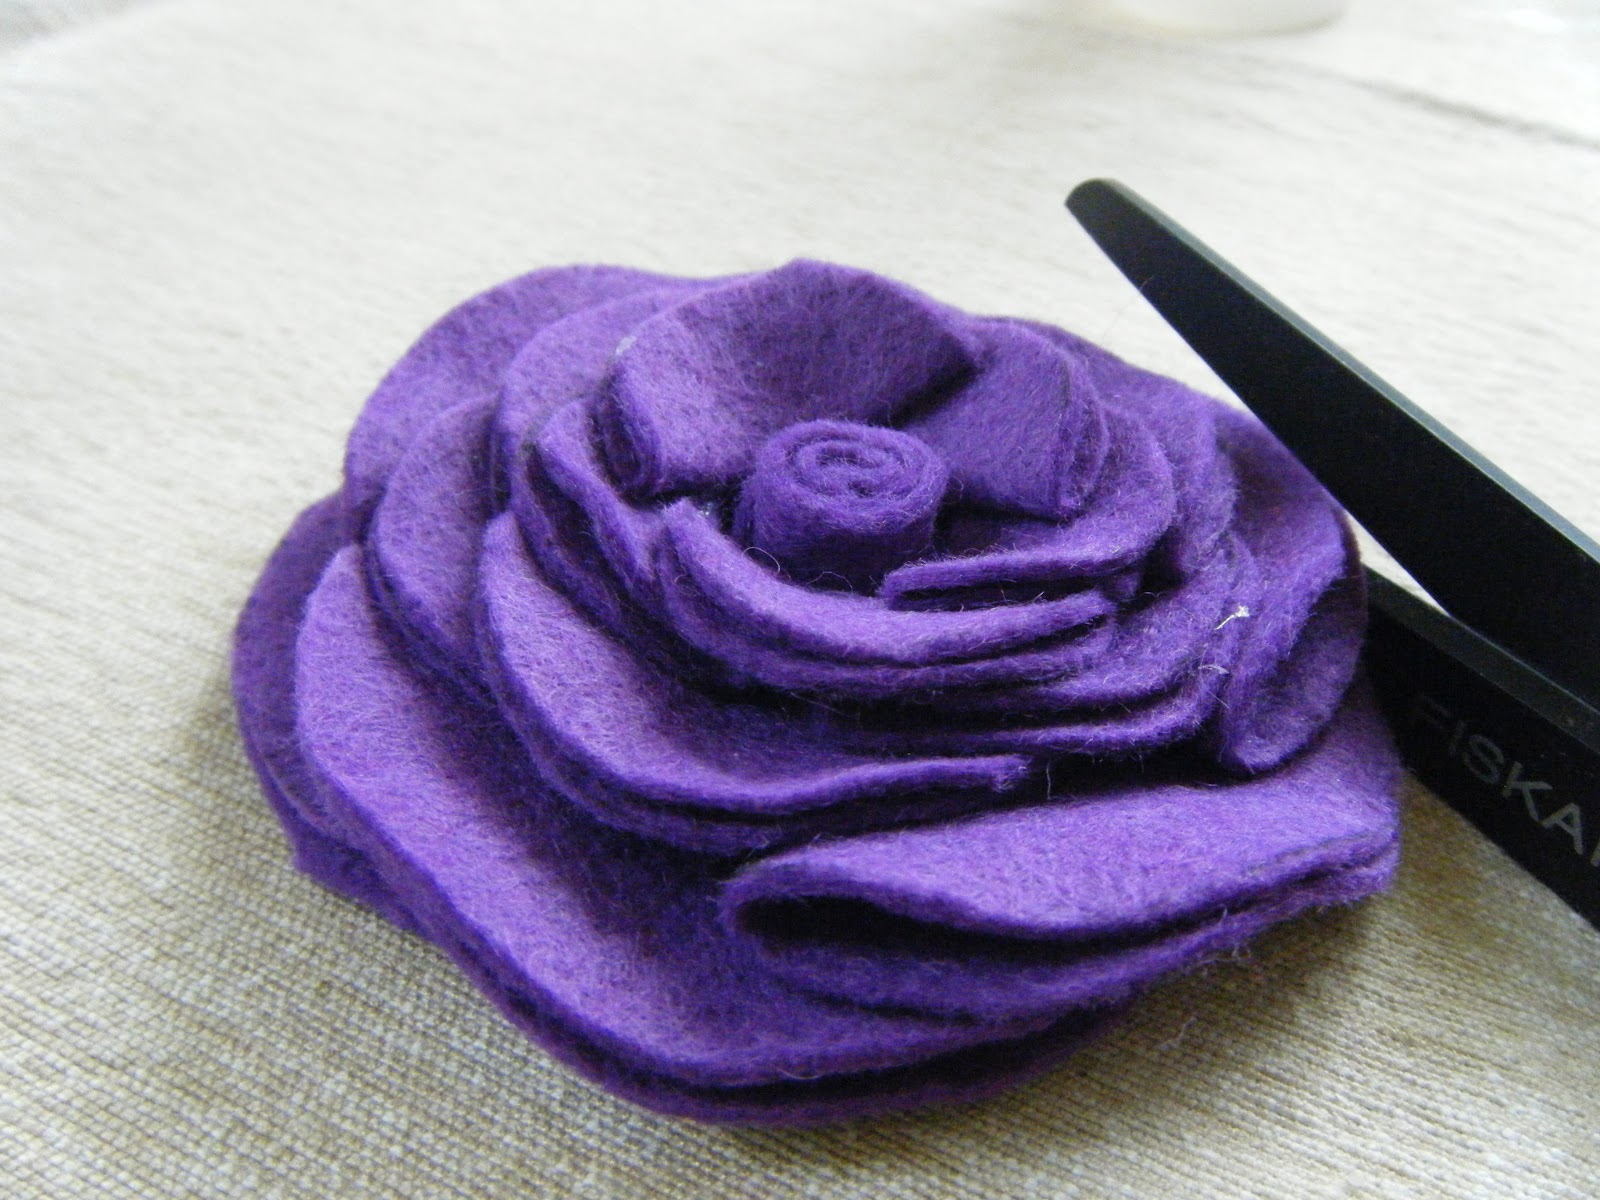
Feel free to shape it with some scissors if you want to, but you don’t have to
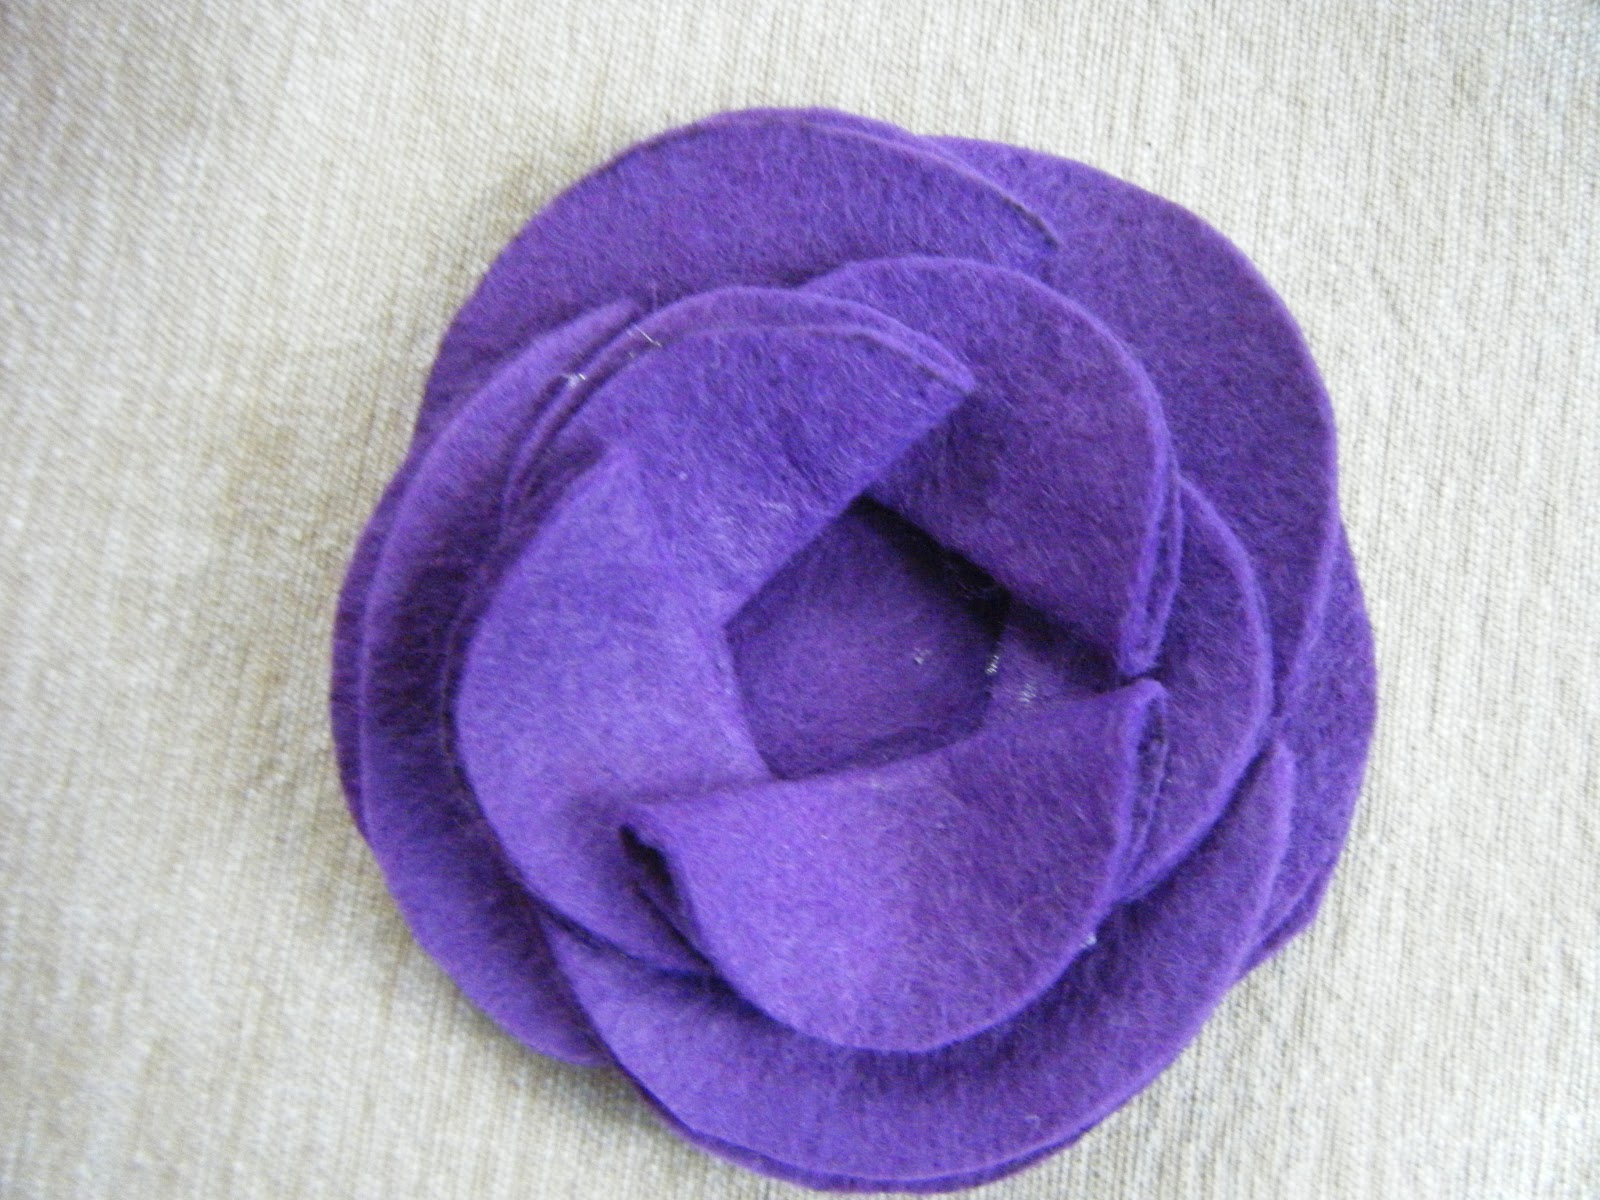
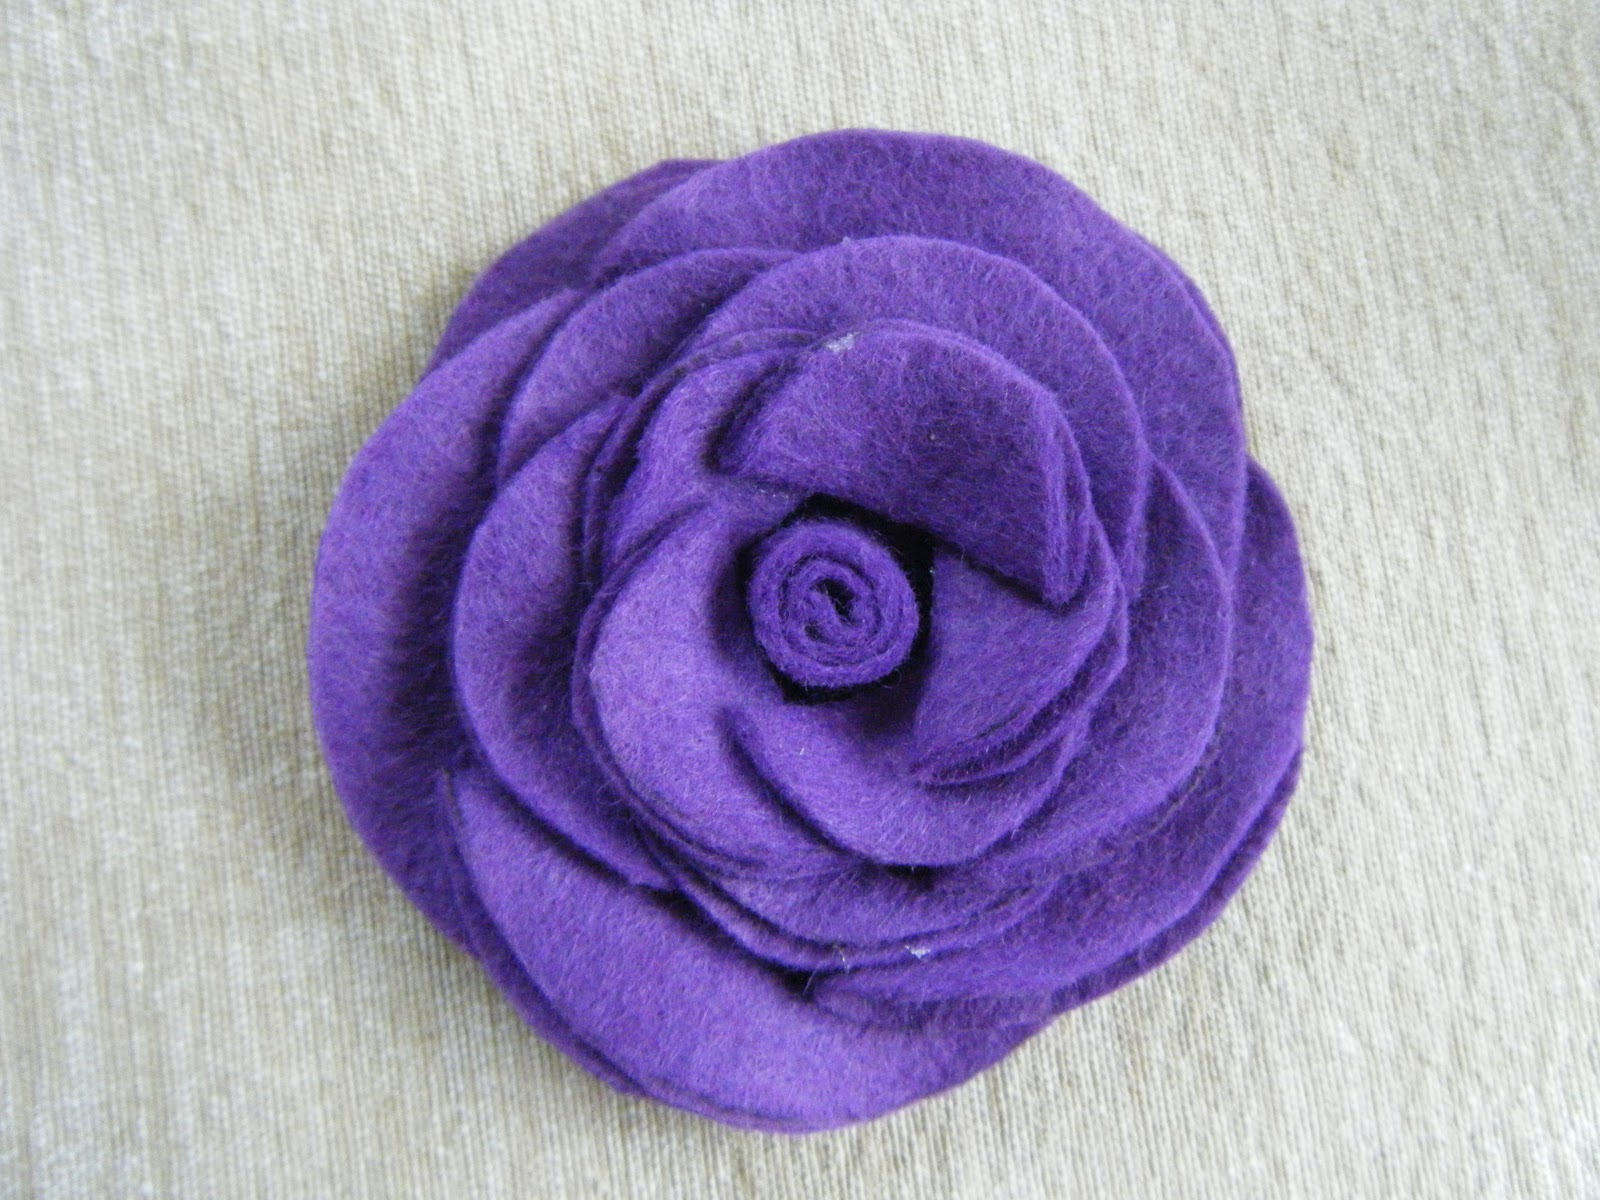
TaDah! That’s it. Feel free to add a pin to the back and attach it to things, put it on a hair tie or headband, paste it to a tin for a pen jar or make a whole bunch and put them on pillows! The options are endless! Feel free to share this post, just make sure to include a link to this post… thanks!
Sue
Monday 13th of June 2011
Thanks for sharing the tutorial. Can't wait to try it out.