
Well well well… look who’s sewing again! I’ve got a lineup of fun sewing tutorials and this first one is an easy vinyl wallet sewing tutorial! I’ve been giving these out to friends and family with gift cards in them as gifts (My sister in law thought I bought it at the store which is the best kind of compliment!). I like having a small wallet for running quick errands with only the bare essentials to keep it light. These are also a breeze to make and take a very small amount of materials. Video tutorial embedded at the bottom of the post.
If you are interested in my 2019 Quilt Along opening up later this spring, click HERE to join the waitlist and learn more!
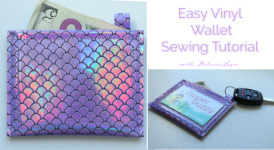
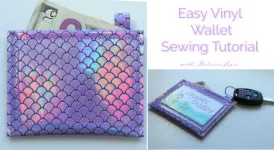
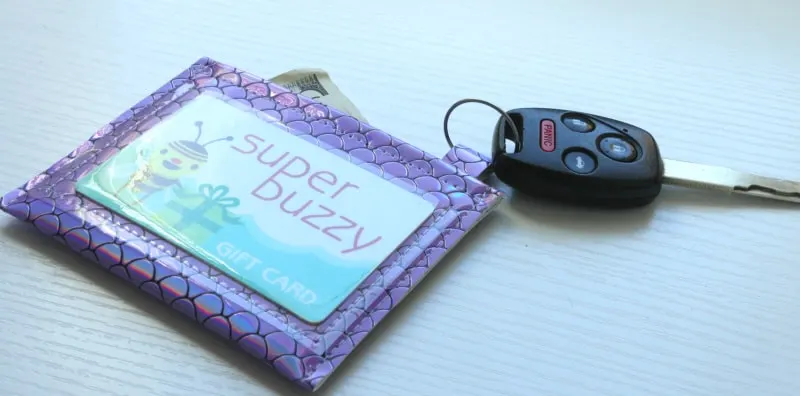
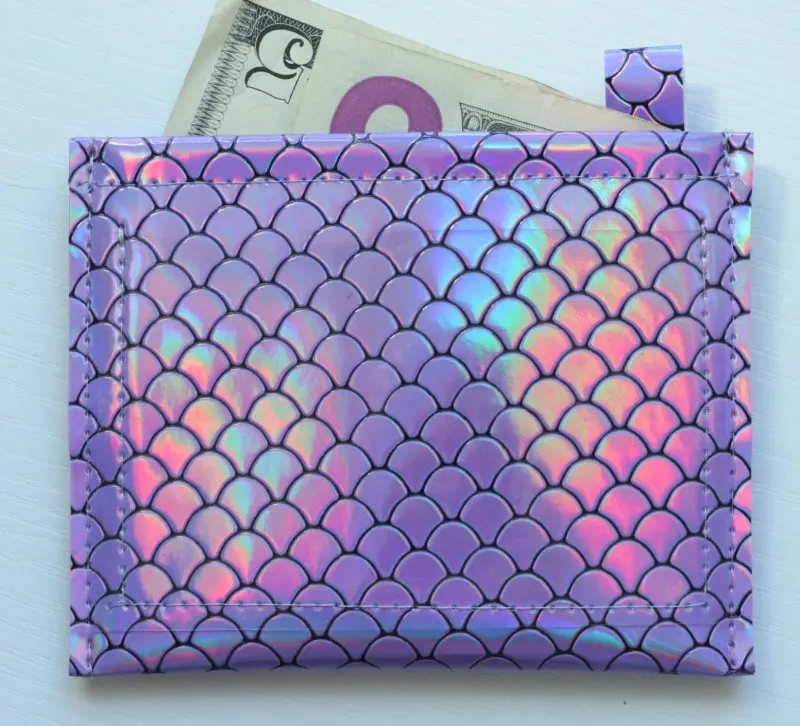
Easy Vinyl Wallet


I made the wallet with a clear pocket on the outside, great for your id for a quick check when you are buying wine at the grocery store 😉 I used a gift card from my favorite fabric store instead of my drivers license for the photos though, for obvious reasons 😉
Materials
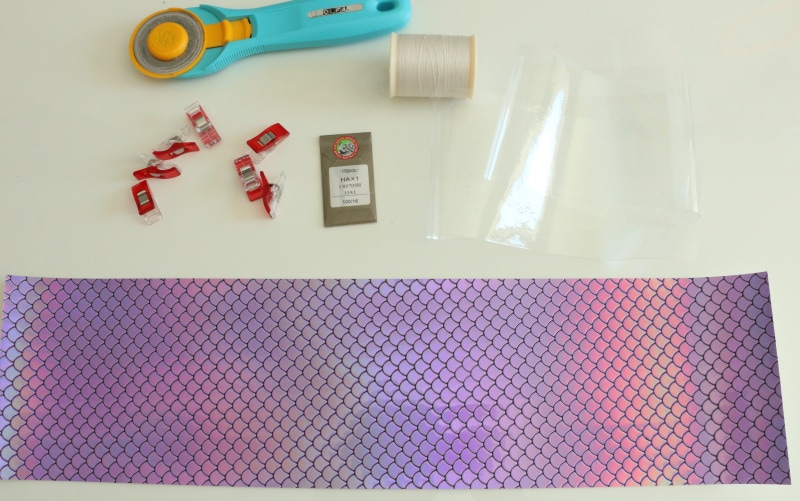

- 4.5 x 11 piece of vinyl of choice – I got mine on etsy at this shop.
- 100/16 fresh needle
- Coordinating polyester thread
- Clover clips
- Optional: 4 1/4 x 2 1/4 inch piece of clear vinyl for outside ID pocket
- Optional: .5 x 2 inch piece of main vinyl fabric for key ring tab
- Optional: fabric glue

Instructions
- Cut Vinyl to 4.5 x 11 inches (use rotary cutter or scissors)
- Cut 4 1/4 x 2 1/4 inch piece of clear vinyl (optional)
- Test out sewing machine settings and tension with fresh needle, polyester thread and scrap piece of vinyl.
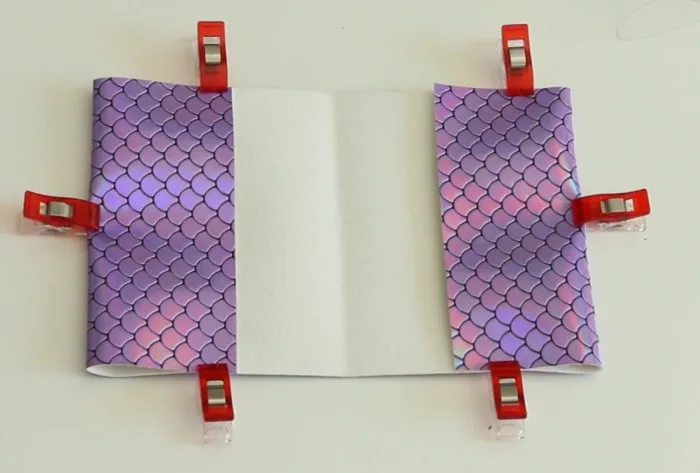
- Fold Vinyl and clip into place (fold in half first to find the center and crease. Then fold in to make the wallet 3.5 inches tall.)

5. Top stitch 1/4 inch from the top edge on the “front” side if you print is directional


6. Top stitch 1/4 inch on the other side attaching the optional small tab piece. Backstitch several times over the tab.


7. Clip clear vinyl into place on front side and sew along the sides and bottom. Be sure to back stitch well where there will be extra stress at the top.
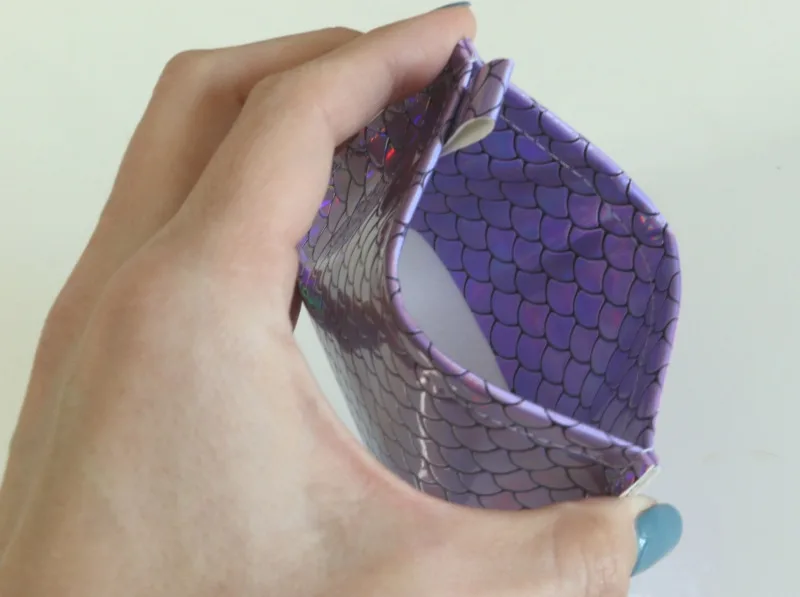
8. Add a bead of fabric glue to the inside flaps keeping the glue 3/4 inch away from the edge of the wallet so you don’t sew over the glue. (This keeps items from potentially getting stuck under the flaps while in the wallet.)

9. Match up the top and sides and sew along the sides with a scant 1/4 seam allowance.
10. Trim the sides after sewing down to 1/8 for a clean edge and trim all other threads. You’re done!

Barb Rule
Sunday 7th of April 2019
That vinyl wallet is so awesome! Love love love it.
DEBBIE
Wednesday 20th of March 2019
This looks like fun my granddaughter will love trying to make them .