


Hi Everyone!
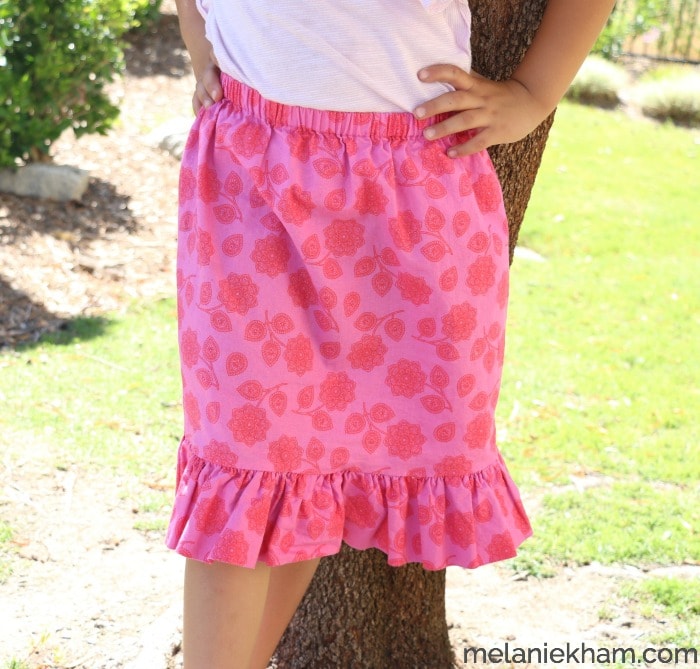
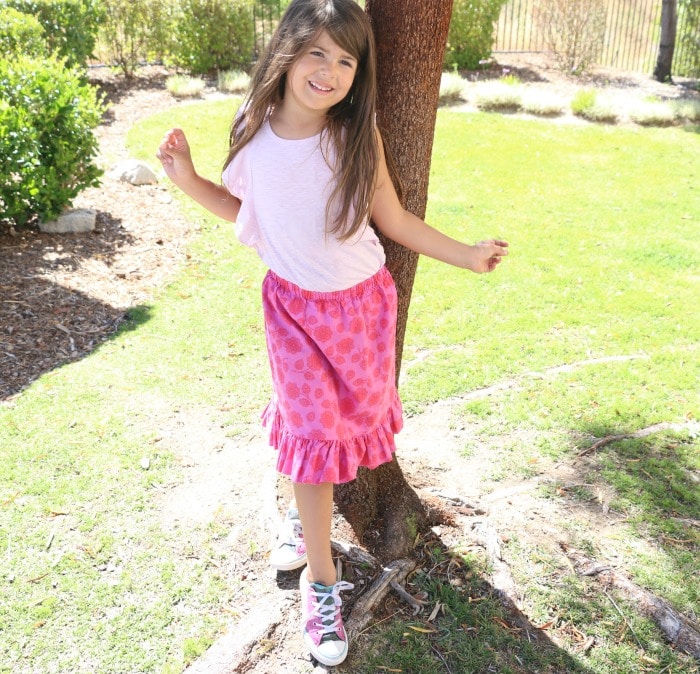
Summer skirt #3 tutorial is here! This one is my daughters personal favorite … pink AND a ruffle, I mean! Yes! I have a free pdf with all the of the materials and instructions written out in a printable format right HERE for you. Also, scroll to the end of the post for the YouTube video tutorial. It’s nearly 20 minutes, basically like taking a class with me!
For summer skirt #2, click HERE.
For summer skirt #1, click HERE.

Materials – Click HERE for the PDF
1 yard pre-washed Fabric
Coordinating polyester thread
3/4 inch elastic – https://amzn.to/2oQVnbR
pins – https://amzn.to/2qeUZbT
scissors or rotary cutter – https://amzn.to/2oGcGkN https://amzn.to/2pGQ43J
large safety pin – https://amzn.to/2oQBSR2
sewing machine (I used my dx7 which i got at Sew Mini Things, https://bit.ly/sewminithings)
iron and ironing board

Instructions – click HERE for the printable pdf
Step 1: Prewash and dry fabric. (I like to wash on delicate and tumble dry low. Press fabric well.
Step 2: Cut 2 panels measuring 8 inches by the width of fabric (wof) using your rotary cutter or making a mark and using sharp scissors.
Step 3: Trim off the selvedge edges of the panels to create a clean rectangle
Step 4: Take panels and place right sides together, sew down 1/2 inch on one short side to create one long rectangle. Finish the seam with a zig zag or serger.
Step 5: At the ironing board, take the rectangle and place wrong sides together matching up the raw edges and press
Step 6: Sew a basting stitch along the raw edge of your panel with a 1/2 seam allowance
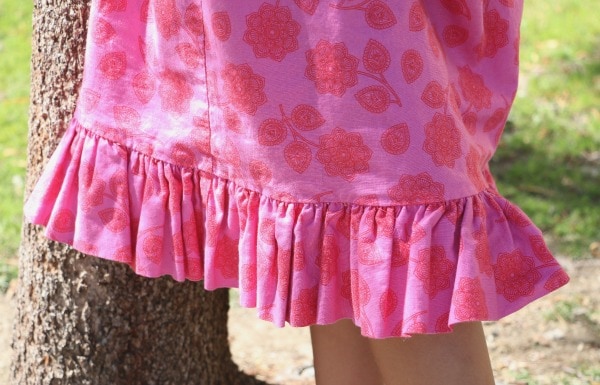
Step 7: Gently pull on the bobbin thread to gather the ruffle. Start on one end and ruffle to the center seam and then gather from the other end. Trim all threads.
Step 8: Cut body of the skirt to desired size. I cut my panels 20 wide x 16 long. This creates a more tea length skirt on my 5 year old.
Step 9: Sew down both sides of the skirt right sides together using a 1/2 seam allowance. No need to back stitch. Serge or zig zag the seams to finish. Pay attention to directional print of fabric if applicable.
Step 10: Make the ruffle into a circle, sew the short ends together using a 1/2 inch seam allowance and zig zag or serge ends.
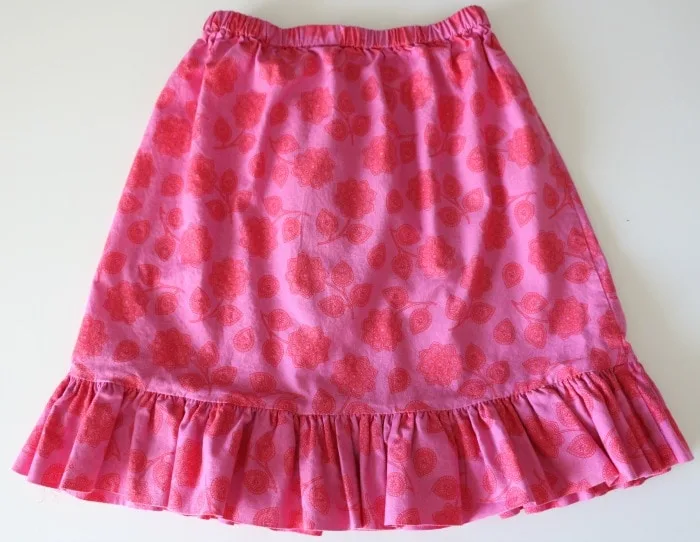
Step 11: Place the skirt inside the ruffle with the raw edges matching. Pin the seams of the ruffle to the side seams of the skirt body. Distribute ruffles evenly. Line up the raw edges and pin well.
Step 12: Using a 1/2 inch seam allowance, sew along the basting stitch to attach ruffle. Zig zag or serge seam to finish. Trim any remaining threads.
Step 13: Iron ruffle seam up towards the body of the skirt.
Step 14: At the ironing board, press the waistband. Fold over 1/4 inch and then again 1 inch to create the casing for the elastic. Pin in place. Use a tape measure or seam gauge to ensure your casing will fit the elastic snuggly but not too tight or too loose. Keep in mind you still need to stitch. Mine was 1 inch.
Step 15: Sew waistband. Sew very close to the fold leaving a 1 inch opening to insert the elastic.
Step 16: Cut Elastic waist measurement.
Step 17: Using a large safety pin, feed elastic through casing being careful not to twist. Pull back out the hole and evenly distribute gathers while holding both ends of the elastic.
Step 18: Overlap the elastic by 1 inch and zig zag at each end for a secure hold.
Step 19: Close up waistband hole, back stitch at both ends.
Enjoy!


*this post contains affiliate links. Thank you so much for the support in this way.
Barbara
Friday 2nd of June 2017
Melanie, I love the way you explain and demonstrate in your tutorials. I will definitely being making a few of these delicious skirts. Thank you, as always.
Abby
Thursday 1st of June 2017
What are the demenchions on the easy envelope pillow? Your one side was a 14" pillow so the one side was 15". Now the two pieces that make the envelope is my question.
Elizabeth
Thursday 25th of May 2017
Thank you for sharing. Certainly inspired me to get this grandmother's sewing machine out of the closet. xo