
Hi everyone! This is a fun, simple and fast sewing tutorial! A drawstring bag sewing tutorial! If you scroll to the bottom, you can see a no sew version as well!

World Vision has launched a whole new way of doing child sponsorship. I am personally participating in the new Chosen program and I brought a bring a small gift to give to Vanessa, the child who chose us! You can check out all the details of that trip on this post.

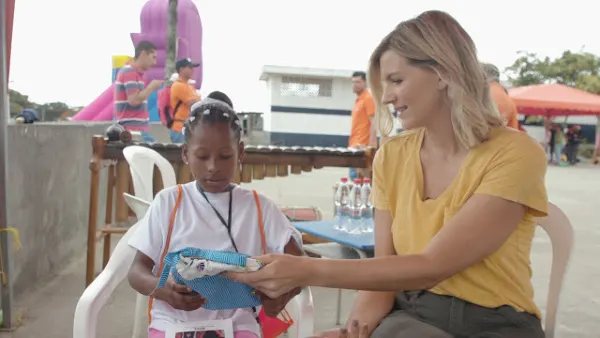
Side Note – what a sweet reminder about God’s love for us, that He chose to us. I am so proud to help support such a great organization! You can sign up to be part of World Vision’s next Chosen event! Sign up now!
Anyway, since I was making this anyway I thought I would do a tutorial on it since I’ve had lots of requests for more simple sewing projects. These would be great Halloween treat bags, travel bags, kits for the homeless… I mean the list is endless.

Materials


- Sewing Machine and thread (No Sew Option: Fabri-tac Glue)
- Iron/Ironing Board
- Pins/Clips
- Safety pin
- piece of fabric that measures 10 x 18
- Pinking shears or pinking rotary blade
- (2) Pieces of ribbon/string/yarn about 22-24 inches long
- Optional: fabric scrap for applique and double sided fusible web


Instructions
- Cut fabric so that it measures 10×18 with pinking shears or blade. If you don’t have that, you can zig zag all the way around your rectangle


- Place right sides together and measure down from the top, 2 inches and make a mark with chalk or a pencil.
- From that mark, sew a straight stitch down on both sides.


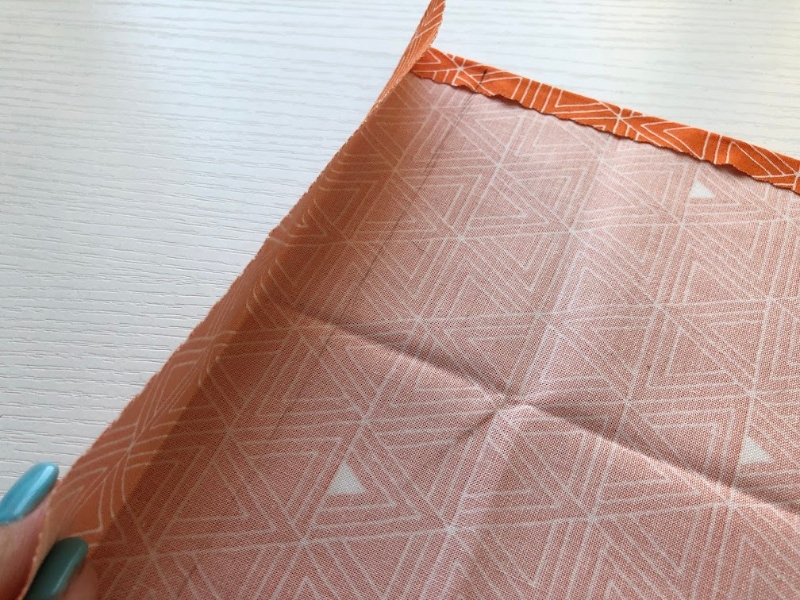
- Fold down the top so that the raw edge matches with the beginning of the stitch. Press in place
- Expose the free arm of your sewing machine if you can. With the bag sill inside out, sew the top hem with a straight stitch all the way around.
- Turn right side out.
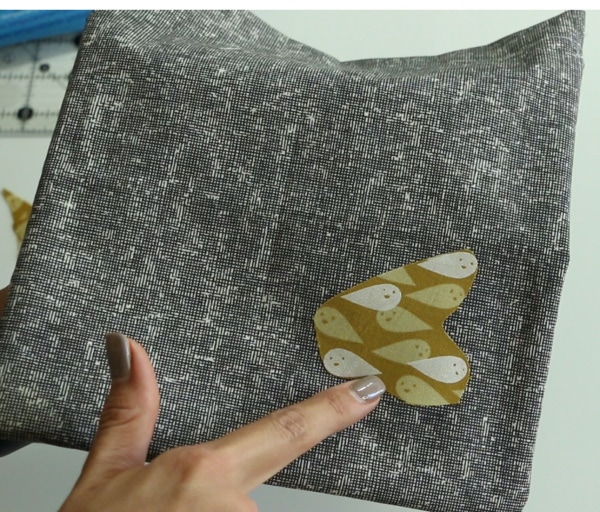

- Prepare your applique piece per manufacturers instructions on the package of your fusible web. (Optional)


- Measure across your bag 2.5 times and cut. You need to strings of ribbon this size.
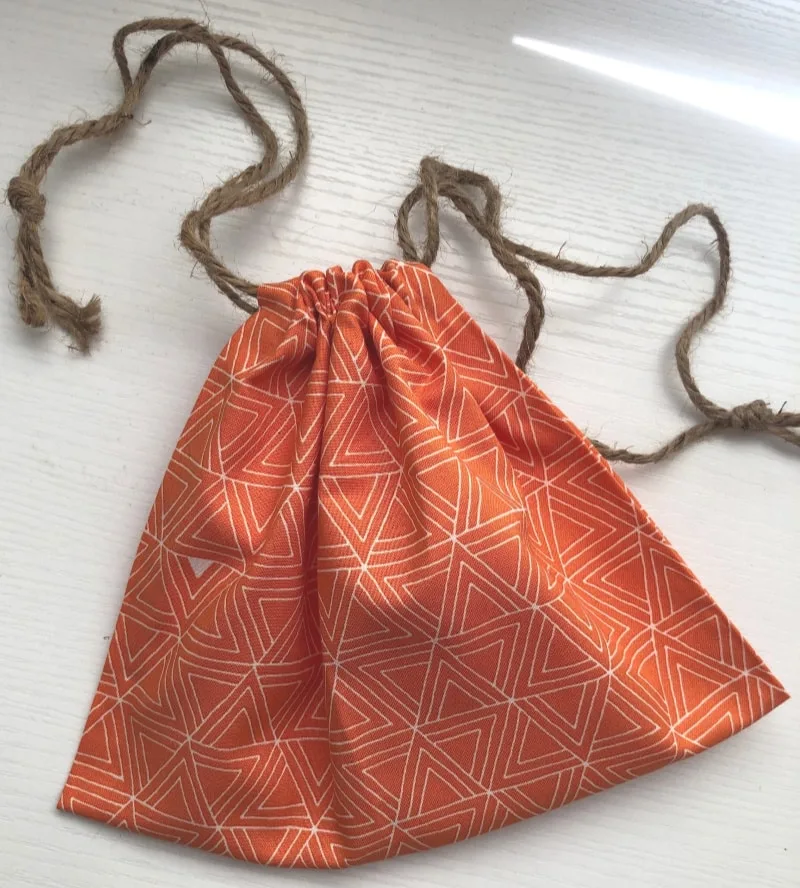
- Using the safety pin, thread the ribbon starting on one side and coming out the same side. Then thread the 2nd ribbon from the opposite side. Tie knots at the end of the ribbons. You’re done!

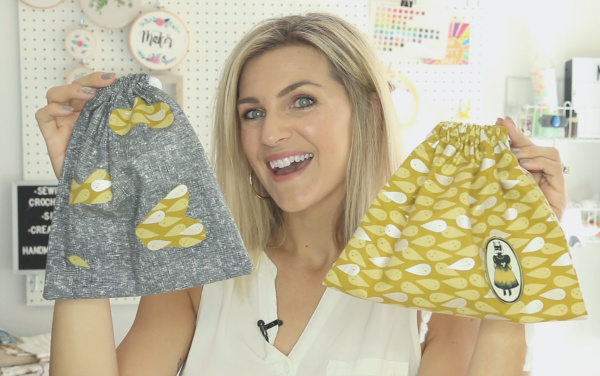
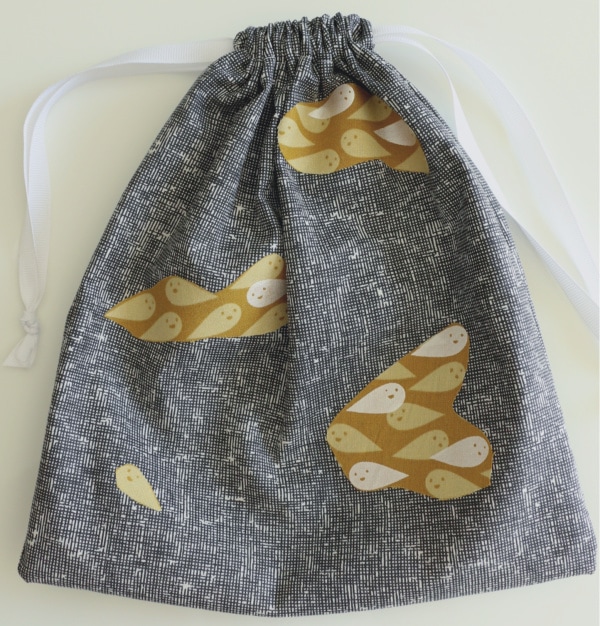
Here is the bag I will be giving to my sponsored child in Ecuador! It looks a little different because I streamlined the pattern to make it easier as a tutorial but I had already made this one ;). Happy Sewing!
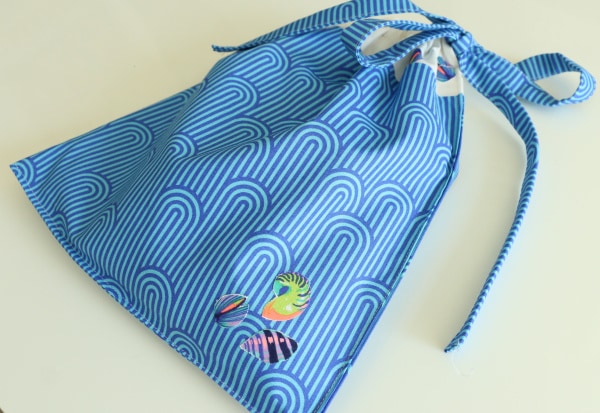
No Sew Drawstring Bag

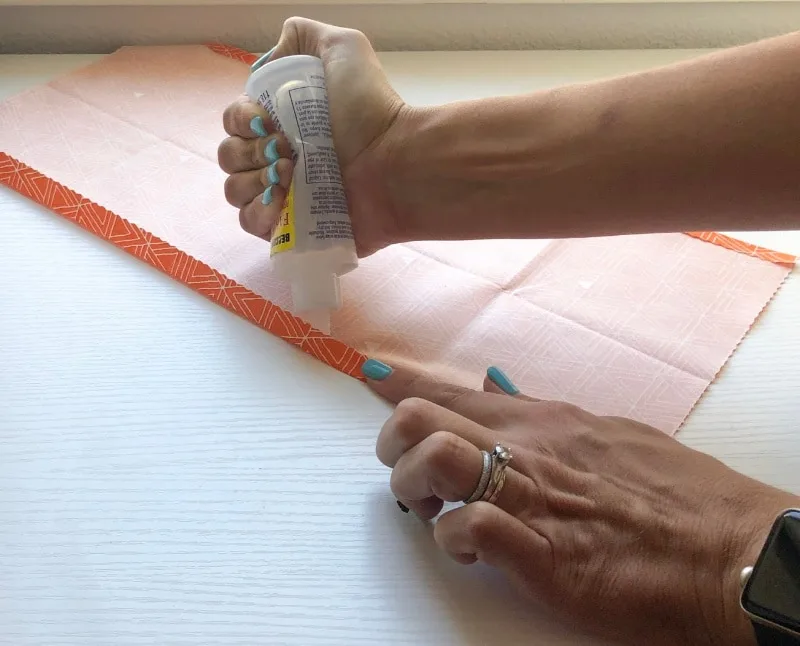
- Place your cut fabric wrong side up. It’s helpful to press the long side edges over about 3/8 inch.
- Place a bead of glue inside the fold and press down with your finger as you move along the side of the fabric.
- Do this on both sides.


- Here’s how it looks with both sides complete.

- Press the short sides over about 1/14 inch.
- I sketched out a quick line with a pencil to have a mark to follow my bead of glue to keep in straight. Just make sure there is enough room to thread through your ribbon for the tie.
- Do this on both short sides of your fabric.
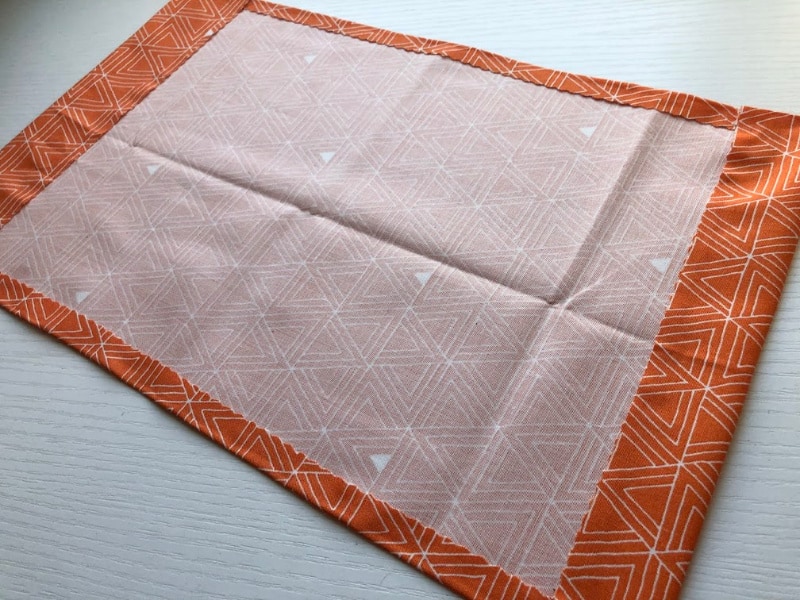

- Here is how it should look so far.


- Place the wrong sides together and glue the sides together starting here, about 1 inch down and working your want to the bottom of the bag.
- Do this on both sides.
- Let the glue completely dry before threading your ribbon/twine through your casing as shown in the sew version.
Tah-Dah – You’re done!

Maria
Sunday 29th of September 2019
Hi Melanie my name is Maria I'm from South Africa and I love your YouTube video's. I just want to know if there is a place where I can buy the ready cut fabric? We don't get it here by us and also the rulers and cutter. Thank you
Melanie
Sunday 29th of September 2019
I don't know of a place that does that, you can make these out of any type of fabric with some scissors ;)
Julissa
Tuesday 24th of September 2019
Super cute ! Can’t wait to make!
Melanie
Sunday 29th of September 2019
yay!
Shell
Monday 23rd of September 2019
Love these so much thank you 💖
Melanie
Sunday 29th of September 2019
happy to share!