
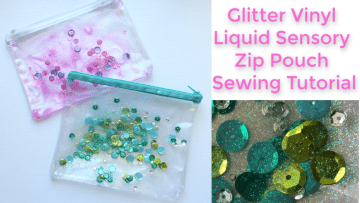

Hey Everyone! I’m really excited to share my latest glitter vinyl zip pouch tutorial with you, my daughter is flipping out about this Glitter Vinyl Sensory Zip Pouch and I think you’ll love making these.
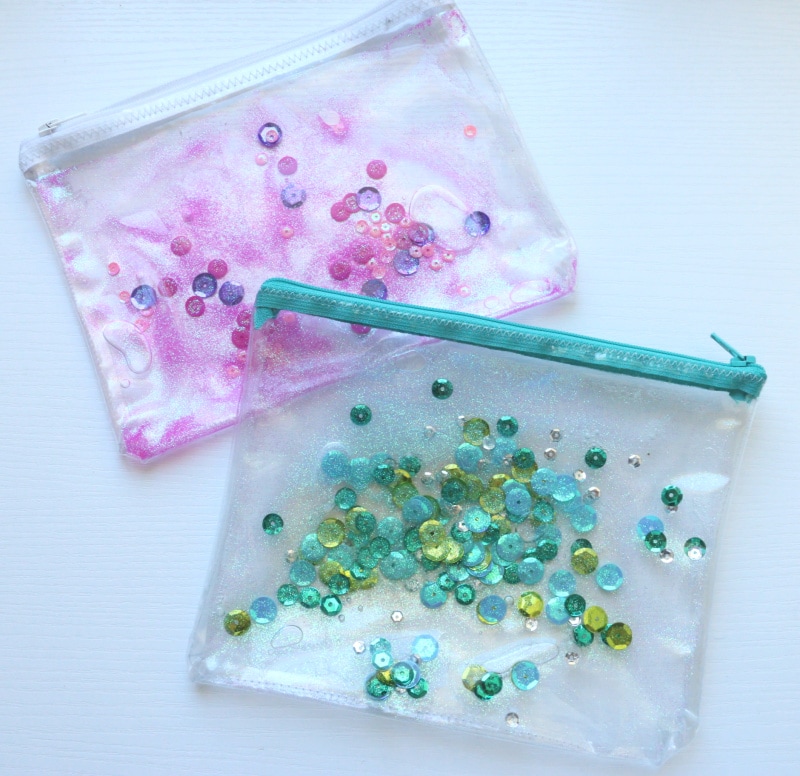
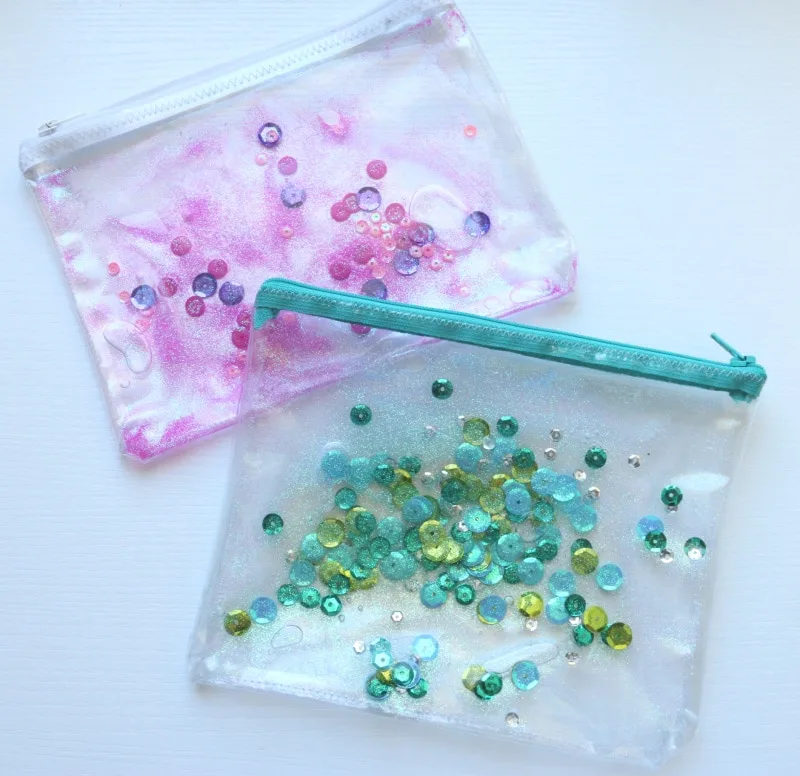
My last tutorial utilized mermaid vinyl to create a wallet, today we are making a zip pouch from clear vinyl with a beautiful sensory glitter and sequin feature. The youtube video is at the end of this post.
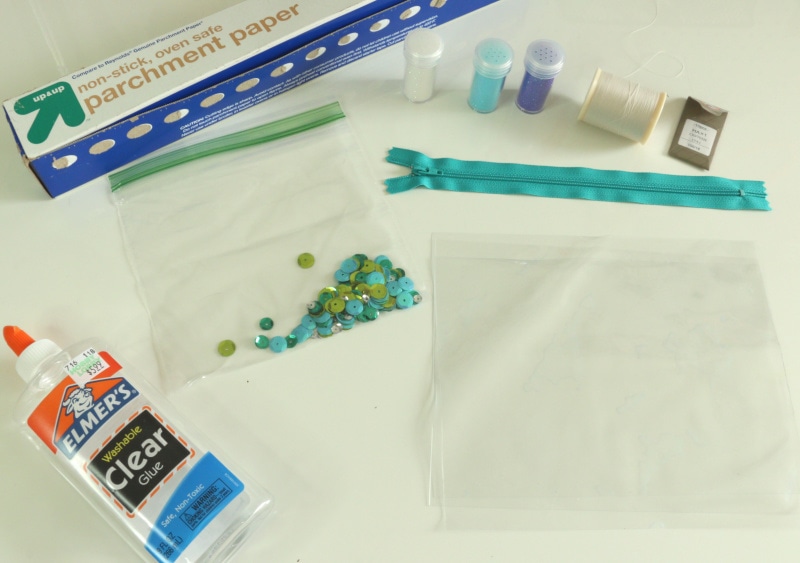
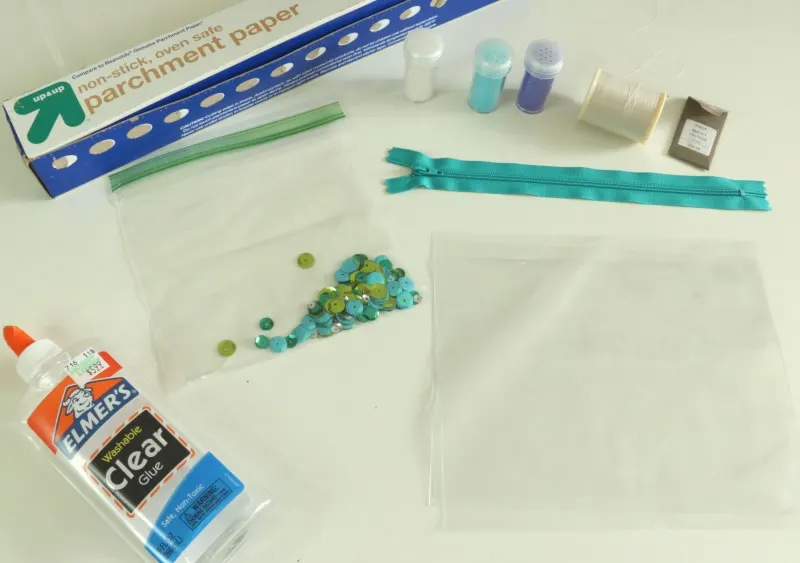
Materials
- 3 pieces of 8.5 x 6.5 clear vinyl (mine was 8 gauge from Hobby Lobby)
- 9 inch zipper
- washable clear glue (tinted is ok too)
- Glitter and sequins to put in your glue mixture
- Polyester thread
- 100/16 fresh needle (90/14 will work in a pinch)
- parchment paper
- Iron/ironing board
- non-fabric scissors
- Optional: clover clips
Instructions
Cut a parchment paper insert 1/2 inch smaller than the vinyl. As pictured, create a piece that comes off the parchment so that when we heat seal the pouch, the parchment “tongue” allows us to have an opening for glue and glitter.
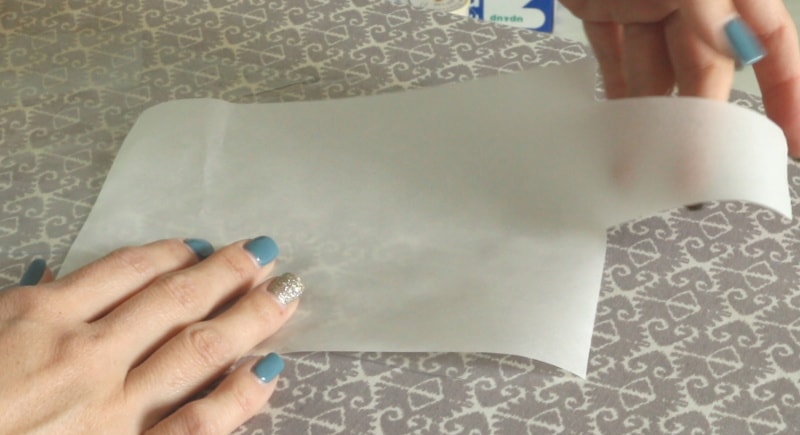
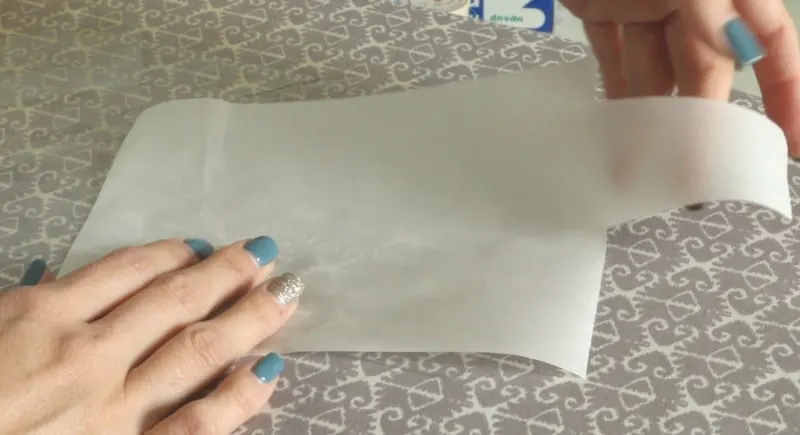
Place this parchment piece in between the 2 pieces of vinyl.
Place another layer of parchment paper underneath the vinyl sandwhich to protect the ironing board surface. Have another 2-3 inch wide strip of parchment to protect the iron as we seal. (If the iron touches the vinyl it will melt).
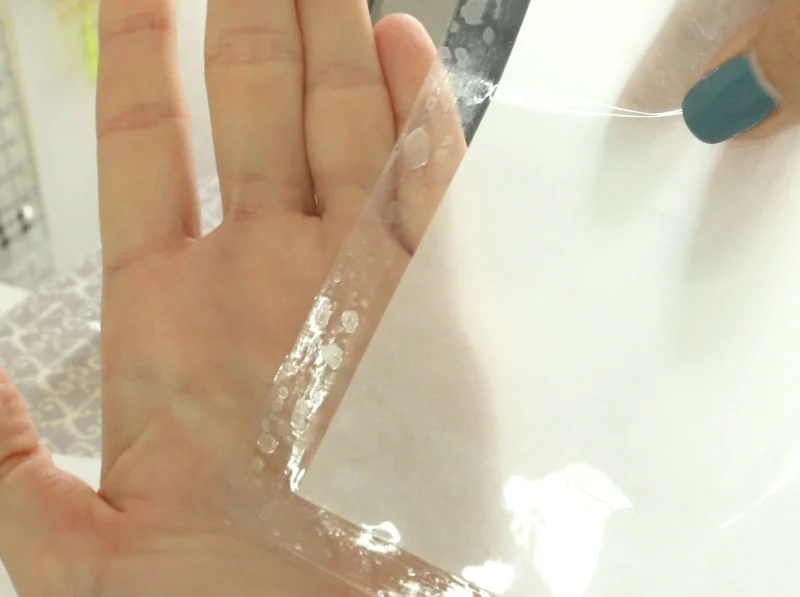
On a medium setting, iron 1/2 inch from the edge all the way around the vinyl. Let cool.
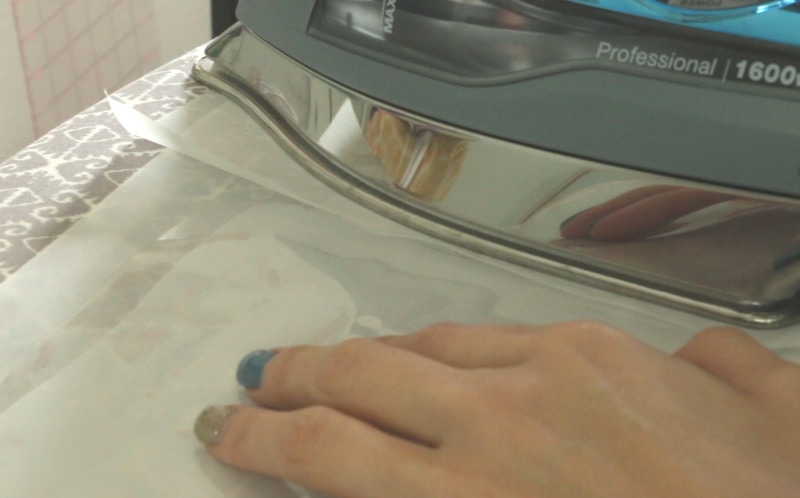

Take a look at the sealed edges and test them out in the opening and make sure there aren’t any more spots that need more heat. My vinyl looked “air bubbly” and the texture changed slightly when it was sealed.

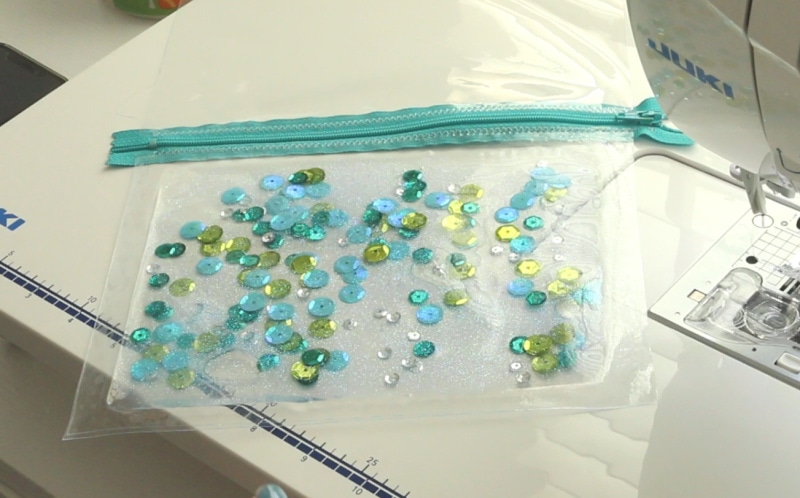
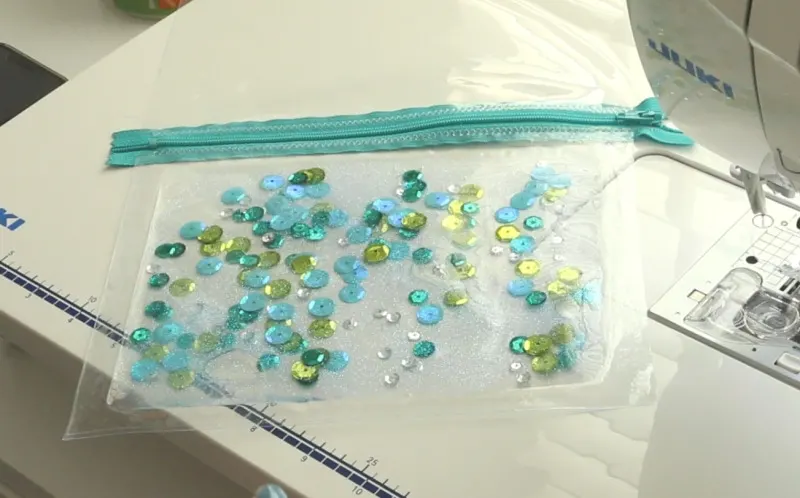
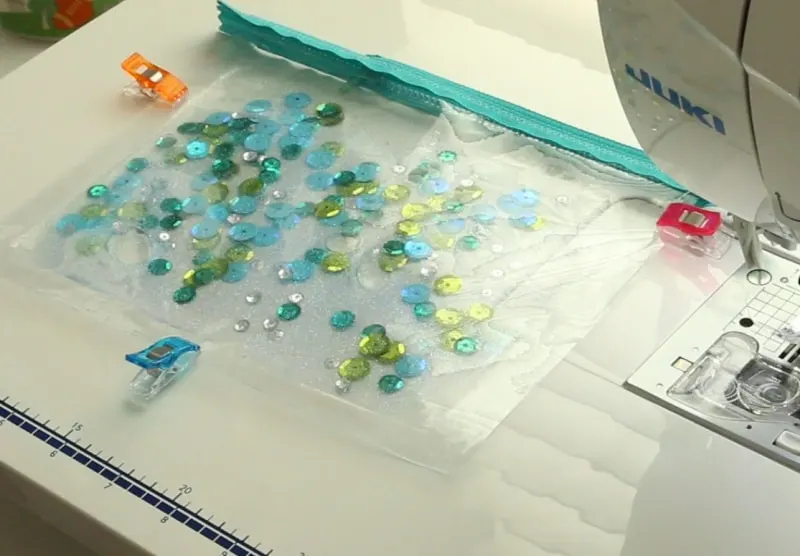
Once you feel good about the edges, fill up the pouch with approx 3 oz of glue and add glitter and sequins or other bits as desired.
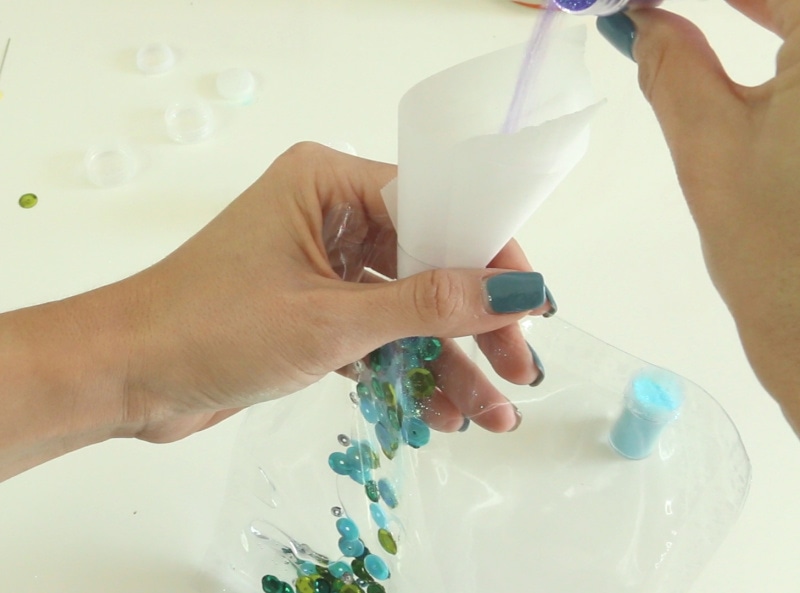

Parchment paper makes a great funnel for the glitter.
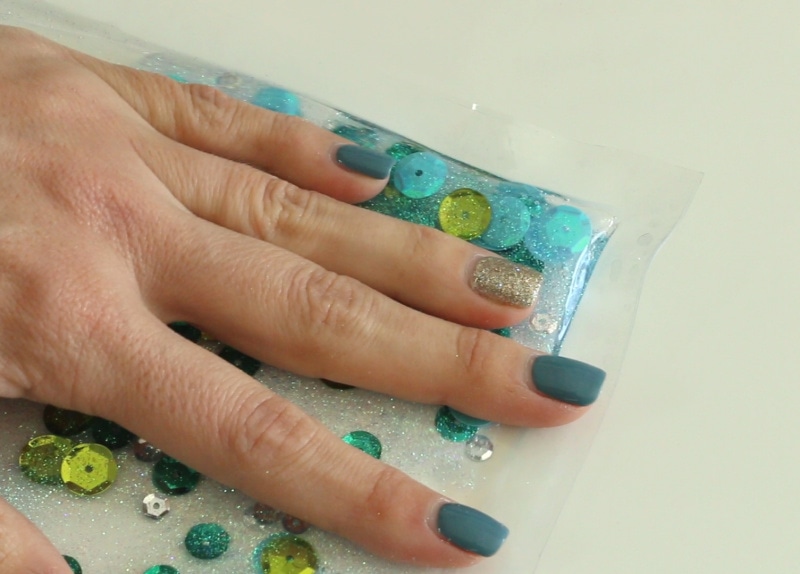
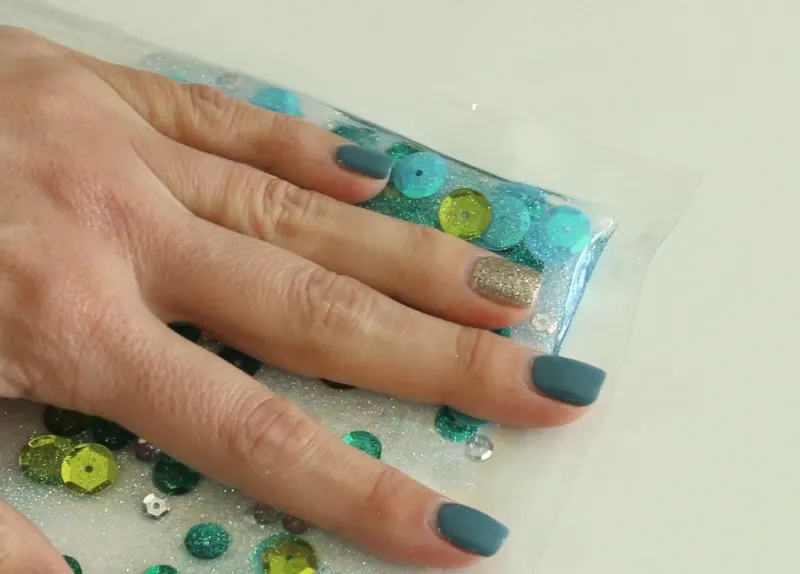
Seal up the opening with your iron as you did before. Play around with the mixture and push the glue up to the edges to test your seal.
Now it’s time to add the zipper. Take your 3rd piece of vinyl and place it on the zipper, not too close to the feet and zig zag in place. If you don’t have a zig zag stitch, a straight stitch is fine too.
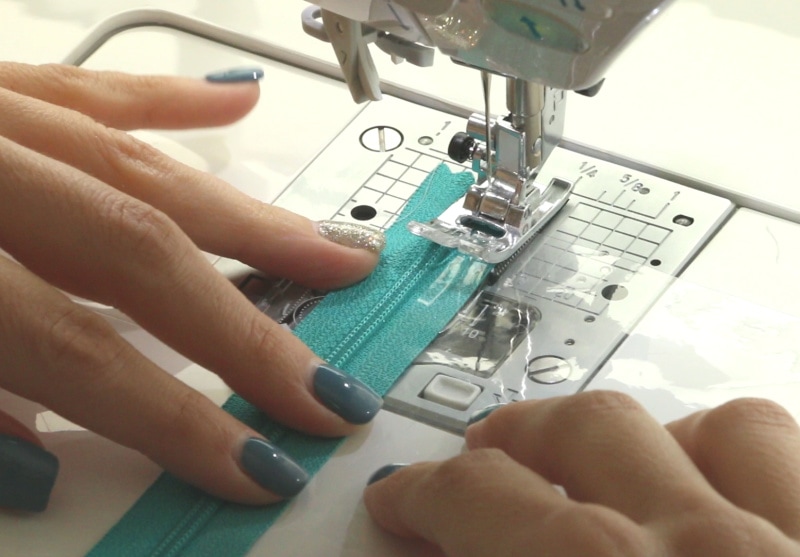

When you get to the end of the zipper where the pull is, stop stitching, lift your presser foot and move the zipper pull down the zipper and out of the way so you can finish stitching.
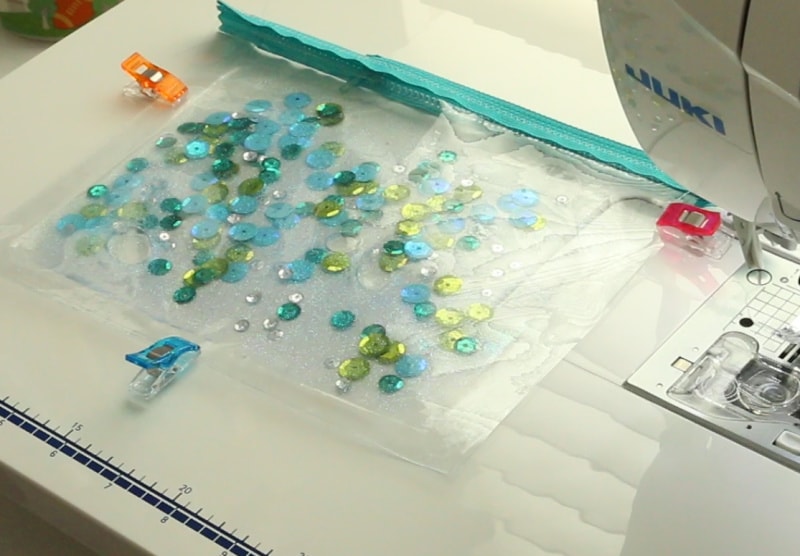
Zig zag our prepared sensory pouch to the other side of the zipper.
Place vinyl right sides together, open the zipper at least halfway and stitch 1/4 inch to 3/8 inch from the edge with a straight stitch all the way around.
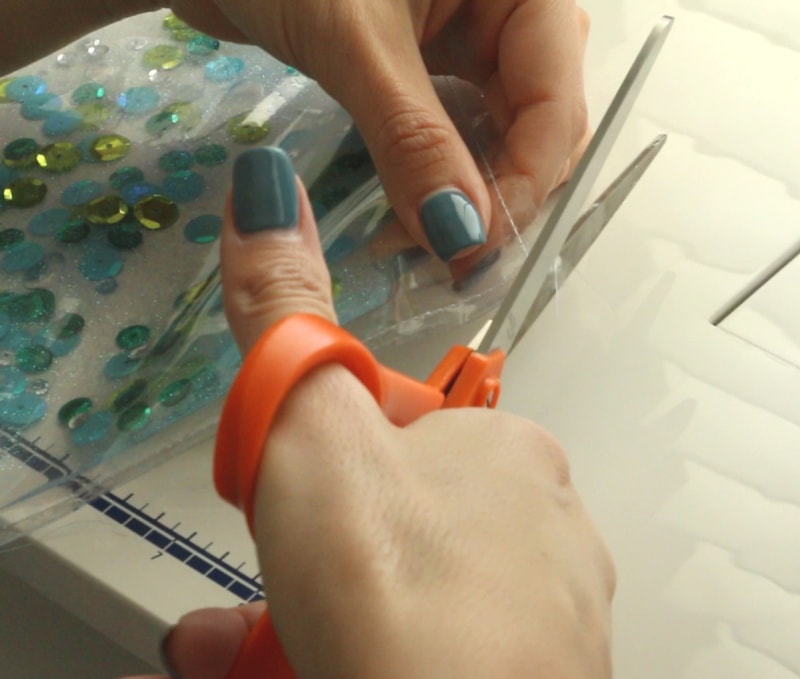
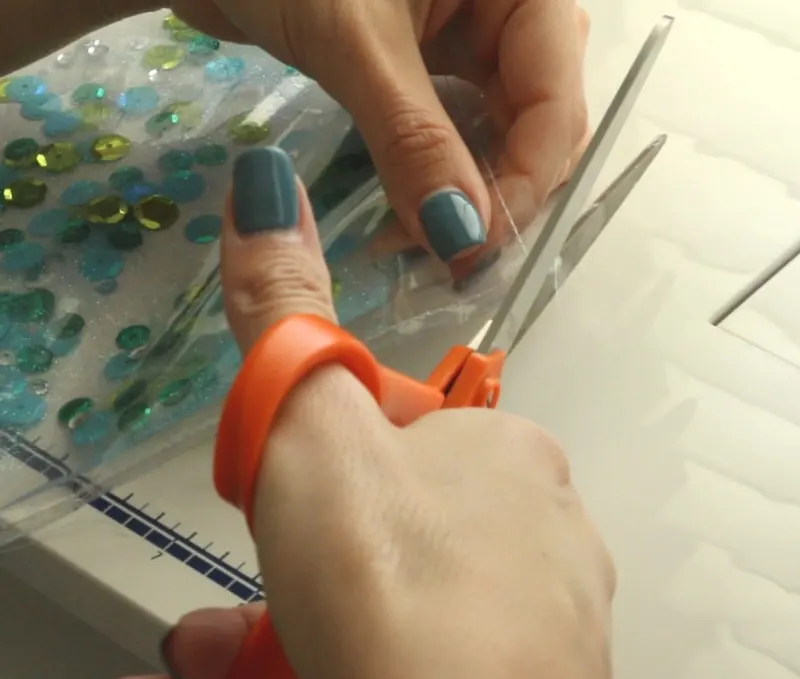
Once the seam is sewn, trim it up and reduce the bulk of the corners
Flip the pouch right side out carefully and you’re done! What do you think about this glitter vinyl zip pouch?
Jackie
Saturday 13th of April 2019
This is so adorable! I will have to add this to my to do list. Thank you Melanie.