

I finally did it! I’m sharing a crochet stocking tutorial with you! And an adorable granny square stocking at that. So, last year I really wanted to share a crochet stocking, I had lots of requests and I was working on a pattern – that wasn’t actually going well, but I was trying!
And then that whole medical emergency – sudden kidney removal thing happened and I was in bed for 6 weeks. Obviously, no stocking was meant to happen and it gave me the chance to make it better for this year!
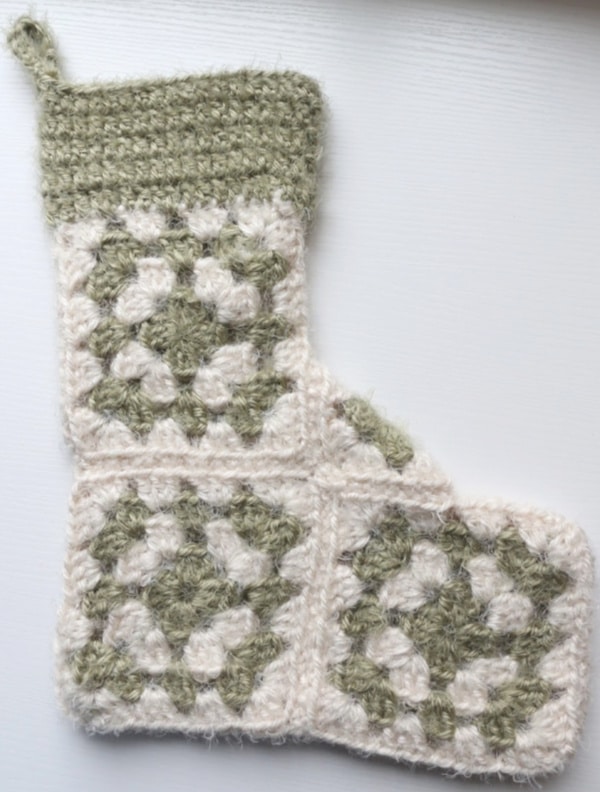

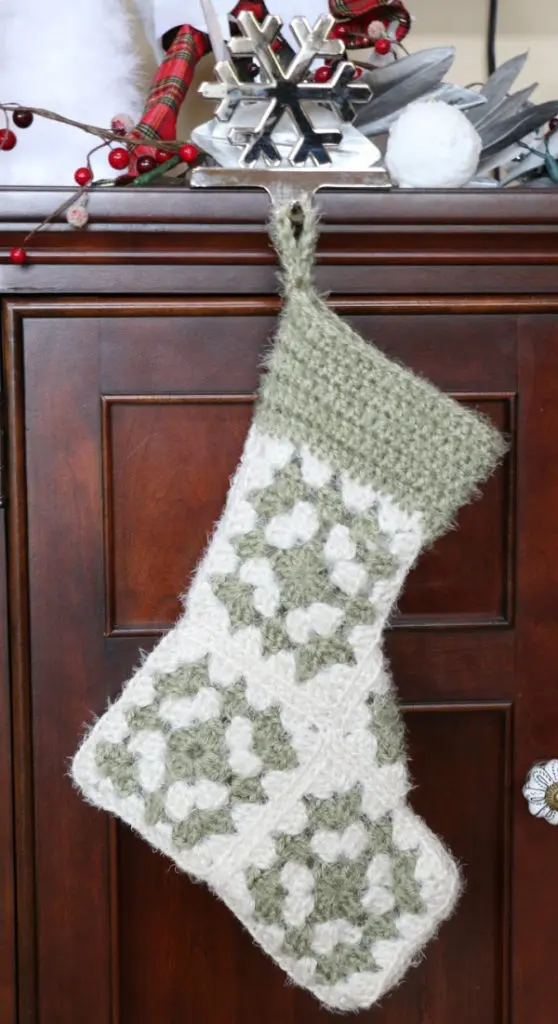
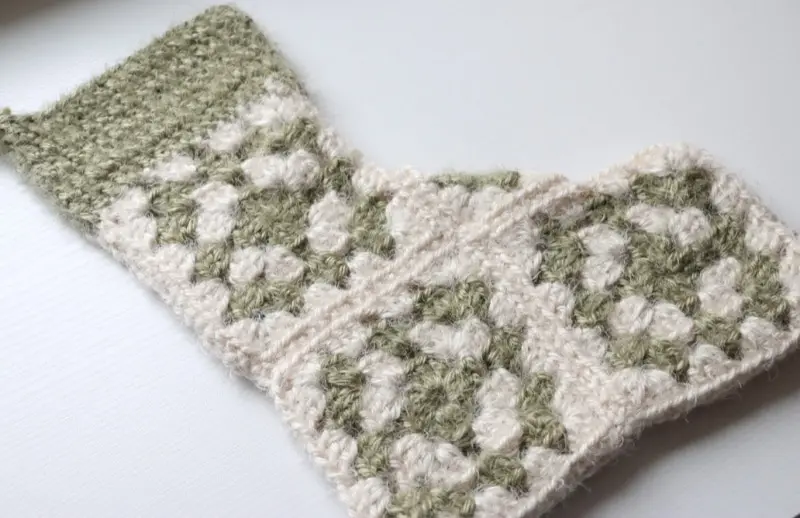
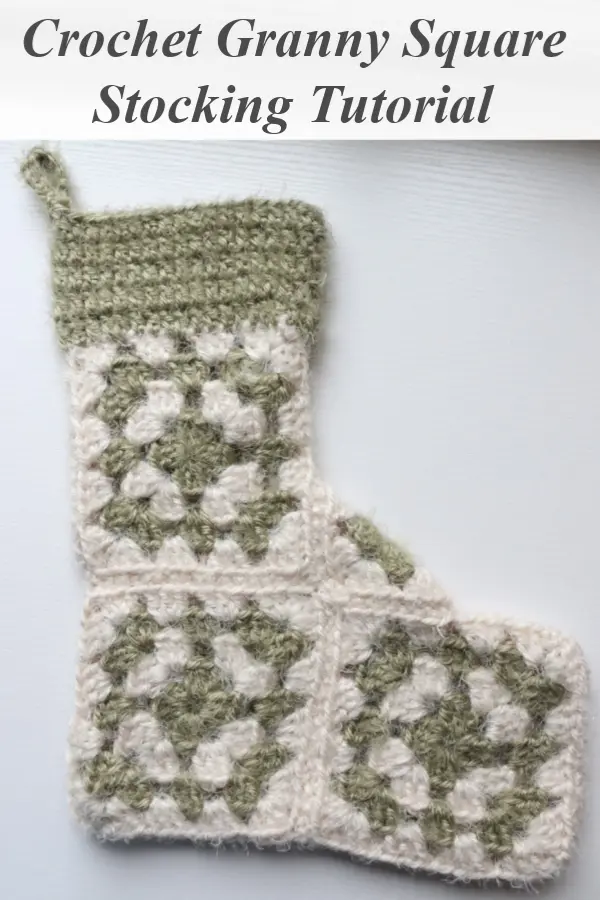
Here is my stocking! I really like the granny square method because it helps the crochet stocking hold it’s shape. The stocking from last year slouched into a sad blob when I hung it up. This one looks the same either way.

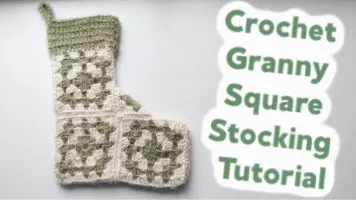
Granny Square Stocking
This post includes all of the instructions for how to put together this granny square stocking. Sewing the actual granny squares together and adding the cuff and loop. Here is the tutorial for the granny square itself if you need that.
Crochet Granny Square Stocking


This pattern and video tutorial will teach you how to make a crochet granny square stocking!
Materials
- Red Heart Hygge yarn or Size 4 yarn in Color A
- Red Heart Hygge yarn or Size 4 yarn in Color B
Tools
- Crochet Hook that coordinates with yarn choice
- yarn needle
- small scissors
Instructions
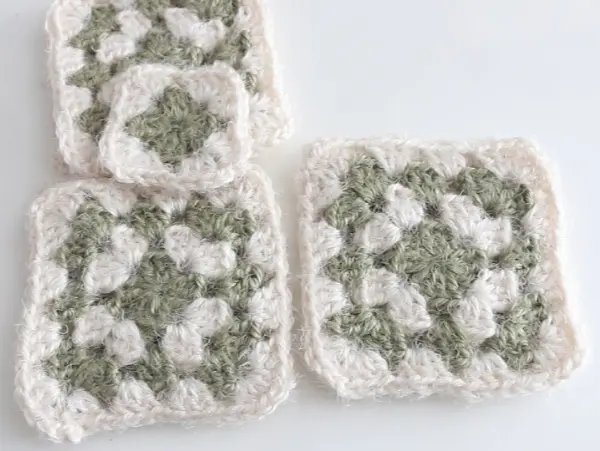
- Start with 6 traditional granny squares that measure 5 inches. Make sure all of the ends are woven in. You also need 1 small granny square only 2 rounds.
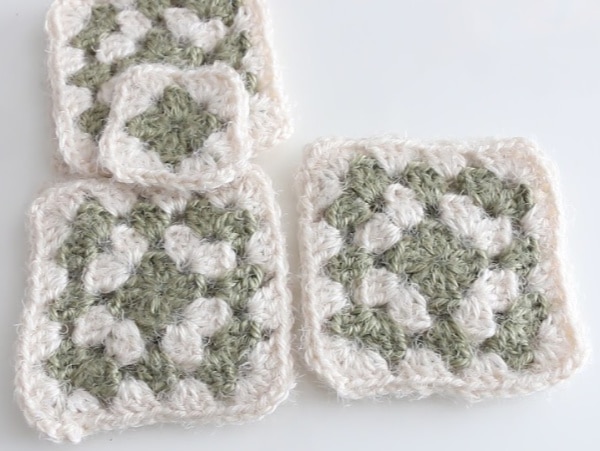
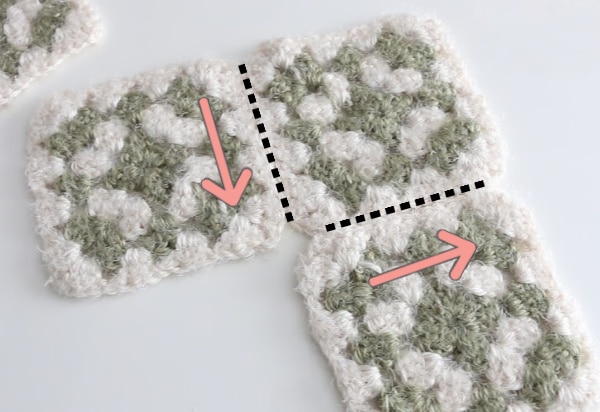
- Use 3 granny squares to make a front panel and another 3 squares to make the back panel. Place them right sides together and using a long strand of same color yarn, sew the back loops together with a whip stitch.


- Once your front and back panel are complete, sew in the small granny square.


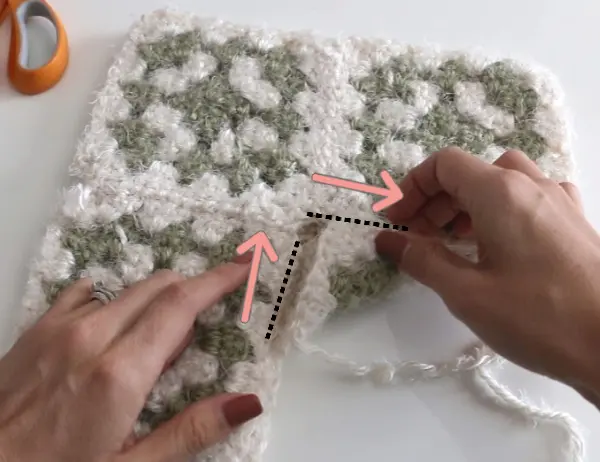
- The whole stocking will now look a bit strange, but place the granny squares right sides together in the stocking shape. Sew around the outside seam.


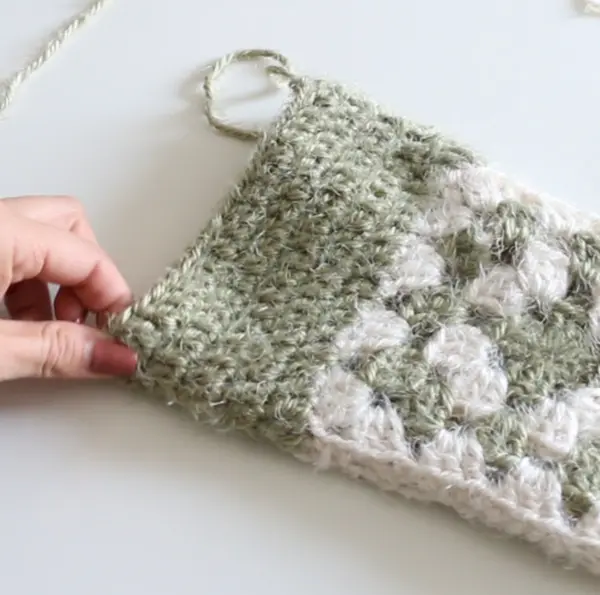
- Turn the stocking right side out and attach the yarn you want for the cuff on the heel side of the stocking. chain 3 and double crochet in each stitch around the cuff. slip stitch to the ch 3 from the previous round, and continue for as many rounds as desired. Mine was 5.


- At the end of the round, chain 9 and place a sc in the 2nd chain from hook all way down the loop. Slip stitch it in the same stitch that it is coming out of, fasten off and weave in the tails!

You did it! If you make one, make sure to tag me in your photos so that I can see your creations!
Notes
2 balls of hygge yarn (Color A and Color B) will yield 2 stockings.
Recommended Products
As an Amazon Associate and member of other affiliate programs, I earn from qualifying purchases.


What do you think of this project?! Worth the wait, or gonna skip it this year? Here is a post for you to share on your pinterest if you’d like to save it for later. Are you following me on Pinterest? Let’s be friends!

Marie m.c.
Thursday 5th of December 2019
This is something off the above project. I saw your tutorial on making a Christmas bulb ornament wreath. You didn't give the dimension of the styrofoam wreath you used. Help! What was the dimension>? Thanks! 🎄 🎄 🎄