


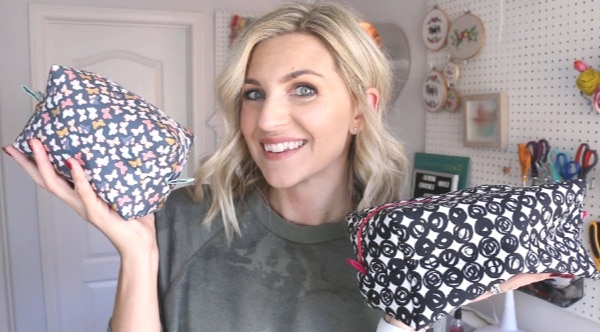
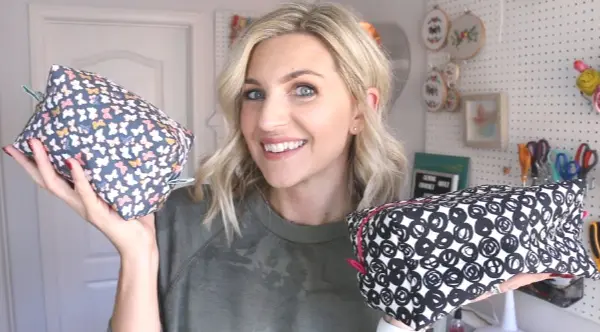
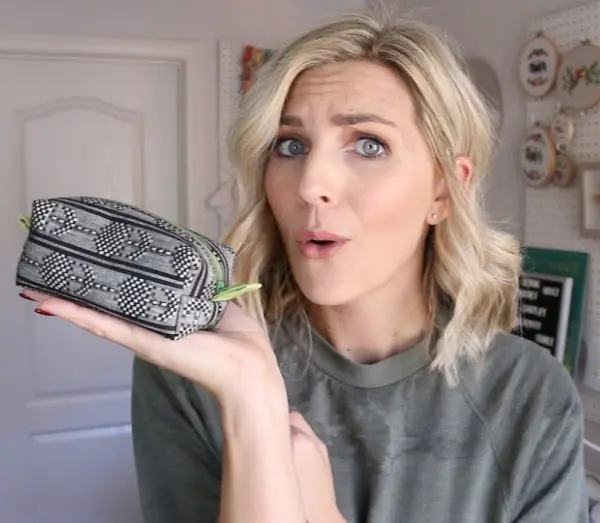
Hi friends! For today’s tutorial we are revisiting the zippered box pouch, but this time with now raw edges. My popular box pouch from several years ago has helped so many people make box pouches and I’m so happy about that!
Full written pattern with various size options at the bottom of this post.
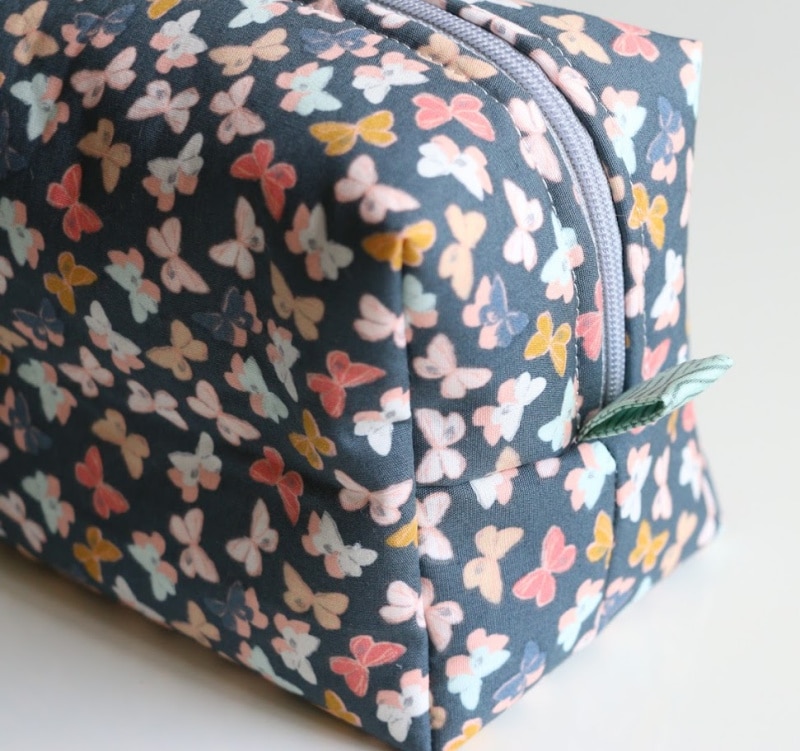
The original is a great tutorial, but many followers didn’t like the fact that it has exposed seams or raw edges inside.

So even though they are finished seams and won’t fray, many of you have asked for a more polished version. I played around with different construction methods because I wanted to make this easy to follow.
Looking for a good sewing machine? Check out my best sewing machine for beginners post to read about my favorites.


Some of the methods are tricky and I didn’t want to put something out there that would frustrate my newer sewers… so I tested several options out and added my own touches to create this tutorial. I hope you guys like it!

I’ve also got a fun clear vinyl pouch that is an adorable project!
Zippered Box Pouch Sewing Tutorial - No Raw Edges - 3 sizes!
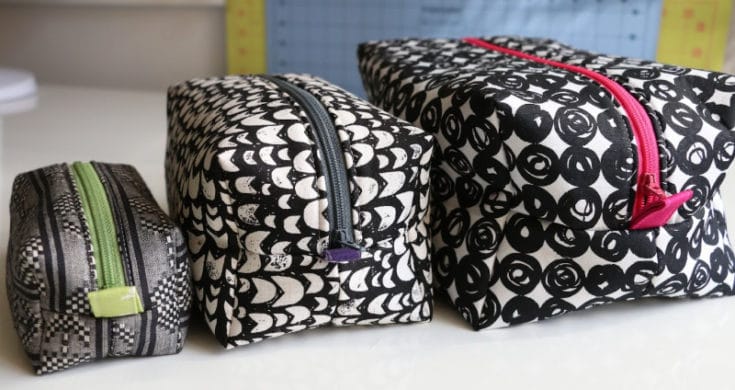

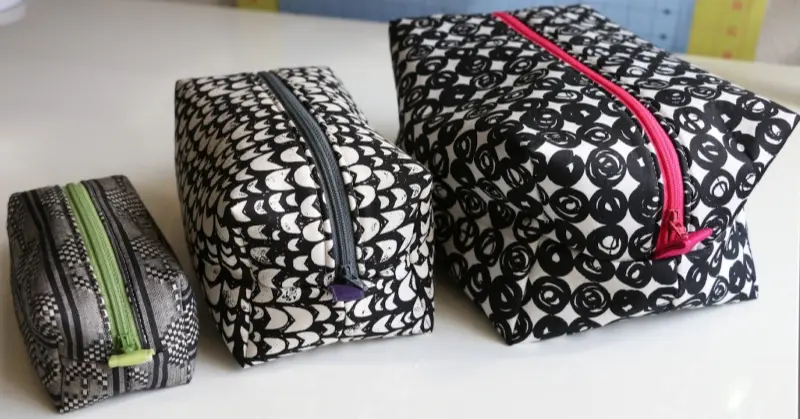
This zippered box pouch pattern comes with 3 sizes! This pouch is a great for new and advanced sewers alike that are a little bit familiar with a zipper. See "notes" section for size variations.
Materials
- (2) Pieces of outer fabric 11 inches by 8 inches
- (2) Pieces of lining fabric 11 inches by 8 inches
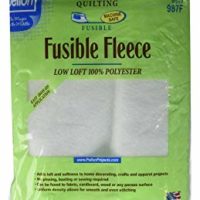
- (2) Pieces of fusible fleece cut to 11 inches x 8 inches
- (1) Piece of lining fabric 2.5 inches x 8 inches
- 14 inch zipper
- Coordinating thread
Tools
- Fabric scissors
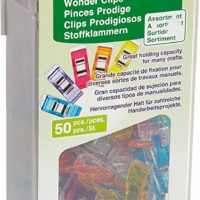
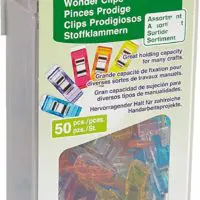
- Clover Clips or pins
- Marking tool
- Iron and Ironing Board
- Sewing Machine with standard and zipper foot
- Small ruler or measuring tape
- Purple thang or stiletto (optional)
Instructions
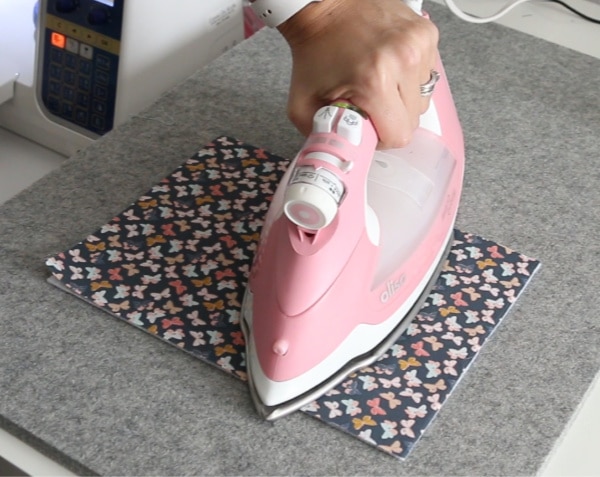
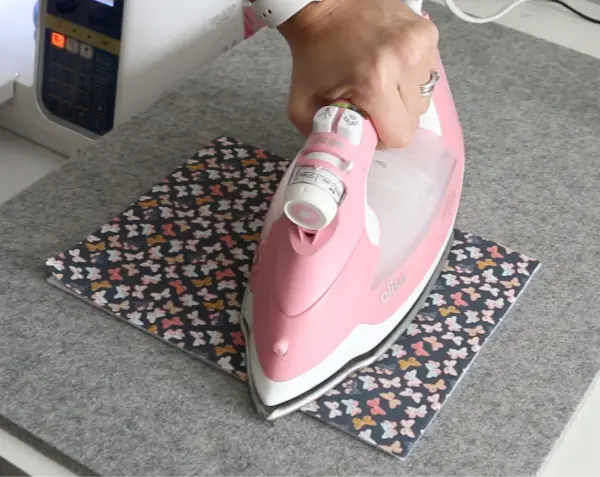
- Cut all pieces to size specified. Fuse the fleece to the wrong side of the outer fabric according to the manufacturer instructions.
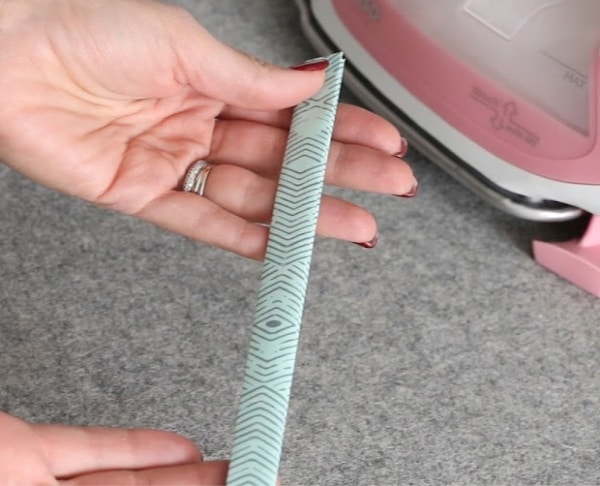
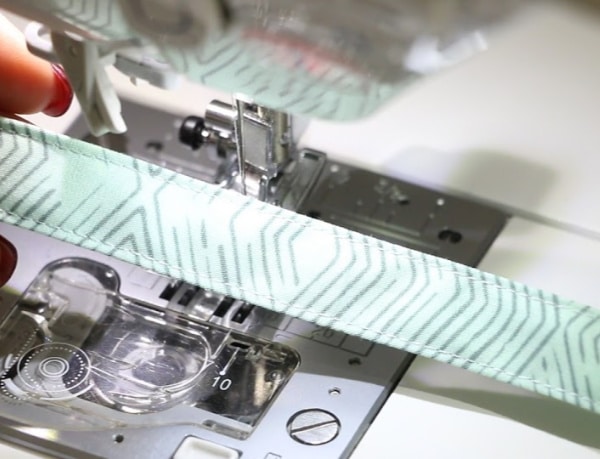
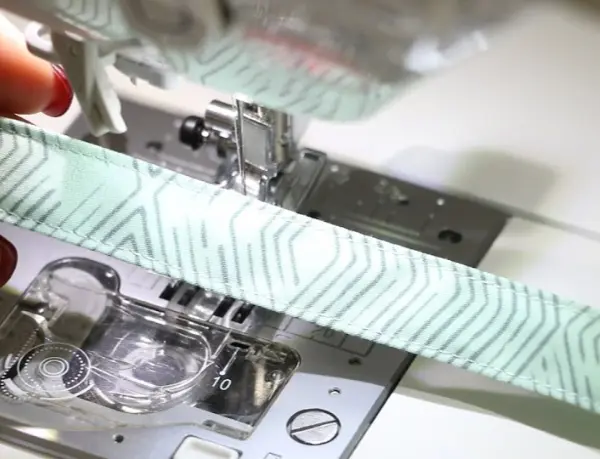
- While you are standing at the ironing board, press the pull tab piece. Fold in half, wrong sides together to make a crease. Then fold each edge in toward the middle and press. Fold in half to make your tabs. Pin if needed and set aside.

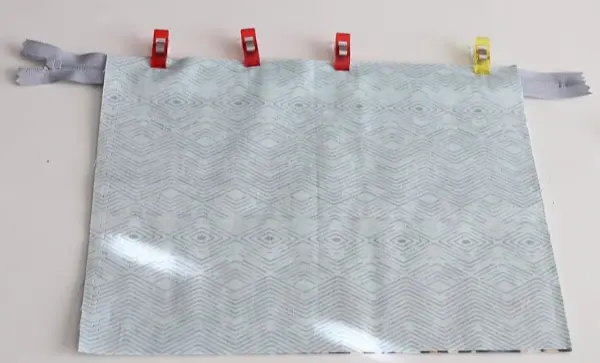
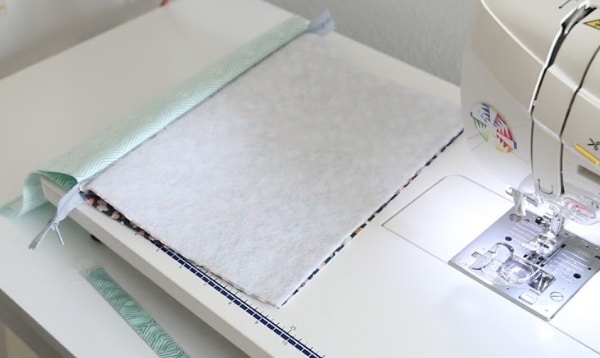
- Place the zipper teeth side down on the right side of the outer fabric. Then place the lining fabric on top of that with right sides together and the outer, zipper and lining all lined up on the 11 inch side and clip in place.

- Using measuring tape or ruler, measure .5 inches in from the edge of each side of the fabric and create a mark.

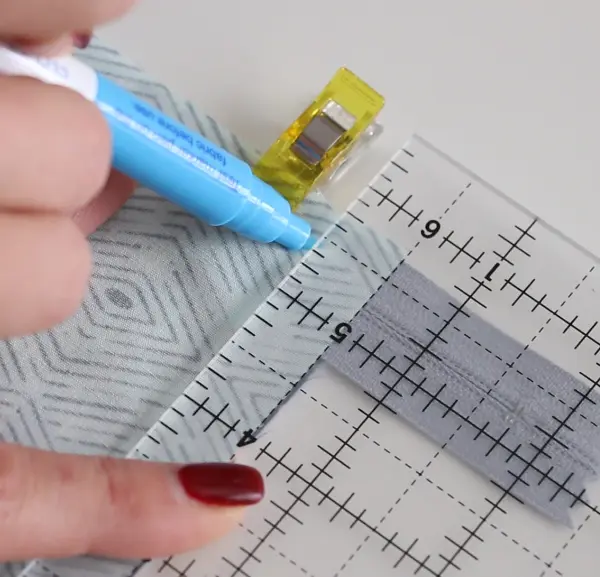
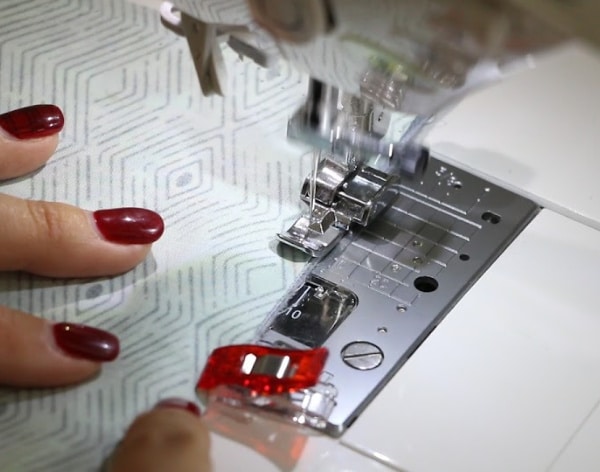
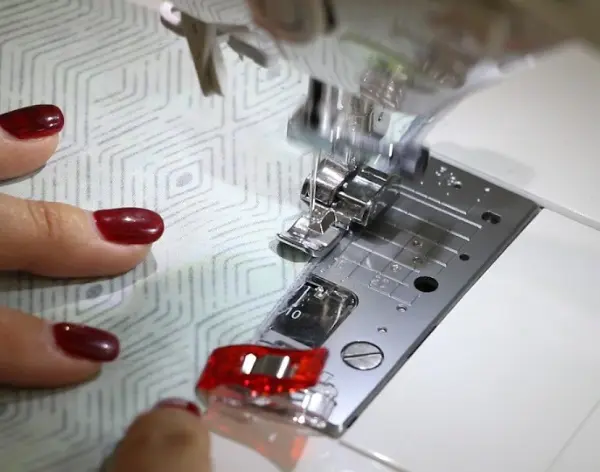
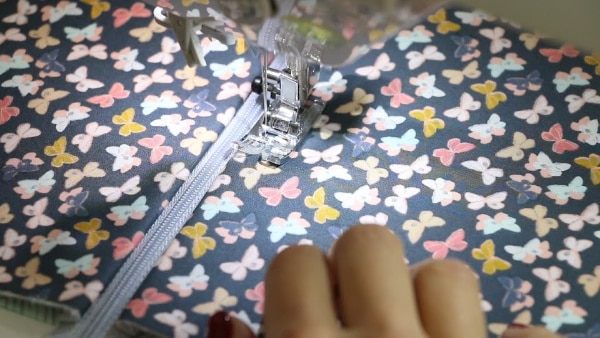
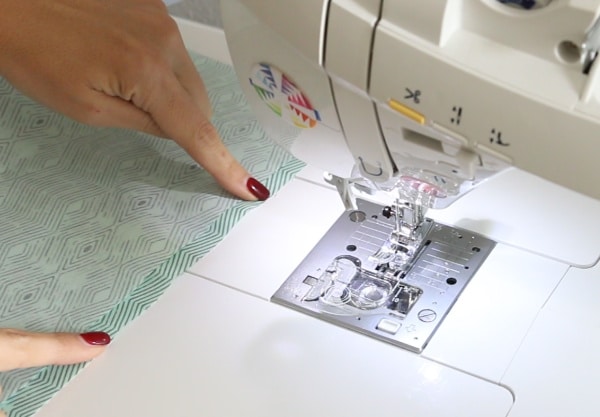
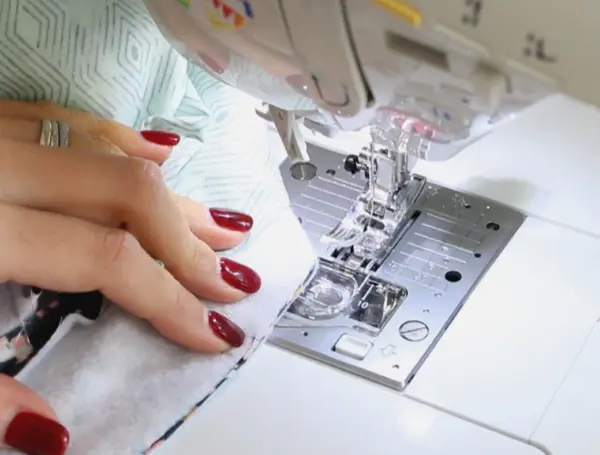
- Take your piece to the sewing machine and with your zipper foot, sew the outer layer, zipper and lining fabric. You will start and stop on those marks and back stitch when sewing the zipper into place.
- Open up the fabric and inspect the zipper to make sure everything is sewn well. Put the wrong sides of the fabric together and place the zipper teeth down on the other outer fabric and then the lining on top of that in the same manner. Make the .5 inch mark just like before and sew the zipper the same way.


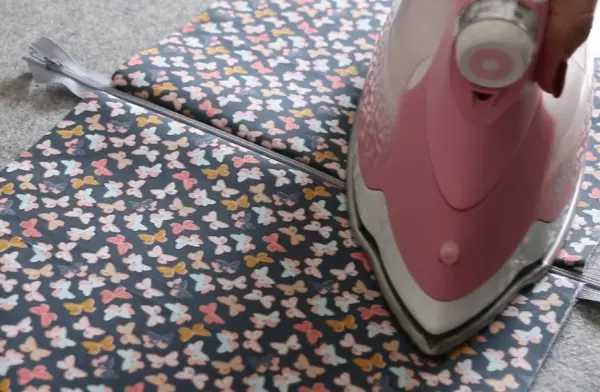
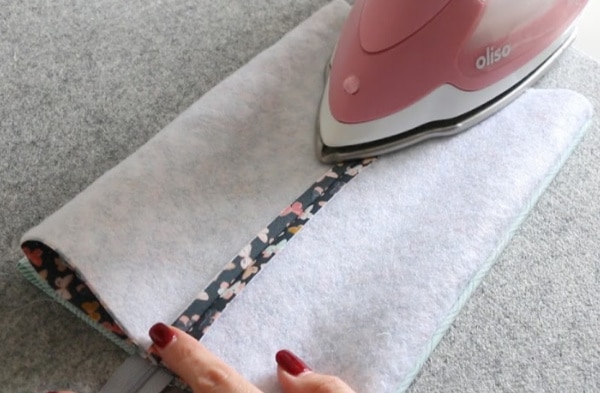
- Open up the pouch and press the bag at the ironing board.

- Mark .5 inch from the edge just like before, but this time on the outer fabric. You will start and stop your top stitch there.


- Switch to a regular sewing foot and top stitch with coordinating thread starting and stopping at the half inch mark.

- While you are at the sewing machine with the coordinating thread, sew down the long side of the pull tab piece close to the edge.
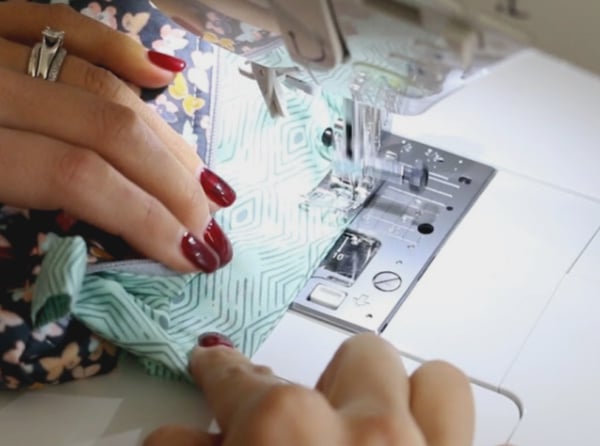
- Open up the bag and place right sides together of the outer fabric. Sew along the bottom 11 inch edge with a 1/2 inch seam allowance.

- Place the right sides together of the lining fabric. Sew with a 1/2 inch seam allowance along the bottom except make sure there is a 3-4 inch opening with back stitches.

- At the ironing board, press the outer fabric and lining fabric seams open. Line them up on top of each other. Cut long pull tab piece in half.

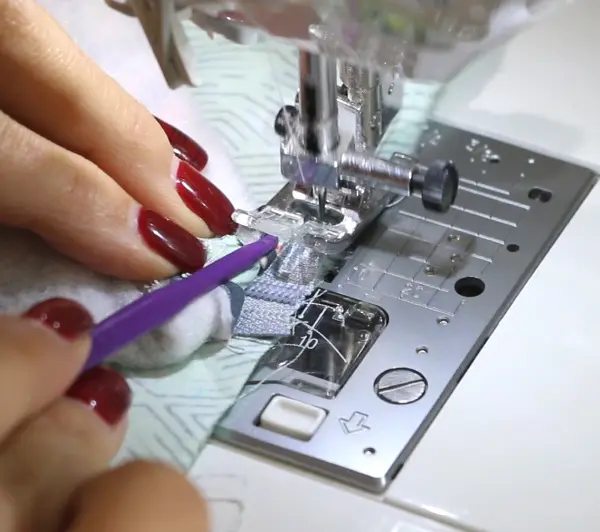
- Pin lining back out of the way and make some marks along the edge of the outer bag 3/8 inch from the edge. Do this on the side of the bag with the zipper stop first, not the pull tab. Fold the zipper tab in half and place inside the outer fabric lining up the raw edges and clipping or pinning into place in line with the zipper.

- Sew along the outer fabric edge along those 3/8 inch marks and sewing carefully several times over the zipper. Make sure the lining fabric is pulled back and out of the way. Repeat on the other side, but open up the zipper halfway and clip the split zipper ends really well. Cut zipper ends even with bag with non fabric scissors.


- Pin the outer fabric out of the way and make marks along the lining that measure 1/4 inch from the edge. Sew along these marks and over the zipper with the outer fabric out of the way.

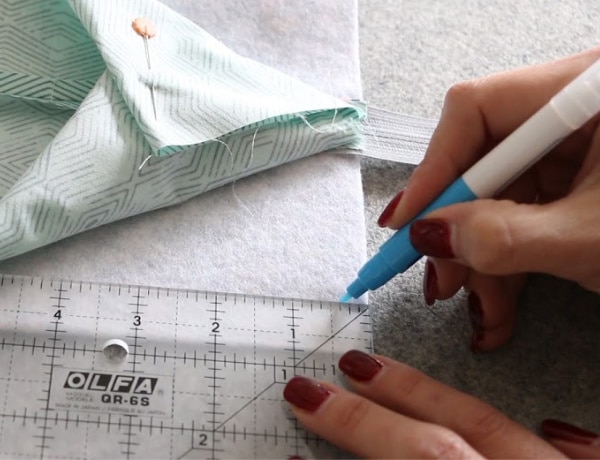
- On the corners of the outer fabric and lining, make marks 1 3/4 from the seam line and from the fold.


- Cut along the marks and pinch fabric together to make a straight line. Sew and back stitch with a 3/8 seam allowance to secure.

- Flip bag right side out and use fingers to straighten out corners. Make sure everything looks good and it doesn't need any fixes.

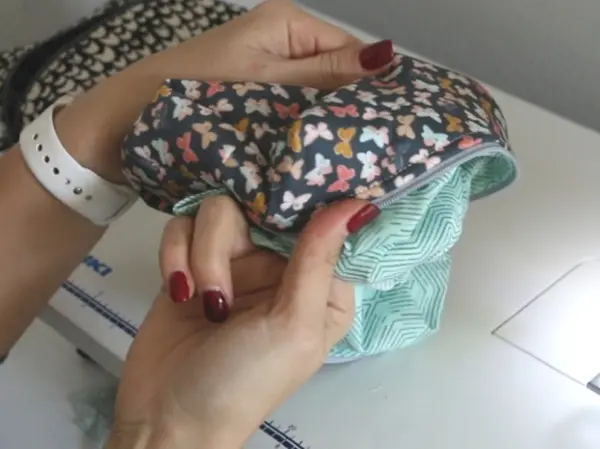
- Sew the lining closed and place inside bag.

Notes

Size small measurements:
(2) Outer Pieces 8 x 5
(2) Lining Pieces 8 x 5
(2) Fusible Fleece Pieces 8 x 5
9 inch zipper
Zipper Pull tab 2.5 x 7
Box out: 3/4 inch
Finished size measures 5 wide x 2.5 deep x 2 1/4 tall
Medium size included in pattern above.


Finished size measures 7 wide x 4 deep x 3.5 tall
*This size is great for maximizing fat quarters.
Large size measurements:
(2) Outer Pieces 14 x 11
(2) Lining Pieces 14 x 11
(2) Fusible Fleece Pieces 14 x 11
14 inch zipper
Zipper Pull tab 2.5 x 7
Box out: 2 1/4 inch
Finished size measures 9 wide x 6 deep x 4.5 tall
Recommended Products
As an Amazon Associate and member of other affiliate programs, I earn from qualifying purchases.


Looking for some other great easy sewing projects?
Pin in for later!


Alma Dirpaul
Sunday 5th of January 2020
I really love making these pouches. I have sent several in Christmas Shoe boxes so they are all over the world now!!
Lauren
Saturday 4th of January 2020
I accidentally bought a 10 inch zipper! What size should I cut my pieces to!!!?
Tamara
Saturday 4th of January 2020
Oh my goodness!! I’m so excited I found your video and you!! I totally subscribed. Thank you thank you thank you for posting videos and giving us sizes. I can’t wait to try these.
Anne
Wednesday 1st of January 2020
I've learned SO much from uou through various videos. Thank you. Hidden seams and 3 sizes a plus. How would you add straps??
Pam Thompson
Tuesday 17th of December 2019
Thank you so much for your zippered box pouch! I really love these and you explained it so well. I have alot of material and I'm going to make one in every color...lol Thanks again for sharing your gift with others. I will be back to see what else I can make Blessings, Pam