

Today I’m super excited to share a new quilting series with you… Your First Quilt! This series is meant for those of you who I hear from all the time who want to get into quilting, but just aren’t sure where to start. This is for you!
I hope find this post helpful! I also have a free mini-class with loads of information, called 5 days to better quilting. You can check it out at 5daysquilting.com!
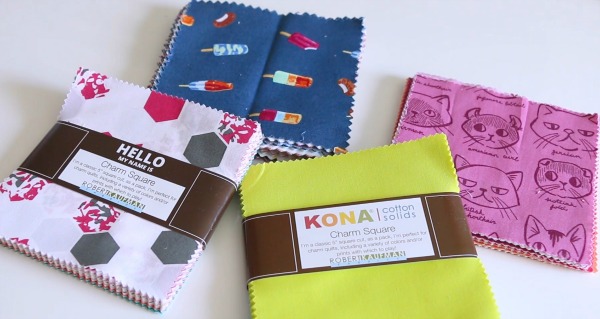
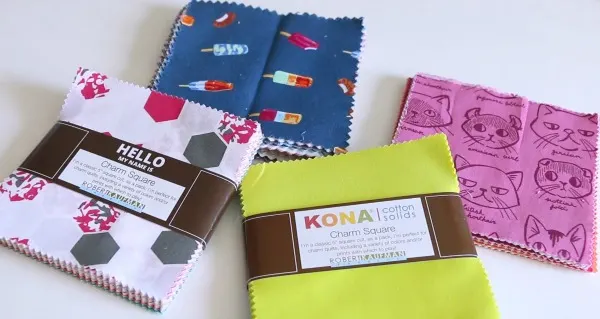
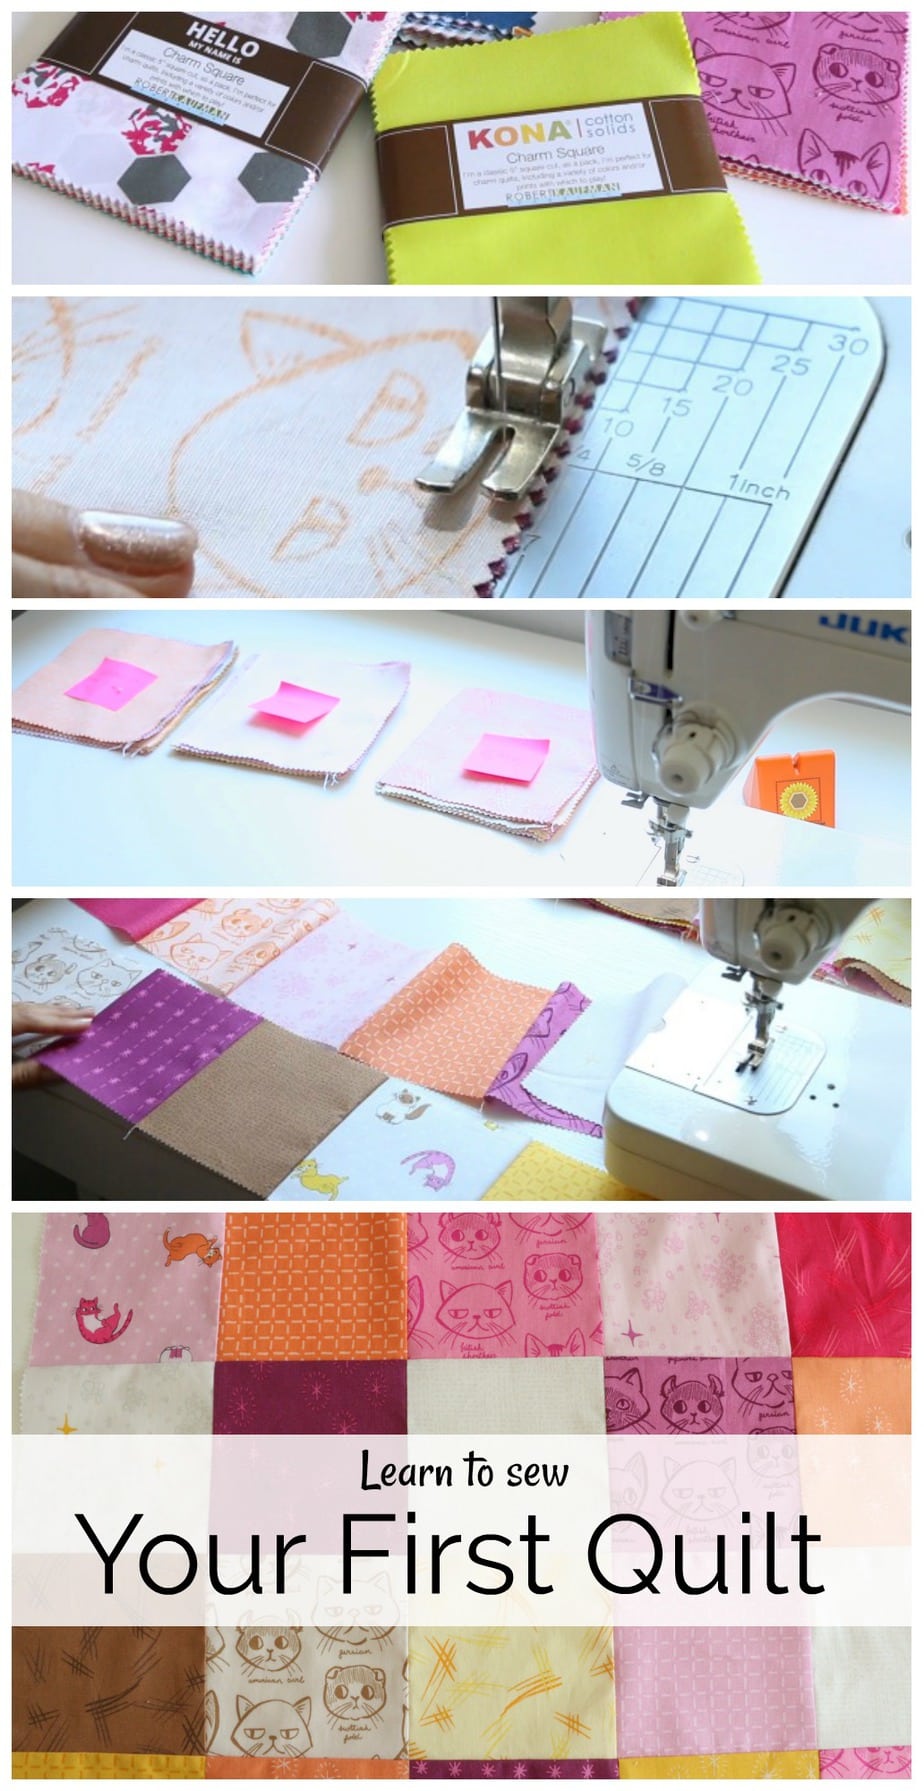
Charm Pack
The first thing you need to do is choose a charm pack. A charm pack is a “pre-cut” of 5-inch square pieces of fabric that make it really easy to start sewing.
There are a lot of steps to quilting, so if you are new, this is a great way to start. I think buying yardage and cutting is much scarier for beginners, so this takes that out of it.
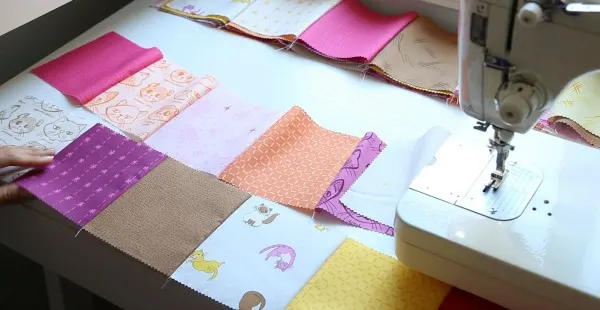
Quilt Layout
Once you have your charm pack selected, it’s time to decide on your layout. Find a clean spot on the floor or table to play around with your layout. For a 42-piece charm pack, I’d recommend 6 squares wide x 7 squares long.


Snap a Photo of your Quilt Pattern
One of my best tips is to take a photo of your layout before the next step. That way if your pesky cat Jack knocks the stacks off of your sewing table, but won’t have to redo it ;). Can you tell I’ve been there before?!?


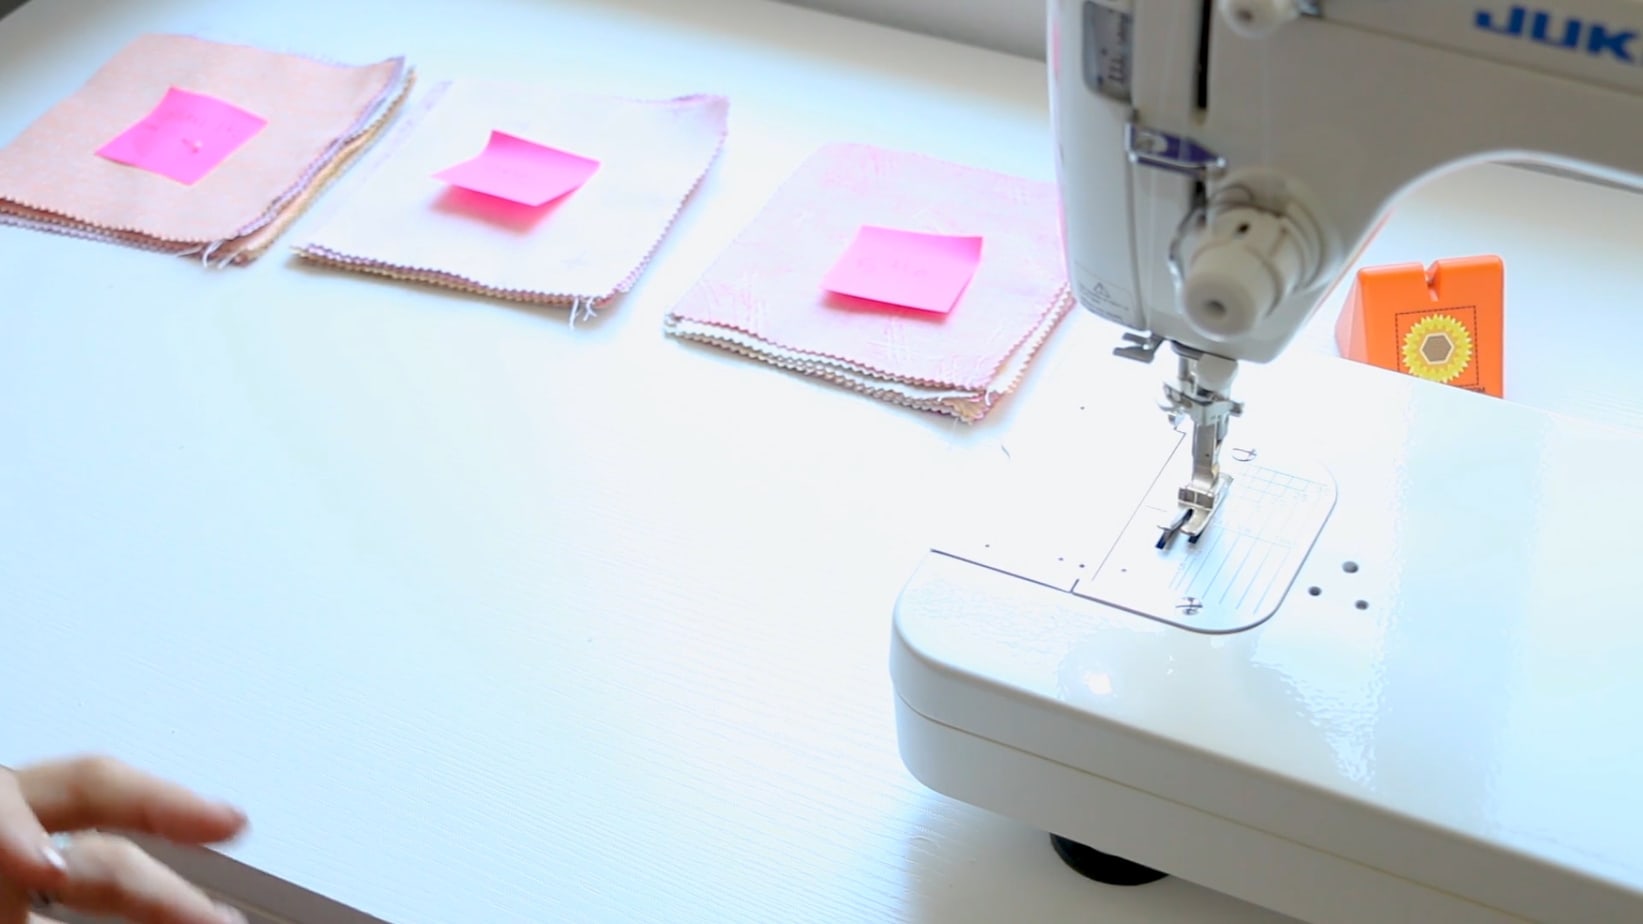
Make Stacks
Now this is my method for making stacks to take to the sewing machine.
This is your first quilt, so do it this way and if you think of a way that makes more sense to you in the future, change it up. The idea is to make and label your stacks so that you don’t have to get up and down from your machine.

Create Rows
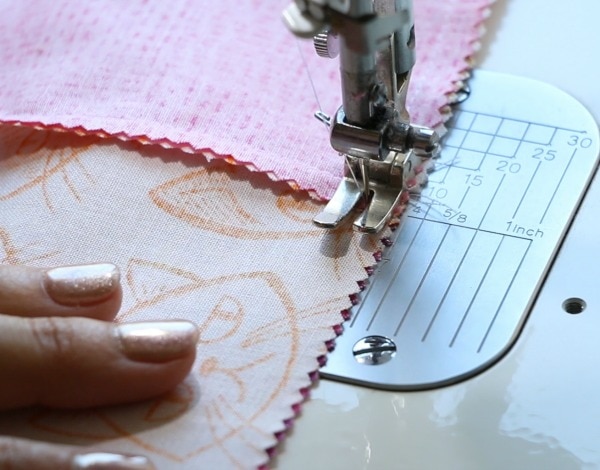
Using a 1/4 inch seam allowance, sew down the right side of your first two squares. They should be right sides together.

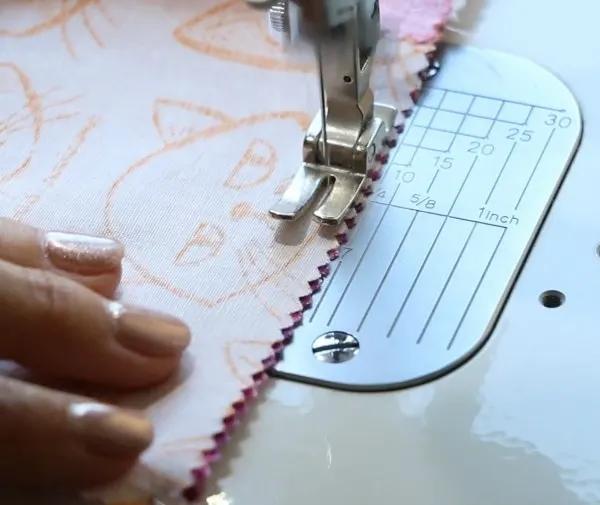
When you get to the end of each pair, chain the piece and add in the next pair. That way you don’t need to cut threads.
You will do that for all your stacks and then take the top pair from each stack and sew them together to create the row.

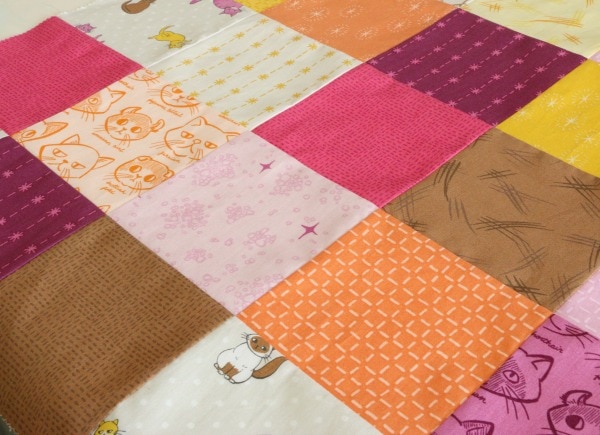
Once all of the rows are complete it’s time to sew the rows together to make the top.
Nesting Seams
In order to get those perfect patchwork corners, we need to “nest our seams.” Take the seams for either the top or bottom row and finger press or press with an iron all the same direction. Then take the next row and press those seams in the opposite direction. That will allow those seams to “lock” into place and get those nice corners.

Iron Your Seams
Once you are done attaching all of your rows, take it over to the ironing board and press your seams to make them flat and easy for this next step which is basting. Here is a great post on pressing.
See? Not too bad right? I’m here to walk you through your first quilt, I’m excited for you! Stay tuned to the next step which is basting. There are several methods, but I’ll show you the simplest way I’ve found for beginners.

Want some more great quilting tips? Here’s a great post on quilt-piecing tips!
Here’s a pin for your Pinterest board (below) if you want to save it for later!

- Are you looking for Part 2? Here it is!
- Part 3!
- Part 4!
- Part 5!
- Part 6!
CATHIE
Sunday 30th of September 2018
Just got my charm pack! Going to figure out the design and then get sewing. Eagerly awaiting the next videoe
Laurie Lewis
Friday 28th of September 2018
Hi Melanie,
I just started quilting. Love your videos!
Kathleen Rackow
Wednesday 12th of September 2018
Hi Melanie. I just finished watching your video on u-tube about your first quilt. I really thought you explained the process very well. It was easy to follow because you explained what to do slowly. I really liked being able to see what you are doing close up. Seeing the process on video makes it so much easier to learn. Looking forward to picking out a charm pack and eagerly waiting for video 2.
JAN
Sunday 9th of September 2018
Thanks so much, Melanie. I've ordered my fabric and I'm going to get this done.
Sue
Sunday 9th of September 2018
I really love this Melanie.. I have been watching you and followed some of your you tube videos for crochet.. this video makes me think "I can do this" I am going to buy some already cut fabric . Thank you so much for this