

Hello Everyone!
Today, I have a great video for you!! I think this one is going to be super useful!
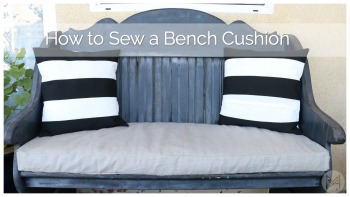
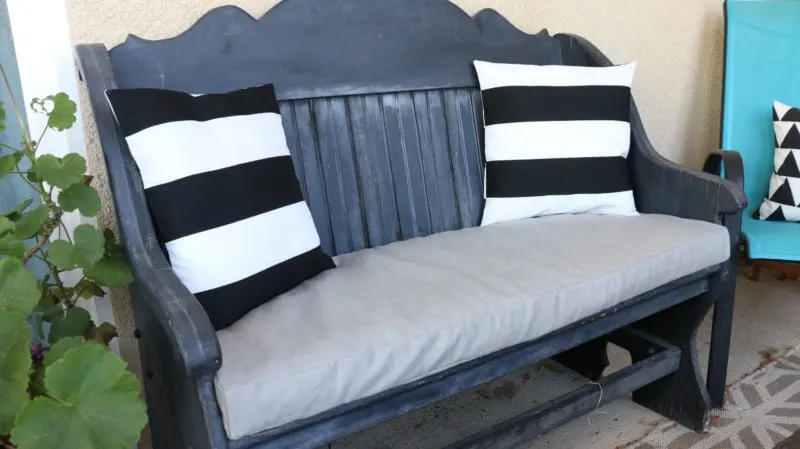
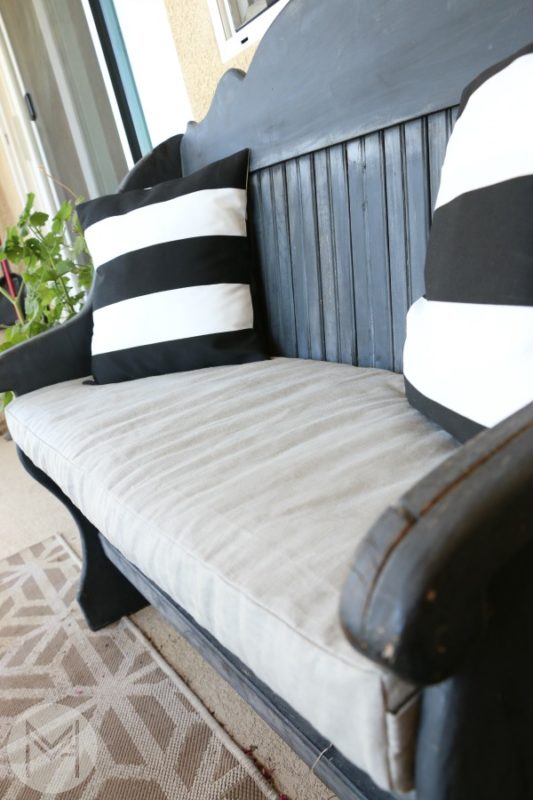
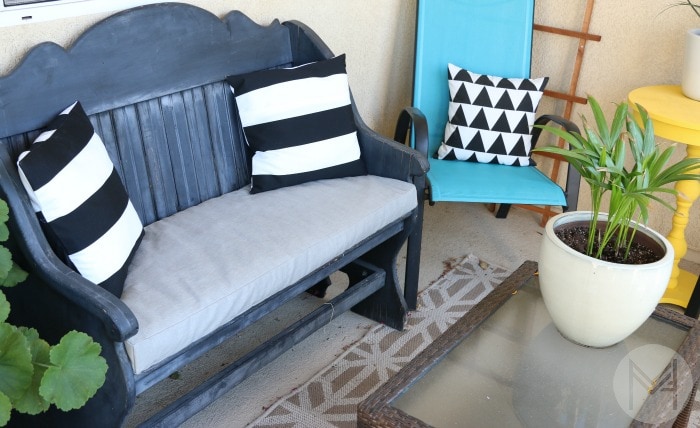
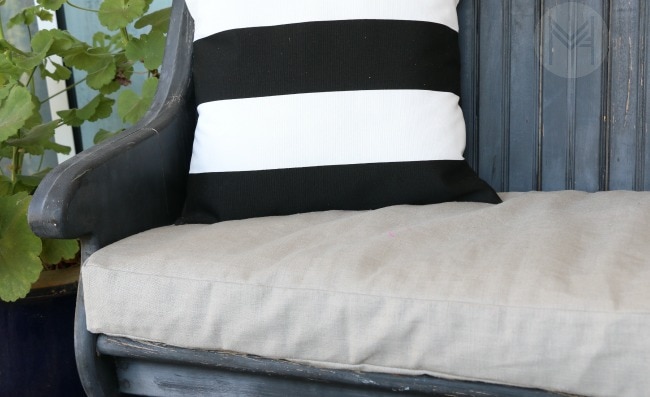
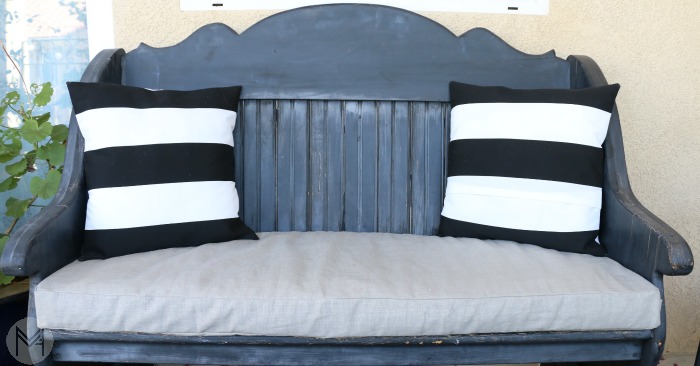
I’m going to show you how to make a removable custom bench cushion, it took me less than 2 hours including filming so sew it up once I had all my materials. It features simple and functional construction, great for beginners or sewists who are out of practice but really need a new cushion ha!

Materials
Fabric (be aware fabric comes in different widths depending on what you buy, so measure your bench and calculate yardage before heading to the fabric store)
Foam (I used pre packaged foam because it was already the width I needed, but you can also buy it by the yard)
Batting (I used high loft batting)
Polyester coordinating thread
Velcro (1 inch is great, length depends on your cushion size)
Fabric Scissors
Fabric Marking Pen
Fabritac glue (or other sort of glue to connect foam pieces)
Pins
Sewing Machine (this is the one I have and LOVE)

The Steps
*See the video for full instructions but these are the basic steps
1.Measure bench
2.Go to store for materials based on measurements from bench. Check the label of the fabric you purchase at the store for washing instructions.
3.Prewash fabric if desired. At the least, get it wet and dry it so that is pre shrinks.
4.Cut foam to proper size and attach with glue
5.Wrap foam with high loft batting, securing with glue.
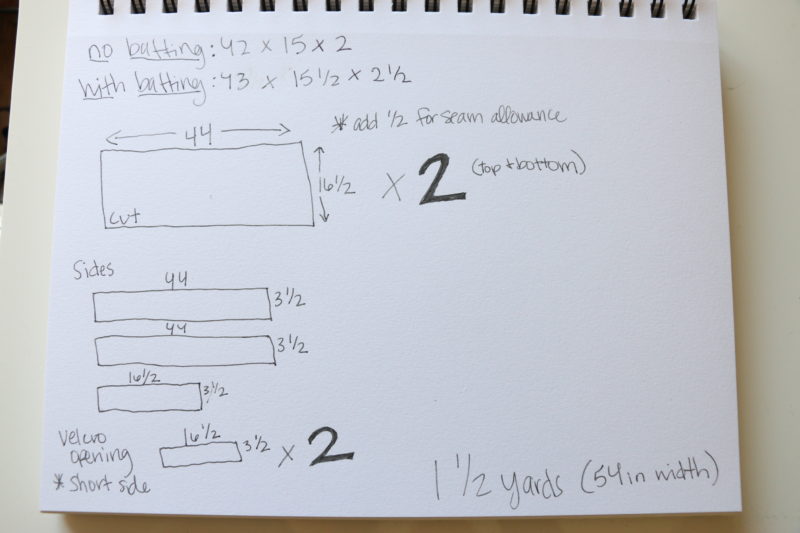
6. Re-measure cushion and cut fabric pieces according to my directions. You should have a total of 7 pieces.
7. Create Velcro enclosure following video instructions
8. Pin all the sides of the cushions together, right sides facing. Sew all 4 sides – do not back stitch.
9. Gently unpick the corner seams 1/2 down. Pin the top piece matching the corners right sides together and pin.
10. With the sides of the cushion cover facing up, start sewing using a 1/2 inch seam allowance in the center of a long side. Once at the corner follow video instructions to complete corner sections.
11. Sew all the way around in this manner.
12. Pin bottom piece in same manner making sure corners are lined up.
13. Sew the bottom piece all the way around the same as the top.
14. Open the velcro and turn cover right side out.
15. Insert prepared cushion, being sure to pop the corners out.
16. Make some pillows to go with it using THIS or THIS tutorial.


Tips for calculating yardage and creating your own custom size:
-Keep in mind that upholstery weight or many outdoor weight fabrics come in a width of 54 inches. Regular cotton is usually 44 inches wide.
-Go to the store after you have measured your bench and be
-Allow several inches of wiggle room, as you can see, the batting adds some bulk and you need enough fabric for your seam allowance.
-A yard is 36 inches. I used 1 1/2 yards of 54 inch width fabric for my cushion.


Here is the full video tutorial with all the steps!
Rae
Thursday 10th of November 2016
Thank you so much Melanie. Yesterday I amost gave up and I came across your tutorial. I have made 2 cushions only one to. You made so easy for me. Thanks again Rae
Irene
Sunday 23rd of October 2016
Very well done tutorial! Great step-by-step instructions, not too much, not too little. I just completed a wine themed bench cushion to go on top of a metal chest where we store our wine! Thanks!
Stephanie anne
Tuesday 6th of September 2016
I followed this tutorial to make my own bench cushion tonight. Thank you! It was so easy to follow and simple enough for a novice sewer like myself to complete. I will definitely be checking out your site to see what other fun projects I can do!
Marti
Friday 29th of July 2016
Thanks I have been needing to find out how to make a bench cushion since last year. Finally one I can follow, I am teaching my self to sew and learn better when I see it. Thanks again, I did you envelope pillow too, so each to follow. Marti