
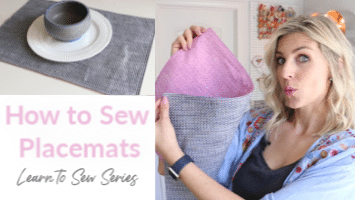
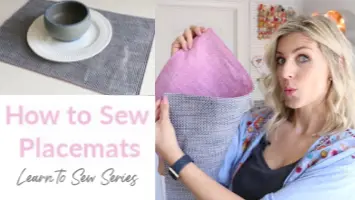
Today, I am teaching you how to sew placemats, our first easy sewing project from the Learn to Sew Series! In the last video of the series, we talked about how to use a sewing machine in case you missed that one.
This series, and this video is meant for absolute beginners, although of course anyone can benefit. I am trying not to gloss over details that beginners might not know, which is why these videos are a bit longer.

*Full 20 minute tutorial embedded at the end of this post
I specifically picked this project so that you can make something useful while you practice your basic sewing skills. We are cutting yardage, adding interfacing, pressing fabric and doing several straight seams in this tutorial.
How to Sew Placemats
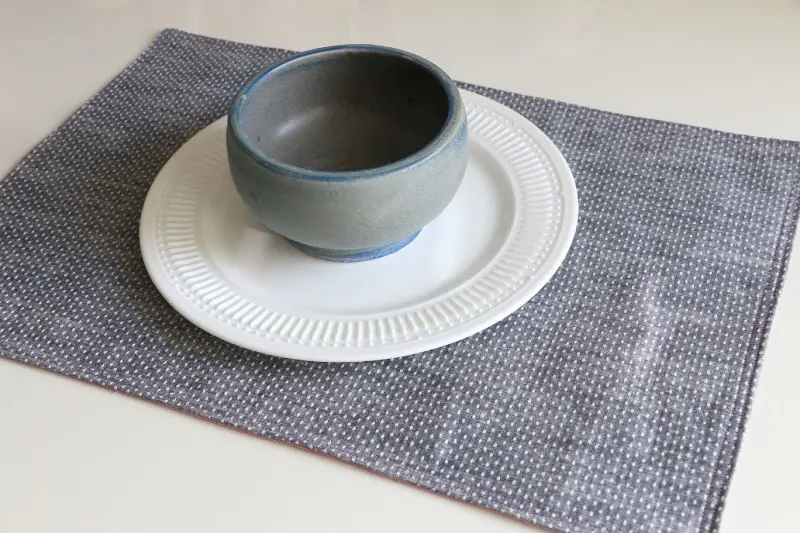
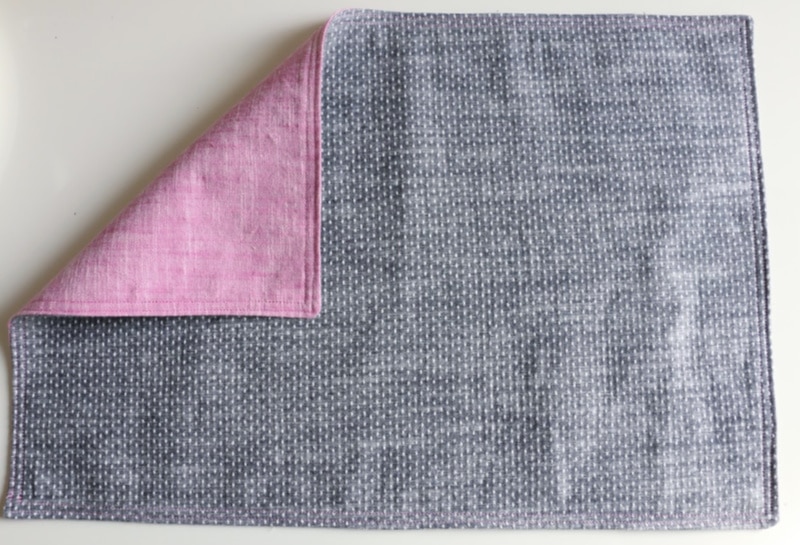
I made my placemats reversible which is super cool! I go through all the steps to help you do that. You can also use the same fabric on both side.
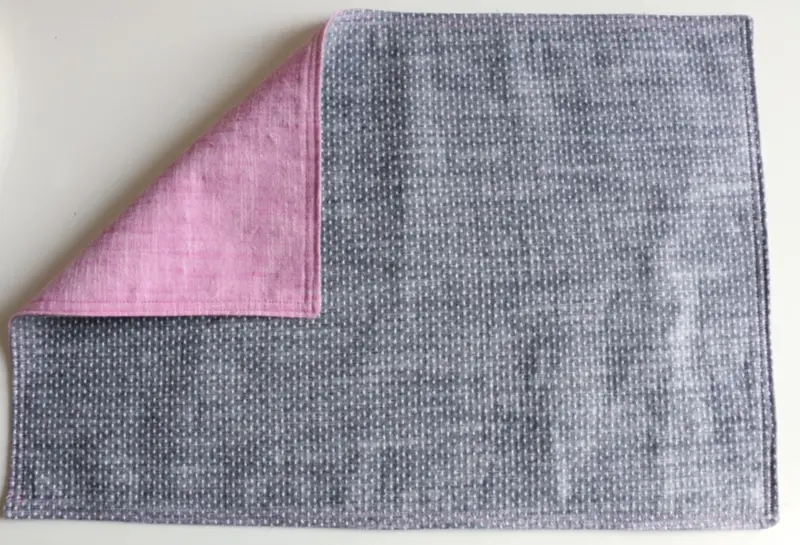
This particular beginner sewing project will create 4 placemats from 2 yards of fabric. I recommend a natural fiber for this project, cotton linen blends are my favorite.


Is this your first sewing project? Then you’re in the right place! I created this how to sew placemats video and tutorial with absolute beginners in mind.
I go through all the steps and don’t assume that you know any sewing basics, making this a great first sewing project.
If you would like all the the learn to sew patterns and videos in 1 spot, I created an ebook with everything in there for you! I also have a pattern with no photos to make it easy on your printer. Get your Ebook Here.

Written Instructions for Placemats
How to Sew Placemats - Learn to Sew Series for beginners


Learn how to sew placemats in the first tutorial of the Learn to Sew Series! This is a great first sewing project, and I walk you through all the steps to help beginners.
Materials
- 1 yard Color A (I recommend a natural fiber like cotton or lined)
- 1 yard Color B
- Coordinating Thread Color
- 1 3/4 yard of SF101 Interfacing
Tools
- Rotary cutter and Mat
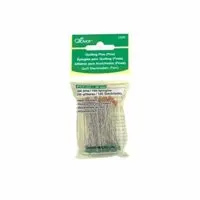
- Pins
- Marking Tool
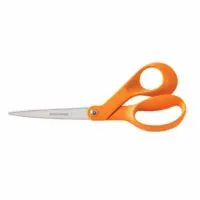
- Fabric Scissors
- Iron and Ironing Board
- Sewing Machine
Instructions
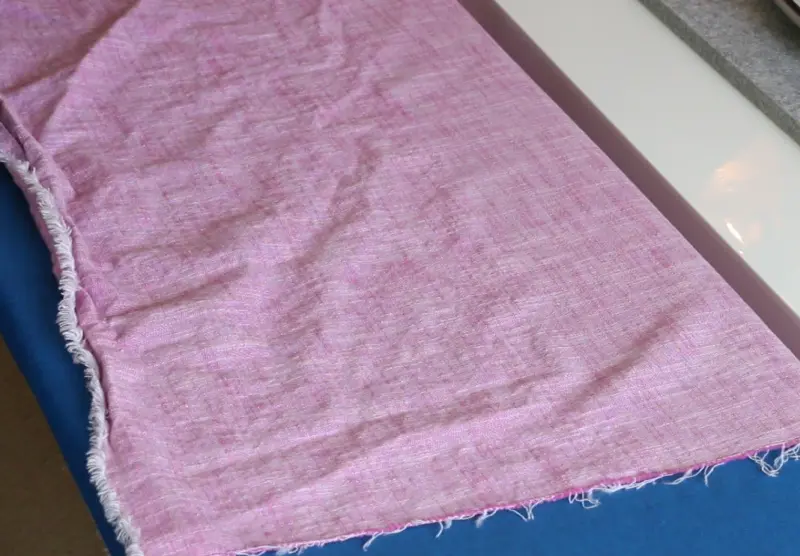
- Prewash your fabric so that the placemats can be washed and dried without any shrinking or distortion. I like to run a zig zag over the cut side of the fabric (not the selvedge) before washing to preserve as much fabric as possible. Wash on gentle cycle on cold, and tumble dry low.


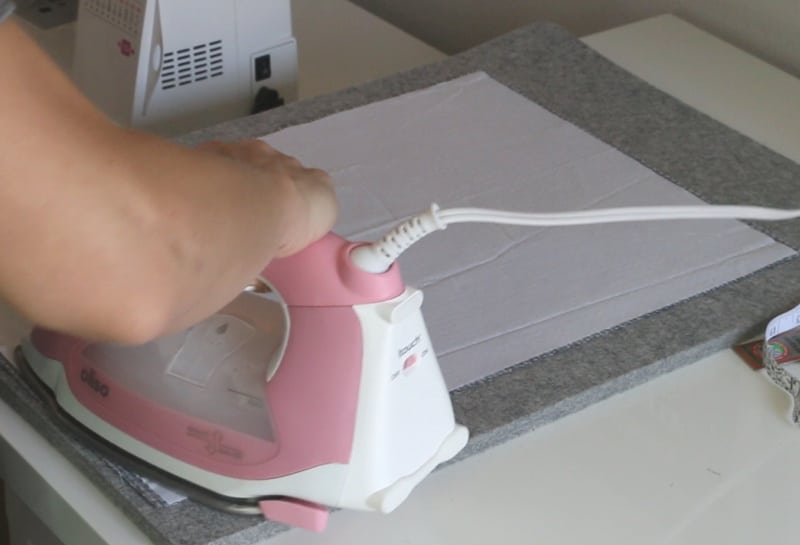
- Press/Iron washed fabric well and get as many wrinkles out as possible.

- Line up selvedge edges of Color A and smooth out fabric so there are no bubbles and fabric lays flat and natural. Cut the right edge to trim off frayed threads and zig zag stitch from the washing process.

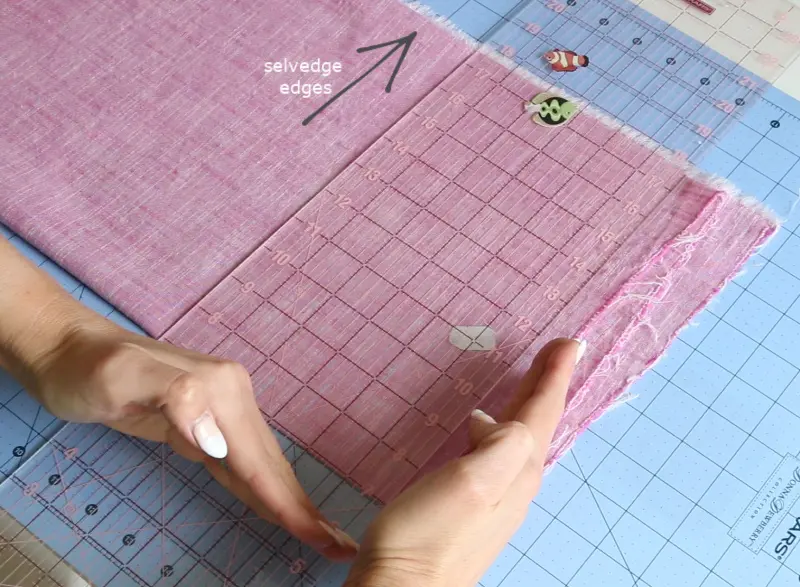
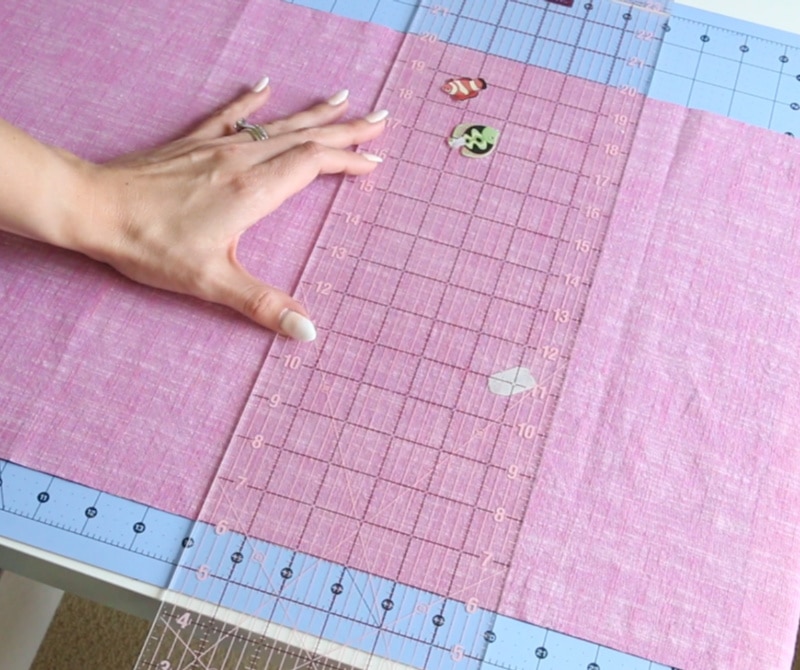
- Flip fabric over and line up the fresh cut with your mat. Measure over 14 inches and cut. Do this again at 14 inches so you have 2 cuts that are 14 inches wide by the total width of fabric (selvedge to selvedge).

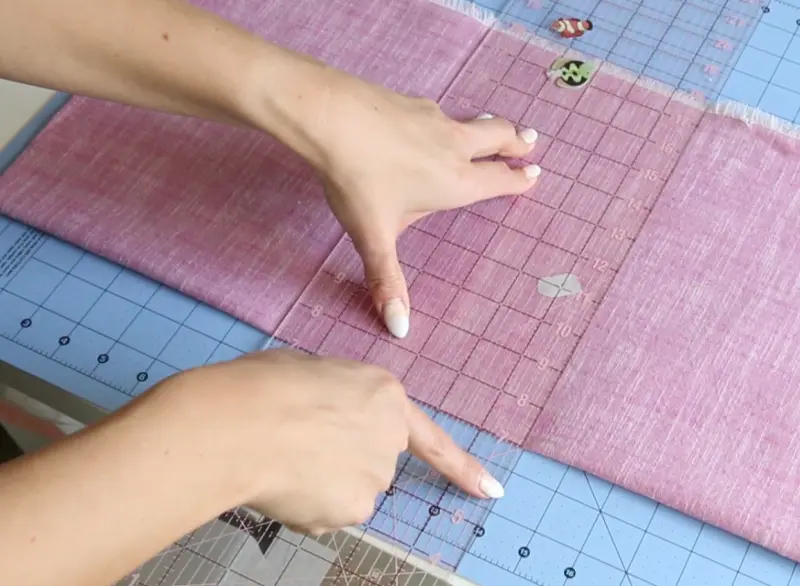
- Open up the 14 inch piece, trim off selvedges and cut into (2) 14 x 20 inch pieces. Repeat for other piece. You should have (4) 14 x 20 inch pieces of fabric from Color A. Repeat the process for Color B.

- Take you SF101 interfacing and cut into (4) 13 3/4 x 19 3/4 pieces. We want the interfacing piece to be 1/4 smaller than our fabric pieces to reduce bulk in the seam.
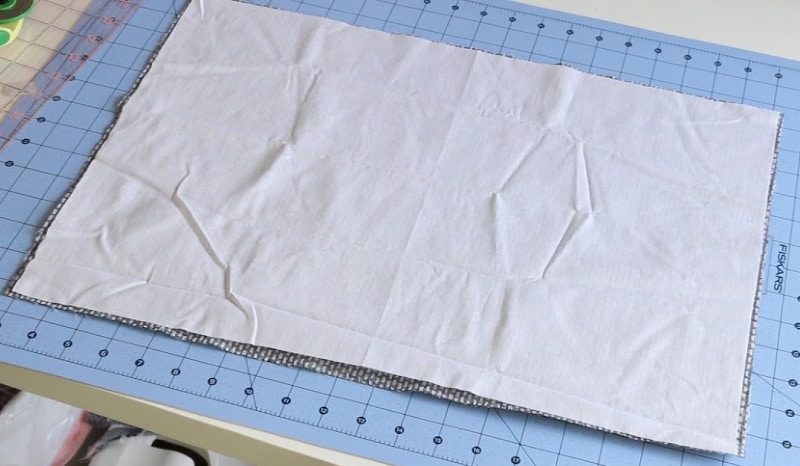
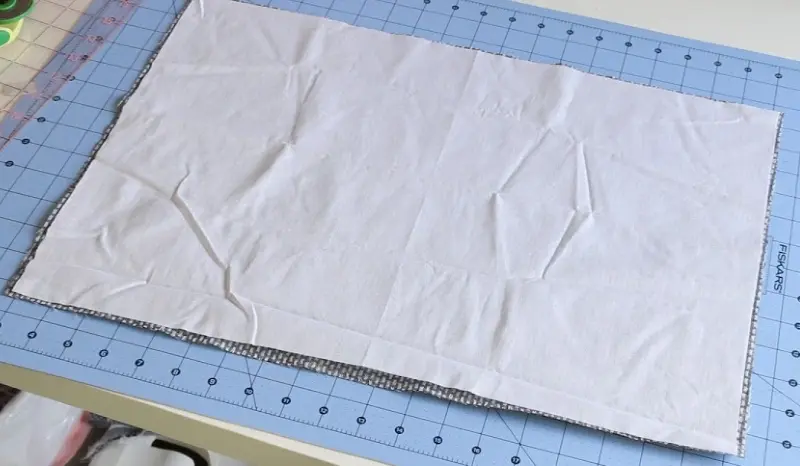
- Following the manufacturer instructions for the interfacing, adhere it to all 4 of either Color A or Color B fabric on the wrong side. I adhered mine to the grey linen because it was had a little looser weave and I wanted the interfacing to hold it all in. We will only have interfacing on 1 of the fabrics for the placemats.

- Take (1) Color A piece and (1) Color B piece and place the right sides together. Pin in place and create 2 marks 4 inches apart to remind yourself to leave that large of an opening for flipping right side out later.


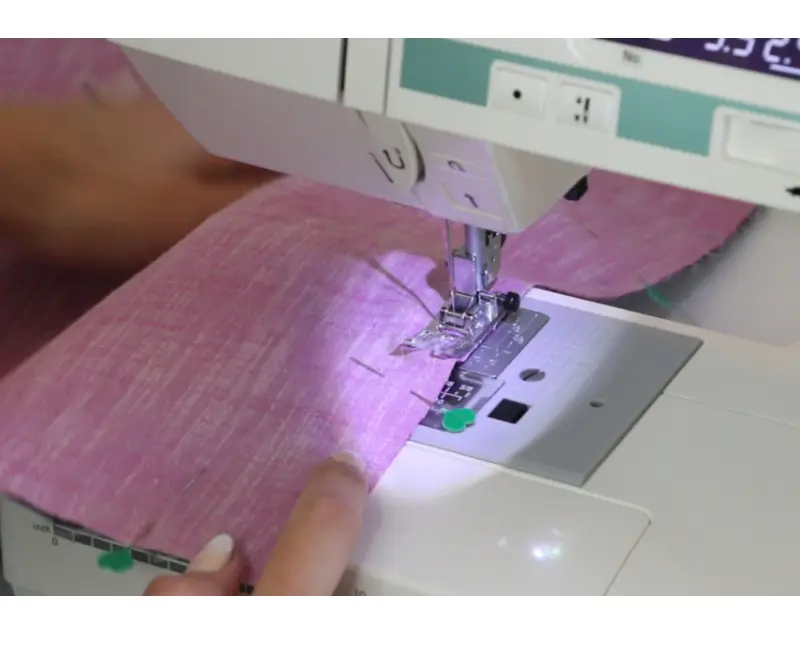
- Head to the sewing machine and stitch all the way around the placemat with a 3/8 inch seam allowance backing stitching at the marks to leave an opening.

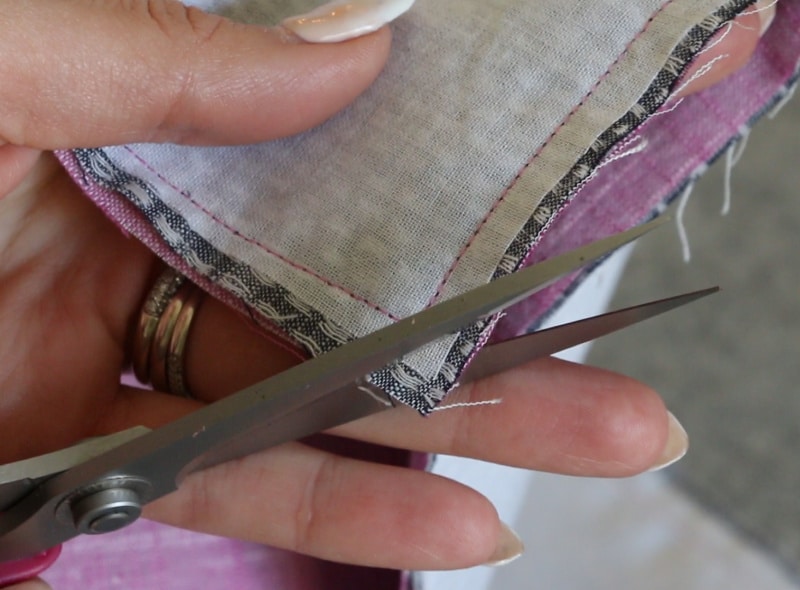
- Use fabric scissors to trim corners.

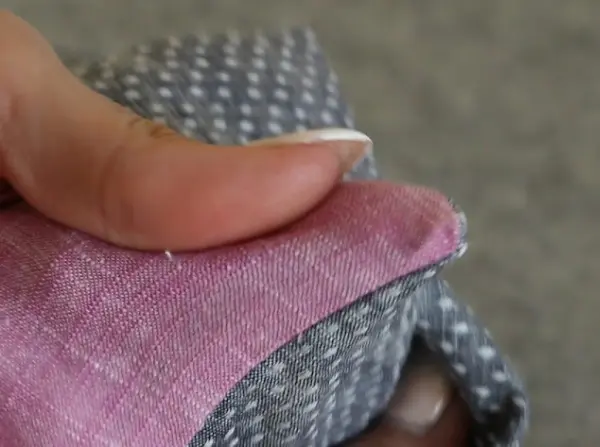
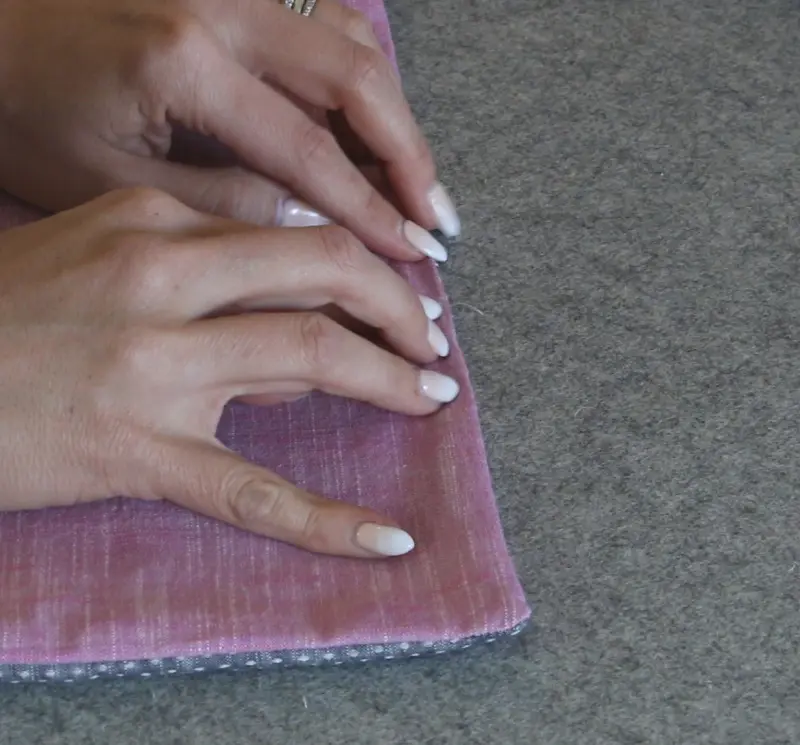
- Flip placemat right side out, pop out corners with your finger nail, pen cap or chopstick.

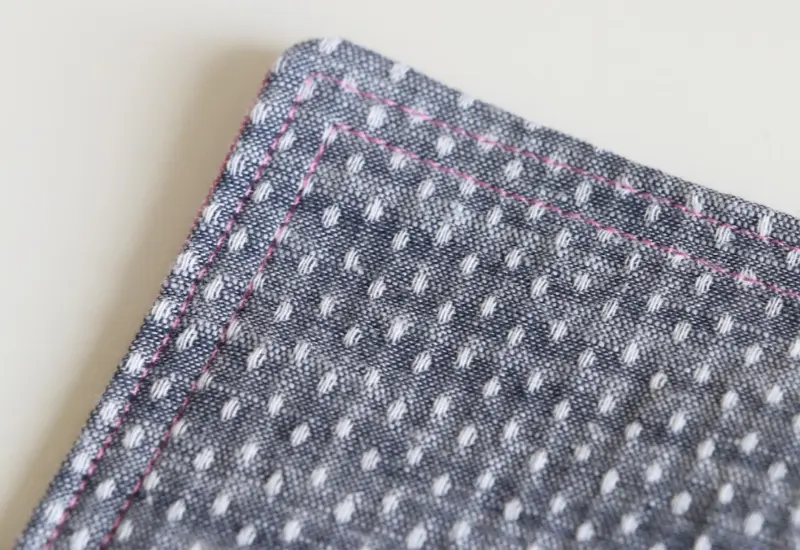
- Roll the seams with your fingers to flatten out and press. Also, press the 4 inch opening to prep for top stitching. Don't rush on this step, it will really help make sure the placemat has a good finished look.

- Take to sewing machine and top stitch. I put my stitch length up to 2.8 and moved my needle position over to the right. Using my presser foot as a guide, stitch all the way around.

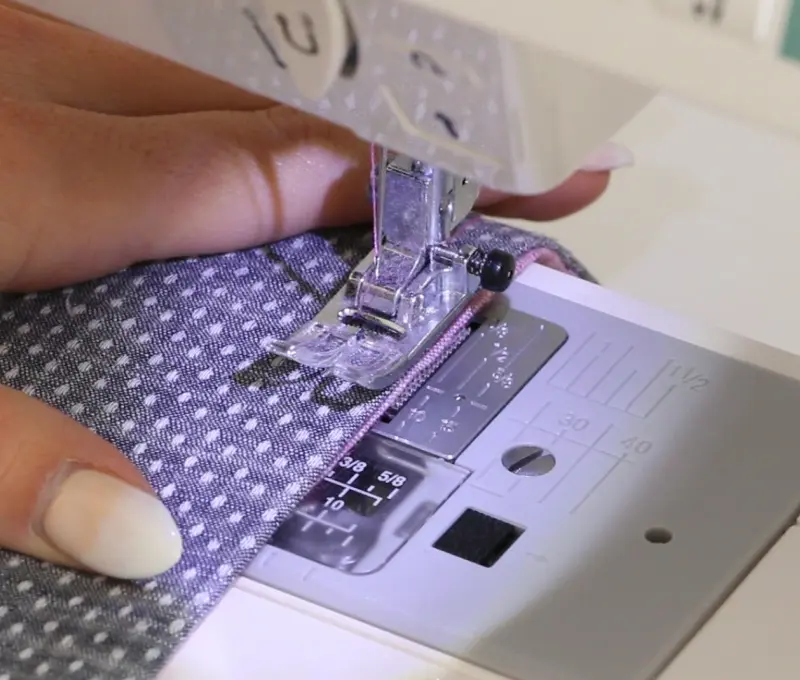
- Optional: I went around a 2nd time, but the placemat is secure so you don't need to do this.

Notes
Here is the Learn to Sew Supply List
Recommended Products
As an Amazon Associate and member of other affiliate programs, I earn from qualifying purchases.


Are you looking for some more simple sewing projects? Here are some great ones!
- Sew the Easiest Baby Blanket Ever
- Best Sewing Machine for Beginners
- How to Make Burp Cloths from Vintage Hankies
- Infinity Scarf Sewing Tutorial
- Toy Sleeping Bag Tutorial
Are you on Pinterest? Can I ask a favor, could you pin this image to save for later? Thank you! Just hover over to image and click the “pin it” button.


Catherine A Aragon
Sunday 23rd of February 2020
Do you have a tutorial for making a pillow case?
Melanie
Sunday 23rd of February 2020
I have this kind of pillow cover... https://melaniekham.com/new-tutorial-sew-an-envelope-pillow-cover/
Nicole
Saturday 22nd of February 2020
Hi Melanie! Where do you get your fabrics?
Melanie
Sunday 23rd of February 2020
These particular fabrics I got from Superbuzzy. Here's a great list of sources I compiled! https://melaniekham.com/best-places-to-buy-quilting-fabric-online/
Diana Hickman
Friday 21st of February 2020
Thank you Melanie! I am very excited to begin sewing and I believe you are the best person to teach me. By the way, I have also watched your crochet videos and learned a lot from those also. Blessings to you!
Melanie
Sunday 23rd of February 2020
That's so awesome, thank you so much!