
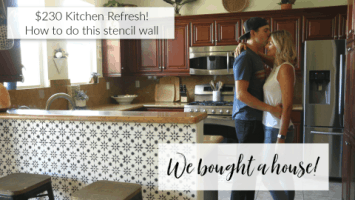


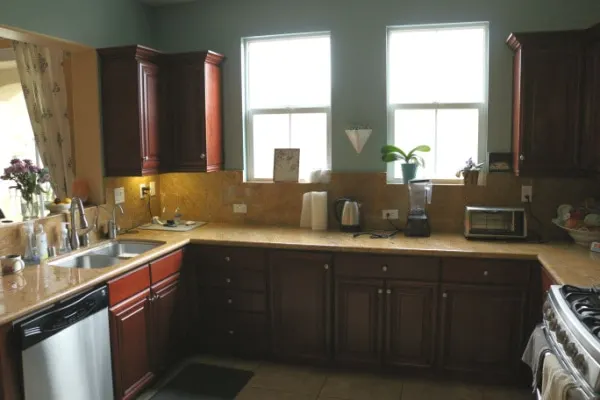
Hi Everyone!! Big news over here in the Ham household! We bought a house! This house, the one that we currently live in which has been a goal of ours for several years now. We closed in June and while the house, or condo technically, doesn’t need a lot of work, there are some minor updates I’d like to do to make it more “me.” First up, a kitchen refresh!! I wanted to keep it under $300 and that had to include bar stools, let’s see how I did!! But first, some before photos ;). #HamMadeHome

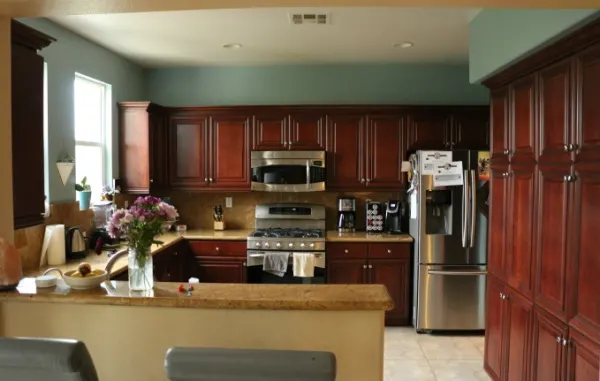

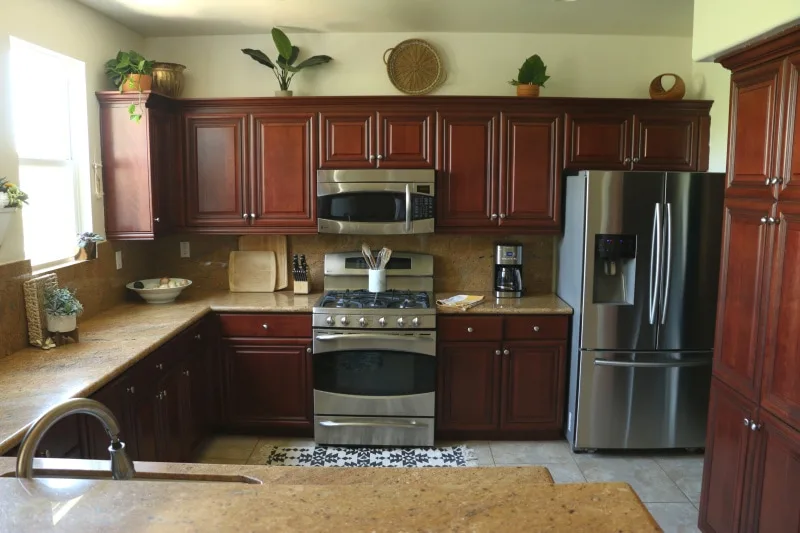
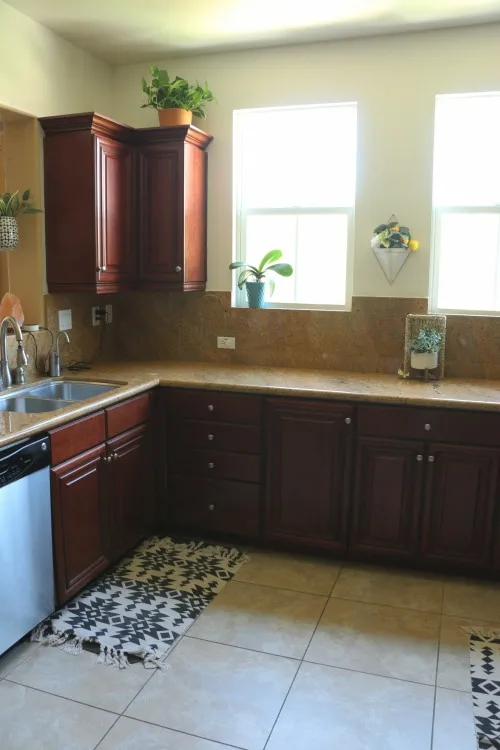
Now, cherry cabinets are not really my favorite wood finish (I’m more of a walnut gal), but I am way too practical to replace or paint cabinets that are in beautiful condition. And um, hello, there are a LOT of them. I am all about working with what you have, adding that handmade touch and feeling comfortable in your space without spending a lot of money. My thought was that if I painted the walls white, it could neutralize the “red” in the cabinets that the blue paint was pulling out and LOOK! It worked! These photos were taken at a similar time of day with the same camera and lens. Pretty crazy right?!


Here’s a little breakdown of exactly what I spent $$ on for this kitchen refresh:
- $32 for paint – Color is Benjamin Moore Alabaster I had mixed at a local paint shop. They kept my recipe on hand so that they can mix me more paint in the future (there is more painting to do!)
- $12 for supplies – I already had some, so this filled in what I needed
- $80 for 2 barstools – I bought them at TJ Maxx for $39 each
- $27 Tribal themed washable rugs from Amazon
- $6 for hanging pot, $4.99 for faux succulents from TJ Maxx
- $16 for star stencil and $8 for paint and round foam brushes
- $6 for large brass pot and $3 for smaller wicker basket from Goodwill
- $8 for round wicker tray from Target clearance
- $6 for marble utensil holder from local thrift shop
- $14 real plants and $15 for terra cotta pots
- 1 faux plant from another room
- $8 clearance silk plants from Target
Total: $230.99!! If you add CA sales tax it’s a little more ;).


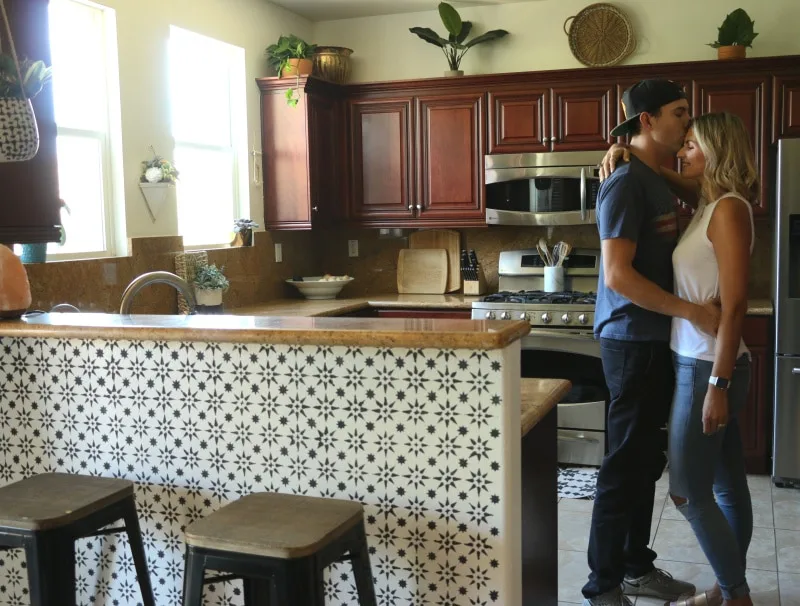
Now, let’s talk about this amazing little accent wall, shall we? This is the wow-iest part of the kitchen and it better be!! I spent more time on this than I anticipated, but we LOVE how it turned out, so it was worth it. My kids are so sweet, they kept telling me how cool they think it is. And since they are home right now for summer, they saw how hard I worked on it.


Here are some of my stenciling tips:
- I used THIS STENCIL, try to pick one that doesn’t have too much detail or super thin lines cause that might drive you crazy.
- I used craft paint because I had some on hand, it dried quickly so I could move the stencil more often and it was easy to clean up. It does need to be sealed though, so if you want to skip that step then you can use wall paint in your desired color.
- Use the round foam pouncer brushes with a very light coat of paint. I show this in detail in the video embedded below.
- I washed the stencil 3 times during the course of this wall because the paint can get built up and affect your results.
- Expect imperfections. Stenciling never looks as perfect as the photos and I know that so I went in with those expectations. I wanted a California casual, bohemian sort of look with this kitchen refresh so it worked with my design style.


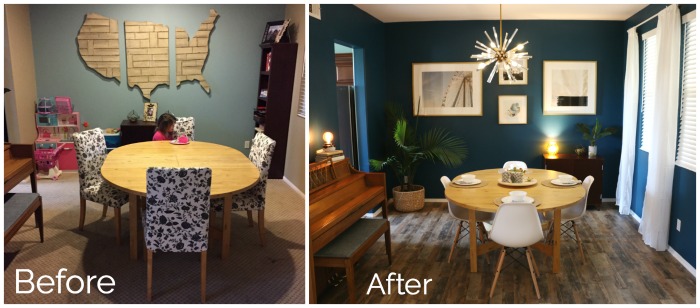
Have you seen my dining room makeover?! That’s a fun one too!


What do you think? Thanks so much for watching and I hope you enjoyed it!
Roseanne desantes
Tuesday 3rd of September 2019
You are an awesome teacher. I have always wanted to learn to quilt and the area in which I live doesn’t offer any type of formal classes. I am working on my first quilt thanks to you. You explain everything so well without a lot of unnecessary chit chat like me most of the other tutorials. that other people do. Your videos are so informative, easy to understand and not boring.
Mary L
Tuesday 20th of August 2019
I love your remodel to your kitchen. I found you last week (August 15, 2019) on YouTube when looking for some help on how to sew an apron--something I told my son I would do for his BBQ competition. Your video (looks like it was posted back in October 2015) on how to make a simple apron was very helpful. I am VERY new at using my sewing machine and by watching your video, I was able to complete the apron I had started so much more smoothly. I still need some practice, but you were a tremendous help--explaining so clearly how to do, well, EVERYTHING! I'll be checking in to see what you are up to! Thanks Melanie!
Melanie
Thursday 22nd of August 2019
I'm so glad that video was helpful for you! Happy Stitching!
Casey
Saturday 10th of August 2019
Love the stencil! Is your wall flat? Mine is textured, which makes me nervous to try something like this. Any tips? Thanks!
Melanie
Friday 16th of August 2019
yes, my wall has a little texture to it. It's sometime to consider for sure ;)
Sam
Friday 9th of August 2019
Kitchen looks fabulous. Love the stenciled wall. Thanks for sharing
Melanie
Friday 16th of August 2019
Thank you!
Persida
Friday 9th of August 2019
Looks awesome!! Congrats
Melanie
Friday 16th of August 2019
Thank you!