

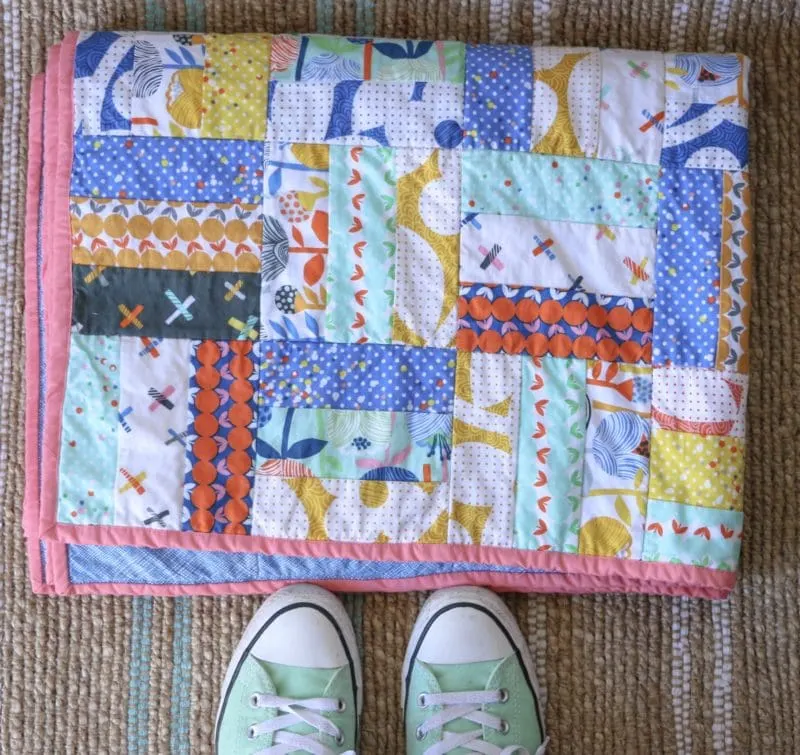
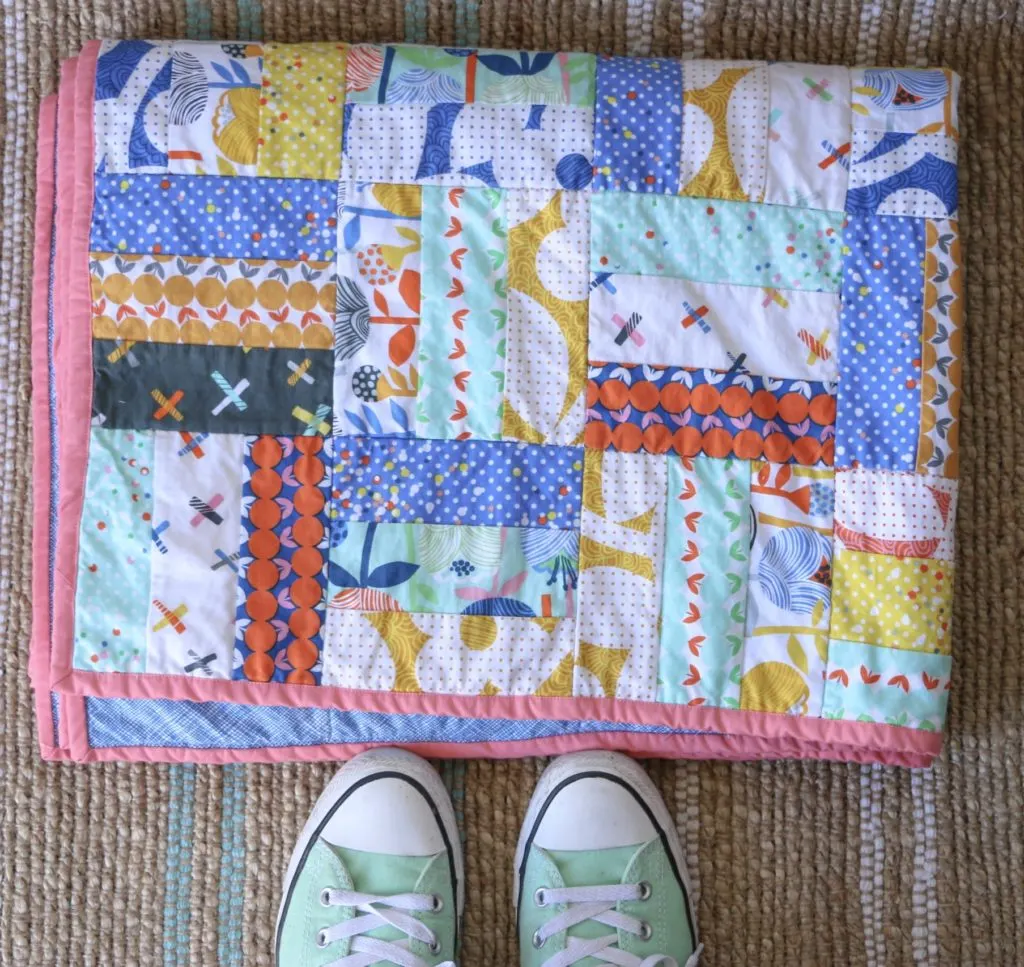
Hi Everyone! Today, I’m excited to share this finished quilt with you! This is my Rail Fence Jelly Roll quilt! I wanted to show you the finished product and share a few things I tried with this quilt.

Where can I find that pattern?
First off, you can find the pattern and videos here. It is a mini class that breaks down all the steps for a really affordable price. AND, you can complete the quilt top in less than a day 😉 I made and built this class for very beginner quilters. If you are more advanced, this probably isn’t the class for you.
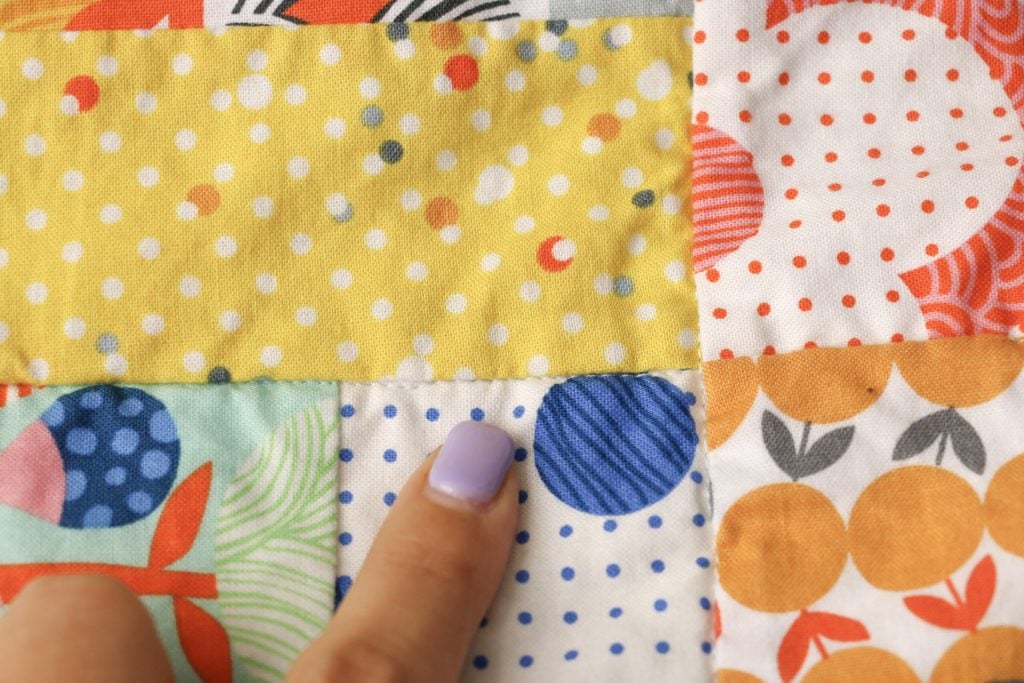
When you arrange the jelly roll quilt blocks like this, it’s called a rail fence quilt. Can you see the “rail fence” in there?
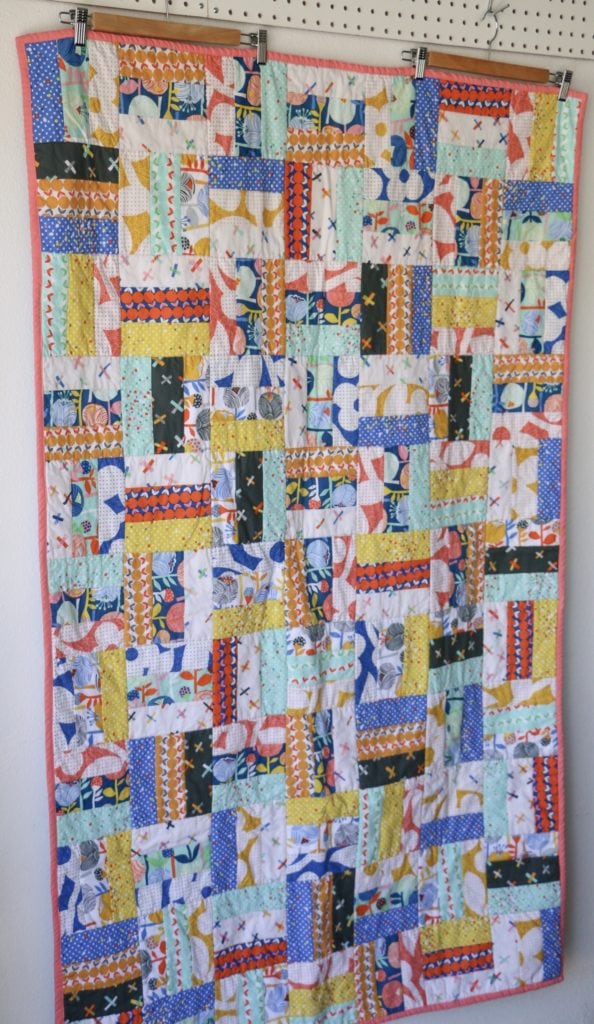

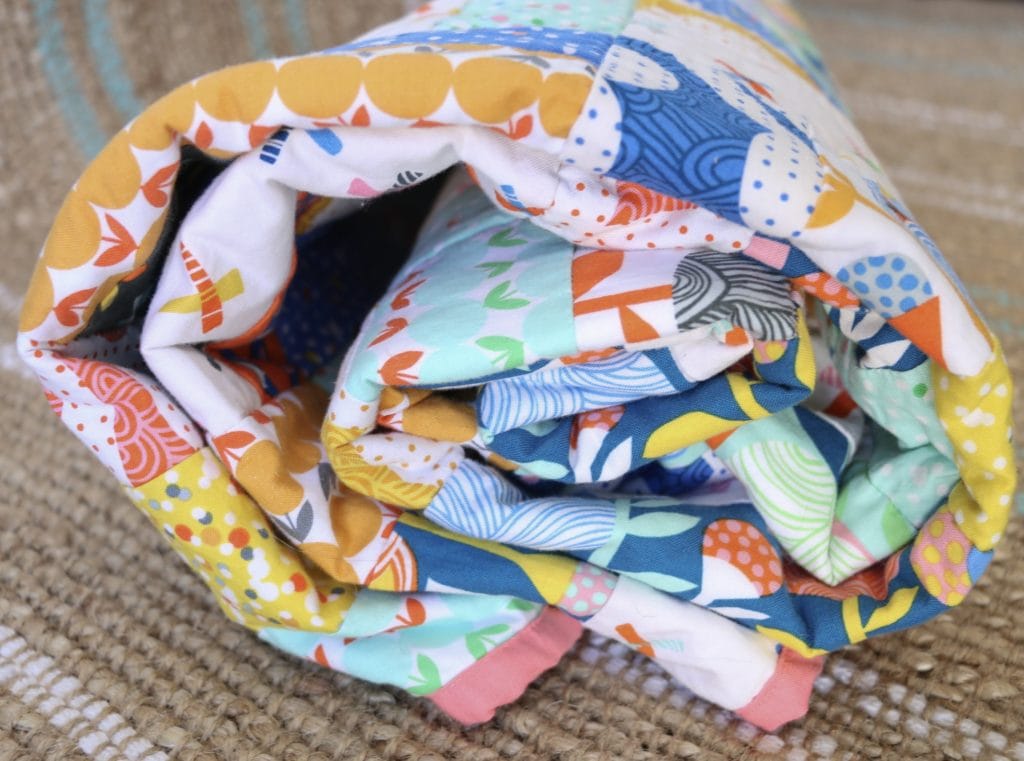
I love the scrappy look of this. Jelly Rolls are my favorite precut ;).
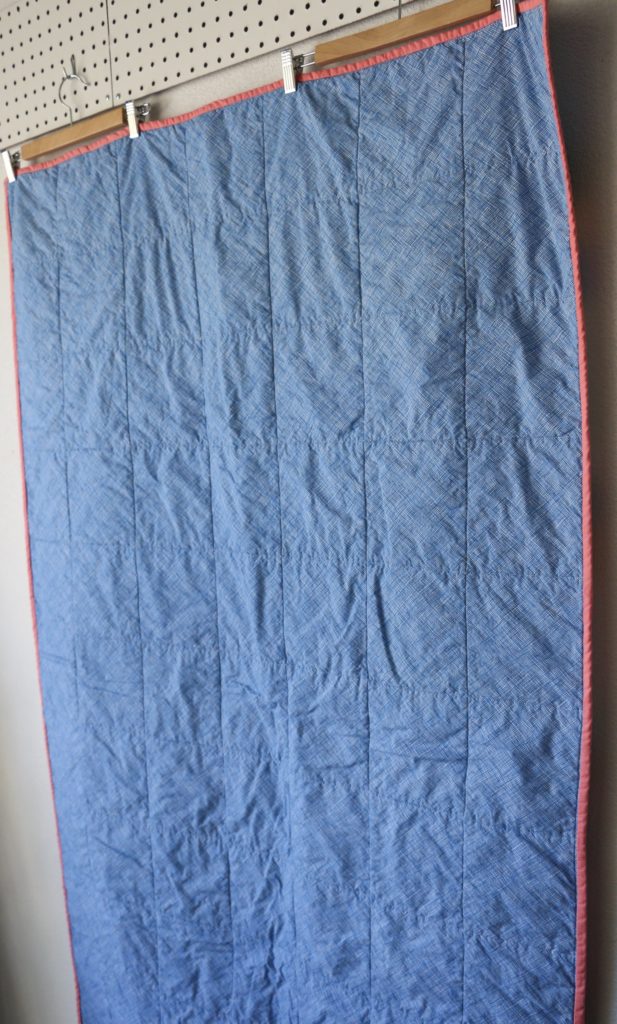
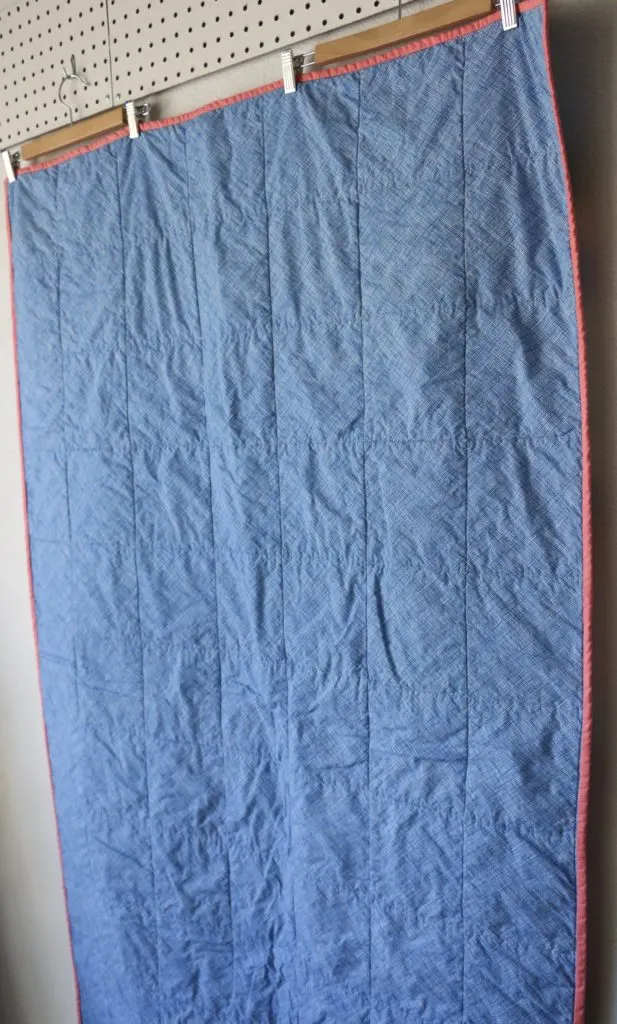
Wide Quilt Backs Rock
I used a crosshatch wide back for the backing of the this jelly roll quilt. I really like wide backs because they don’t require any piecing 😉

Have you used Invisible thread?
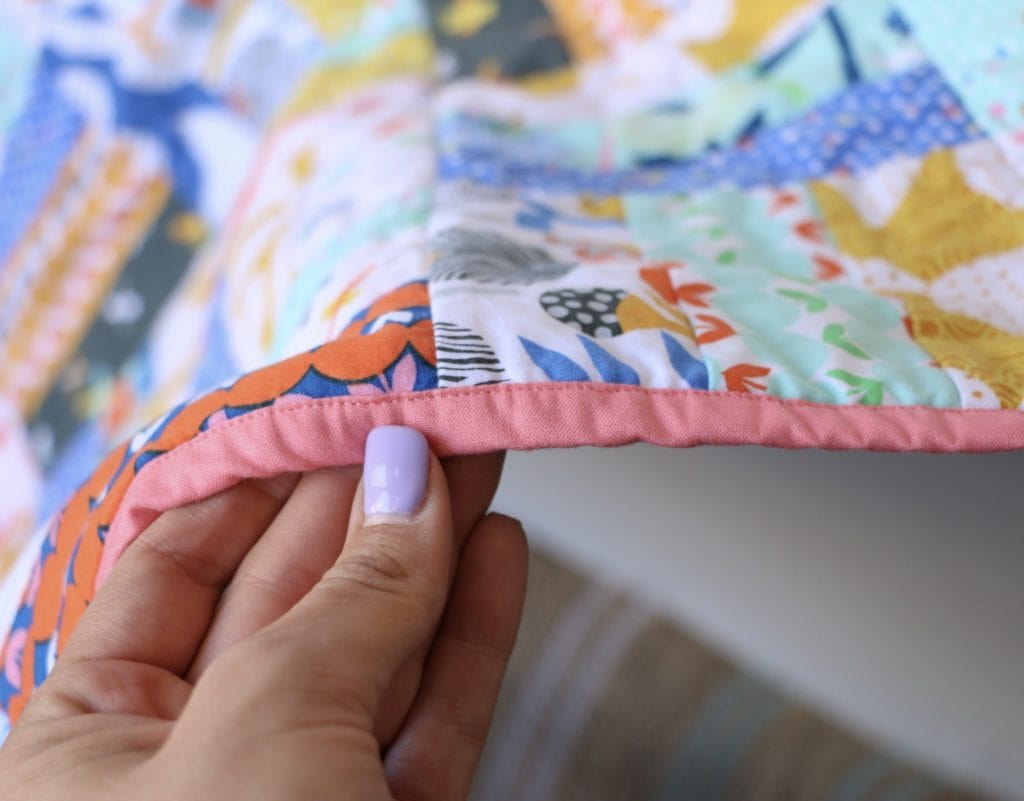
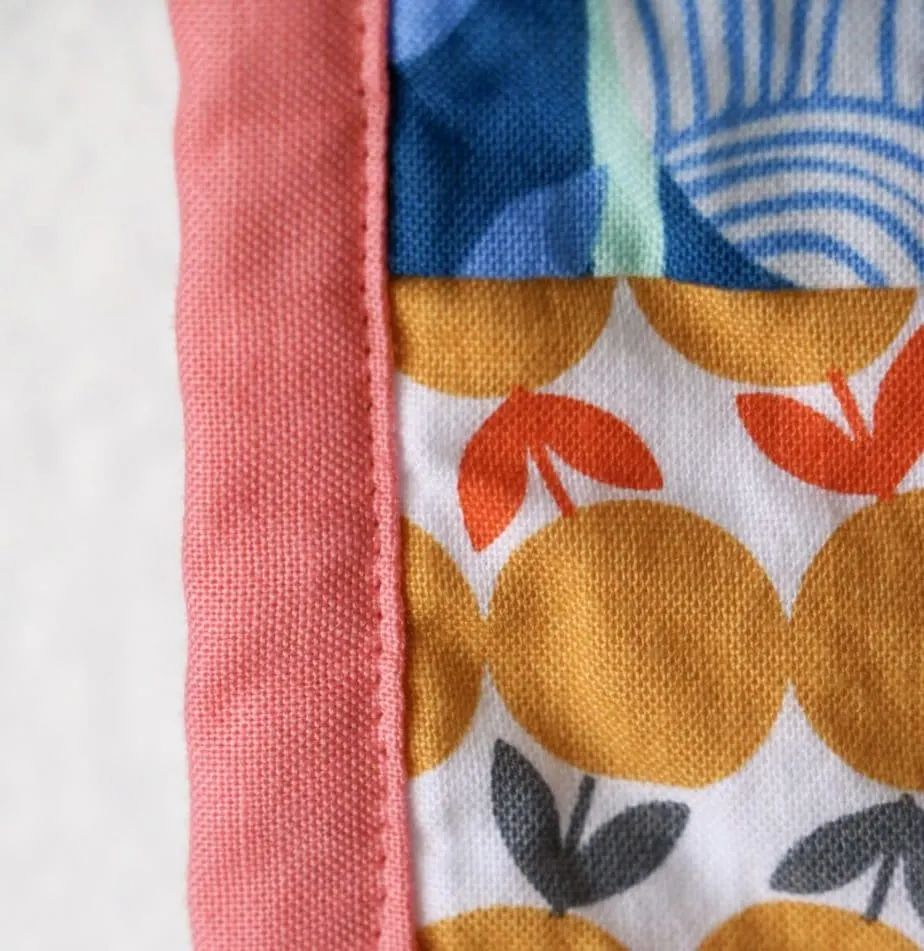
I used Aurifil nylon or invisible thread to sew the binding on by machine. If you decide to use this type of thread in your quilting, make sure it’s one that is soft and not too shiny. Also, you will want to use this in your top thread, not in your bobbin, select a cotton that blends with your backing for that.

You can see that this thread blends and is very difficult to see. The part you see the most is the needle wholes, not the actual thread. I found this to work very well, but I don’t mind seeing the tread so if I have a coordinating thread color, I’ll go with that.


I chose to do stitch in the ditch quilting for this rail fence quilt. I have included that video tutorial in the mini class for you. I think this is a great way for beginners to quilt their quilts. It’s fast and simple with a great result. I teach you all my tips and tricks for your ditch stitching in the class.
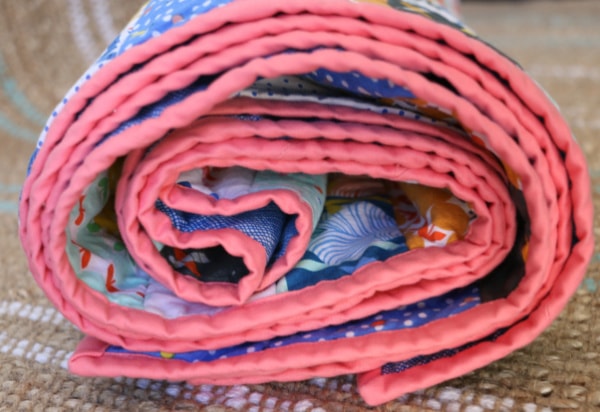

Like I mentioned, I did machine binding on this quilt with the invisible thread. I also tested out a tip I had heard from a reputable quilter. She said not to iron the binding to create the crease – it helps the binding lay flatter. So, I tried that on this quilt… let’s just say that I don’t agree with this tip haha. I like my binding starched, creased and flat. I was able to do it ok for this quilt, but I won’t try that again. My machine binding video shows all my best tips for binding.
I hope that this finished rail fence quilt inspires you to sew up something fun! Have a wonderful day!