

Hi friends! Here is part 2 of my machine quilt binding tutorial! In part 1, we made our binding strip with a bias join and clipped it to the back of the quilt. This method is the way I like to teach for how to bind a quilt. In this tutorial, I’m going to show you how to attach that strip to the quilt using your sewing machine. Get ready, because this has ALL my BEST tips and tricks for machine binding your quilt quickly with a great result.
Quilt Binding by Machine
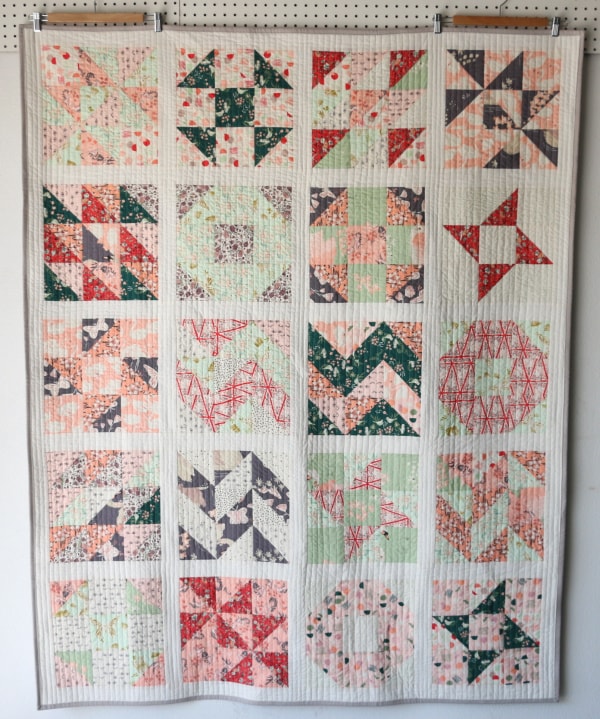

Before we get to it, I had tons of questions about the pattern for this quilt. It’s called the Modern 9 Patch Mashup, and it was a quilt along awhile back. It’s one of my premium classes and walks you through all of these blocks, color theory and color combo creation with so much more – you can check it out HERE. Use coupon code BINDING for 20% off ;).
Supplies to be Successful
Having these supplies will make your life easier during this machine quilt binding process ;).
- Clover Clips
- Stiletto by Annie, That Purple Thang, Hold It Precision or equivalent
- Edge Joining Foot (can also be used for stitch in the ditch!). *Make sure it fits your machine
- Good quality thread like Aurifil 50 wt in coordinating color

Tips to be Successful
- Once binding is clipped to back of your quilt, sew it down with a standard foot 1/4 inch up to 3/8 inch. Start with 1/4 inch, it will give you more wiggle room.
- After stitching 8-10 inches, check on your stitch – measure that you have the right size and keep that seam allowance consistent all the way around the quilt.
- When you join the ends, you need a 2.5 inch overlap… see video for steps.
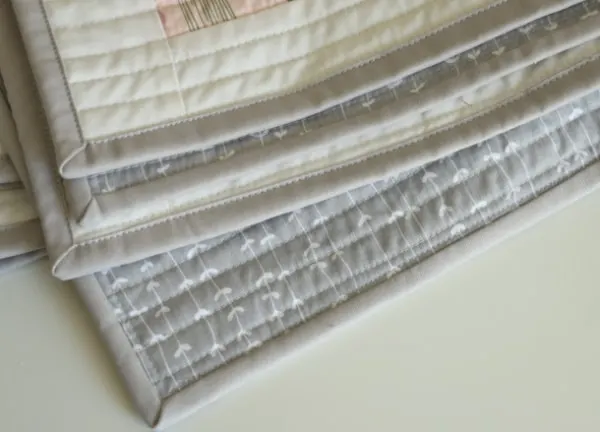
- When the binding is attaching to the back of the quilt completely, press it and clip to the front.
- You can use a standard foot or walking foot, but I love and recommend using an edge joining foot. You butt up the fold of the binding to the guide down the center and it helps create the perfect stitch line for your quilt binding.
- Play with your needle position to get the seam line just right… stitch down a few inches and check it. You can always rip it out if you need to as you get the hang of it, so only a few inches is best.
- Using a stiletto type tool is key for helping you keep that machine binding in the right spot.
Machine Binding Quilt Tutorial Video Part 2
I hope you enjoyed part 2 of my machine quilt binding tutorial!
Martha Woodman
Wednesday 28th of August 2019
Love your tutorial! Really good details. I also Love your quilt backing fabric. Can you give me the name of it?
Debbie Clemenzi
Friday 23rd of August 2019
Great tutorial! Very well explained & east to follow. Thank you!
Michelle Herman
Thursday 22nd of August 2019
I can’t wait to try this method. I’m new to quilting and I love quick and easy but looks good too.