
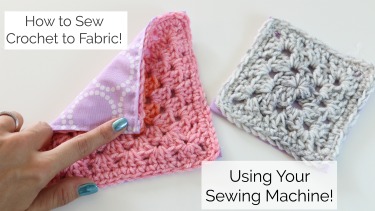
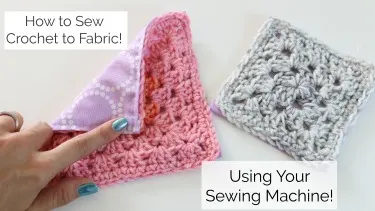
Hi Everyone!
I’m so glad you were all so excited about the beginner friendly crochet zip pouch, but I got so much feedback about doing a version with the sewing machine as well. Upon further investigation, it seems as though what really would be helpful is a tutorial on how to attach fabric to crochet items using the sewing machine. Many people wanted to see how I did it so that they could line blankets, hats, bags etc. So before I do the sewing machine version of the zip pouch (which is coming soon) I thought I would do a technique video sharing 2 of my favorite ways to attach crochet items to fabric using the sewing machine, sound good?
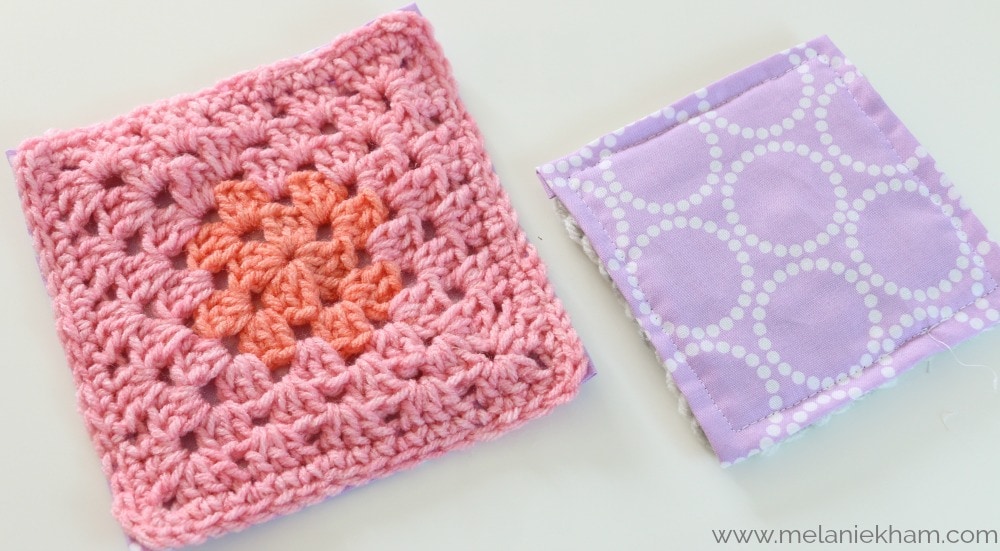
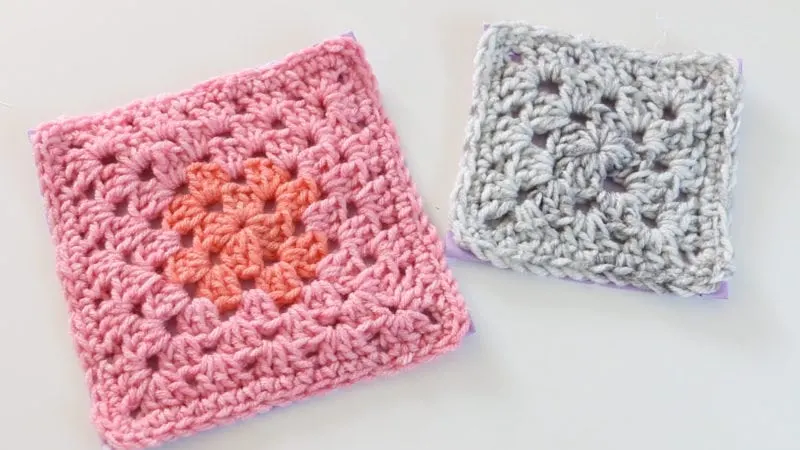
Wanna make this granny square to practice? My video tutorial and instructions can be found HERE.

Method 1 for Sewing Crochet to Fabric
I put together a PDF with all of my tips, so you can sign up HERE and it will be emailed to you!
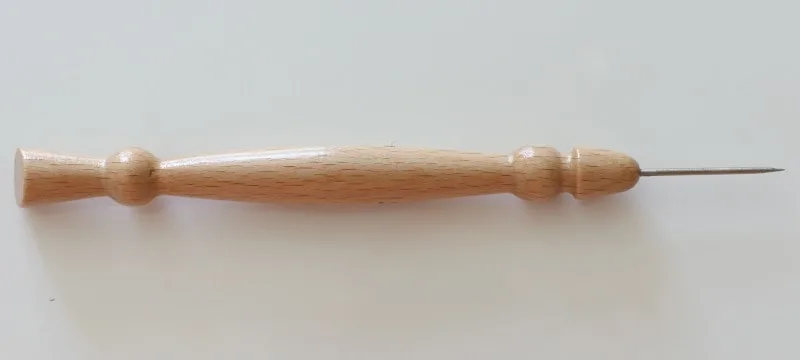
Helpful Tools for Method 1
For me, the most helpful tool for sewing crocheted items to your fabric is the stilletto tool from byannie.com. You can also use a chopstick or a seam ripper in a pinch.

Wide Sewing Machine foot
This will help to keep the crocheted pieces pressed down and from catching on to to the sewing foot.
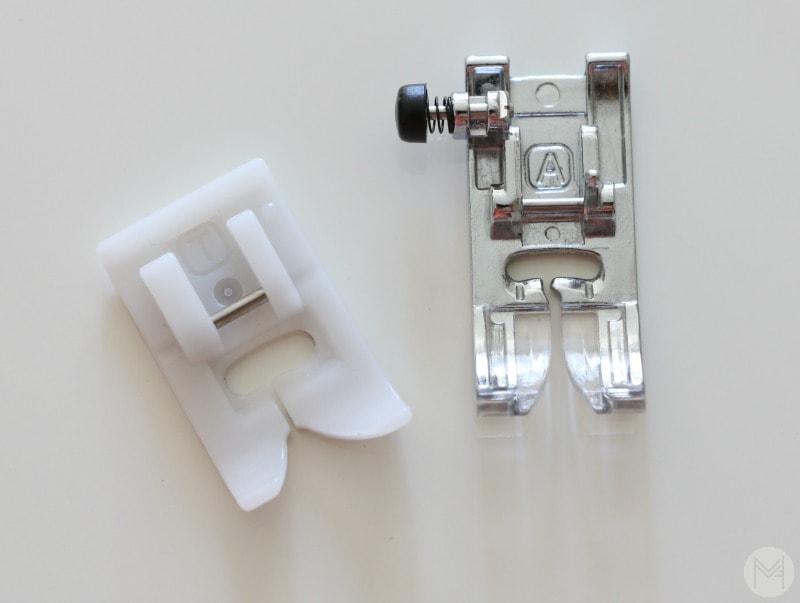
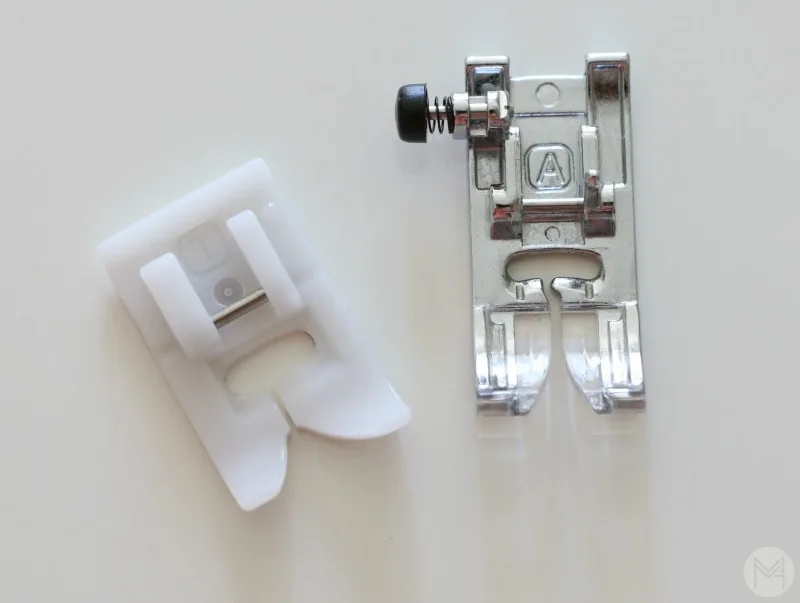
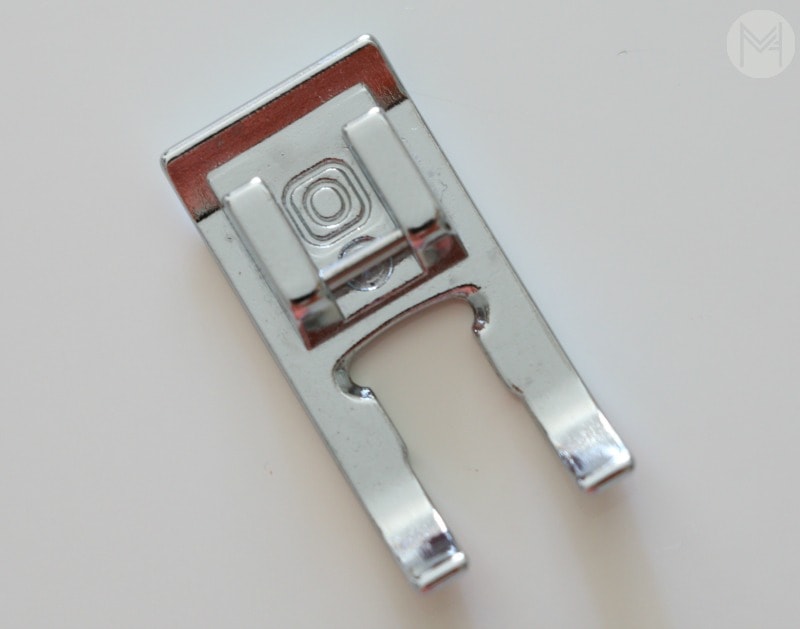
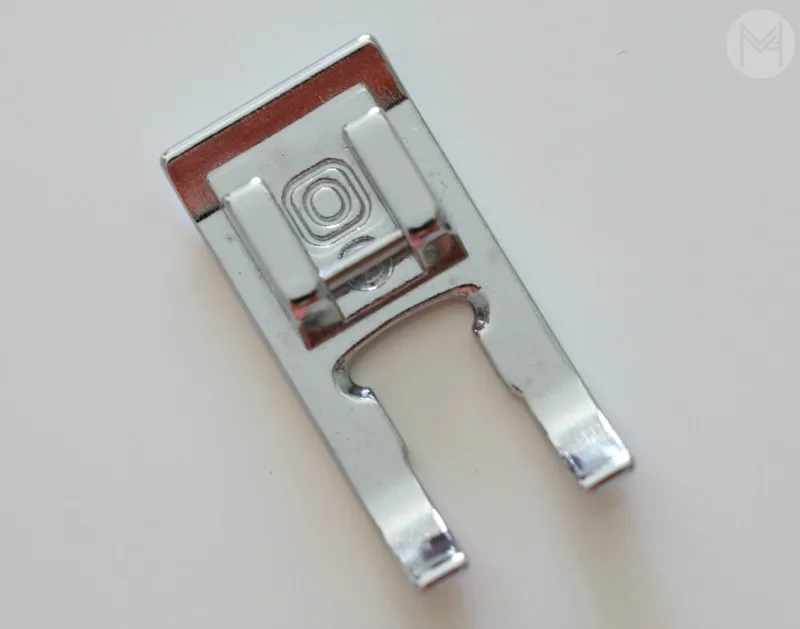
I do not recommend using an open toe like this or a walking foot, the chances of the crochet work getting stuck are much higher for the Method 1 option.
Clover Clips
Clover Clips are very helpful for both methods.
Make sure your crochet piece (block before sewing if needed) and lining are ready to go. This may depend on your project. Iron the edges of your fabric over before sewing or serge to finish the edge.


Place wrong sides of your project together so that the right side of the crochet and the right side of the fabric are showing. We will be sewing along the right side of the crochet.
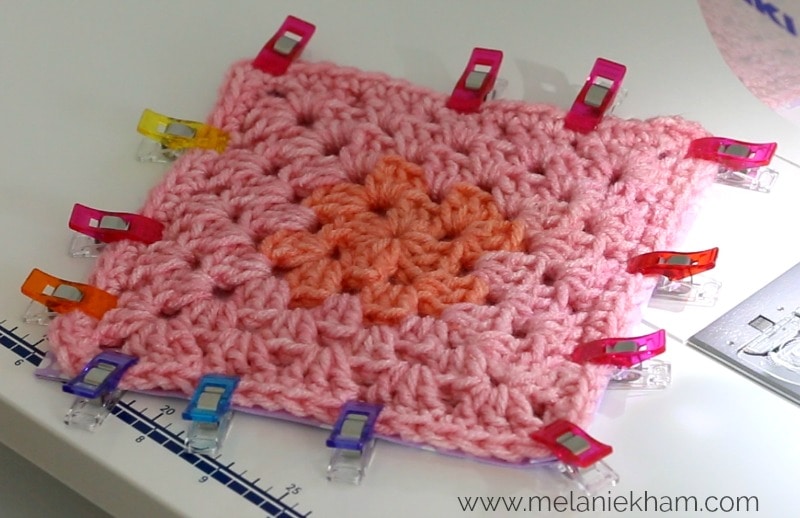
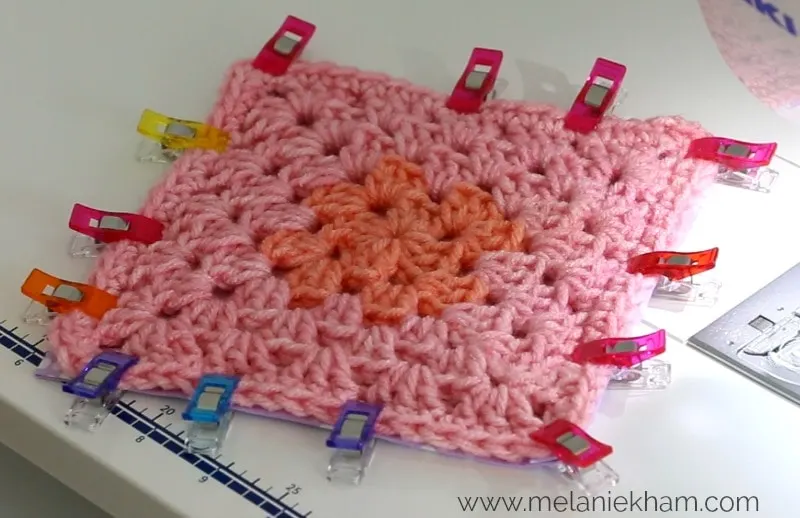
Clip or pin crochet together in place.
Make your stitch length a 3.5. You may also want to decrease the presser foot pressure, check your sewing machine manual for details. It’s usually a knob on the back of the machine
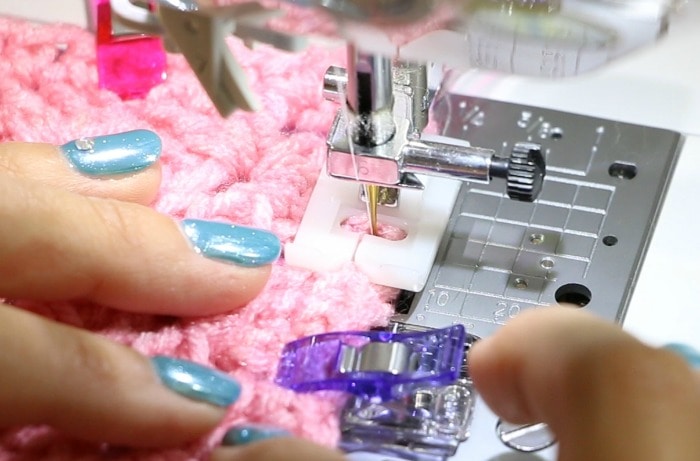

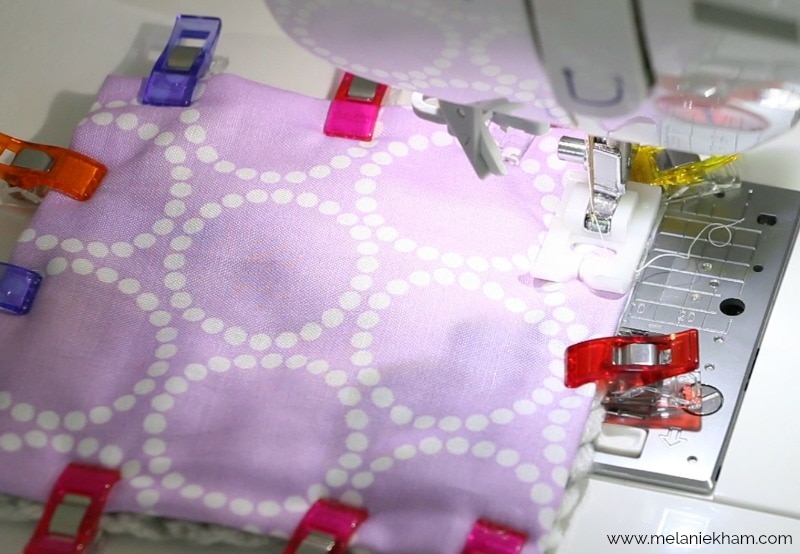
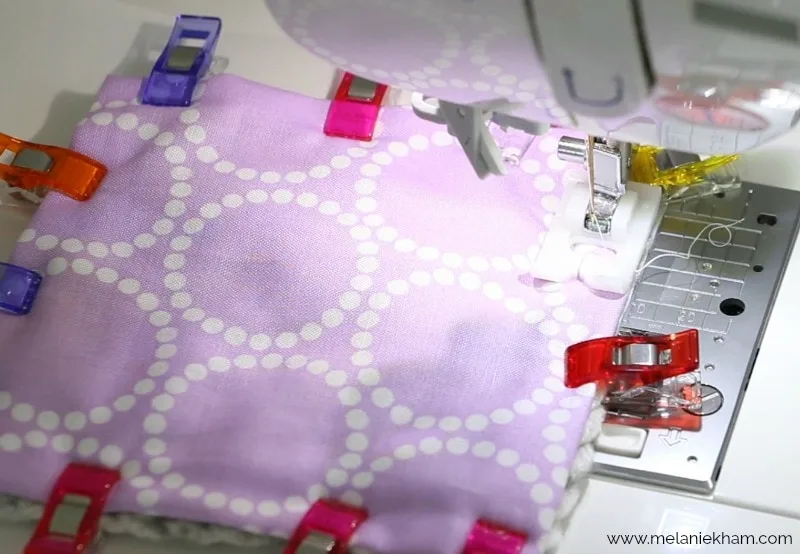
Place your piece with the crochet facing up under the wide presser foot (mostly solid, do not use an open toe foot or it may get caught on the crochet). Decide where you would like to have your stitches and adjust needle position if necessary.

Begin sewing and back stitch. Use the stiletto tool or chopstick to help push the material through being careful not to allow the crochet to stretch. Go slow and take your time. Continue until the section you are trying to attach is complete. Back stitch to secure.
Method 2
Make sure your crochet piece and lining are ready to go. This may depend on your project. Iron the edges of your fabric over before sewing or serge to finish the edge.
Place wrong sides of your project together so that the right side of the crochet and the right side of the fabric are showing. We will be sewing along the right side of the crochet.
Clip or pin crochet together in place.
Make your stitch length a 3.5. You may also want to decrease the presser foot pressure, check your sewing machine manual for details. It’s usually a knob on the back of the machine
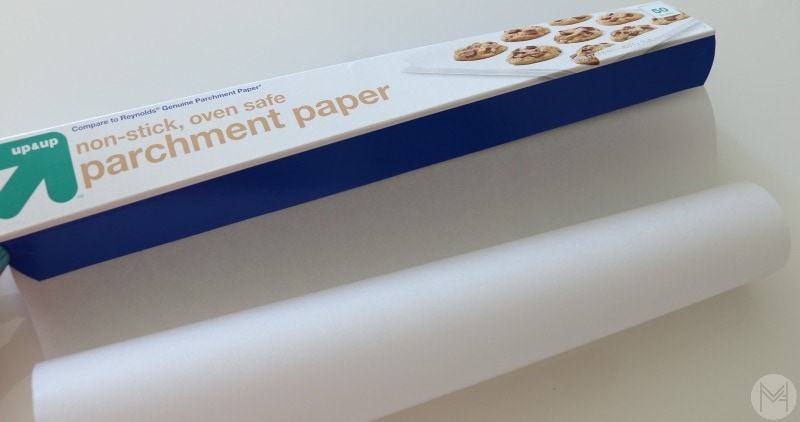
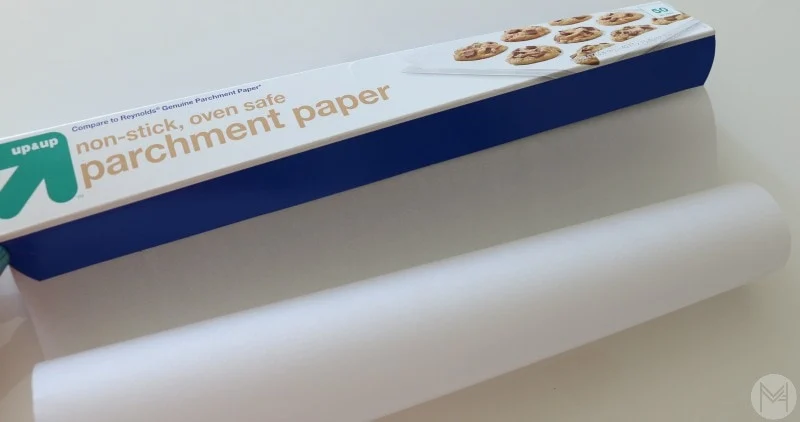
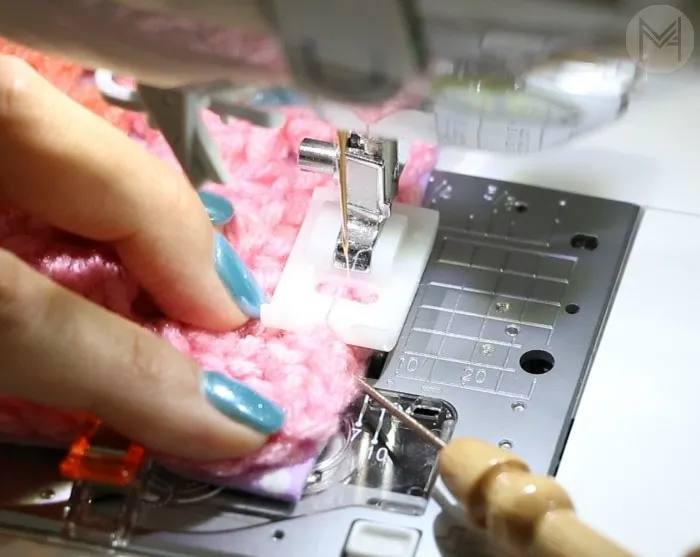
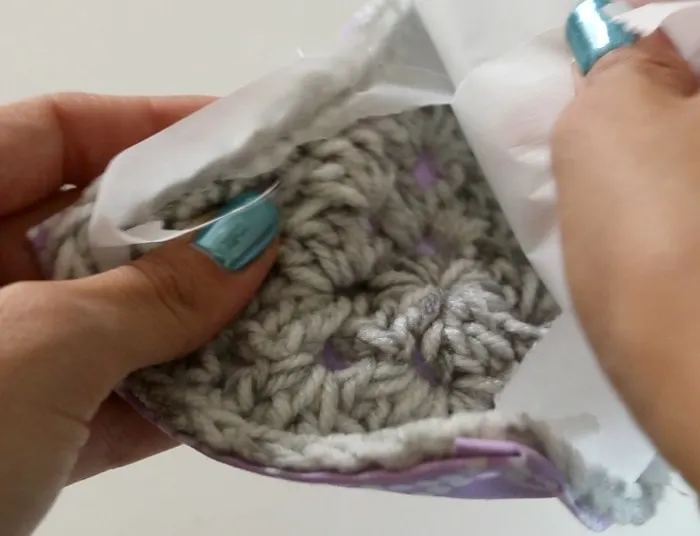
Place your crochet work with fabric facing up, crochet side facing down. Place a strip of parchment paper under the crochet work and above the feed dogs of the machine so that the feed dogs touch the paper and not the crochet work.
Use the edge of the fabric and the sewing machine foot to determine where to sew and keep the stitch consistent. You will be relying on your clipping or pinning because you won’t be able to see the crochet side. Begin stitching along the work, back stitch to secure.

With method 2, you are able to sew faster since you aren’t fussing with it and the feed dogs do a better job of pulling the fabric through than the piece on the top.
Both methods can create a nice and finished look, it is up to you. Try them both out with some sample pieces and see what you like!

If you would like all of these tips and tricks in a pdf format, you can CLICK HERE to sign up and it will be emailed to you!
Here is the full video tutorial!
Hannah
Monday 18th of September 2017
Once again Melanie thanks for these beautiful tips. Your posts are really very comprehensive thats i am an avid reader of your blog posts. I would like to invite you to my sewing community if you are interested and have time.
XXX Hannah
Eva
Monday 28th of August 2017
Hi Melanie, Thank you so much for the tips for sewing fabric to crochet. I learned to sew as a young girl and have been crocheting since the 1990s. Eventually, the two were bound to overlap as in making dresses, toys, etc... I appreciate your tutorial. Great job, clear and concise at a steady pace. Loved the video.