


Hi there! Today, I am going to be sharing how to crochet the berry stitch! I have been wanting to share some more crochet stitch tutorials and give you the tools you need to create great projects. You might have an idea of how you’d like to utilize this stitch in a different way than I might. I always love seeing what you all create!
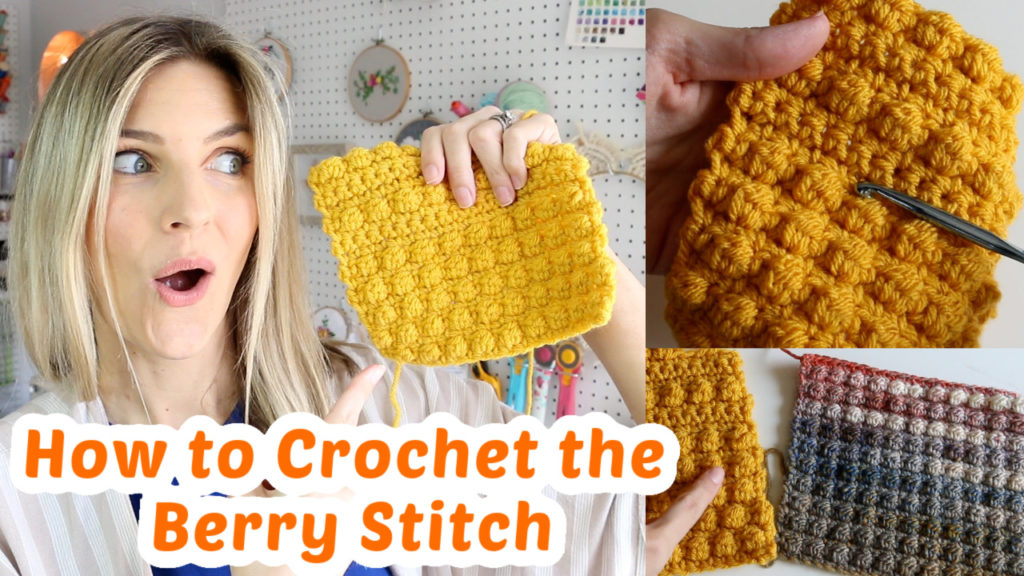

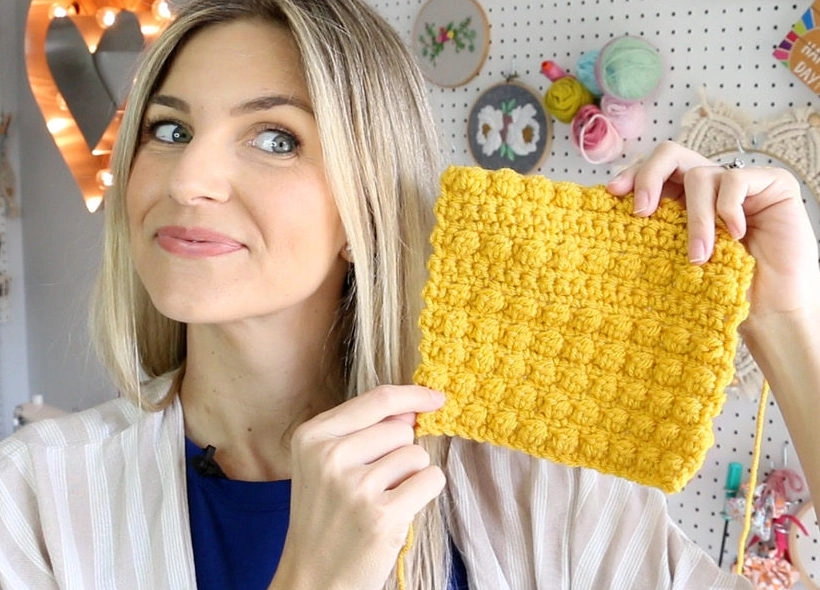
The crochet berry stitch is a variation on a cluster stitch. I love that it’s fairly simple, but creates a great texture. It’s not as textured as the popcorn stitch or bobble, so it’s a good in between.


Tips for the crochet berry stitch
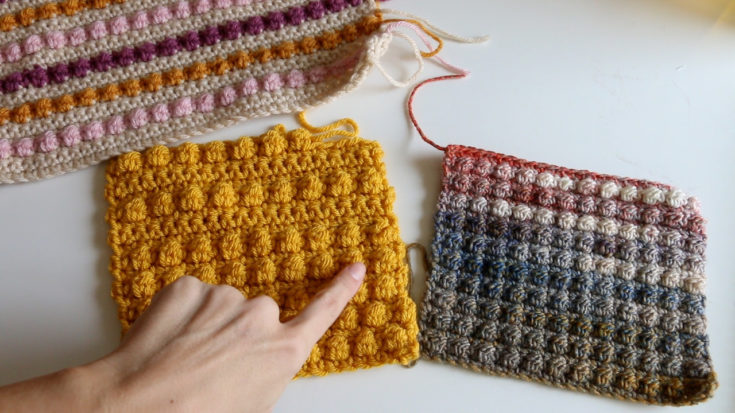
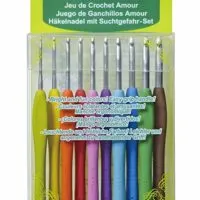
I found that it was best to use 2 hook sizes larger than what the package recommends when creating these samples. Clover crochet hooks are my absolute favorite! This combination of stitches can really make the tension very tight. 2 hook sizes larger gave a little more space to the stitch to make it more defined as well as a softer vs stiffer feel.

Other Crochet Stitches and Basics
How to join yarn with the magic knot
The Star Stitch Tutorial
Beginner Crochet Guide
How to Crochet the Berry Stitch
The Berry Stitch

This is a tutorial for how to crochet the berry stitch. This is an advanced beginner stitch and can be utilized in blankets, hats, scarves, bags etc.
Materials
- Yarn of choice (not too textured)
Tools
- Crochet Hook: go up 2 sizes larger than yarn label
Instructions
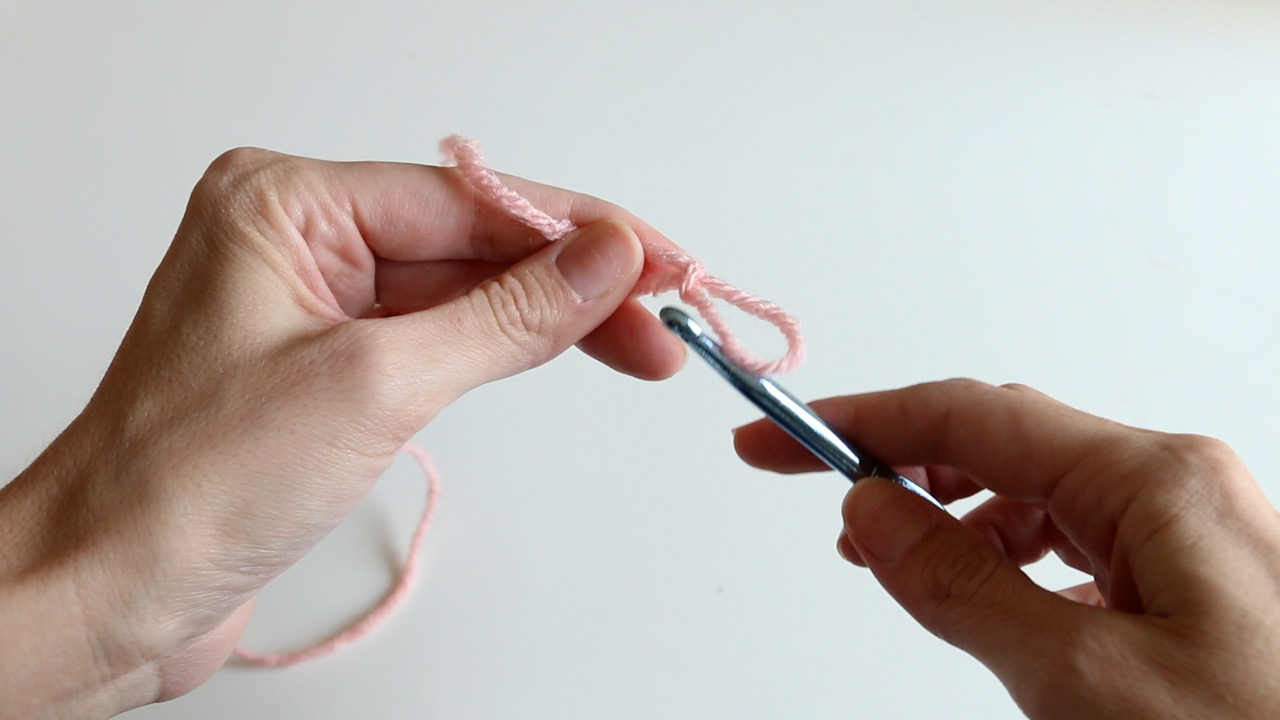
- Begin with a slip knot

- Create your foundation chain that is an even number. I did 18 for this sample.

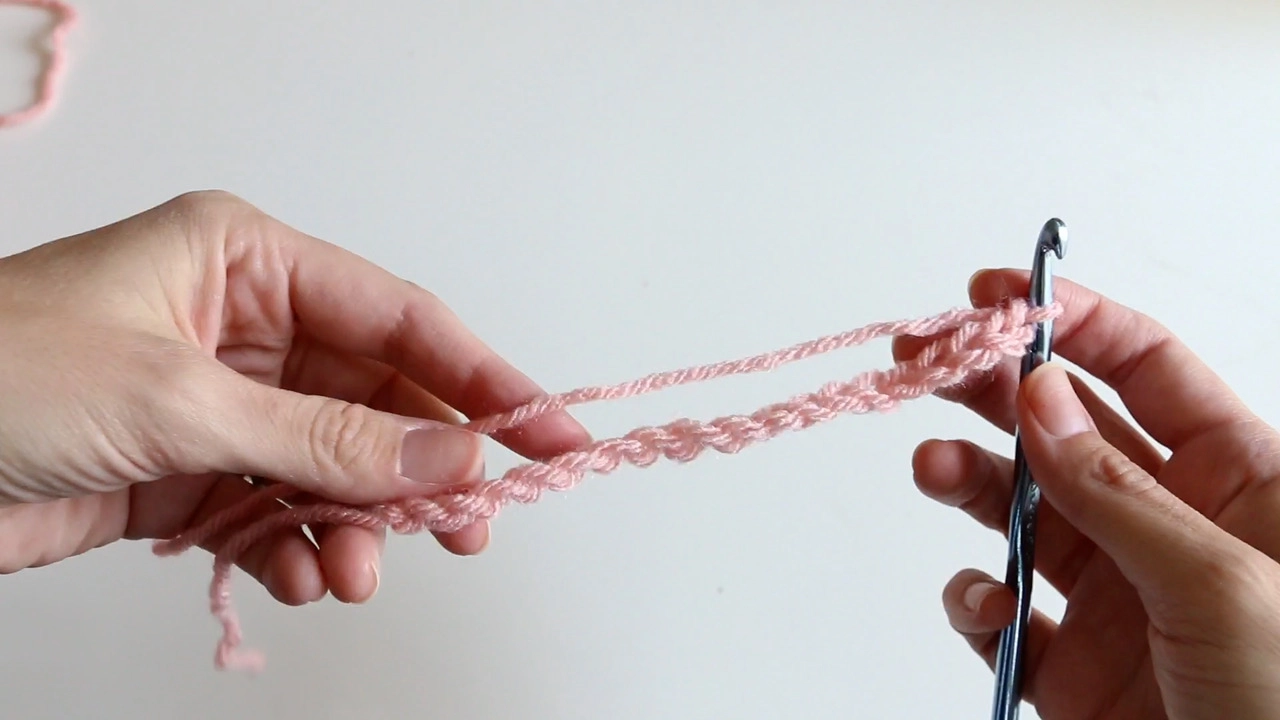
- In the 2nd chain from hook, single crochet (sc) in each chain back to the beginning.

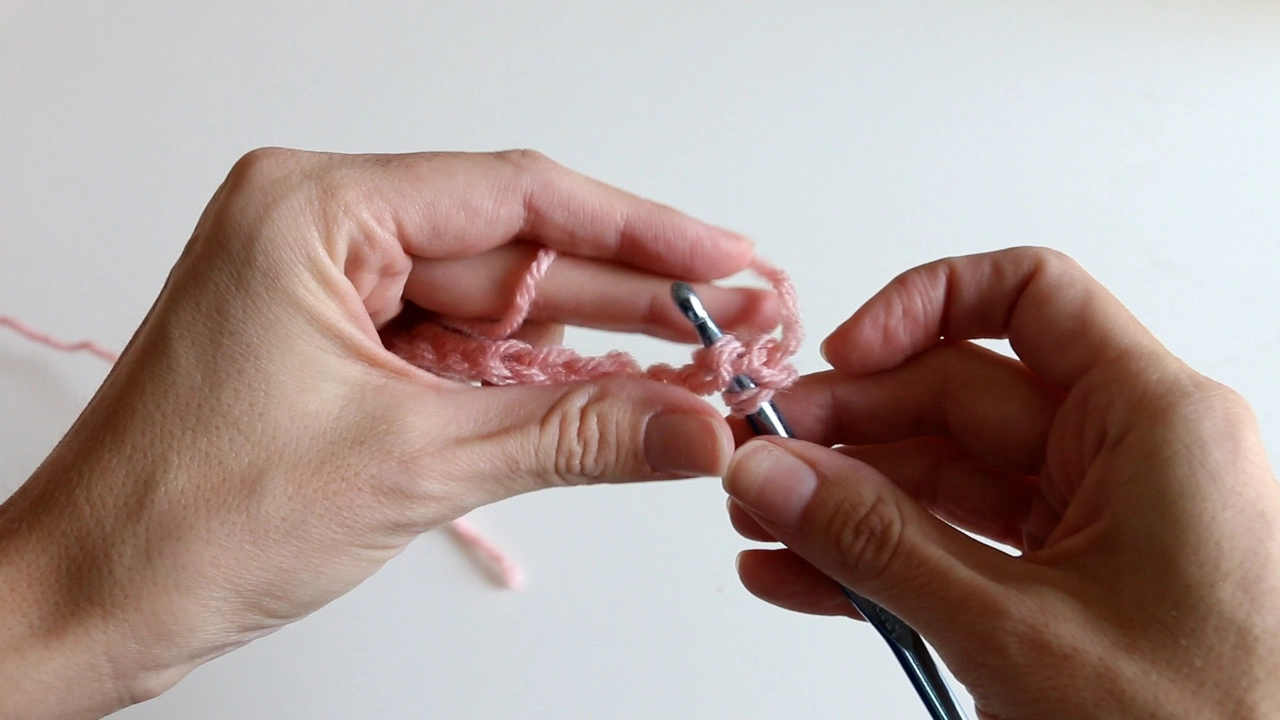
- ch 1 and turn work. Sc in first stitch.
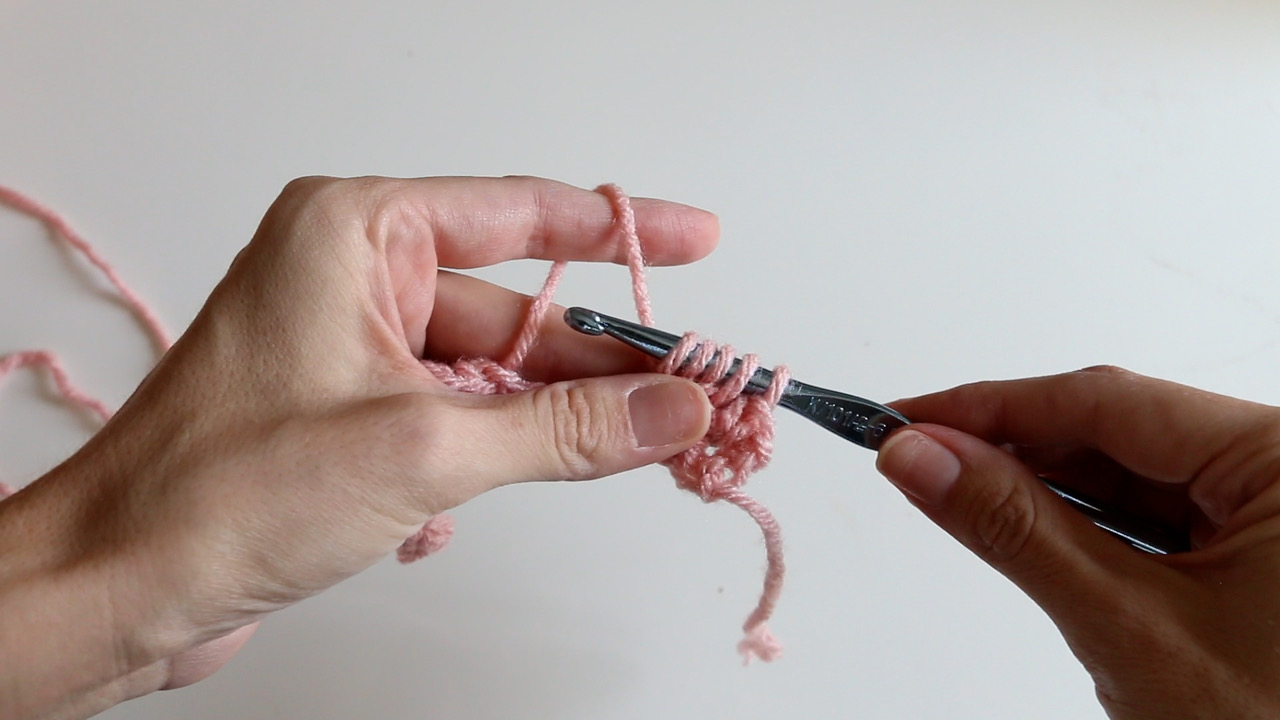
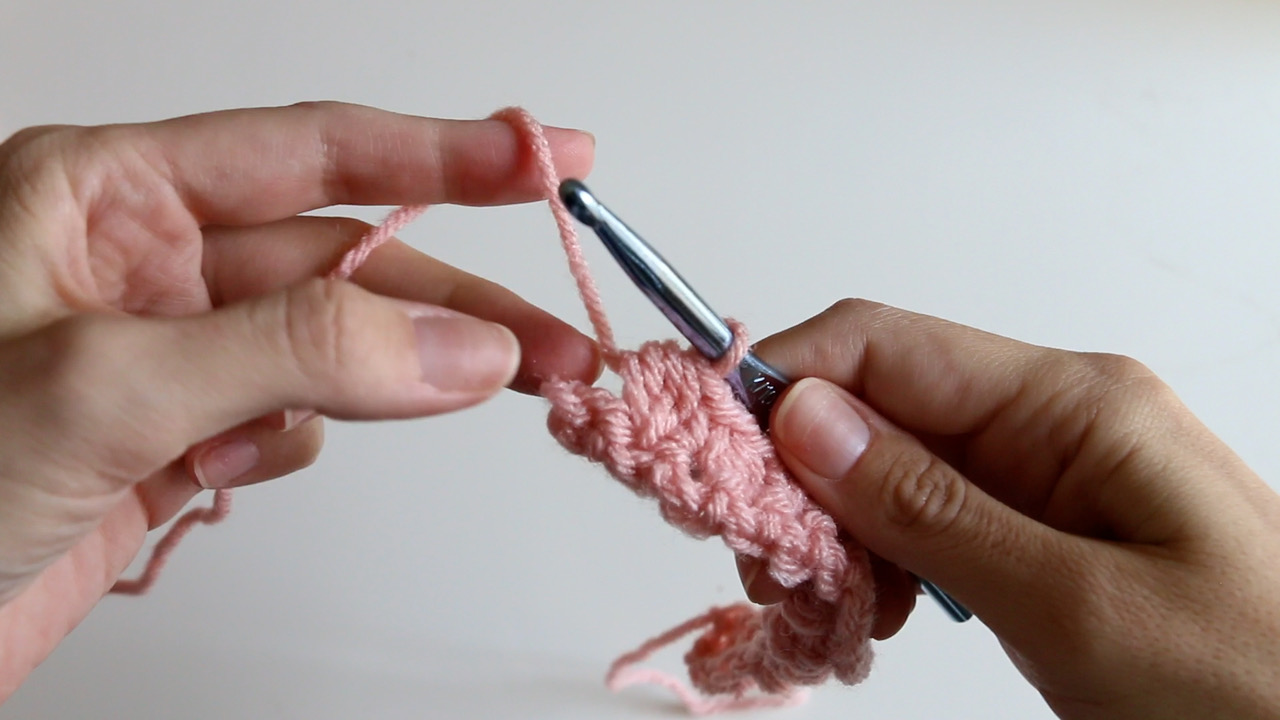
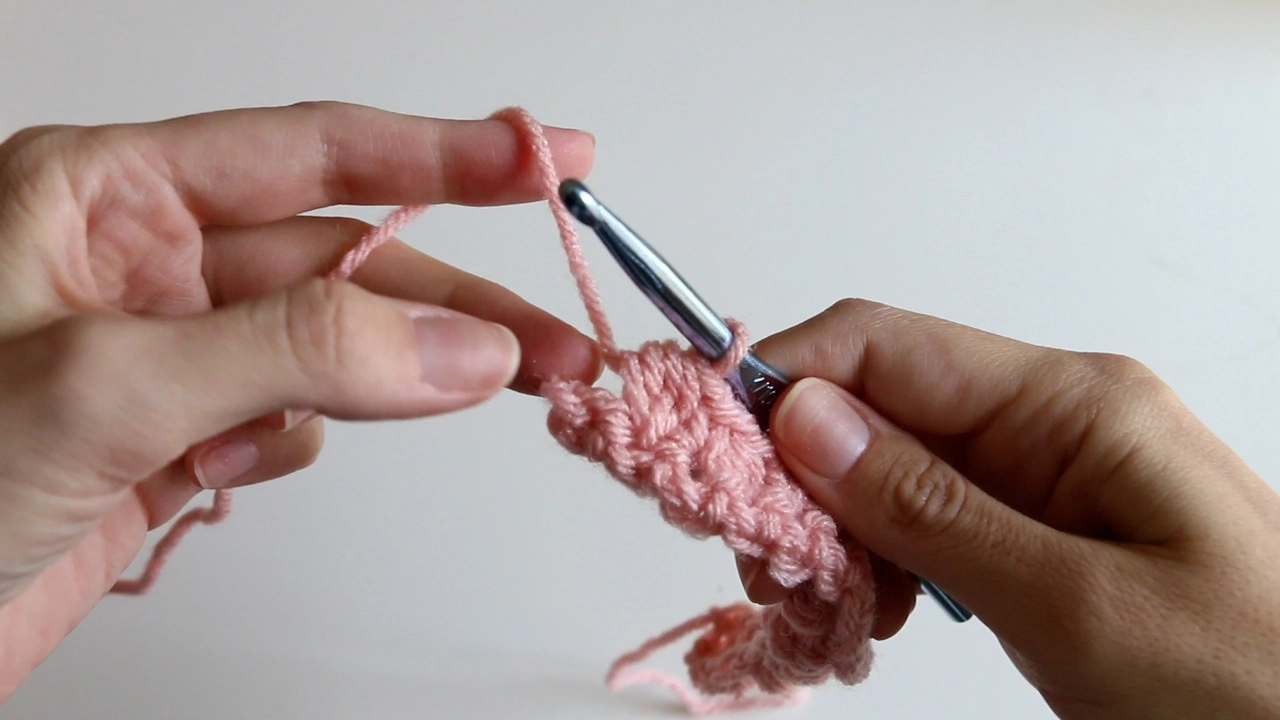
- Make your first "berry." Yarn over (yo), insert hook, yo, pull through (3 loops on hook). yo, pull through first loop only. yo insert hook, yo pull through (5 loops on hook). yo pull through all 5 loops. (Berry forms on the back side of the work).

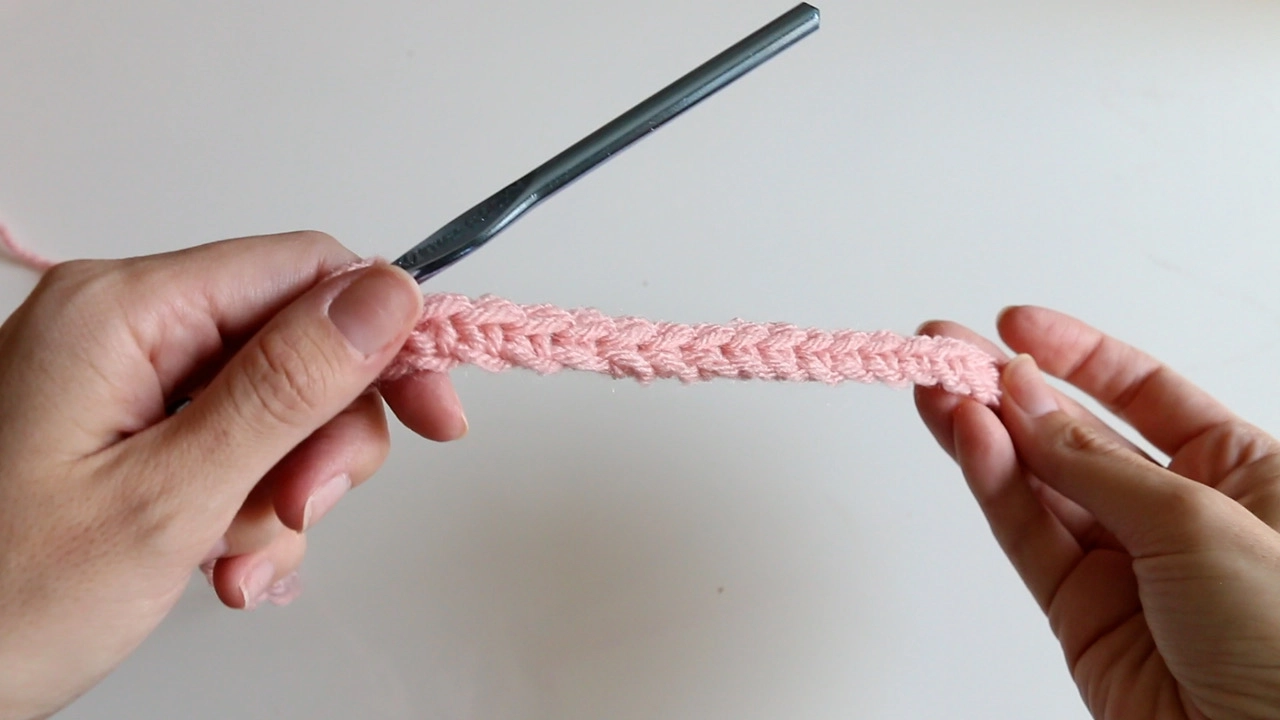
- After the "berry" place a sc stitch and alternate between sc and berry. The last stitch in the row should be a sc.
- ch 1 and sc in each stitch to the end.
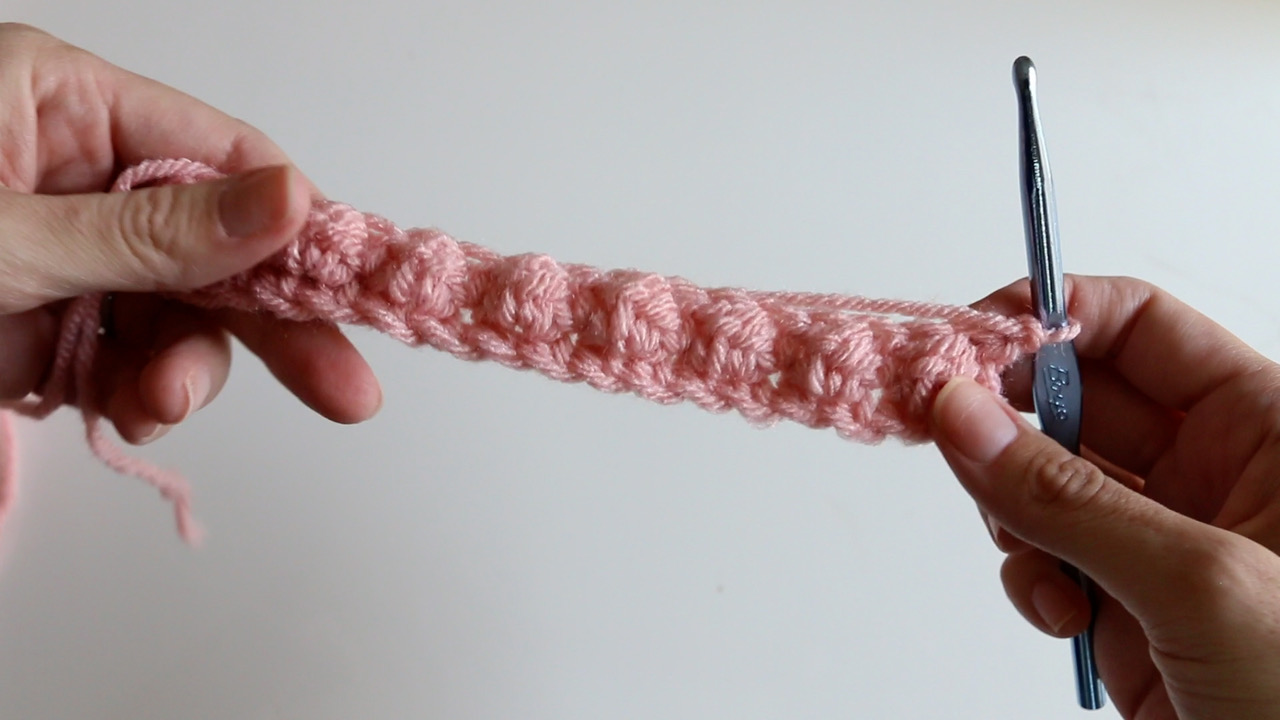

- If you would like a heavy berry look, alternate between a sc row and berry row. If you would like more space between the berries, create more sc rows. The sc rows need to be an odd number so that the berries stay on the same side of your project.


Notes
Did you like learning how to crochet the berry stitch? The 3 biggest things to remember: you can go up a few hook sizes, "berries" form on the back of the stitch, and you can make an amount of sc rows in between as long as it's an odd number of rows.
Recommended Products
As an Amazon Associate and member of other affiliate programs, I earn from qualifying purchases.


Debra Smith
Saturday 26th of September 2020
I am making the first quilt. My niece is having her first baby. I saw you are having health issues. I pray for you each day. Keep healing until you are all better. I appreciate all your sewing tips.
Marcie Smith
Friday 25th of September 2020
I love your tutorials!!!
What is the sweet striped project in upper left corner of the photo? It has gold and two shades of a pinky mauve color. Will you be sharing that pattern or a tutorial on that anytime soon? Obsessed with the yarn/colors as well, would you mind sharing those? So cute!
Oh! Do you have an affiliate link for a clover hooks variety pack? I see the individual hooks, I couldn’t seem to find a variety pack through your website.
Also, you look like you’re getting your energy back. Yaaaayyy. You’ve been in my prayers. 💗💜💙❤️