
Hi Everyone! It’s time for part 3 of the Moss Pillow Crochet Along! I hope you all are having fun stitching along as a group and working on this fun pillow together! If you aren’t sure what’s going on, click here for Part 1!
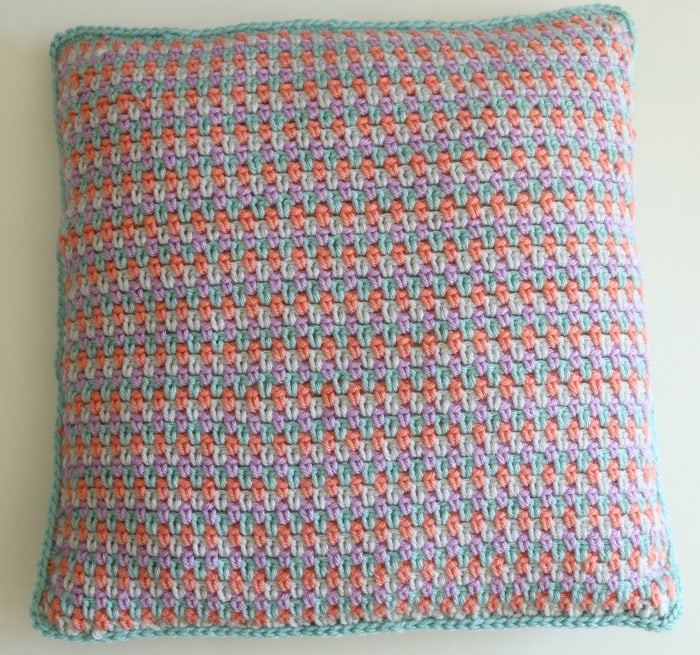
Moss Pillow Crochet Along Part 3

The Plan
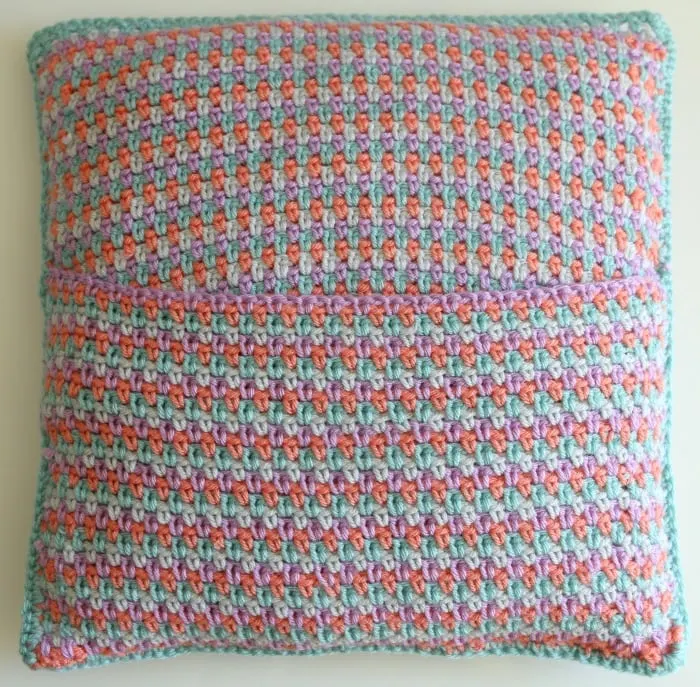
This week is really similar to last week, but instead of 1 square panel, we need to make 2 rectangles for the back panels of the pillow.

Instructions
Create your foundation chain the same width as for panel 1.
Using the same moss stitch from panel 1, create 2 back panels that are the same width as the front panel. There needs to be at least a 4 inch overlap and 1 panel should be slightly larger than the other.
Take your pillow size, let’s use 14 x 14 as an example. Divide 14/2 = 7. Because of the 4 inch overlap, we will add 3 inches to one side and 1 inch to the other. So 1 panel will be 14 x 8 and the other will be 14 x 10. Make sense?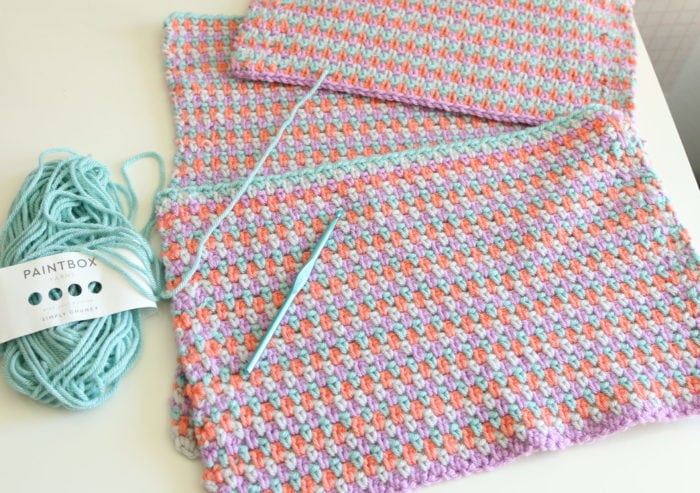

Next week we’ll cover how to weave in the ends and attach all of the panels together! Use #CALmelanie on social media to join in with other crocheters making Moss Pillow Crochet Along project too! The hashtag is also a great way to get feedback if you have any questions on your color palette or need any assistance. I am checking the hashtag too so that I can chime in 😉
Lisa Norsworthy
Sunday 17th of June 2018
You don't specifically say whether to snip the yarn when changing colors or should I carry it?
Melanie
Friday 22nd of June 2018
you can do either. In part 4 I show how to weave them in, or if you don't mind the look of carrying it you can do that too ;)