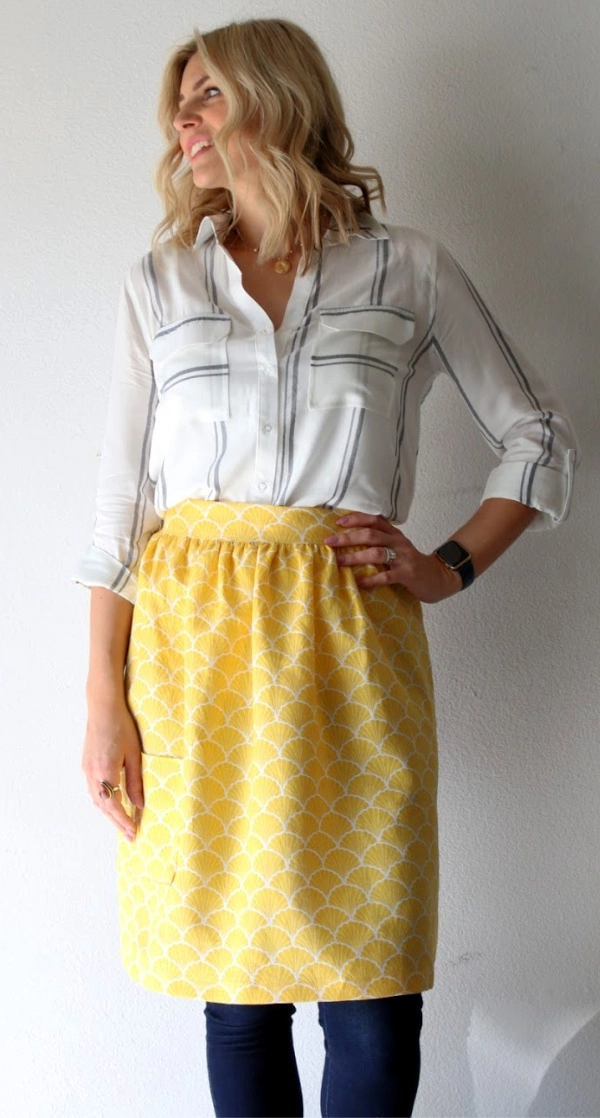
How to make an apron is next up in the learn to sew series! I made a full length simple apron tutorial awhile back, but this half apron is not only adorable but a great, easy sewing project.
As part of the Learn to Sew series, we are working our way through several different techniques and skills. In this tutorial we are working on gathering and pockets to build on the other skills that we have learned so far.
*Full length video tutorial and printable pattern at the end of this post.
How to Make an Apron

What material should you use to make an apron?
I love to use natural fibers like cotton, linen and cotton/linen blends to make aprons. Cotton and linen is easy to wash and comes in a variety of styles and colors, but are still easy enough for new sewists to work with.

How much fabric is needed to make an apron?
This tutorial uses 1 yard of fabric that is 42/44 inches wide. It features a long enough strap to tie around front, a pocket and the apron body goes all the way to the knee.
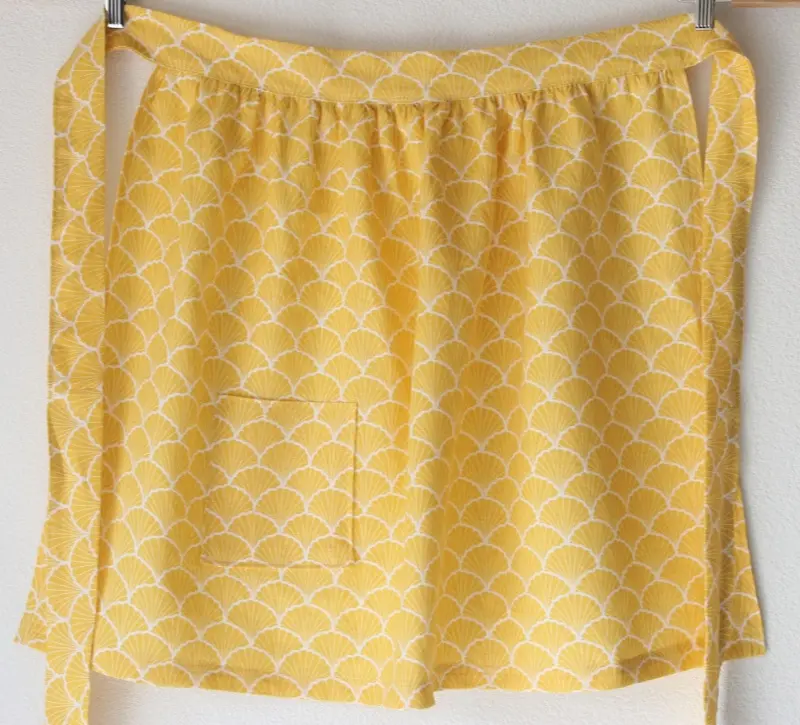
I got the yellow shell linen fabric from Joann. Here’s a link!
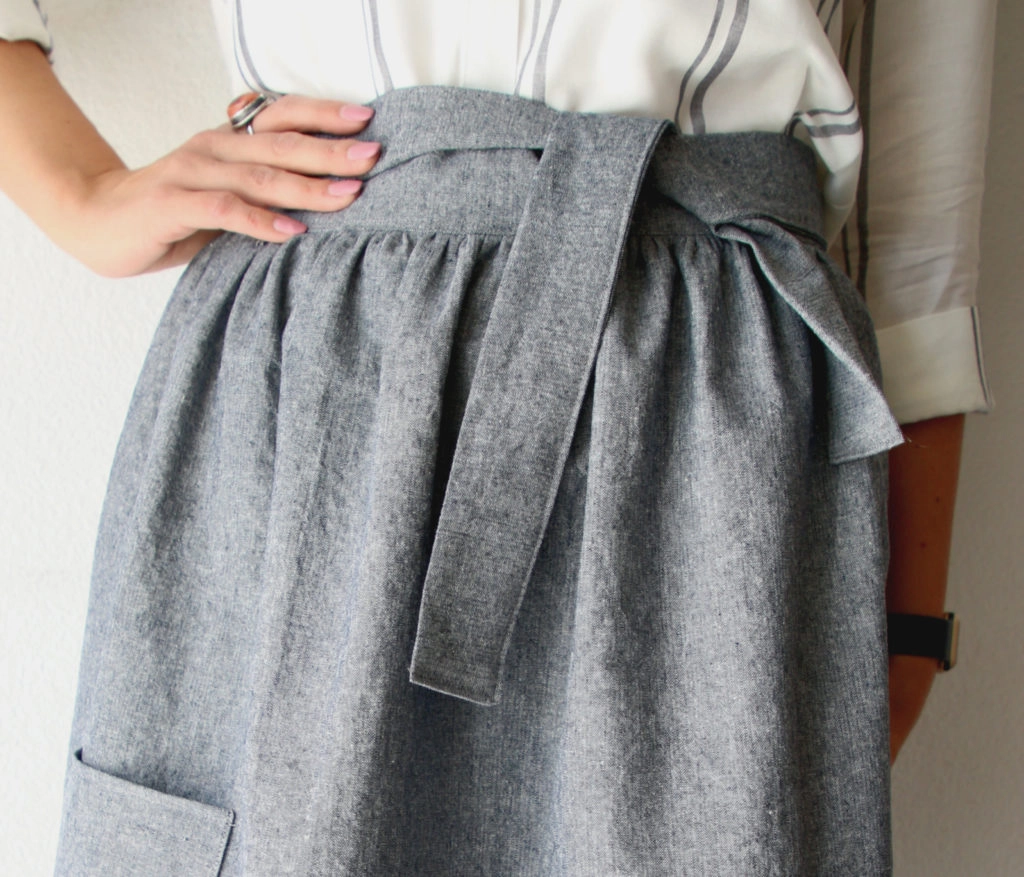
The grey linen fabric is Essex Yarn Dyed Linen.
If you would like all the the learn to sew patterns and videos in 1 spot, I created an ebook with everything in there for you! I also have a pattern with no photos to make it easy on your printer. Get your Ebook Here.

The Learn to Sew Series
Other free sewing patterns and video tutorials in the series:
- Learn to Sew Placemats
- How to Make Napkins with Mitered Corners
- Basics for how to use a Sewing Machine
How to make an apron step by step?
I’m so glad you asked! Let’s jump into the materials list, pattern and video tutorial.
How to Make an Apron
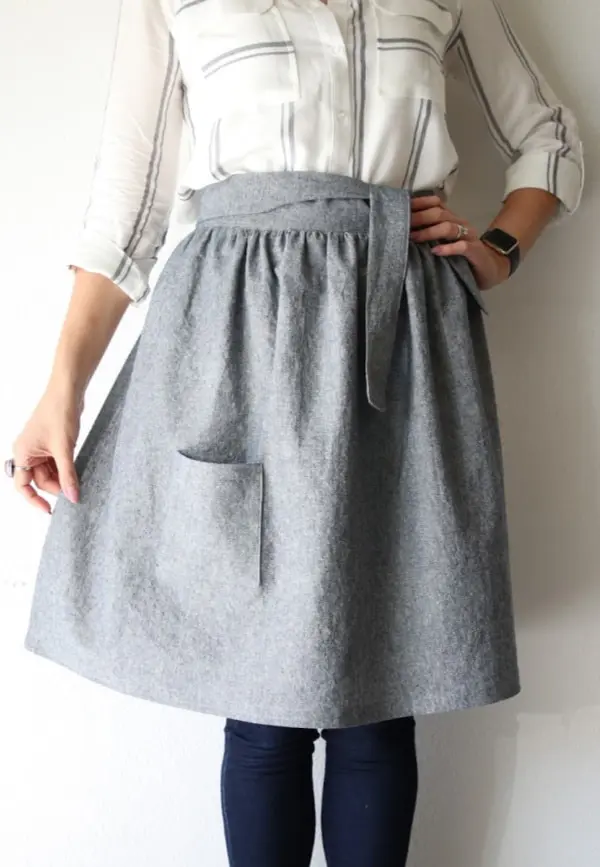
Learn to how make an apron with this adorable free pattern as part of the Learn to Sew Series.
Materials
- 1 yard of 42/44 wide fabric - prewashed. (I like linen and cotton fabrics)
- Coordinating thread color
Tools
- Iron and Ironing board
- Fabric Scissors
- Pins
- Clips
- Seam ripper
- Sewing Machine
Instructions
- Prewash and dry your fabric. Press well before you cut.

- Cut (2) 5 inch strips from the width of fabric. That is the 42/44 inch length of the fabric from selvedge to selvedge.
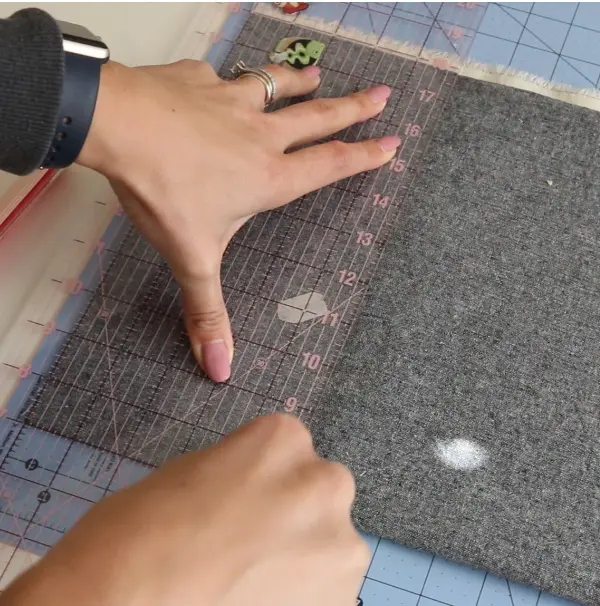
- From the rest of the fabric, cut the main body of the apron which should be about 35 x 25. If your measurement is slightly different that's ok. After that is cut there should be a left over piece that we will use for the pocket.

- Take the main body of the apron and we are going to hem the sides first. The sides are the 25 inch sides, the 35 is the top/bottom. Press over 1/4 and then over again and press into place and pin for both sides.

- At the sewing machine, stitch down with a 3/8 seam allowance from the FRONT of the apron. The pressed fold will be underneath. You can adjust your seam allowance as needed to make. sure that you are stitching through the pressed fabric underneath as well. Add an additional top stitch if desired.

- Choose one side of the apron body to be the bottom. This will matter if you have a directional print. Press over 1/4 inch or so and then fold over 1 inch to make a larger hem for the bottom of the apron.

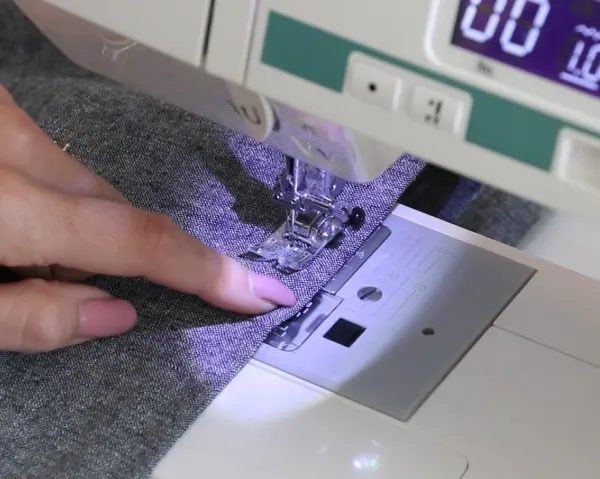
- Sew the bottom hem at the sewing machine from the FRONT again following a line along the sewing machine that makes sense. Mine was 5/8 and then I added an additional top stitch to add a bit more weight and flatness to the bottom hem.
- Grab the piece that is meant for the pocket and trim to 6 x 12. If yours is a little thinner than 6, that's ok, do your best.

- Fold the pocket in half right sides together and sew along the sides and open bottom leaving a 2 inch opening using a 1/4 seam allowance. Trim corners and flip right side out, press well.
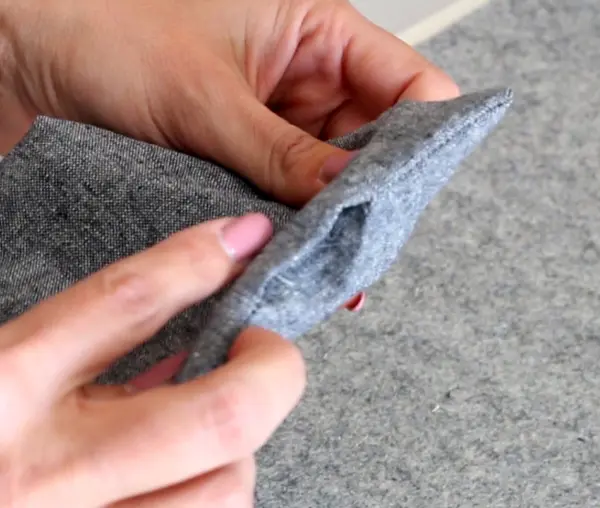
- I sent the pocket through the machine to create a top stitch along the folded side. This is optional.

- Find the spot on the main body of the apron where you would like your pocket. Match up fabric if applicable. Mine is placed on the right side of the apron (or left if you are looking at it in front of you). 7 inches from the side and 6 inches from the bottom hem.
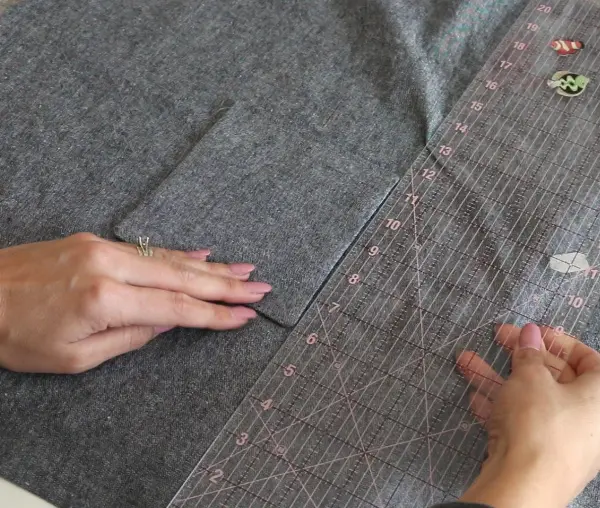
- Pin pocket in place and sew with 1/8 seam along the sides and bottom of the pocket back stitching well at the openings.
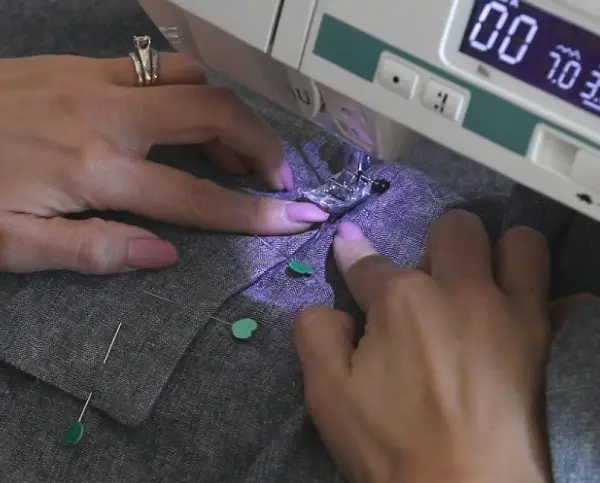
- Along the top edge of the apron body, create 3 basting stitches. This is the largest stitch that your machine will do, mine is a 5. DO NOT back stitch or this won't work. Also, DO NOT cross over your stitches when you sew down 3 times. We do 3 because it creates a more even gather and one thread might break.

- Pull on all 3 of the top threads, leave the bobbin threads alone and gather up the apron until it reaches 19 inches. Even out your gathers, clip in place and set aside.

- Find your 2 waistband/tie pieces that are 5 x wof. Cut the selvedge edges off and cut 1 of the pieces in half to create (2) 5 x 21 inches pieces and (1) 5 x wof piece. Sew the smaller pieces to either end of the large piece with a 1/4 inch seam allowance.
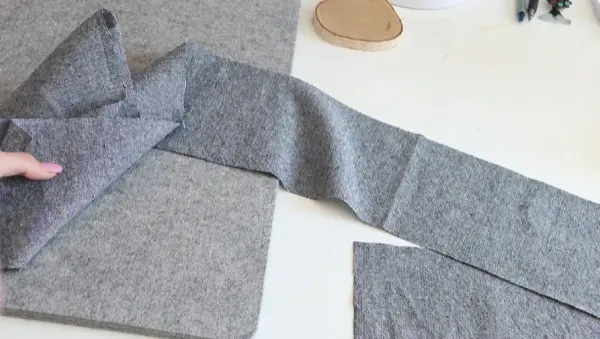
- Fold the waistband/tie in half to find the center point and mark with a pin. Find the center point of the main body of the apron and mark with a pin.

- Pin waistband/tie and apron body together with right sides touching and raw edges lined up. Pin the entire apron body to the tie.

- Take to the sewing machine and sew the tie and apron body together with a 3/8 inch seam allowance. Have the gathers on the underside, against the feed dogs and your presser foot along the tie. Back stitch at beginning and end.
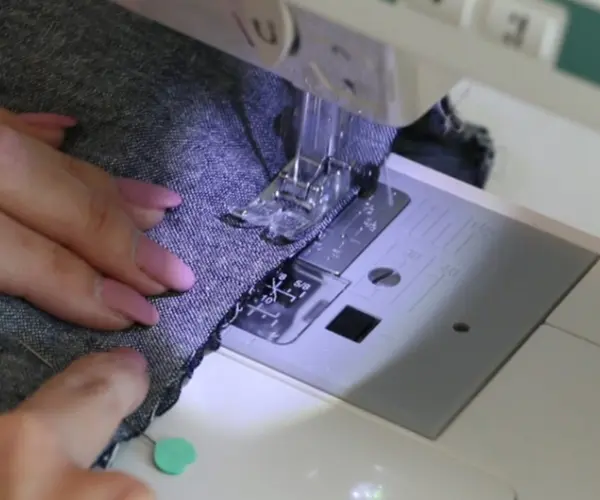
- Make sure everything is secure and looking good and take the basting stitches out with your seam ripper.

- Press the top edge of the tie toward the wrong side 1/2 inch.

- Press the bottom edge of the tie 1/4 to 3/8 inch. It will naturally fold up from the stitch we just made.

- Fold over the waistband tie and pin in place past the stitch we just made to hide it. Pin well all the way down the apron body as well as the entire length of the tie.

- At the sewing machine, sew along the apron body only - from the front, right next to the seam with the gathers, but on top of the waistband. Look at back and make sure everything is secure.
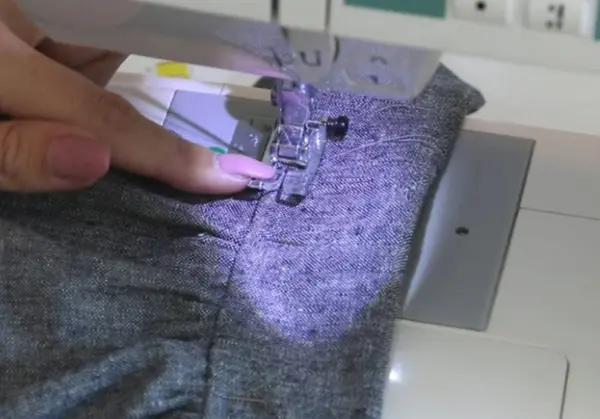
- Now, start sewing from the short end of the tie, all the way down the tie, across the apron body and long the other side of the tie, back stitching well at beginning and end.

- Trim all threads and admire your new apron!
Notes
wof= width of fabric
Recommended Products
As an Amazon Associate and member of other affiliate programs, I earn from qualifying purchases.




Robin K.
Monday 9th of March 2020
Thanks so much for your videos. I just bought the Juki DX7 yesterday after watching your review. Ordered fabric today to make the half apron. Can you let me know where you buy your fabric (if available on line).
Melanie
Tuesday 24th of March 2020
Wow, congratulations! The yellow fabric can be found here: https://bit.ly/yellowshellfabric and grey fabric can be found here: https://www.superbuzzy.com/shop/c/p/Essex-Yarn-Dyed-Linen-Indigo-x20345789.htm
Reagan
Friday 6th of March 2020
this is sooo cute, I can't wait to try it! If you're taking suggestions for the next project in this series, I would love to learn how make a circle skirt! thanks for all you do!