


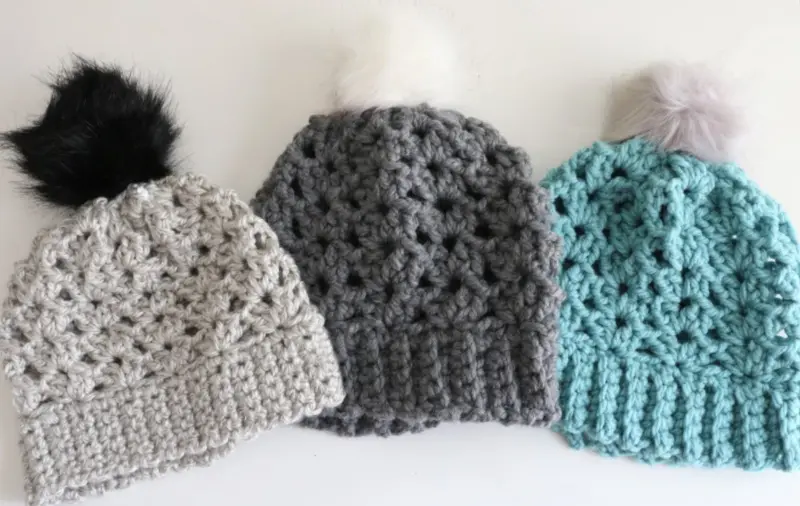
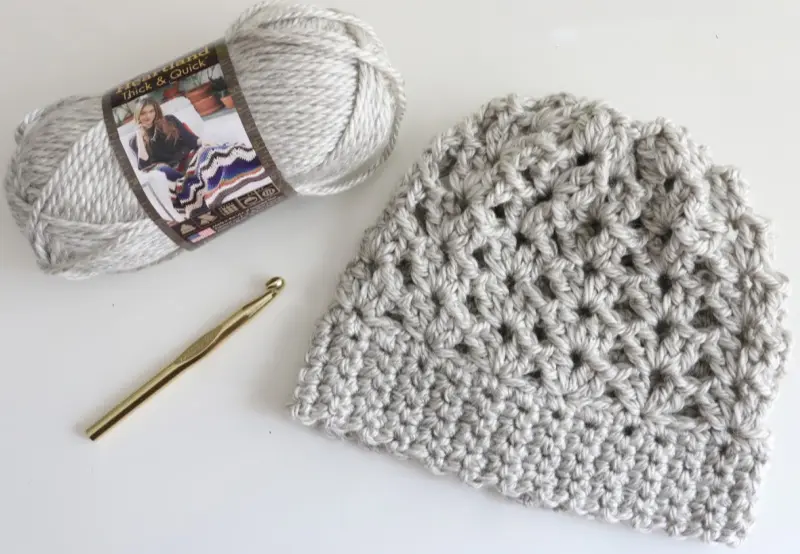
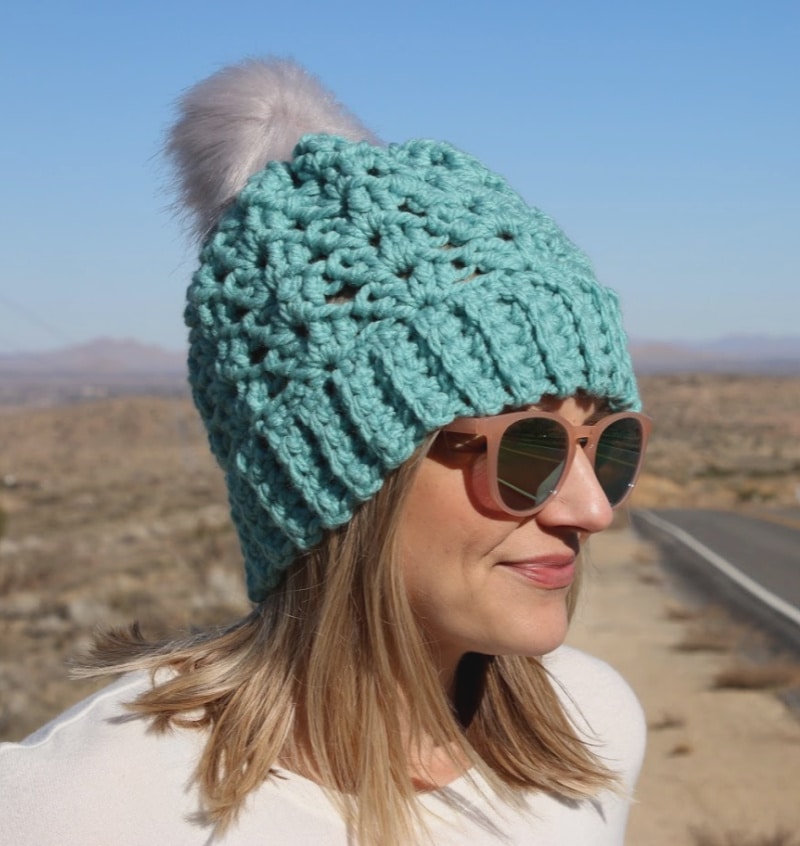
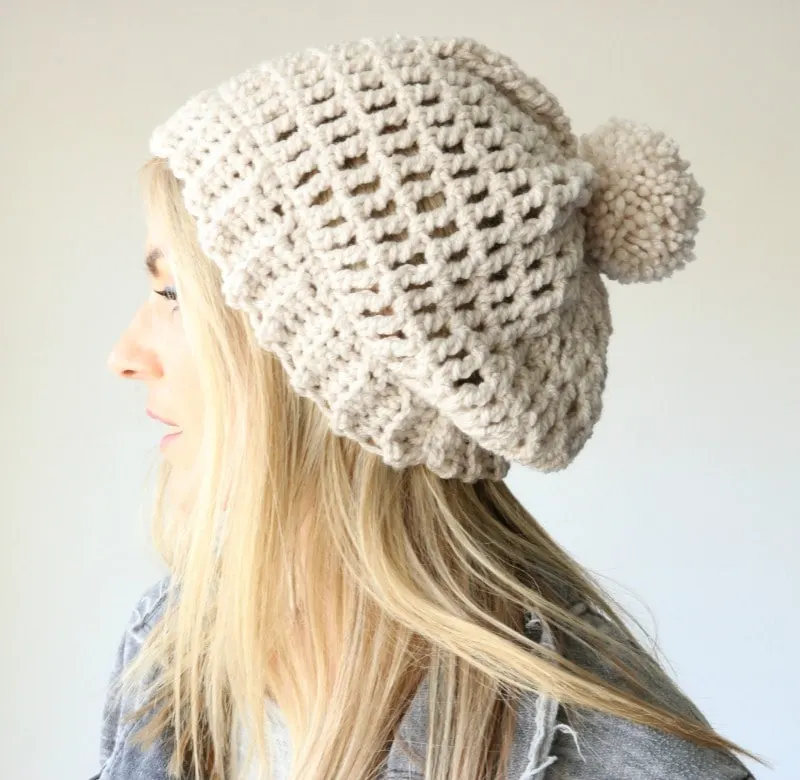
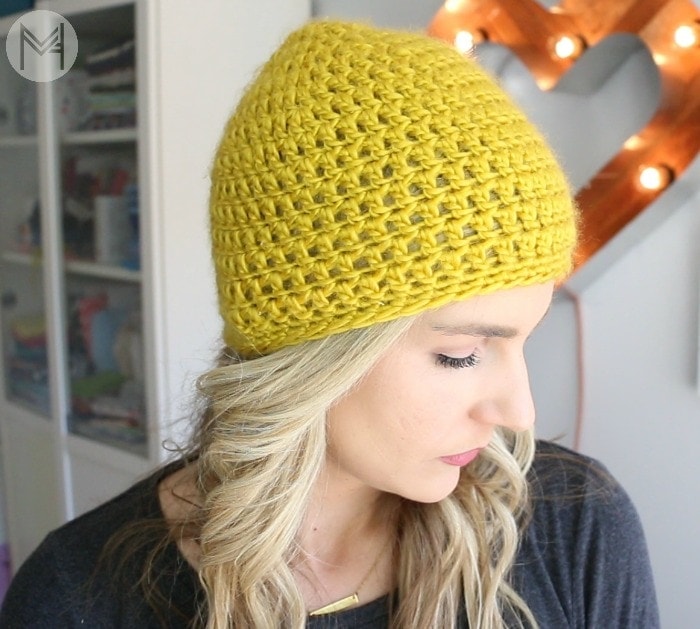
Hi there! Today, I’m excited to share a new crochet hat pattern, the Chunky Shell Crochet Hat! It’s made using size 6, bulky yarn and works up so quick.
Be sure to read the entire post if you have a question ;). I go back and update posts for commonly asked questions so that you can find all the information you need. At the bottom of this post you can find the instructions with a button to print for free, or the 8 pg ad free pdf for a small fee.


This crochet hat pattern falls under my crochet for beginners category and I love how dynamic it looks but how simple it is. This crochet hat pattern is bound to be a favorite!

Want the ad free pdf? For less than your favorite Starbucks, this pdf features 8 pages of ad free step by step photos as well as a page with no photos to save your ink if you’d like to print it out.
Chunky Shell Crochet Hat Pattern – Beginner friendly
Chunky Shell Crochet Hat


This Chunky Shell Crochet Hat is beginner friendly and very quick to make! If you are a new crocheter and have made a few projects you can do this one! It uses single and double crochet 😉
Materials
- 1 or 2 skeins of size 6 yarn (see Notes sections for more)
- Pom Pom (purchased faux fur pom pom, handmade faux fur pom pom or yarn pom pom all work)
Tools
- N or 10mm crochet hook
- yarn needle
- small scissors
Instructions
- Begin with a slip knot, insert your hook and tighten the free end down around the hook.

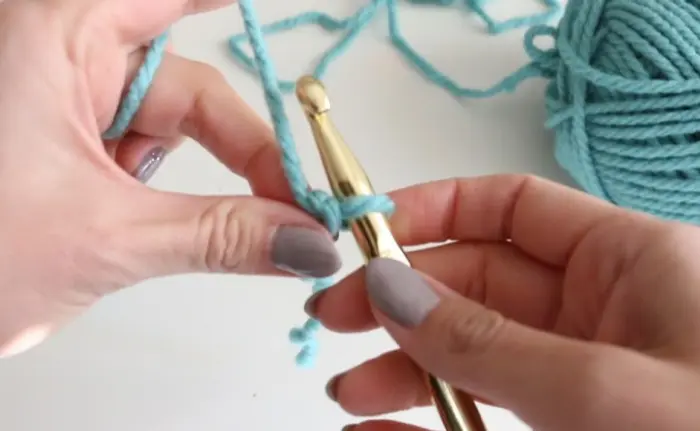
- Chain 6 to create the width of the hat band.

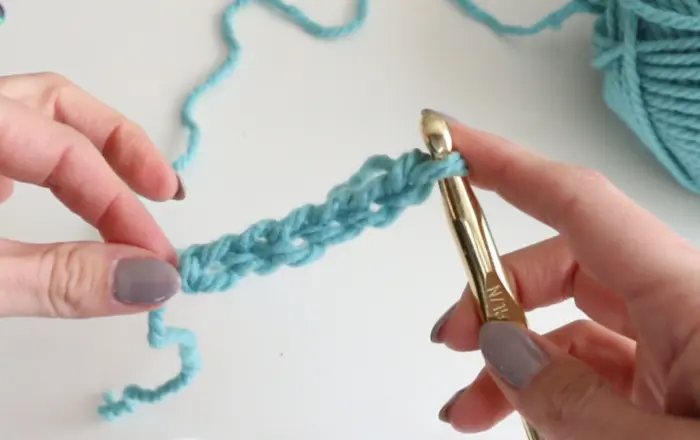
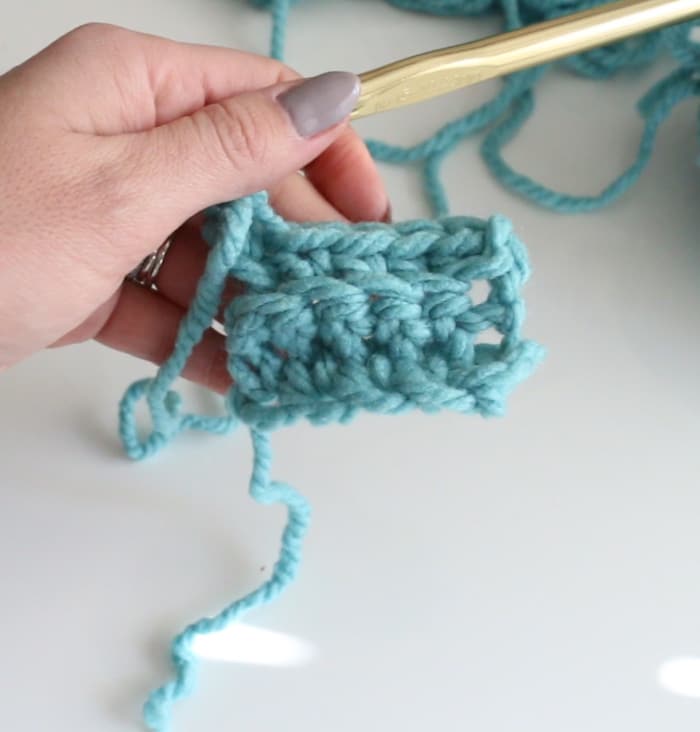
- Sc in the 2nd chain from the hook and in each stitch all the way down. Total of 5 sc stitches.

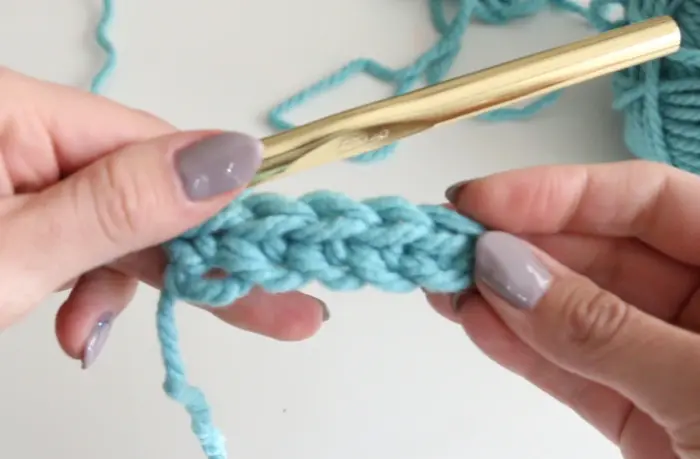
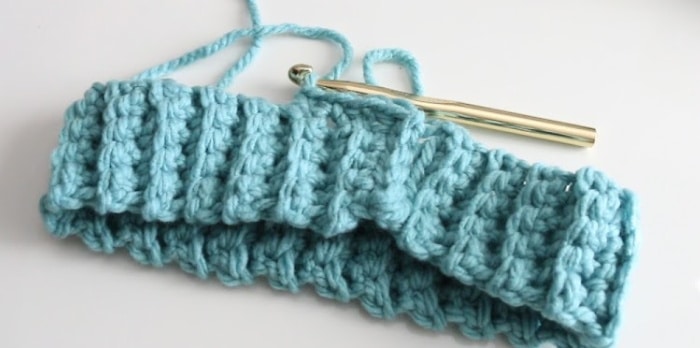
- Ch 1, turn work and sc 5 in the back loop only.

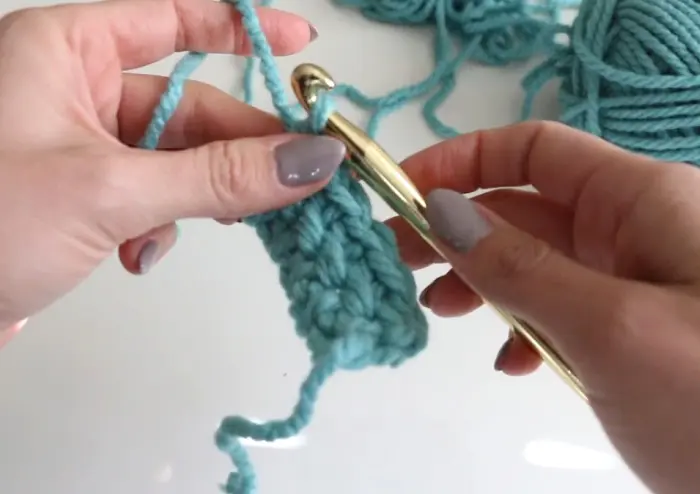
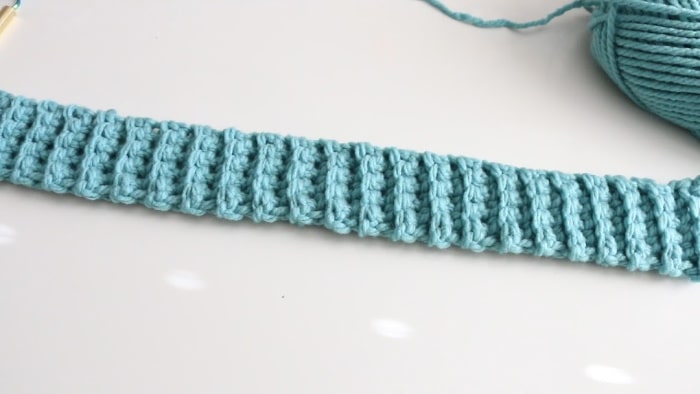
- Ch 1, turn work and sc in the back loop again, continuing in this manner until you reach the desired size. You can measure to your own head or refer to chart. With the ribbed band, error on the side of being more snug than loose because it is stretchy. Note: you can stitch regularly and not in the back loop for a straight, flat look if desired.

- Once your band reaches your desired size (mine is roughly 20 inches) you can join the 2 short ends.

- Place the short ends next to each other and slip stitch together. I slip stitched through 1 loop of the foundation chain and the front loop of the last row to recreate the rib looked in this connection.

- Ch 1 and sc at the end of each row. Do your best and insert your hook under 1 - 2 strands of yarn to create your sc. Do this all the way around, but the end result of sc stitches needs to be a multiple of 4. (mine ended up being 44 stitches) Slip stitch to finish out the round of sc

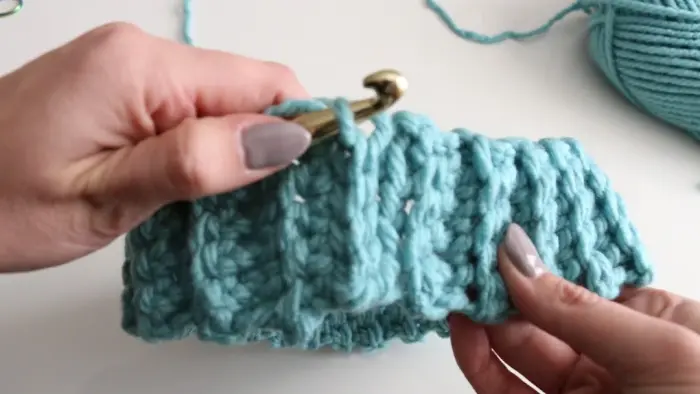
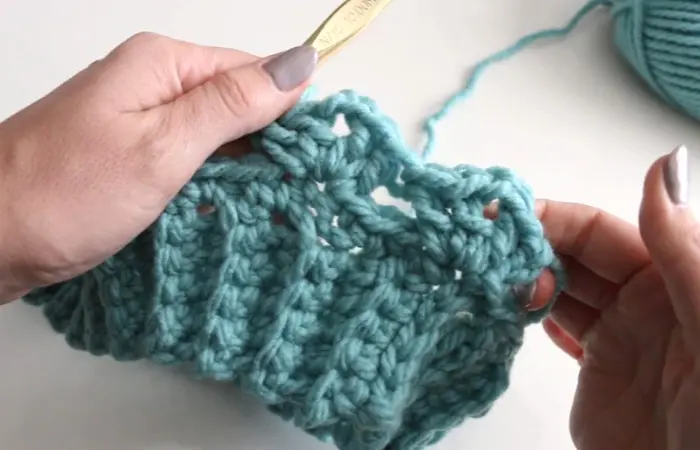
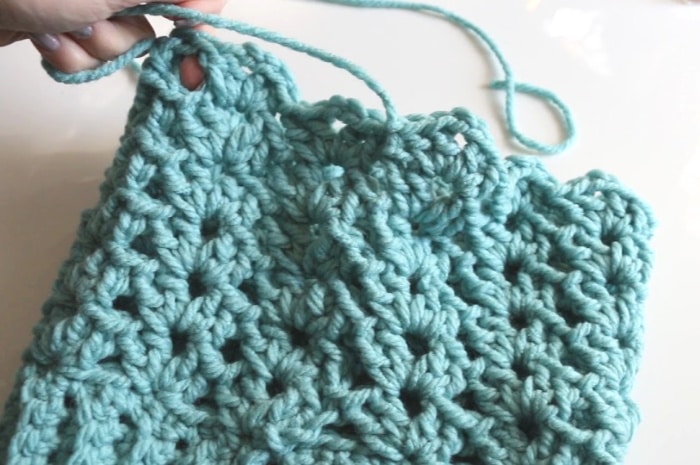
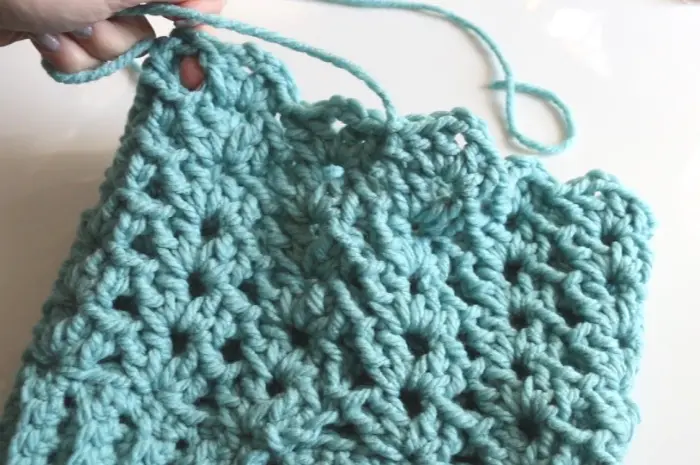
- Create the Shell pattern. Ch3 (counts as dc), dc in the same stitch the ch 3 came out of, ch 2, 2 dc … all in the same stitch to create the shell.


- Skip 3 sc stitches and place another shell (2dc, ch 2, 2dc) in the 4th stitch.

- When you finish the round, there should be 4 stitches remaining - but as long as you are close even if you are off by one it won’t make a difference.


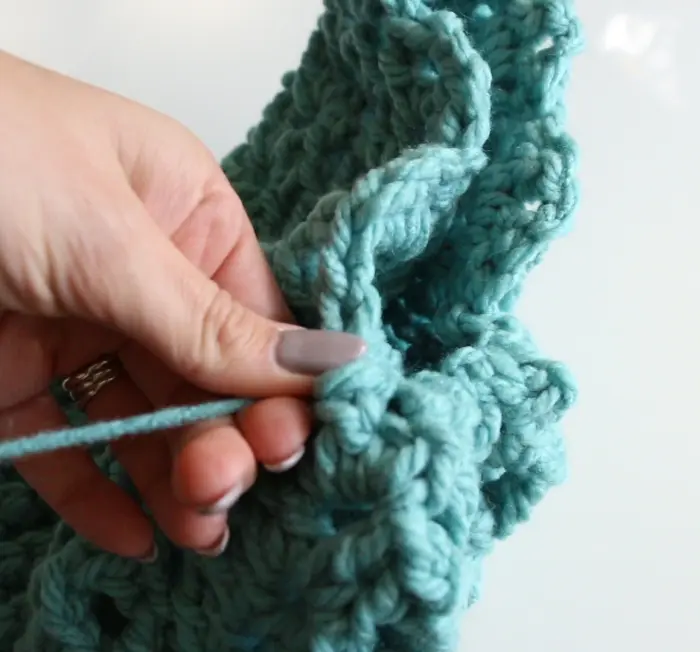
- Slip stitch to the top of the turning chain from first shell, yarn over and insert hook into the ch 2 space to begin your double crochet for your shell. Shells will all be made inside the ch 2 space.

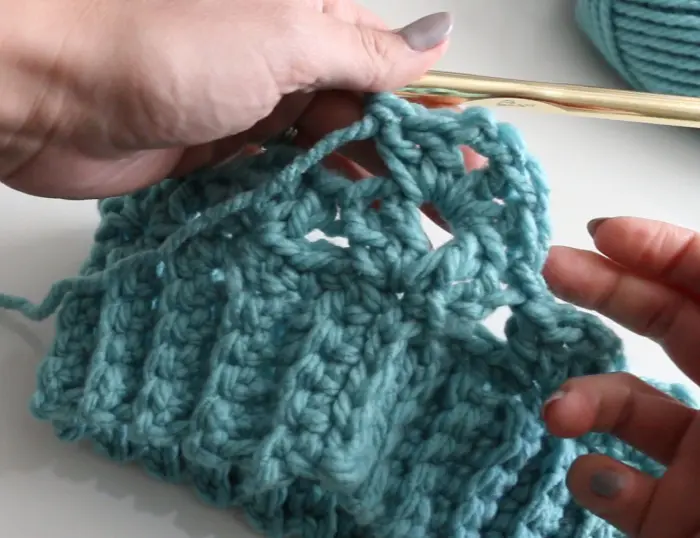
- When you finish the round, don’t worry about slip stitching, just continue creating your shells in spiral up your hat until you have made 6 rounds of shells.

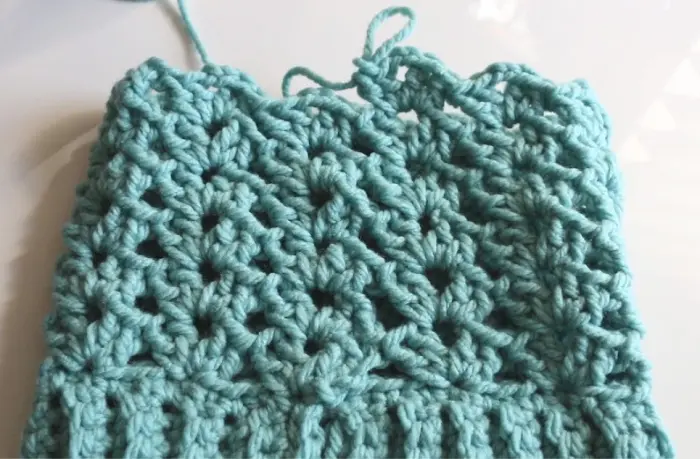
- Join with the beginning of the last round with a slip stitch. Cut a tail about 12 inches long and pull it through to fasten off.
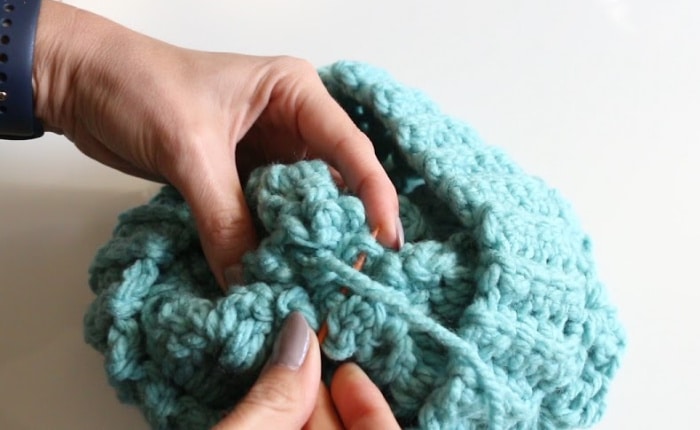
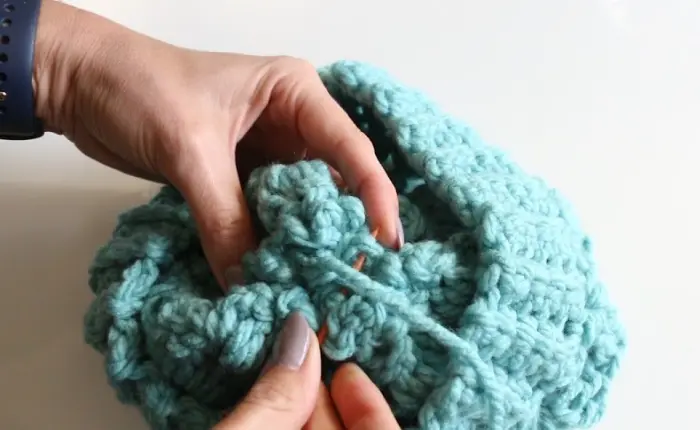
- Take your yarn needle and thread the yarn tail. Go in and out along the top of the last round of shells so that when you tug on the yarn tail, the hat will cinch up.

- Tighten up the top of the hat and then from the inside oof the hat, use the yarn tail and yarn needle to sew up the opening and attach your pom pom as desired.
Enjoy making this lovely Chunky Shell Crochet Hat!
Notes
Here are the various yarns I used in the sample hats

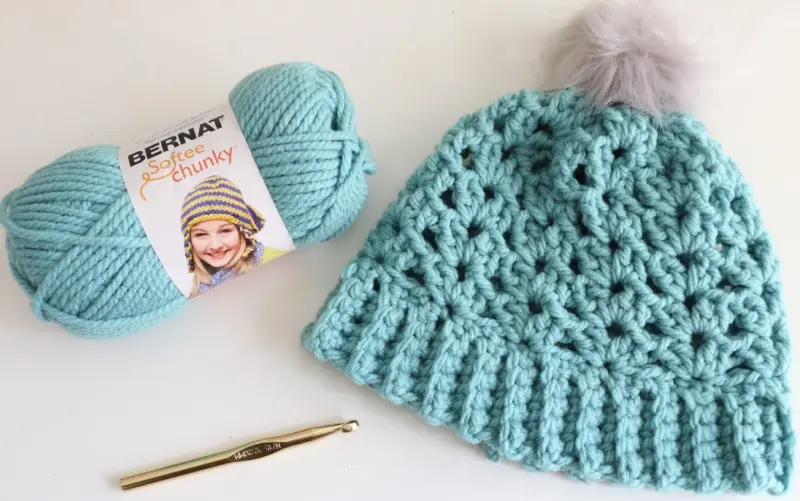
Bernat Softee Chunky Yarn size 6 in the color Aqua.
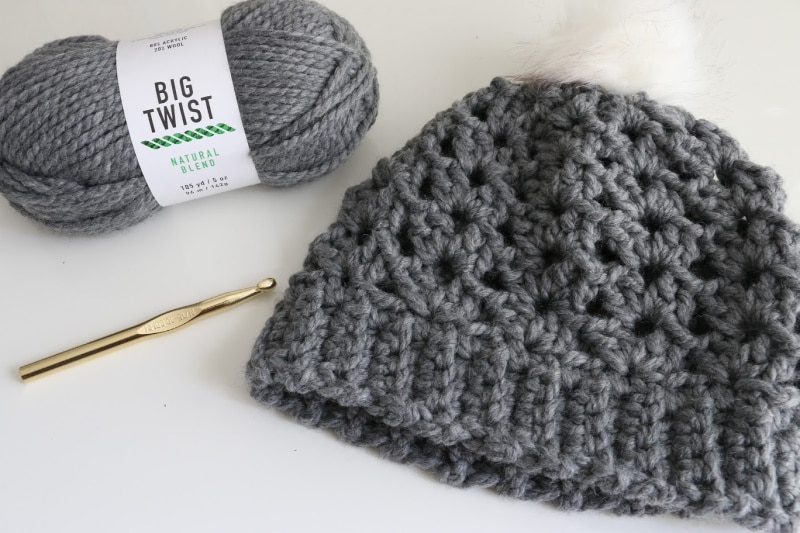

Big Twist Natural Blend yarn, size 6 in medium grey
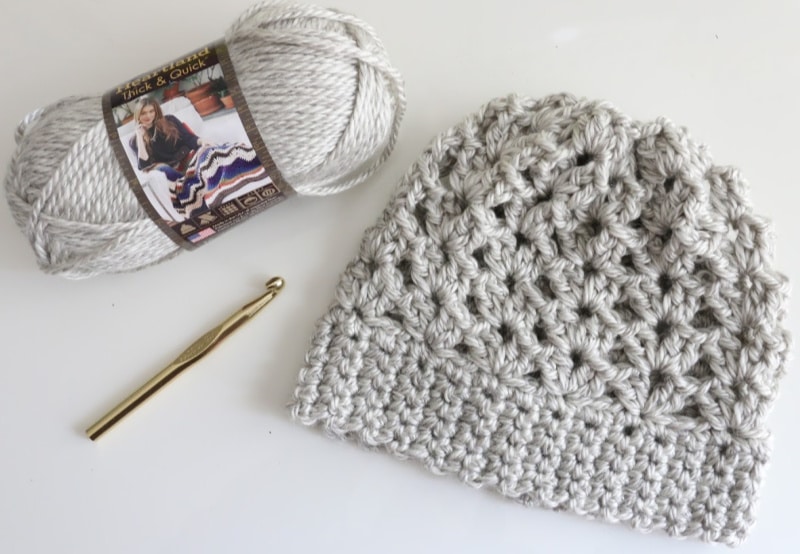
Heartland Thick and Quick in color Katmai, size 6
Crochet Hat Size Chart
Want the ad free pdf? For less than your favorite Starbucks, this pdf features 8 pages of ad free step by step photos as well as a page with no photos to save your ink if you’d like to print it out.
Looking for some more crochet hat patterns? Here are some great ones!

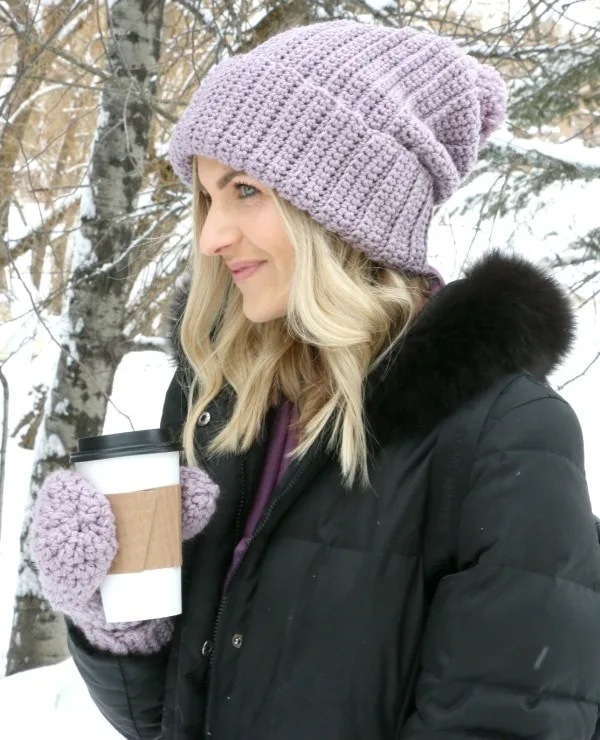


- Slightly Slouchy Crochet Hat Pattern
- Absolute Beginner Crochet Hat Pattern
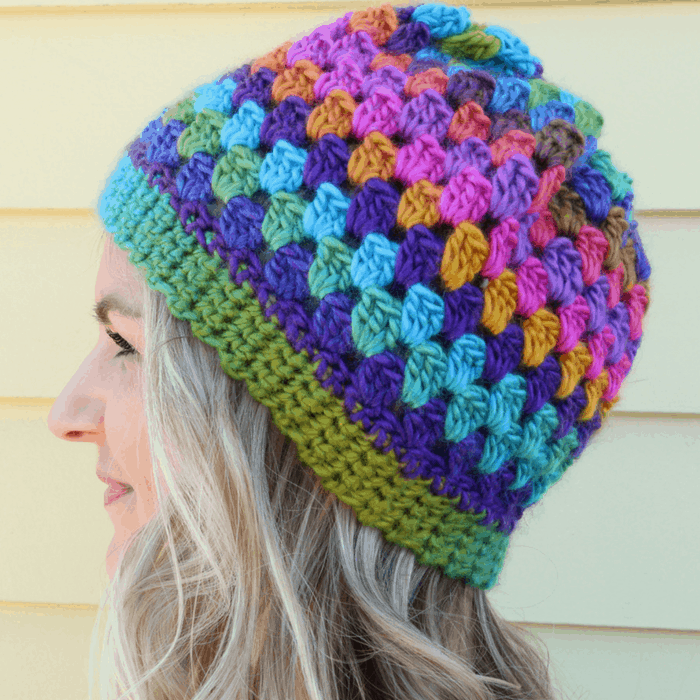
- Granny Square Cluster Crochet Hat Beanie Pattern
- How to Crochet a Beanie Beginner Tutorial


Maureen
Sunday 19th of January 2020
It's my very first crochet project. Thanks for the tutorial, I hope I'll make a decent lloking one
Kimberly Kaufman
Sunday 19th of January 2020
The link for the crochet hat size chart link isn't working could I get the link please..
Patsy Derden
Friday 17th of January 2020
I’ve ordered the Clover Pom Pom maker. Can’t wait to get it and put it on the Chunky She’ll Hat. Thanks for the pattern and showing how the Pom Pom maker work. Love your tutorials you do a great job. Blessings to you and family. Patsy.